3
RQT5479
Before use
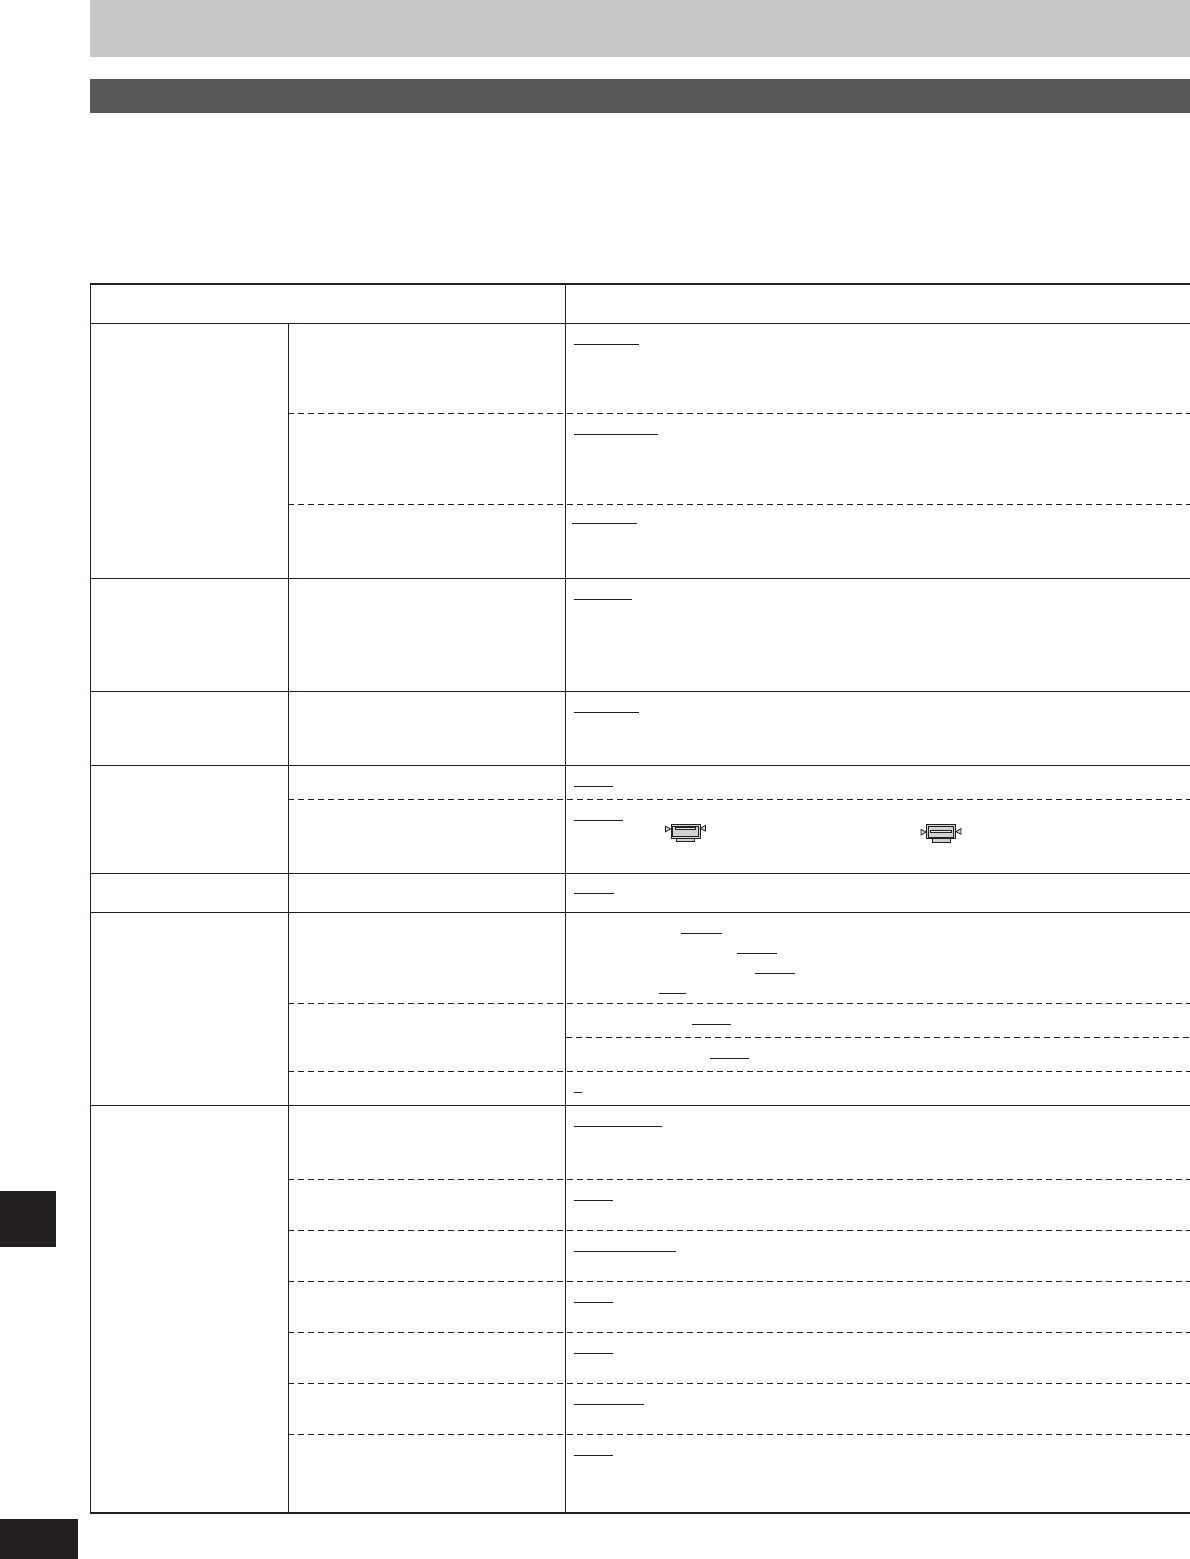
Table of contents
Before use
Region numbers.........................................................................3
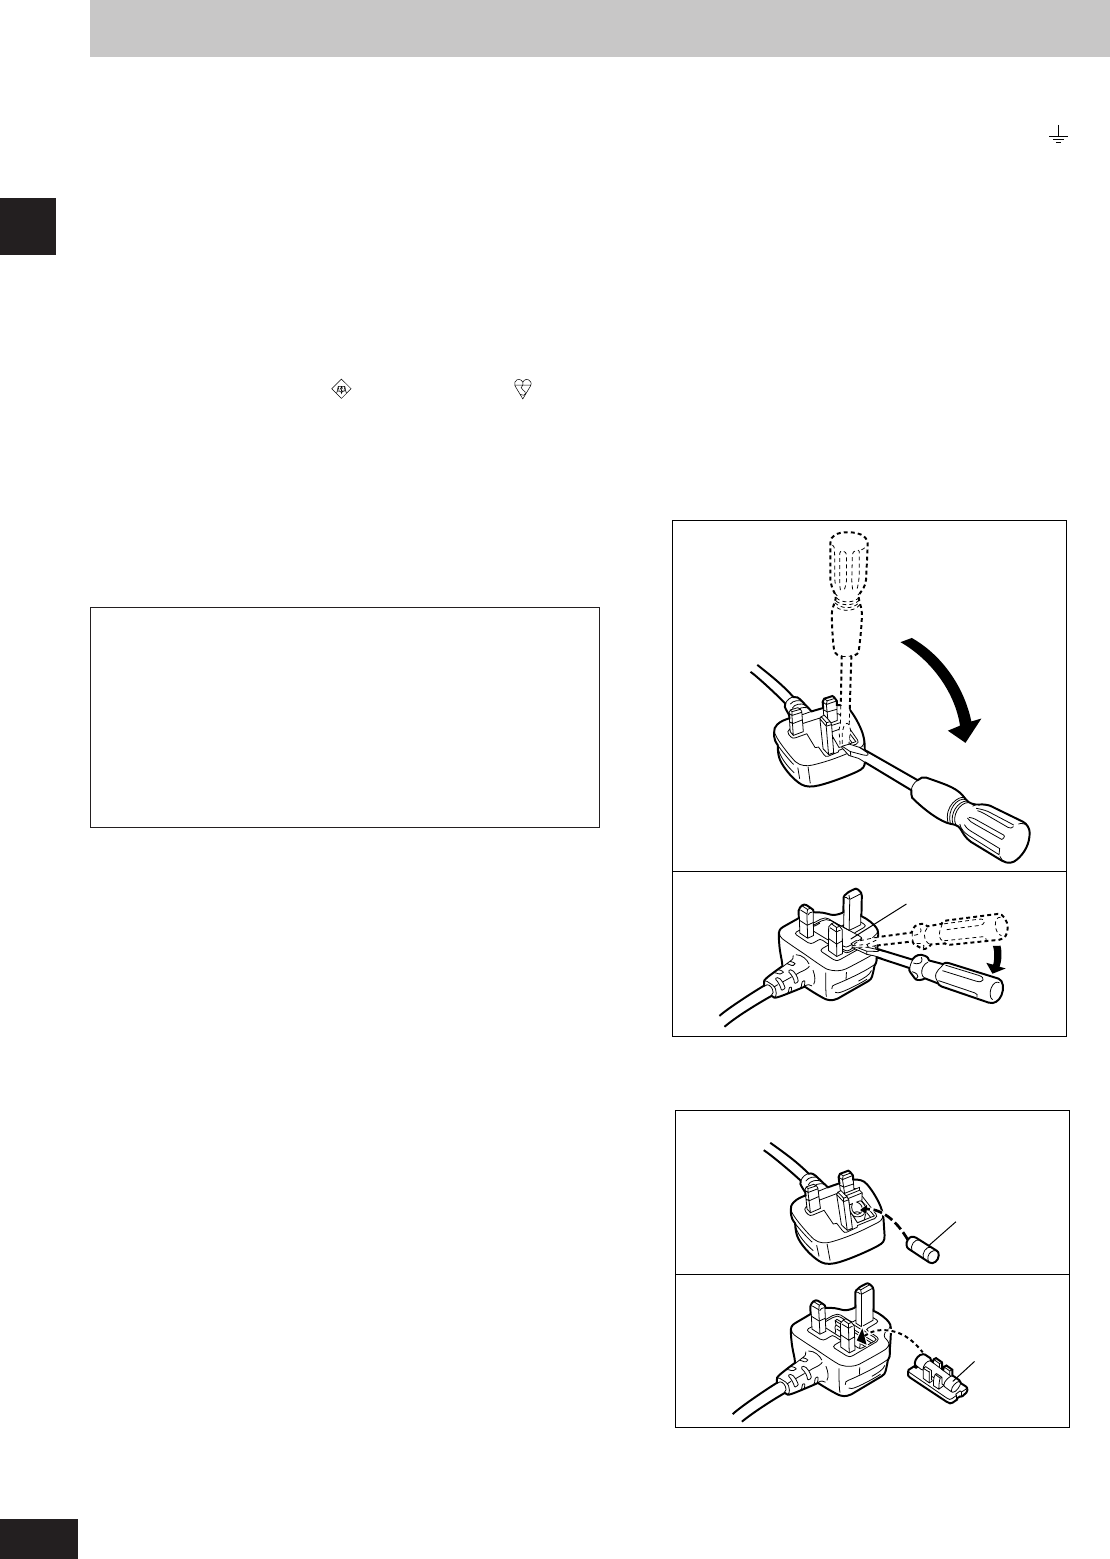
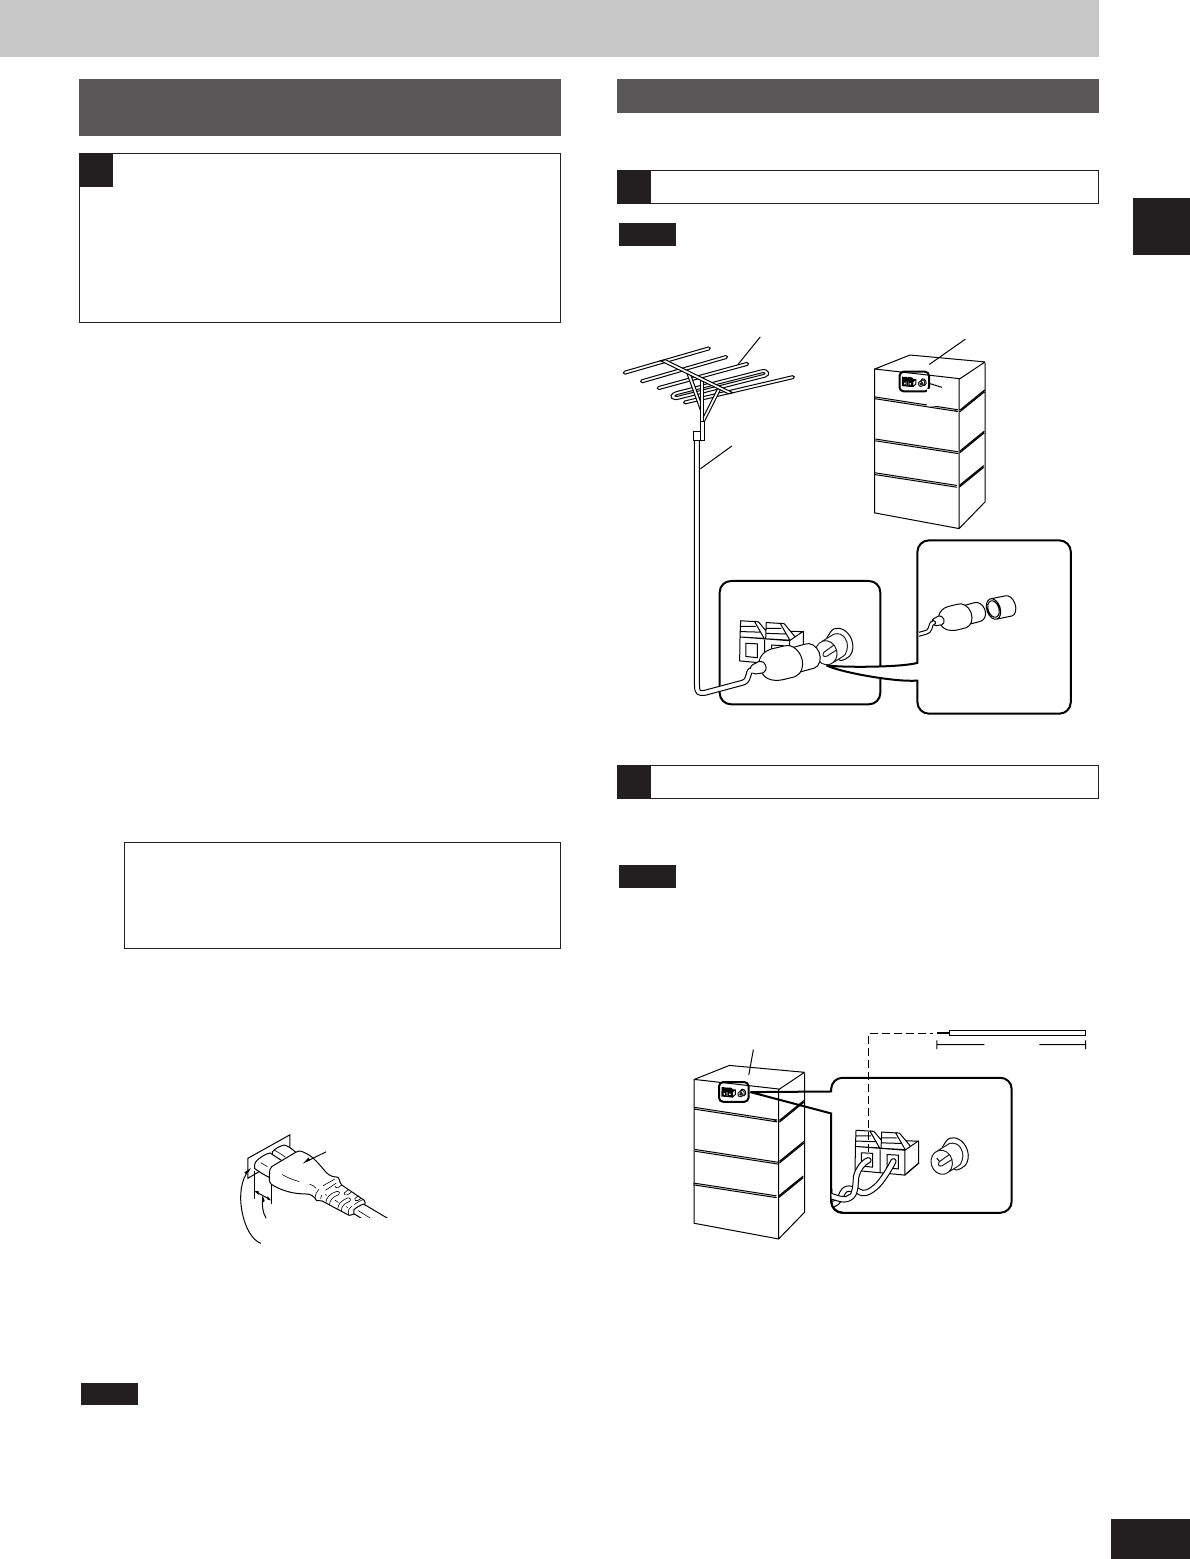
Caution for AC Mains Lead
.....................................................4
Safety precautions
.....................................................................5
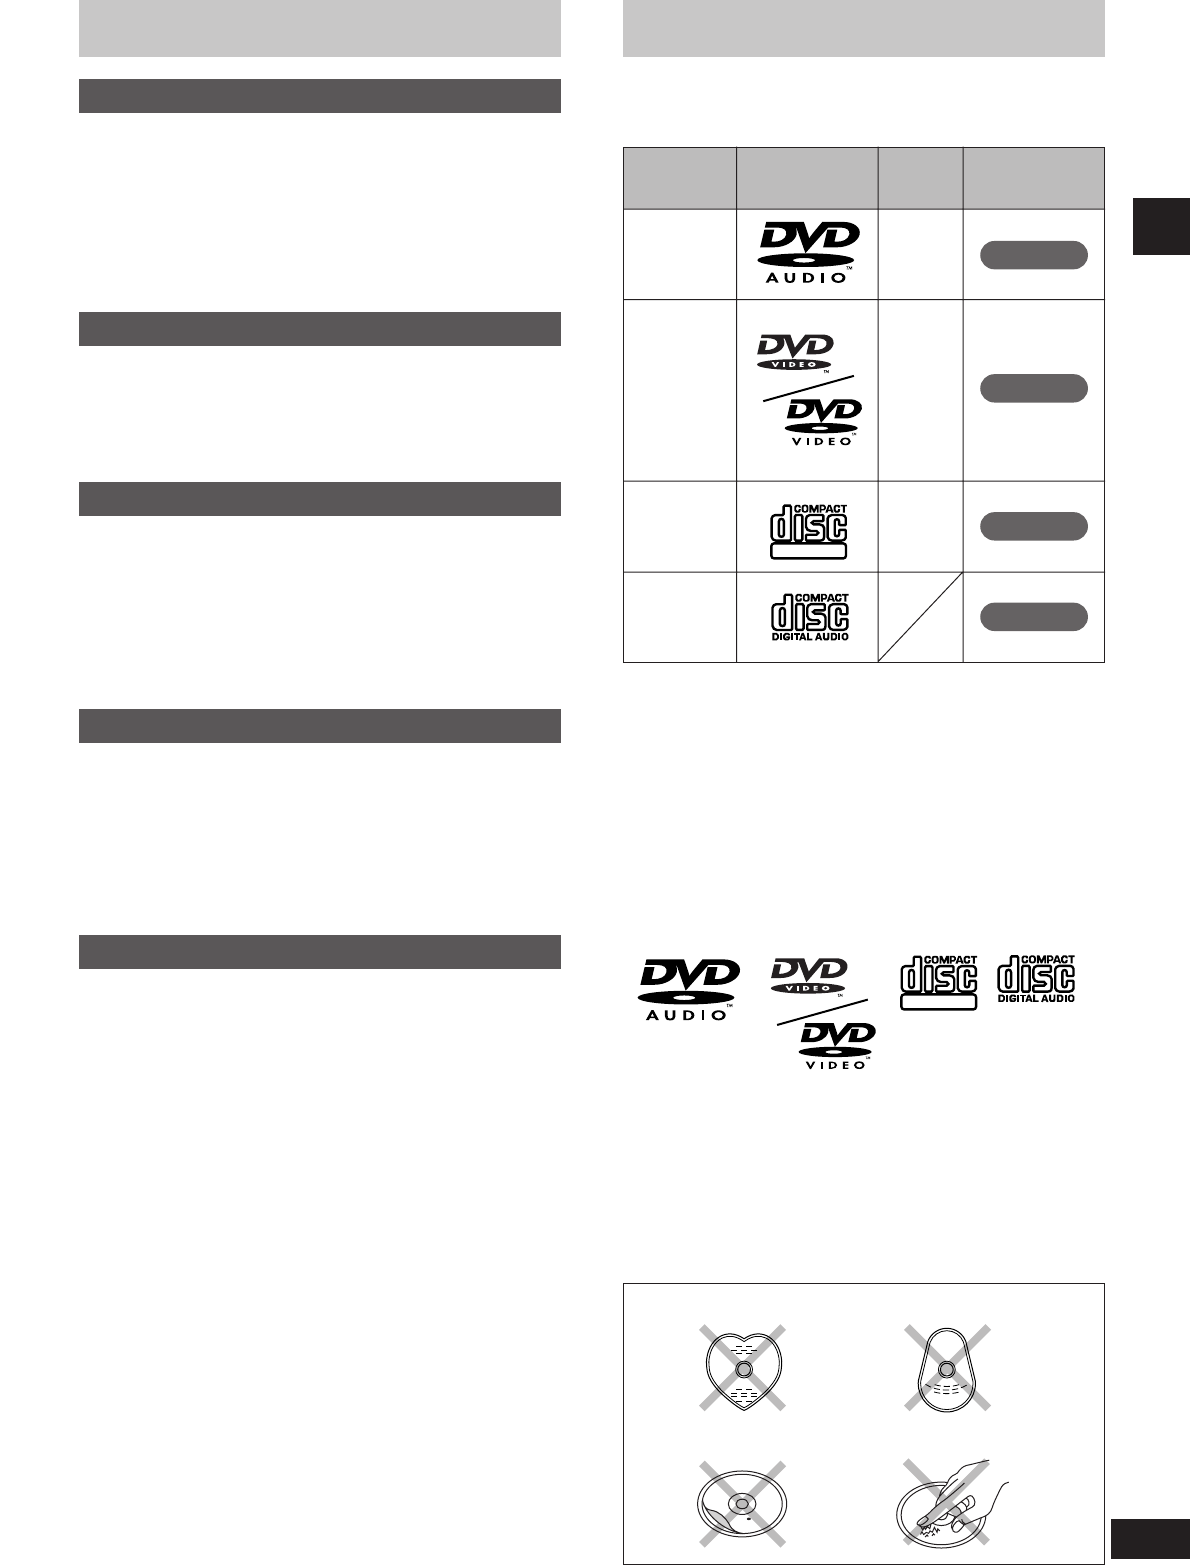
Disc selection and care
............................................................5
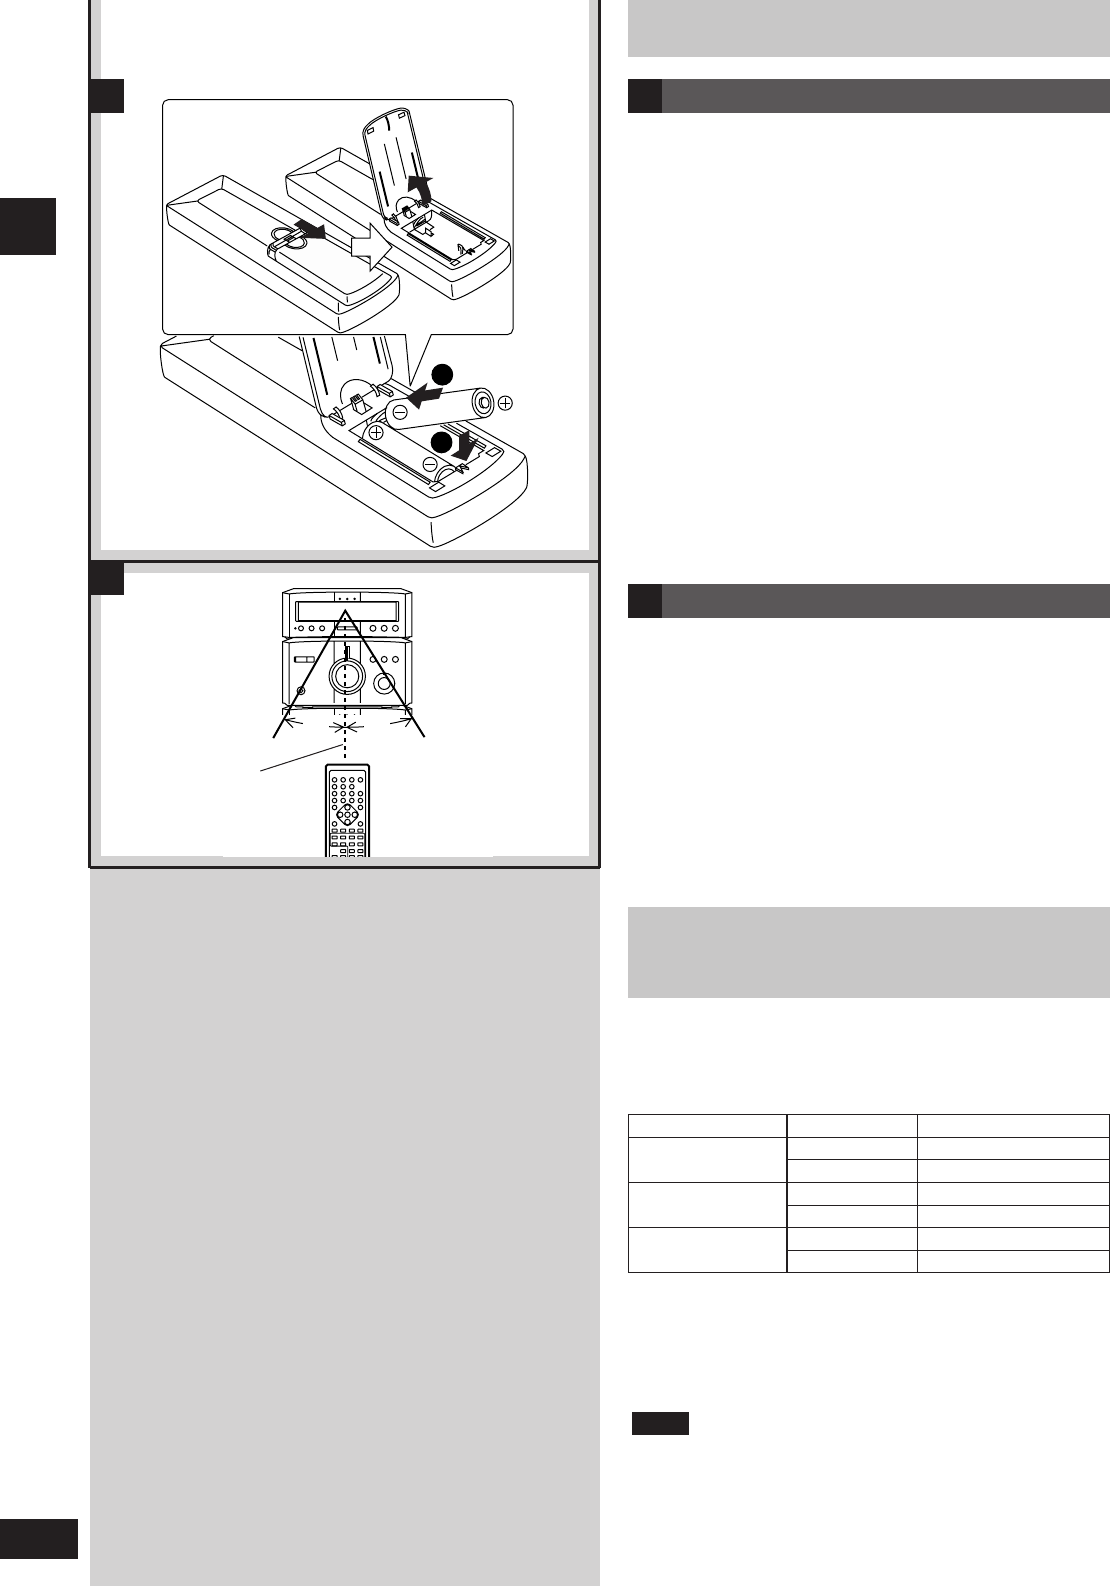
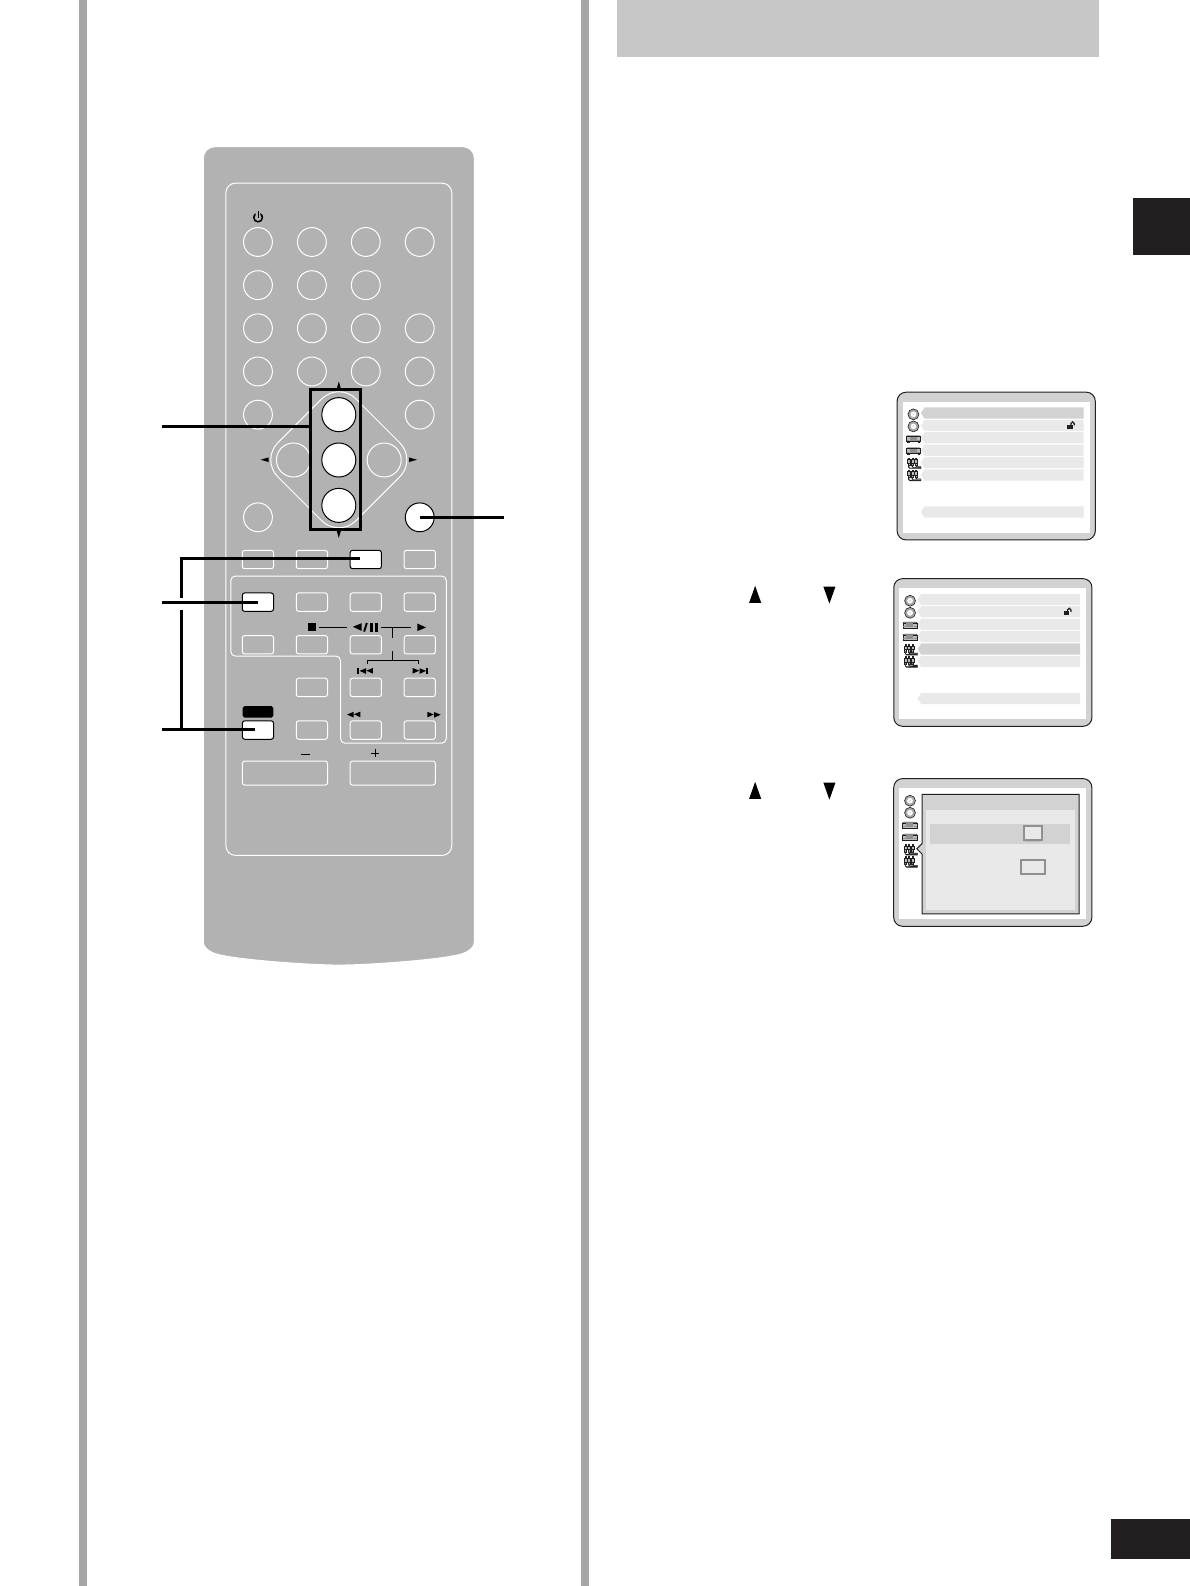
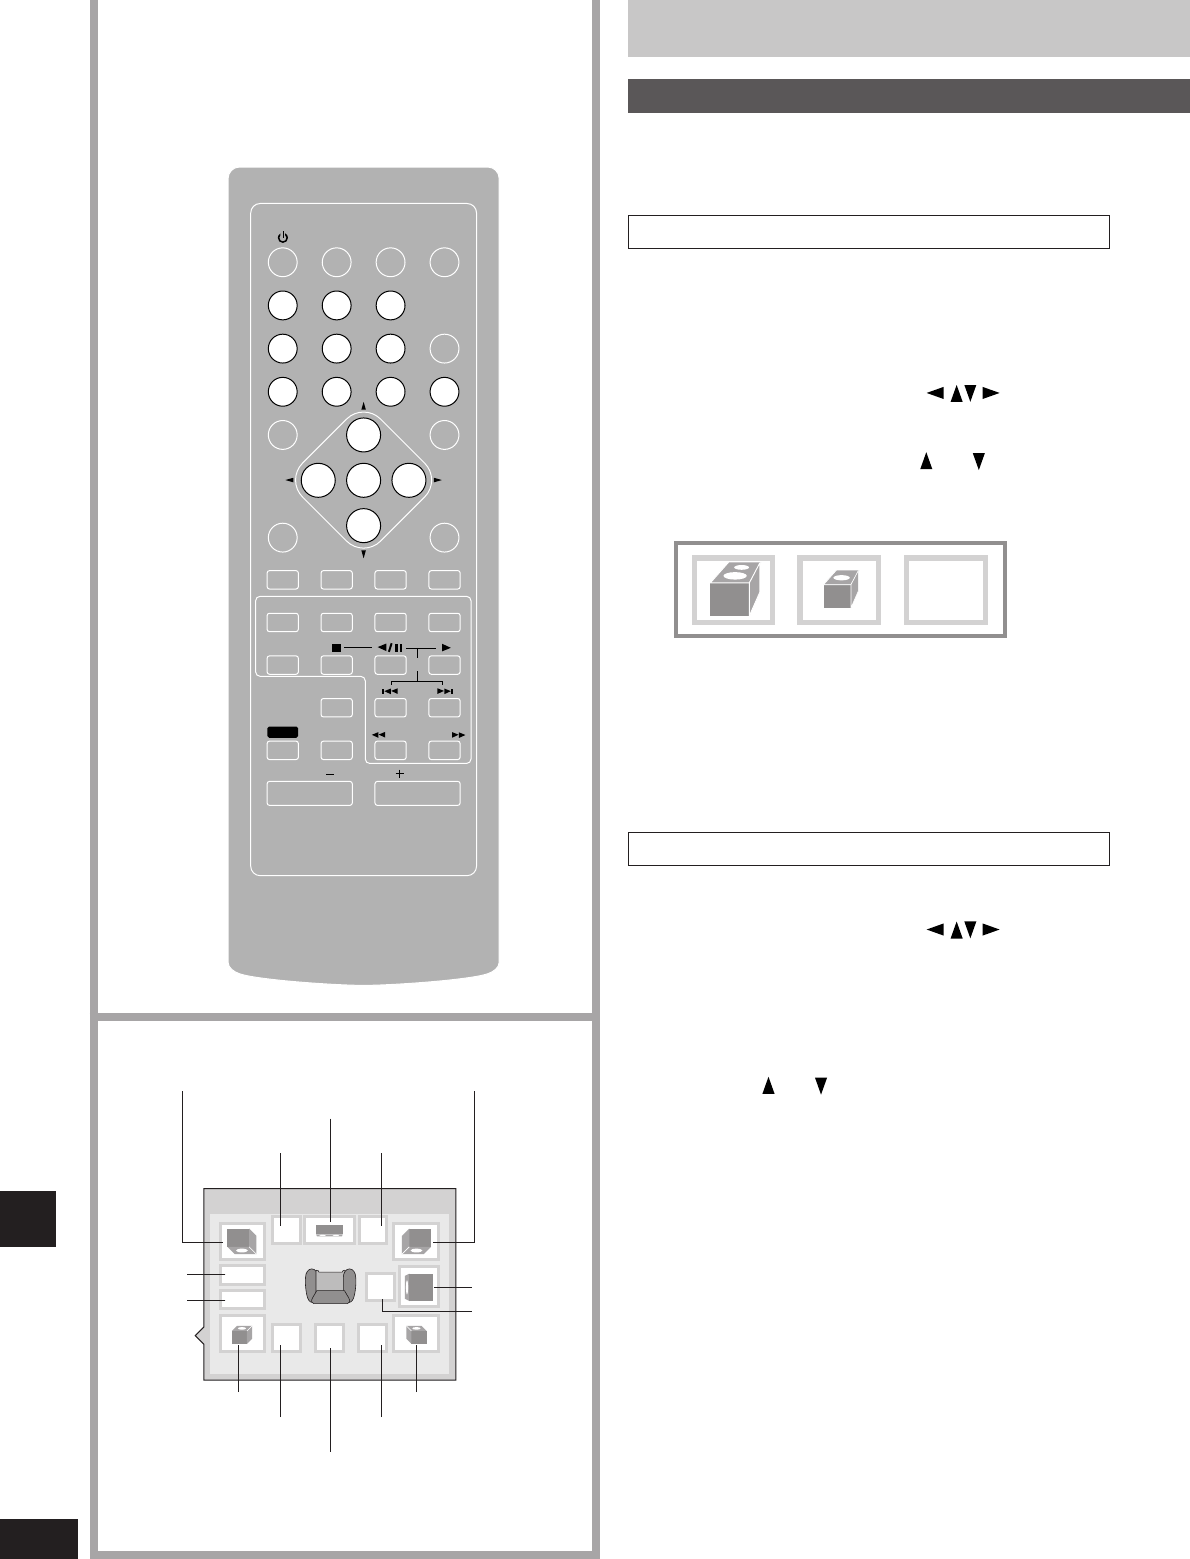
The remote control
....................................................................6
Type of disc for the type of connected TV
..........................6
Installation
....................................................................................7
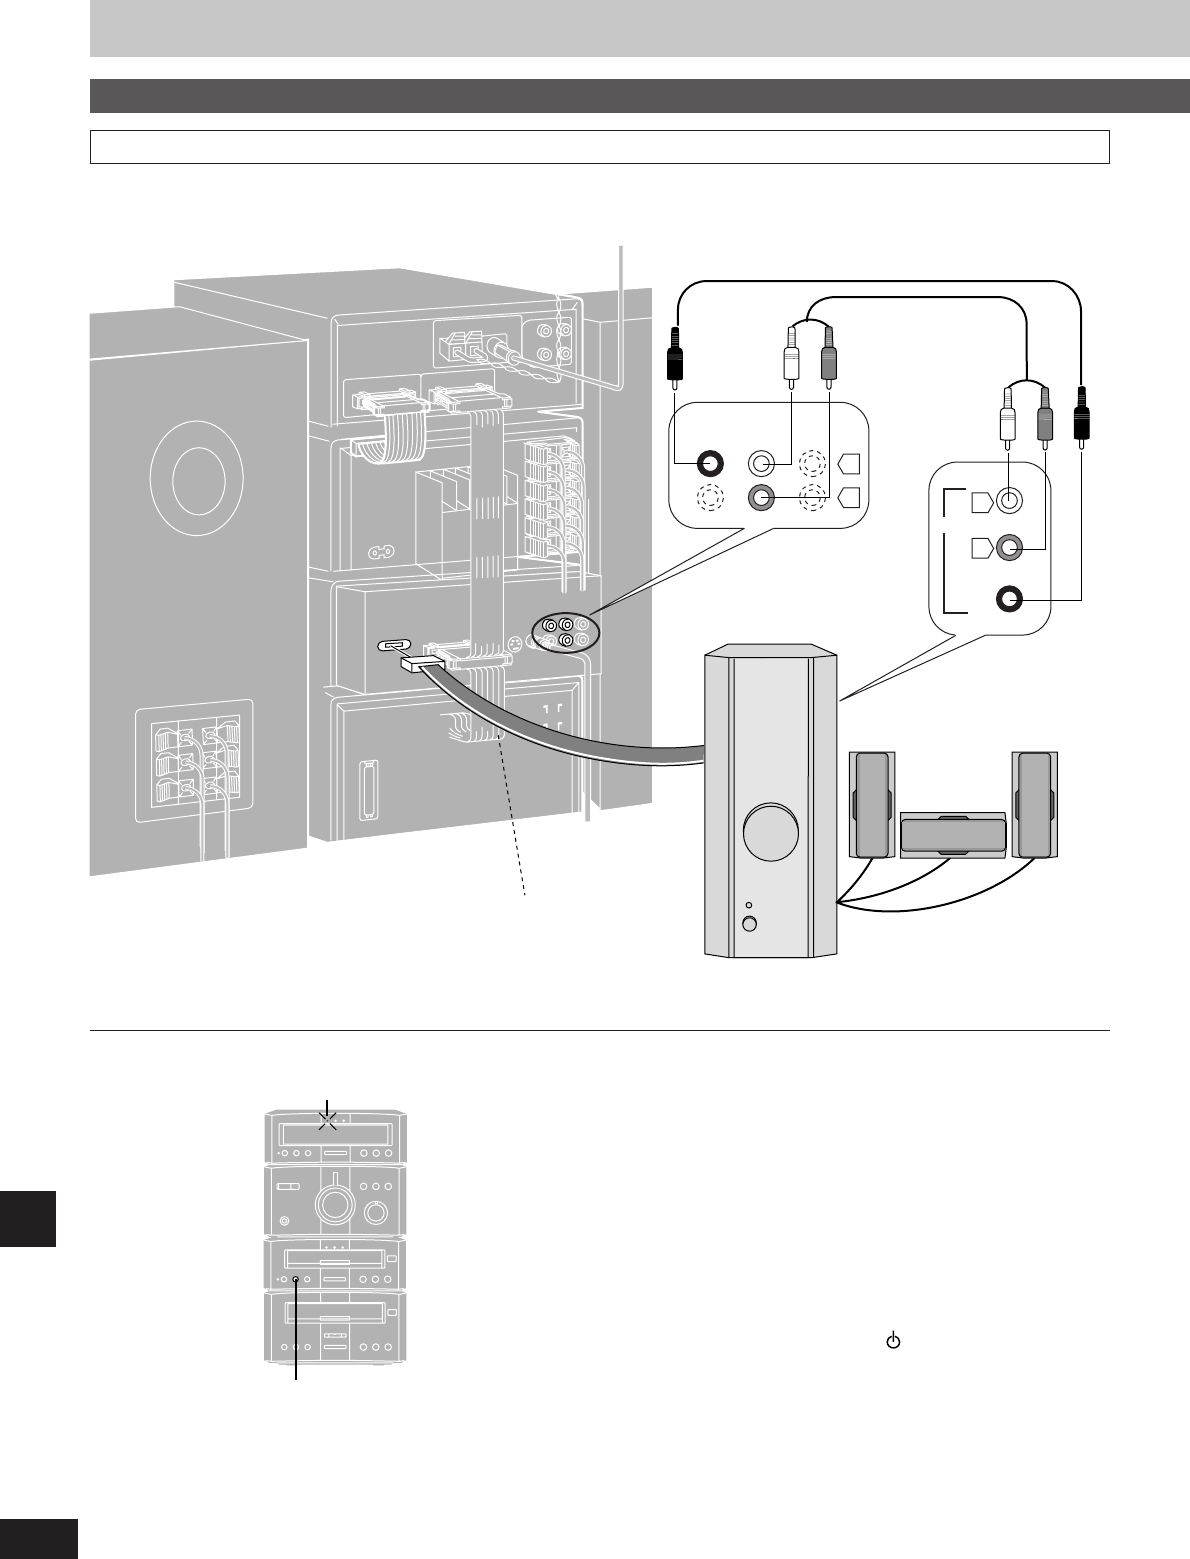
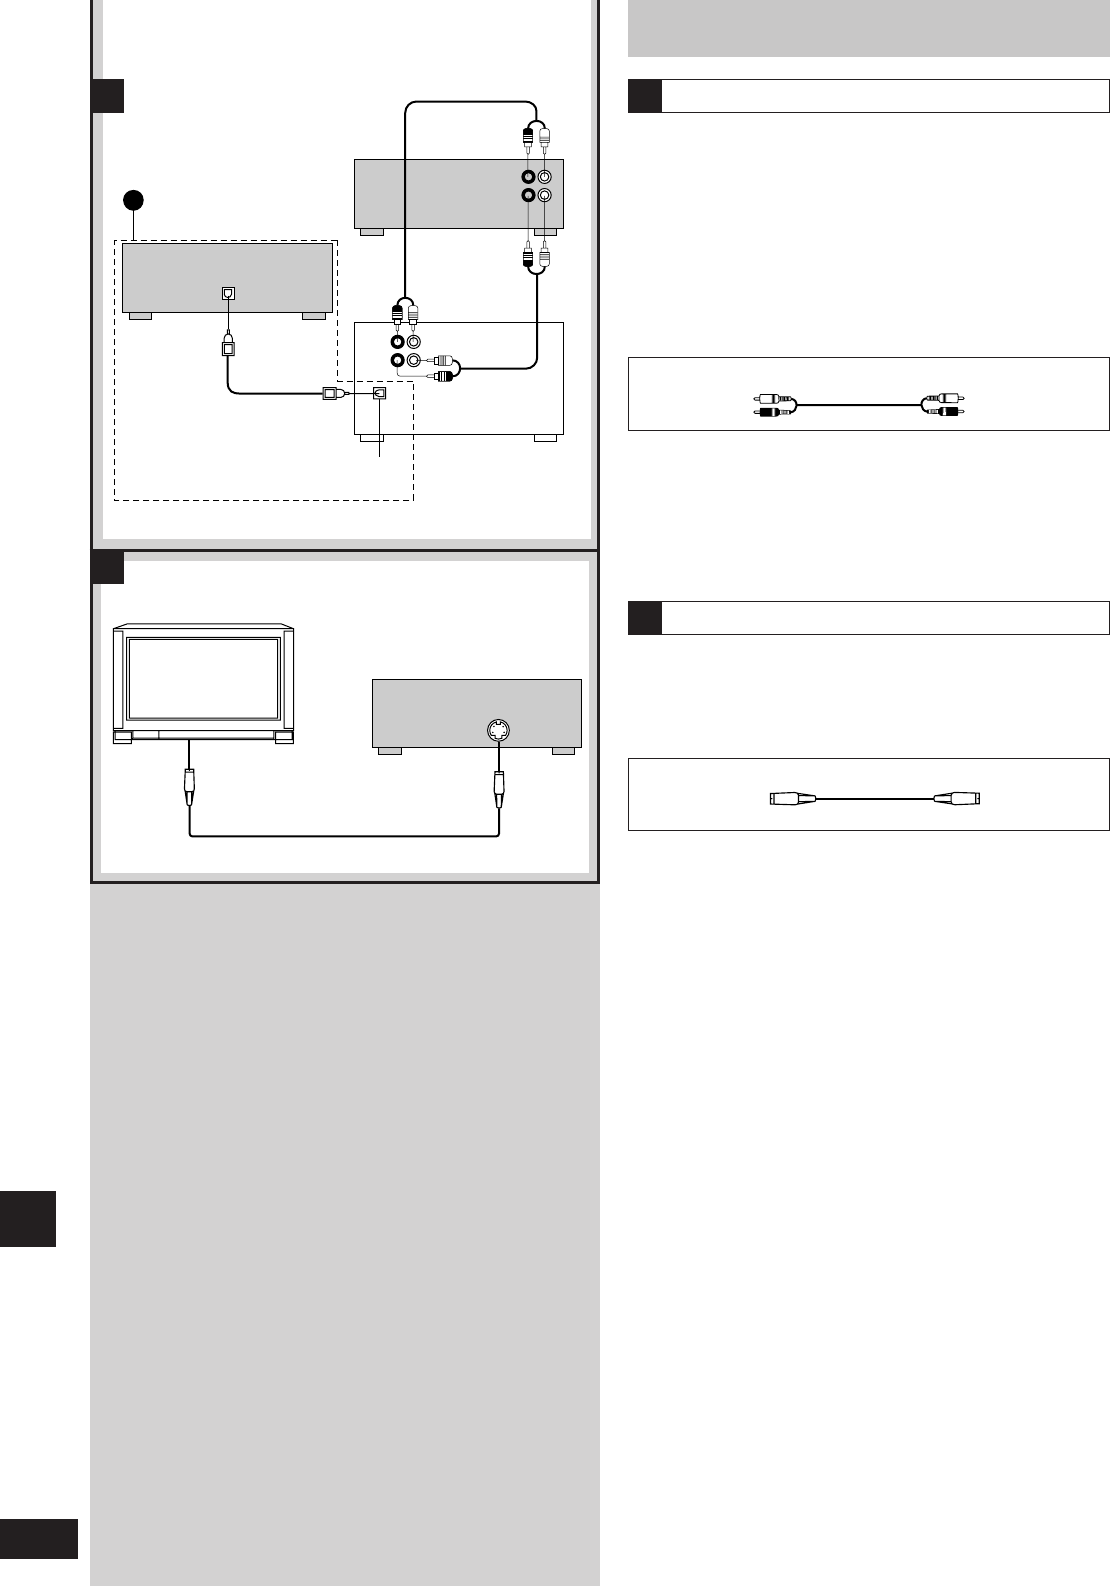
Connections
................................................................................8
Front panel controls
................................................................10
The display demonstration
...................................................12
Setting the time
........................................................................12
Saving power in standby mode
...........................................12
Television settings
..................................................................13
Disc operations
Discs............................................................................................18
Normal play .................................................................................18
Resume function..........................................................................19
Other modes of play................................................................20
Specifying a group to play ...........................................................20
Playing bonus groups..................................................................20
Skipping tracks and chapters ......................................................21
Starting play from a selected track or chapter.............................21
Starting play from a specified time - Time Search.......................21
Selecting still pictures - Page Skip ..............................................21
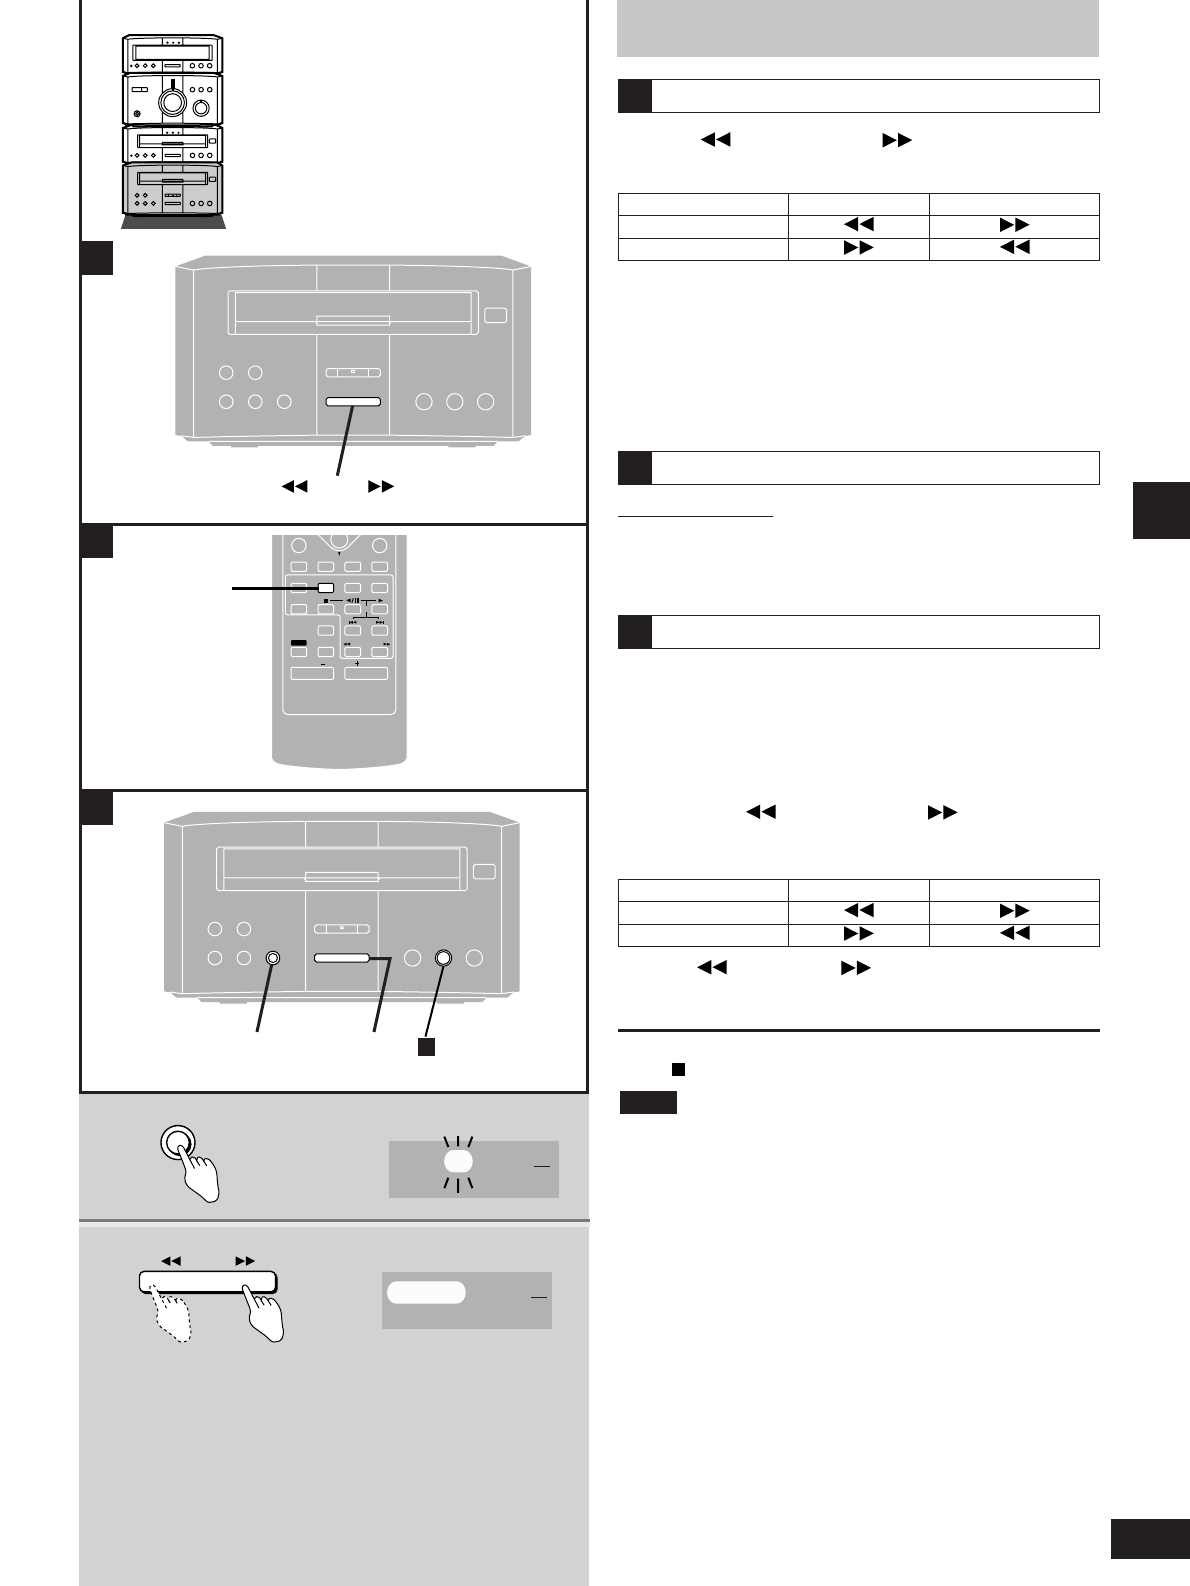
Fast forward and rewind - SEARCH............................................22
Slow motion.................................................................................22
Frame-by-frame viewing..............................................................22
Marking a position you want to play again: MARKER .................23
Using menus to play....................................................................23
Changing soundtracks.................................................................24
Changing subtitle language.........................................................25
Switching angles..........................................................................25
Repeat play .................................................................................25
A-B repeat ...................................................................................25
Random play ...............................................................................26
Playing tracks in a selected order - Program play.......................27
Playing all the groups in succession............................................27
Graphic User Interface - GUI.................................................28
Basic GUI operation ....................................................................28
Radio operations
The Radio...................................................................................14
Manual tuning..............................................................................14
Preset tuning ...............................................................................15
Cassette deck operations
Cassette tapes..........................................................................16
Recording operations
Before recording......................................................................31
Preparatory steps ........................................................................31
Recording the radio.................................................................32
Recording discs
.......................................................................32
Normal recording.........................................................................32
One touch CD editing (AI EDIT) ..................................................33
Timer operations
Using the timers.......................................................................36
The play timer..............................................................................36
The record timer ..........................................................................37
The play and record timers..........................................................38
The sleep timer............................................................................38
Using the timers together ............................................................38
Reference
Initial settings............................................................................39
Using other equipment
...........................................................44
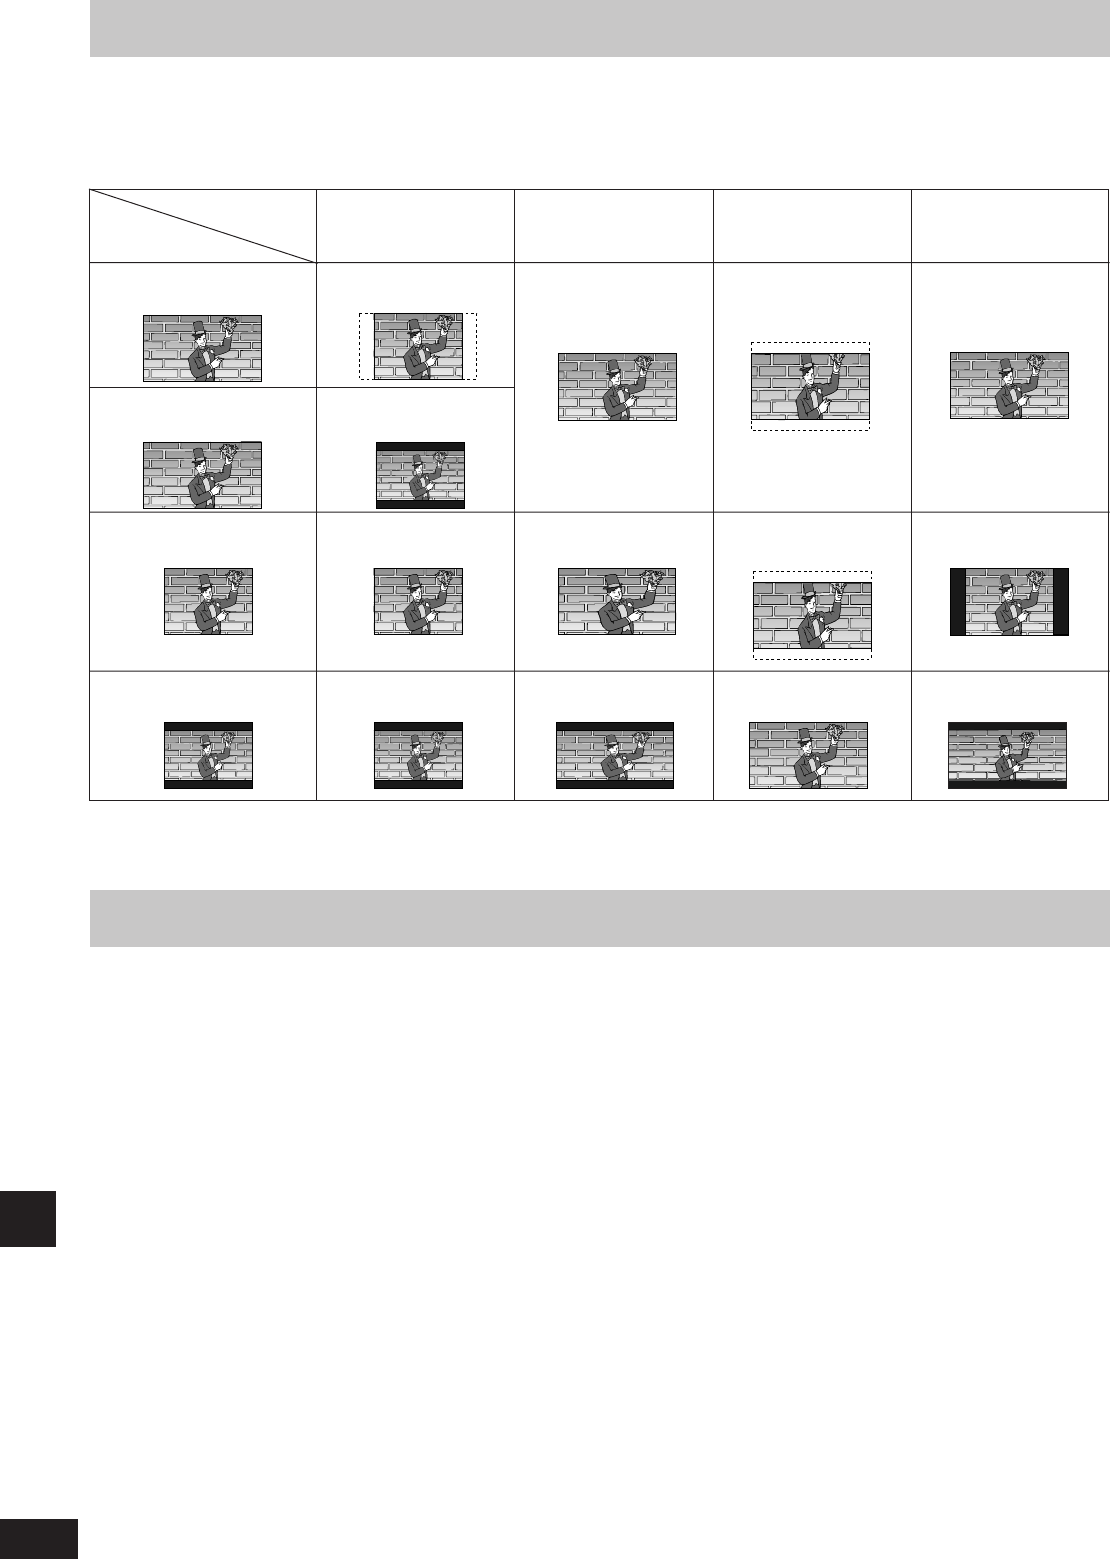
How different kinds of software appear on your
television
....................................................................................48
Language code list
..................................................................48
Glossary
.....................................................................................49
Troubleshooting guide
...........................................................50
Maintenance
..............................................................................51
Technical specifications
.......................................Back cover
Other operations
Convenient functions .............................................................34
Virtual Surround Sound (V.S.S.)..................................................34
Adjusting the bass – BLFS (Brisk Low Frequency Sound)..........35
To enjoy even higher quality sound - AUDIO ONLY ...................35
Adjusting the treble range............................................................35
To adjust left-right balance ..........................................................35
Muting the volume .......................................................................35
To change the display .................................................................35
Using headphones (not included)................................................35
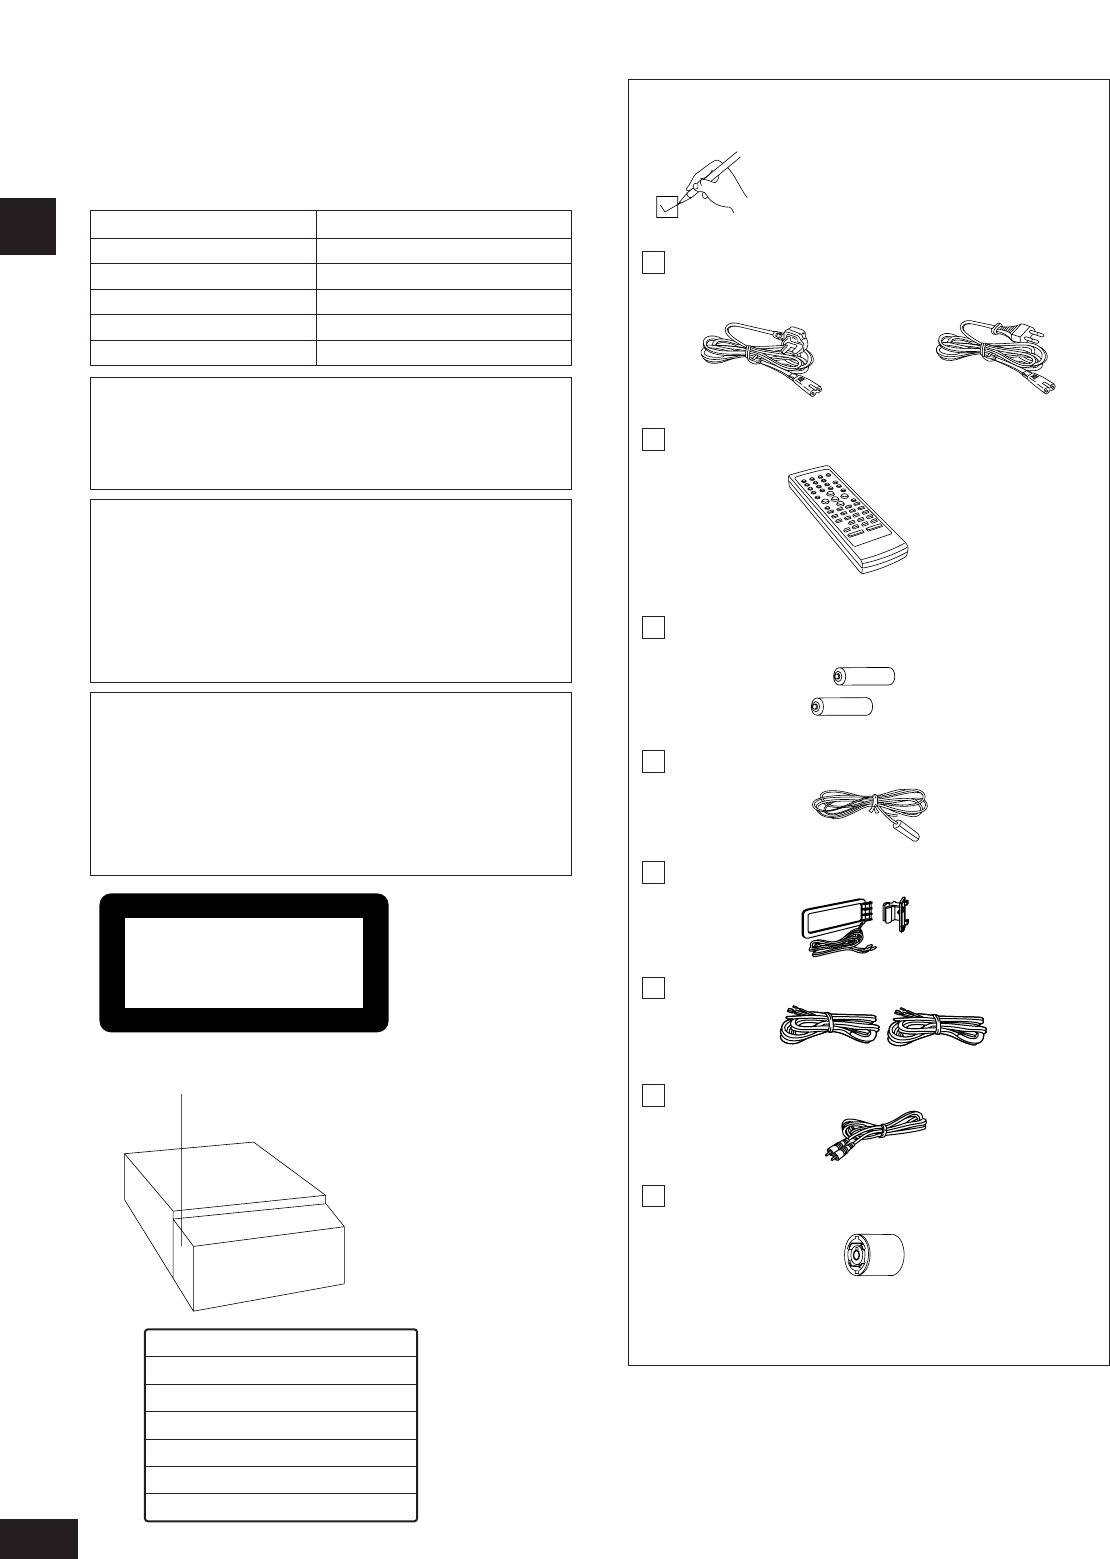
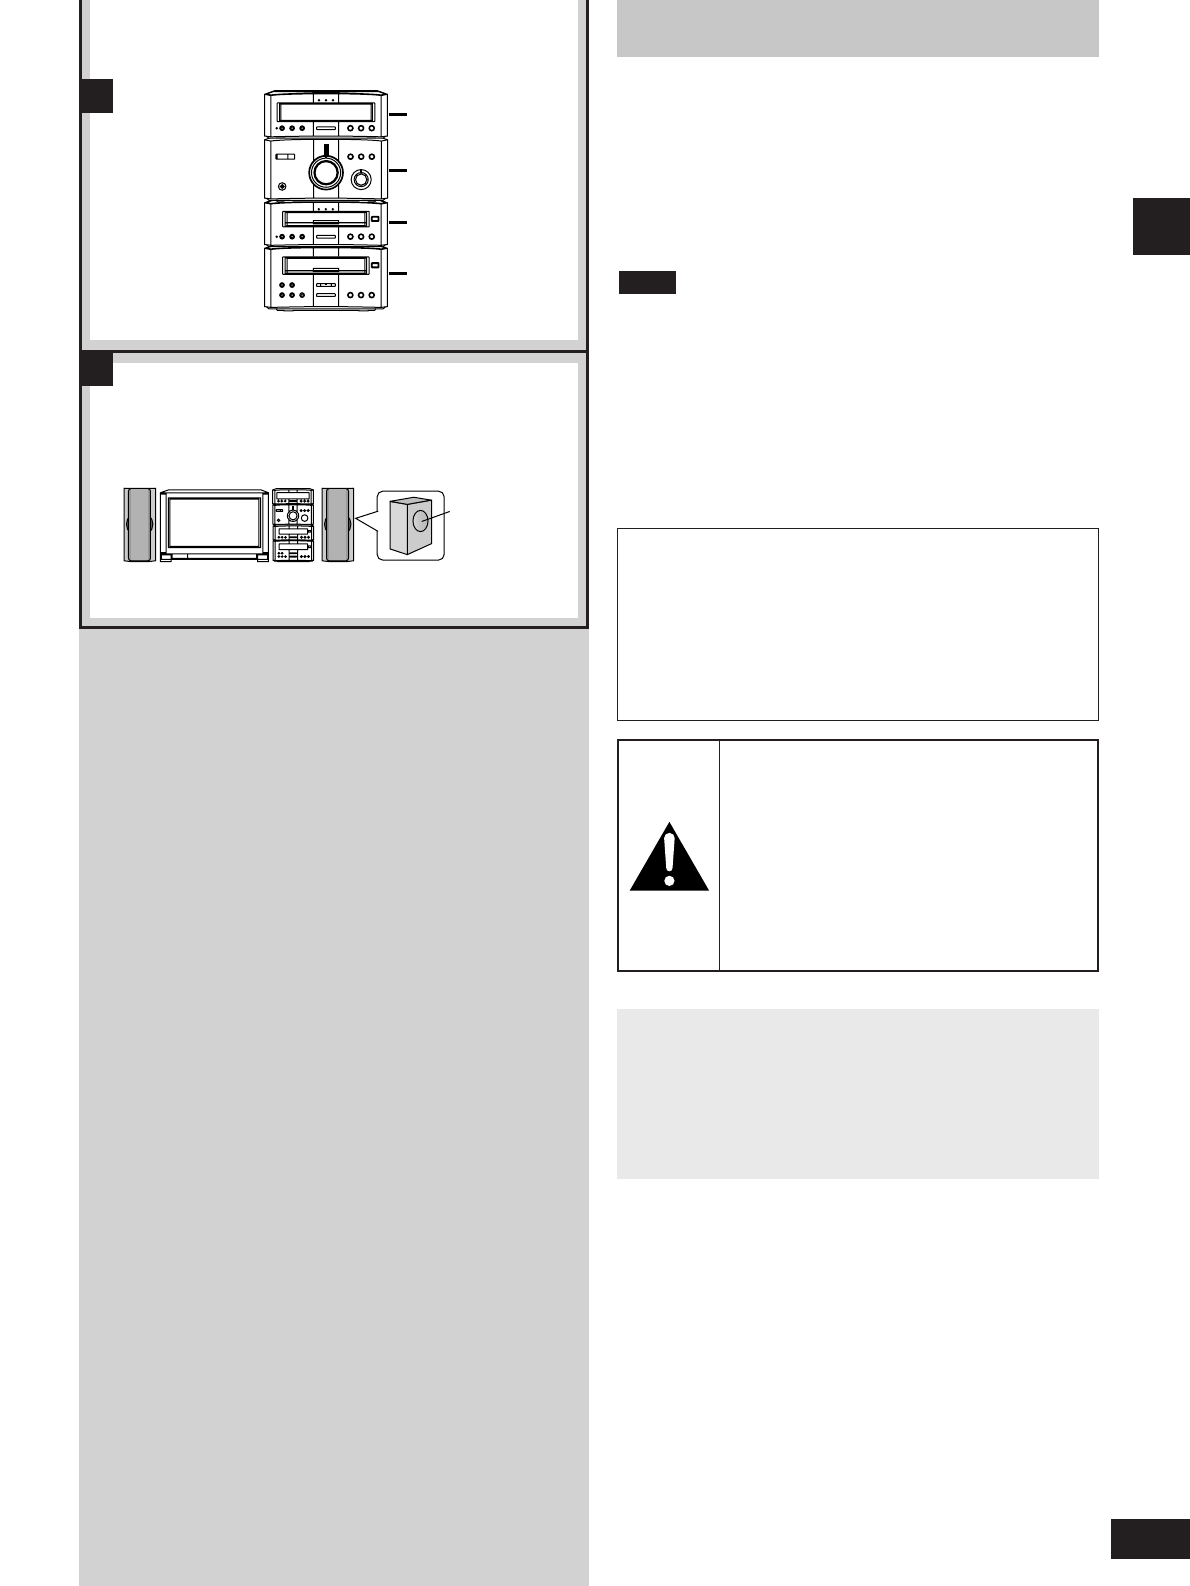
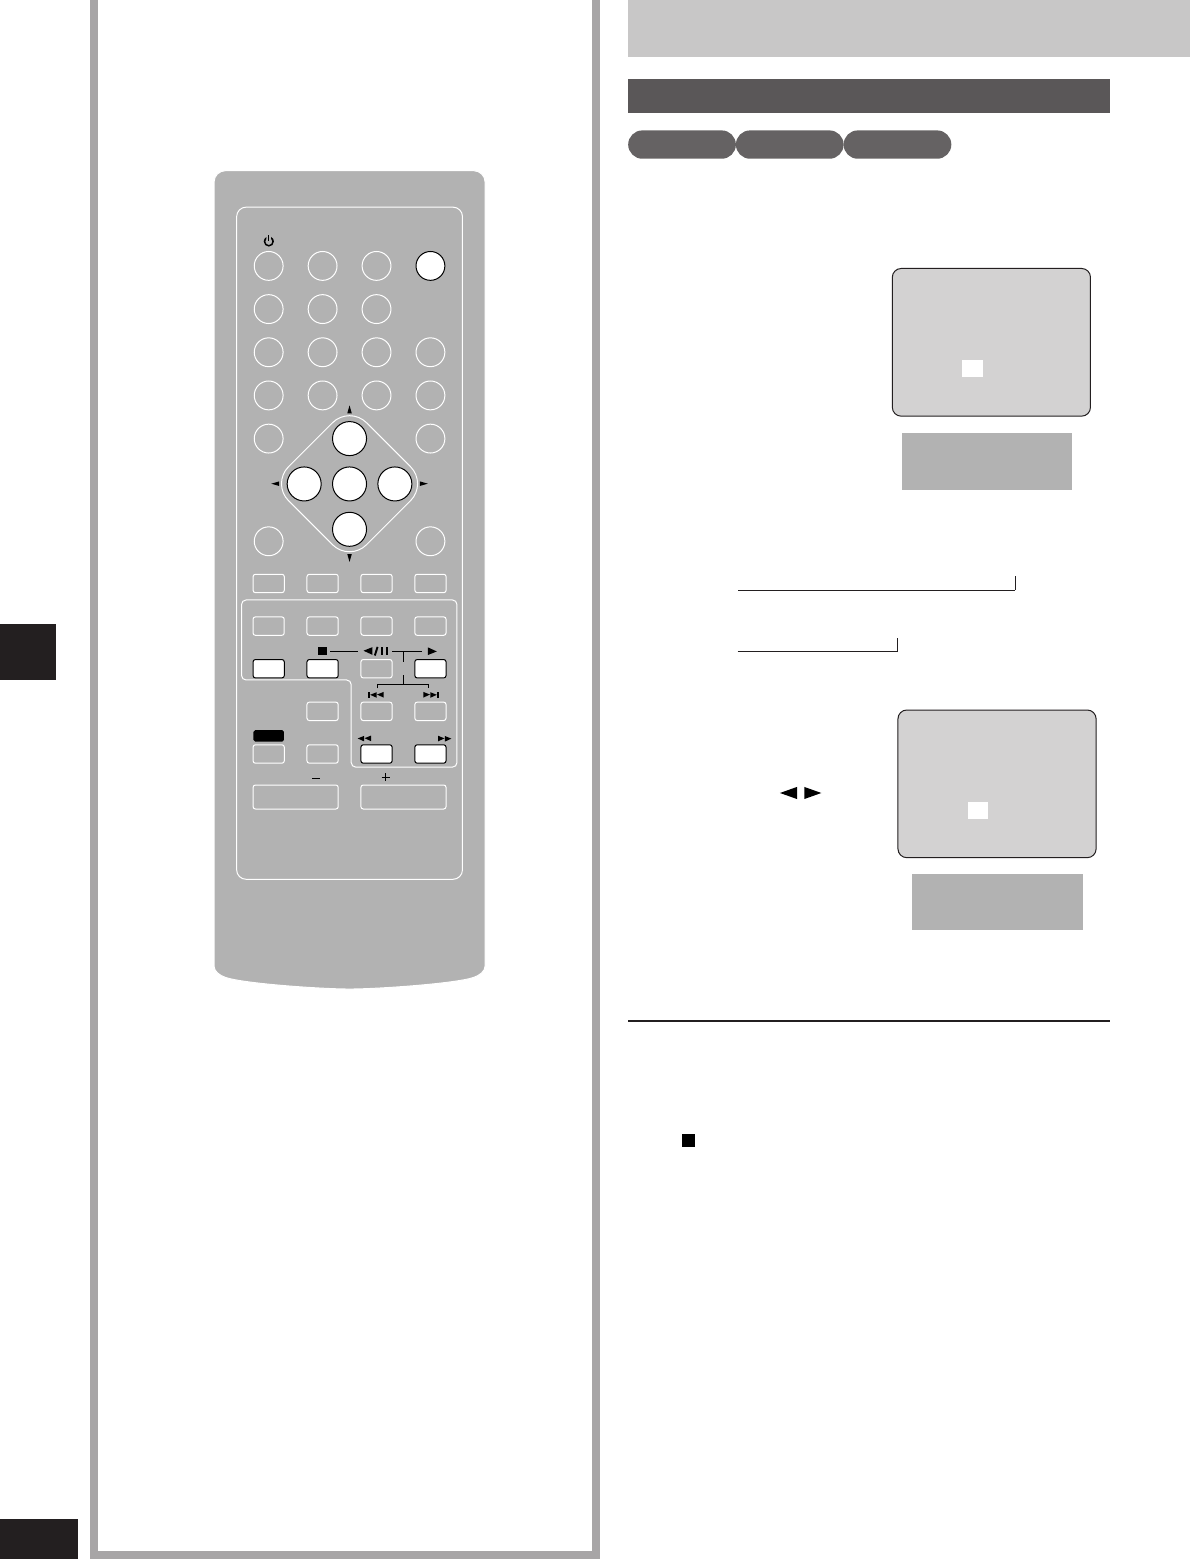
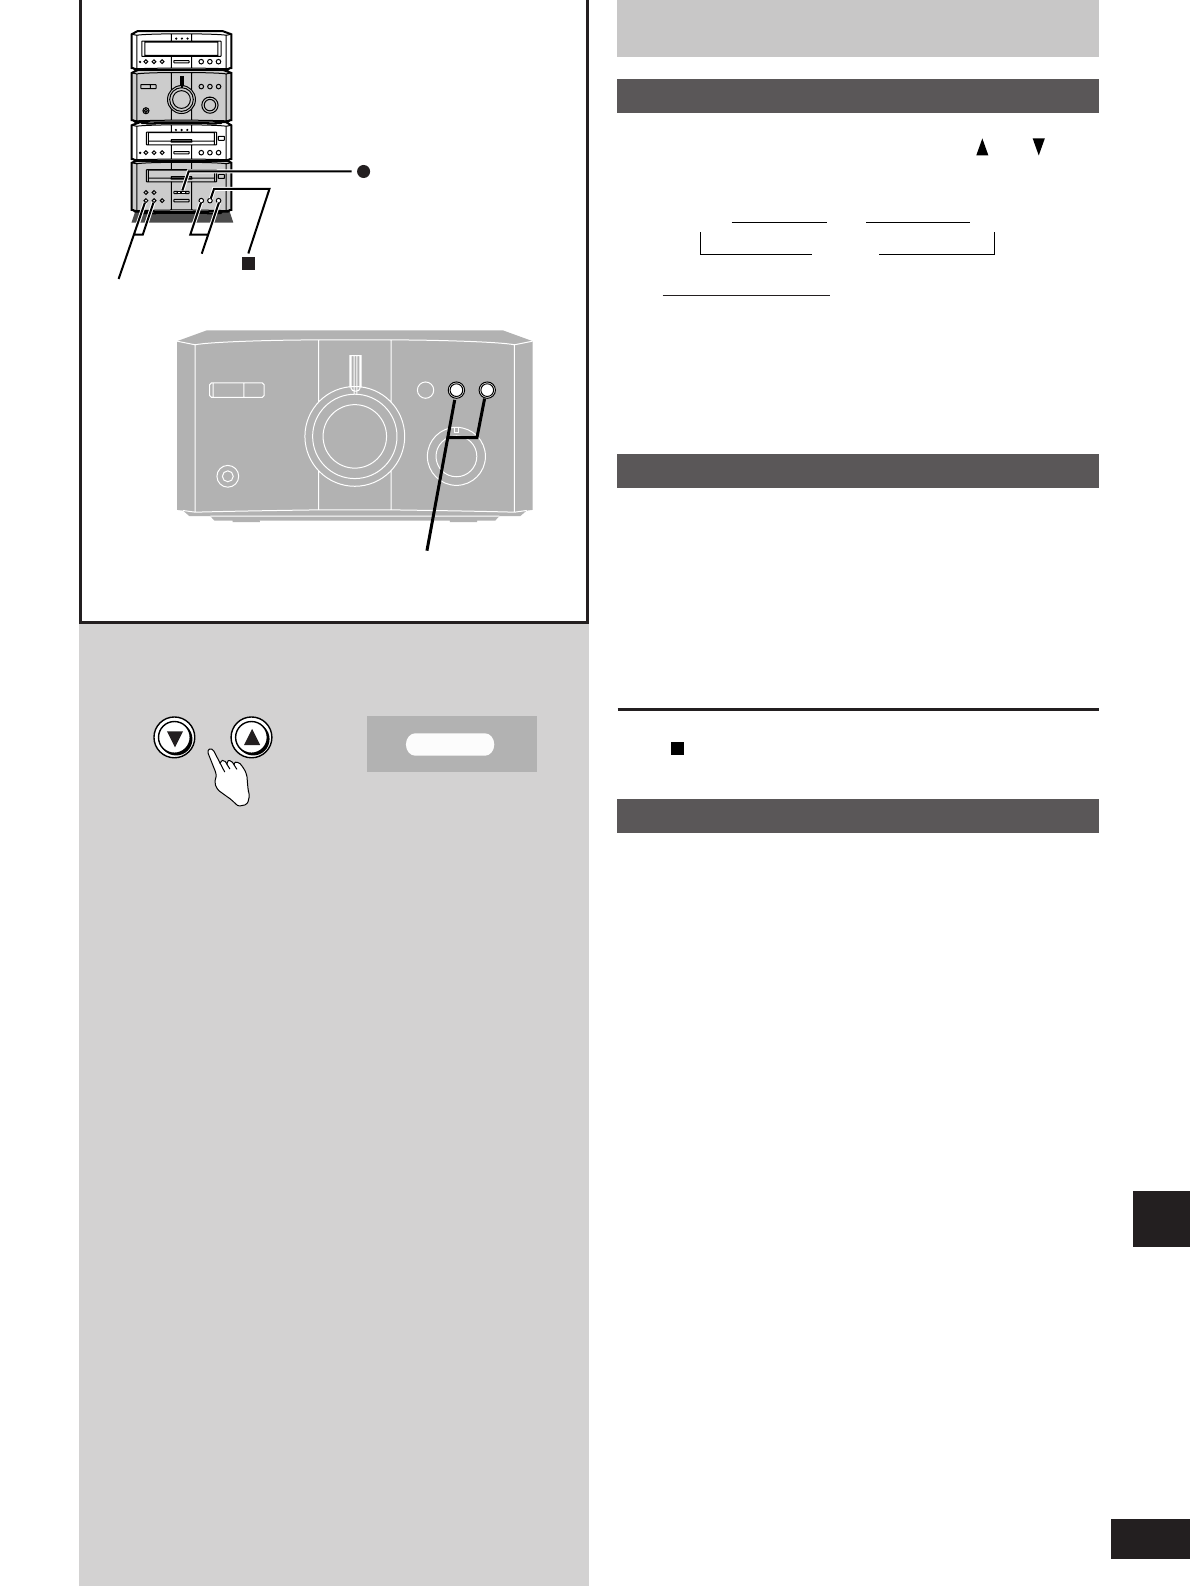
Region numbers
Region number are allocated to DVD players and software
according to where they are sold.
DVDs can be played on this unit if their region number is the same
or includes the same number, or if the DVD is marked “ALL”.
Confirm the region number for this unit before choosing discs. The
number for this unit is indicated on the rear panel.
Example
Rear panel
Discs that can be played by the unit shown in this example