25
SX .1 Series Amplifiers
Operation
hi-pass MENU - Here is where you adjust the high pass
crossover. Your options are
frequency and SLOPE.
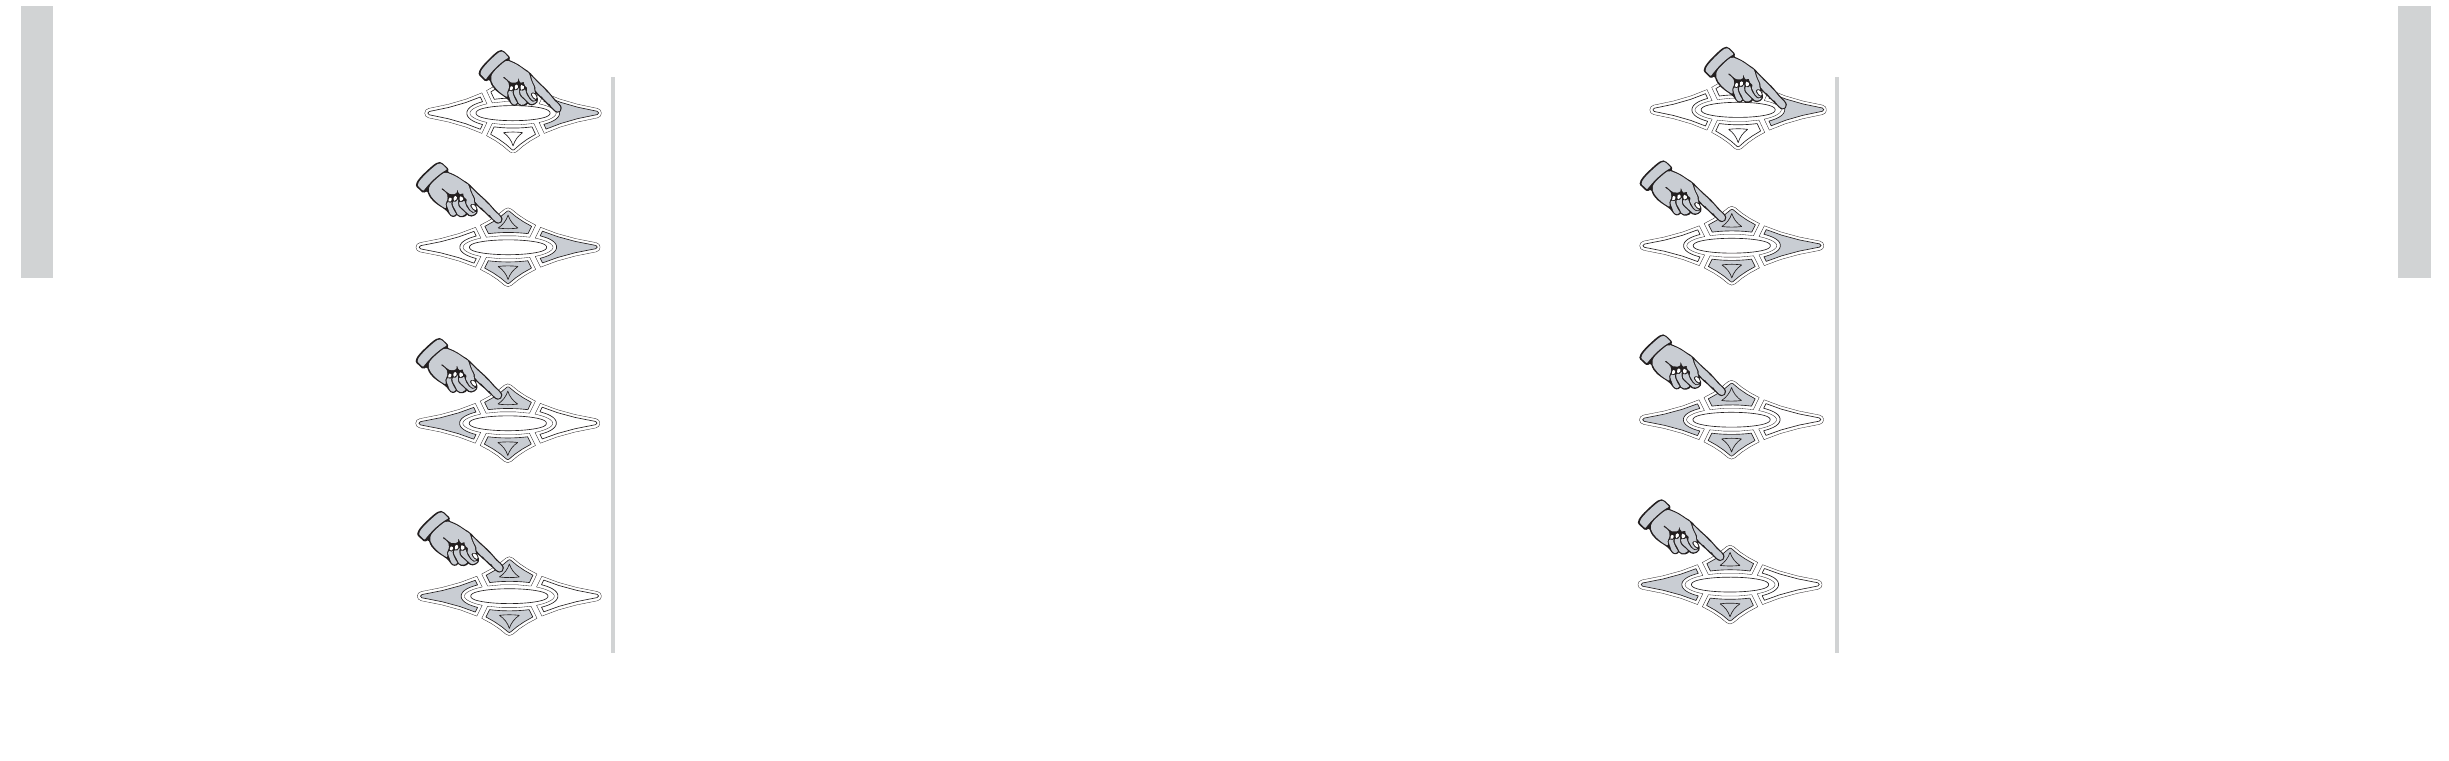
Press the
ENT key to enter the
LO-PASS adjustment menu.
Use the
UP and DOWN keys to
scroll through
frequency and SLOPE
and press the ENT key to select.
FREQUENCY selects the crossover point and can be set at any
1 Hz spaced frequency from
10 Hz to 60 Hz.
Use the
UP and DOWN keys to
select your frequency. Press the
ESC
key to return to the HI-PASS menu.
SLOPE selects the rolloff of the crossover and can be set
from
OFF to 24 dB in 6 dB steps.
Use the
UP and DOWN keys to
select your slope. Press the
ESC
to return to the HI-PASS menu.
NOTE...
While adjusting the high pass crossover you will
notice the
hpf indicator on the ISIS VFD display is
lit. This indicates you are in the HI-PASS crossover menu.
The KICKER SX amplifier monitors and prevents any high
pass crossover point from being any closer than 1/3 octave
from the low pass crossover point. If you cannot set the high
pass crossover where you want then check the
LPF indicator
and see if it is flashing. If it is then you need to go to the
LO-PASS menu and lower the low pass crossover point.
This is done as a safety precaution to prevent a notch
filter condition.
24
SX .1 Series Amplifiers
Operation
Lo-Pass MENU - Here is where you adjust the low pass
crossover. Your options are
frequency and SLOPE.
Press the
ENT key to enter the
LO-PASS adjustment menu.
Use the
UP and DOWN keys to
scroll through
frequency and SLOPE
and press the ENT key to select.
FREQUENCY selects the crossover point and can be set at any
1 Hz spaced frequency from
30 Hz to 200 Hz.
Use the
UP and DOWN keys to
select your frequency. Press the
ESC to return to the LO-PASS
menu.
SLOPE selects the rolloff of the crossover and can be set
from
oFF to 48 dB in 6 dB steps.
Use the
UP and DOWN keys to
select your slope. Press the
ESC to
return to the LO-PASS menu.
NOTE...
While adjusting the low pass crossover you will notice the
LPF indicator on the ISIS VFD display is lit. This indicates
you are in the LO-PASS crossover menu.
The KICKER SX amplifier monitors and prevents any low pass
crossover point from being any closer than 1/3 octave from
the high pass crossover point. If you cannot set the low pass
crossover where you want then check the
HPF indicator and
see if it is flashing. If it is then you need to go to the HI-PASS
menu and raise the high pass crossover point.
This is done as a safety precaution to prevent a notch filter
condition.