English
52
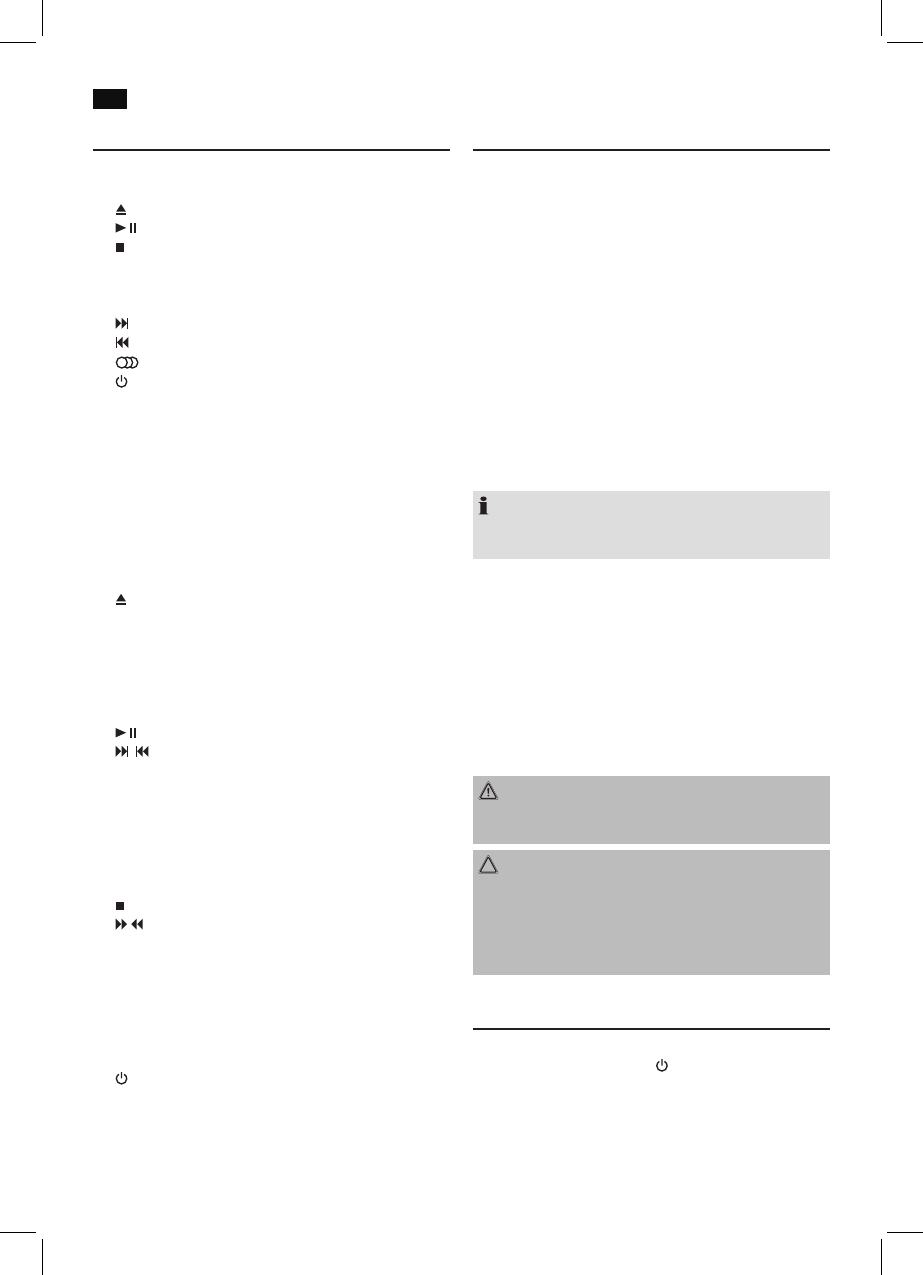
Overview of the components
Front (Fig. 1)
1 IR – Sensor for the remote control
2
EJECT button (extend and retract CD tray)
3 PLAY/PAUSE button (Replay/Pause)
4 STOP button (stop)
5 VOLUME control
6 USB connection
7 CD tray
8 NEXT button (next music piece)
PREV button (previous music piece)
9 INPUT button (input)
10 STANDBY button (on/ operational readiness)
11 Bluetooth control lamp
12 LCD display
Rear view (without illustration)
FM ANT – Dipole antenna
AUDIO INPUT connectors (2x RCA)
Power supply connector
SPEAKERS – Loudspeaker terminals
Remote control (Fig. 2)
1
EJECT button (extend and retract CD tray)
2 Number buttons
3 CLOCK button
4 ALARM button (alarm function)
5 SLEEP button
6 Direction buttons
7 CONNECT button (connect)
8 button (playback/pause)
9 / buttons (Next/ previous title)
10 MUTE button (mute)
11 VOL+/VOL- Buttons (volume)
12 TONE button (sound setting)
13 DSP button (equalizer)
14 SHUFFLE button (random playback)
15 PROGRAM button (memory)
16 REPEAT button (repeat)
17 button (stop)
18 / buttons (music search)
19 ENTER button (confirm)
20 MENU button
21 INFO button
22 AUX IN button
23 BT button (Bluetooth)
24 FM/DAB button
25 CD/USB button
26 STANDBY button (on/ operational readiness)
Installation
• Readthemanualthoroughlybeforeoperatingthede-
vice!
• Chooseasuitablelocationforthedevice.Suitableloca-
tions are dry, even and antislip surfaces on which you may
operate the device easily.
• Makesurethereisproperventilationforthedevice!
• Hook-uptheloudspeakerstothe“SPEAKERS”con-
nections on the rear of the device. While doing so, pay
attention to the correct polarity (black to black).
• Remove,ifnecessary,theprotectionsheetfromthe
display.
Power supply
•
Insert the grid plug into a properly installed three prong
socket with 230 V, 50 Hz.
•
Make sure the grid voltage corresponds to the figures on
the rating plate.
NOTE:
Disconnect from mains power supply during longer periods
of non-use.
Insert/Replace Battery in Remote Control
(Batteries not included in the scope of delivery)
•
Open the battery compartment on the underside of the
remote.
•
Insert 2 batteries of the type R03 “AAA” 1.5 V. Check that
the polarity is correct (see battery compartment).
•
Close the battery compartment.
If the remote is not in use for a lengthy period of time, please
remove the battery to prevent the battery acid from “leaking”.
WARNING:
Do not expose the batteries to intense heat, such as
sunlight, fire or similar. Danger of explosion!
CAUTION:
•
Different battery types or new and spent batteries may
not be used together.
•
Batteries must not be disposed of in the garbage.
Please bring used batteries to competent collection
centers or back to the dealer.
Installation
1. Align the dipole antenna vertically.
2. Turn the device on with the STANDBY button (10/26).
The device automatically searches for DAB stations.
SCANNING… and a progress bar appears on the
display. The figure on the right of the display shows the
number of radio stations found. The first alphanumeric
DAB station is played.