1918
Radio-controlled alarm clock with monthly calendar
Radio-controlled alarm clock with monthly calendar
• The hour and the minute digits will be flashing.
• Press the +/12/24 or -/°C/°F button to adjust the hours.
• Confirm the setting with the MODE button.
• Press the MODE button again to return to normal mode.
• The display shows the current time.
8.6 Setting of the temperature unit
• Press the -/°C/°F button to change between °C (Celsius) or °F (Fahrenheit) as temperature unit.
8.7 Backlight
• Press the SNOOZE/LIGHT button. The backlight will be activated for a few seconds.
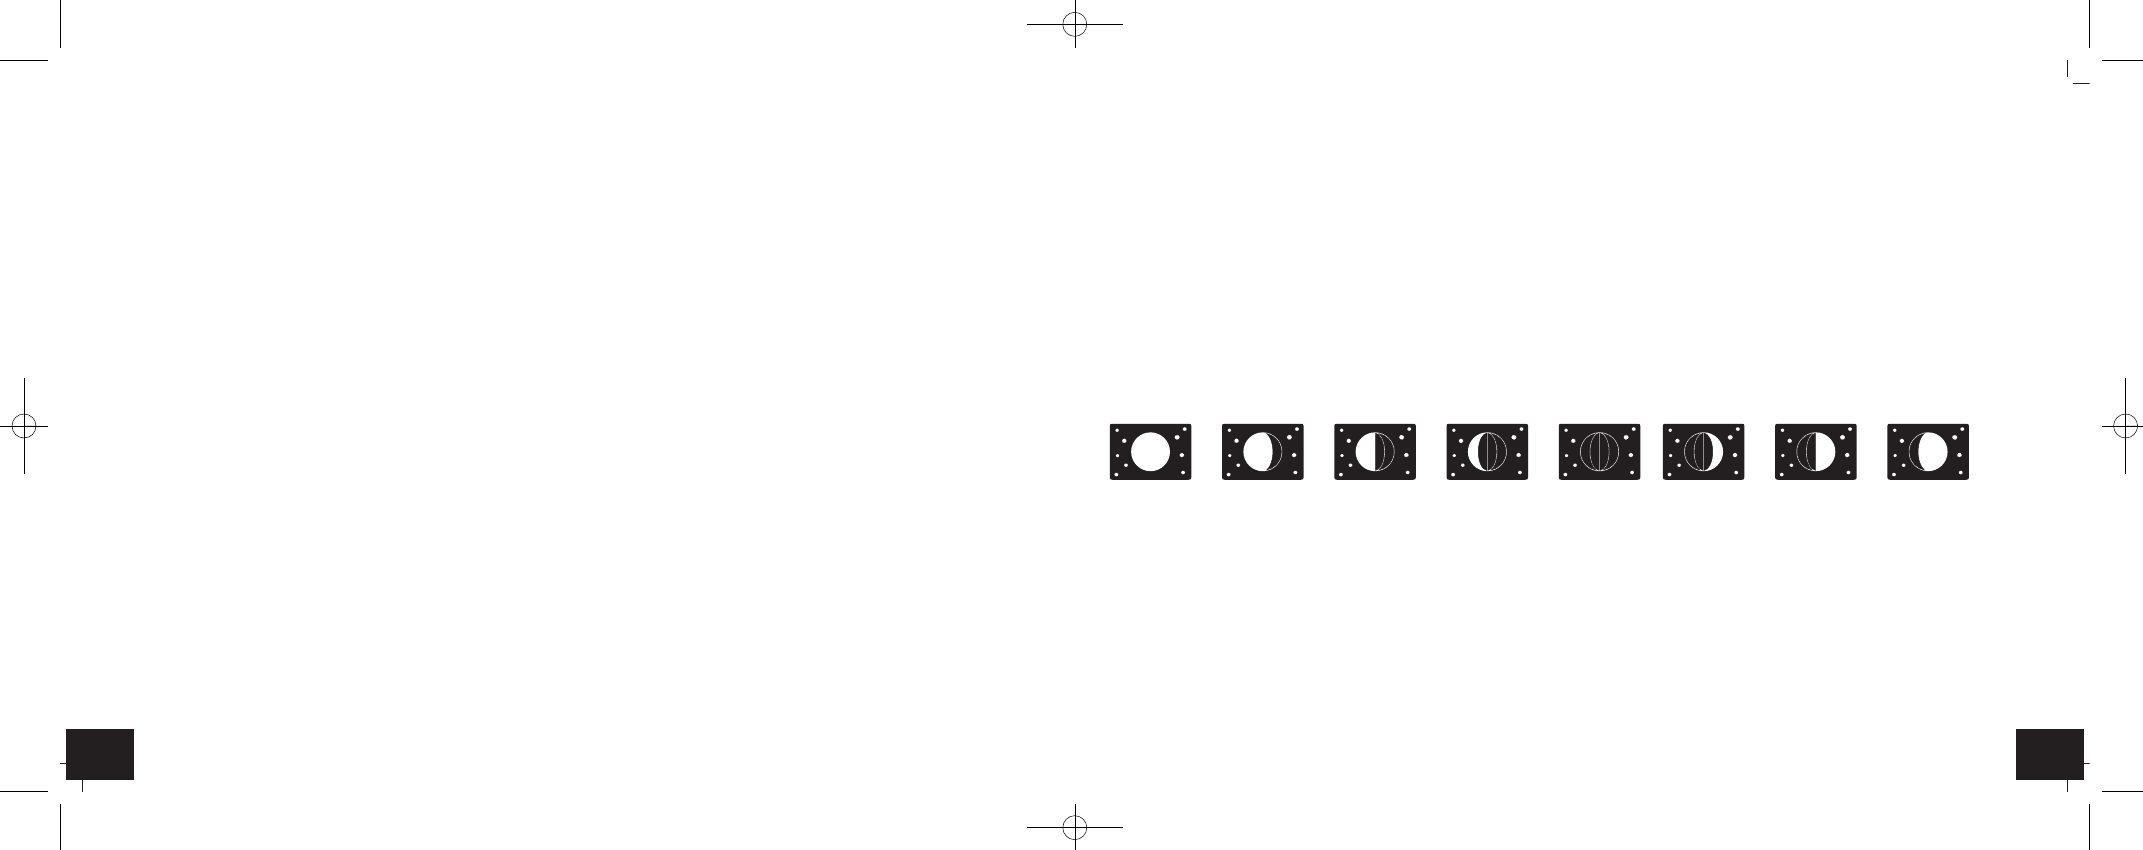
9. Moon phase
• The moon phase of each day is shown on the display.
10. Positioning
• Place the device onto any flat surface with the integrated stand at the back. Avoid the vicinity of any interfering field like comput-
er monitors or TV sets and solid metal objects.
11. Care and maintenance
• Clean the device with a soft damp cloth. Do not use solvents or scouring agents.
• Remove the batteries if you do not use the device for a long period of time.
• Keep the device in a dry place.
8.2.1 Activate and deactivate the alarm function
• Slide the ALARM ON/OFF switch downwards, to deactivate the alarm function.
• The alarm symbol disappears.
• Slide the switch ALARM ON/OFF switch upwards, to activate the alarm function.
• The alarm symbol appears on the display.
8.3 Setting of the event day
• Press the MODE button twice in normal mode.
• On the display appear a birthday cake, the possibility of setting of the date, EVENT and in the brackets the number 1 (default).
• You can set up to 8 events.
• Press and hold the MODE button.
• The number in the brackets will be flashing.
• Press the +/12/24 or -/°C/°F button to set the numbers (1-8).
• Press the MODE button to make the settings in the following sequence: month and day. Press the +/12/24 or -/°C/°F button to
adjust the settings.
• Confirm with the MODE button.
• The event day is framed (will be flashing).
• Press the MODE button twice, to return to normal mode.
• The display shows the current time.
• On the event day the birthday cake and EVENT will be flashing on the display.
• For each new event start from the beginning.
8.4 Calendar
• With the ▲ or ▼ button you can switch to each single month.
• Press the HOME button to return to the actual month.
8.5 Setting of the dual time
• Press the MODE button three times in normal mode.
• DUAL-T appears on the display.
• Press and hold the MODE button.
A: New Moon
B: Waxing Crescent
C: First Quarter
D: Waxing Gibbous
E: Full Moon
F: Waning Gibbous
G: Last Quarter
H: Waning Crescent
ABCDEFGH
TFA_No. 60.2529_Anleitung 29.04.2015 10:07 Uhr Seite 10