INSTALLATIE
5
4
ONDERHOUD
Algemeen
De aansluiting van dit apparaat op het lichtnet
moet worden uitgevoerd door een erkend
installateur, die de juiste veiligheids-
voorschriften kent en toepast. Het apparaat
voldoet aan de europese voorschriften CEE
89/336 EMC en CEE 73/23; 93/68 LVD.
Belangrijk om te weten:
■ Als de afzuigkap wordt aangesloten op een
bestaand afvoerkanaal, mogen geen
andere apparaten op dat kanaal aange-
sloten zijn (zoals een geiser of kachel).
■ Neem de plaatselijk geldende voorschriften
in acht met betrekking tot de beluchting
van gasapparaten.
■ Monteer de afzuigkap altijd boven het
kookgedeelte met een minimale afstand
van 650 mm.
■ Hoe korter de afvoerpijp en hoe minder
bochten des te beter de werking van de
afzuigkap.
■ Controleer voordat u met boren begint of er
geen installatieleiding(en) aanwezig zijn.
■ Het aansluitpijpmondje van de schouwkap
heeft een diameter van 125 mm, het beste
is de afvoerpijp ook met deze diameter uit
te voeren.
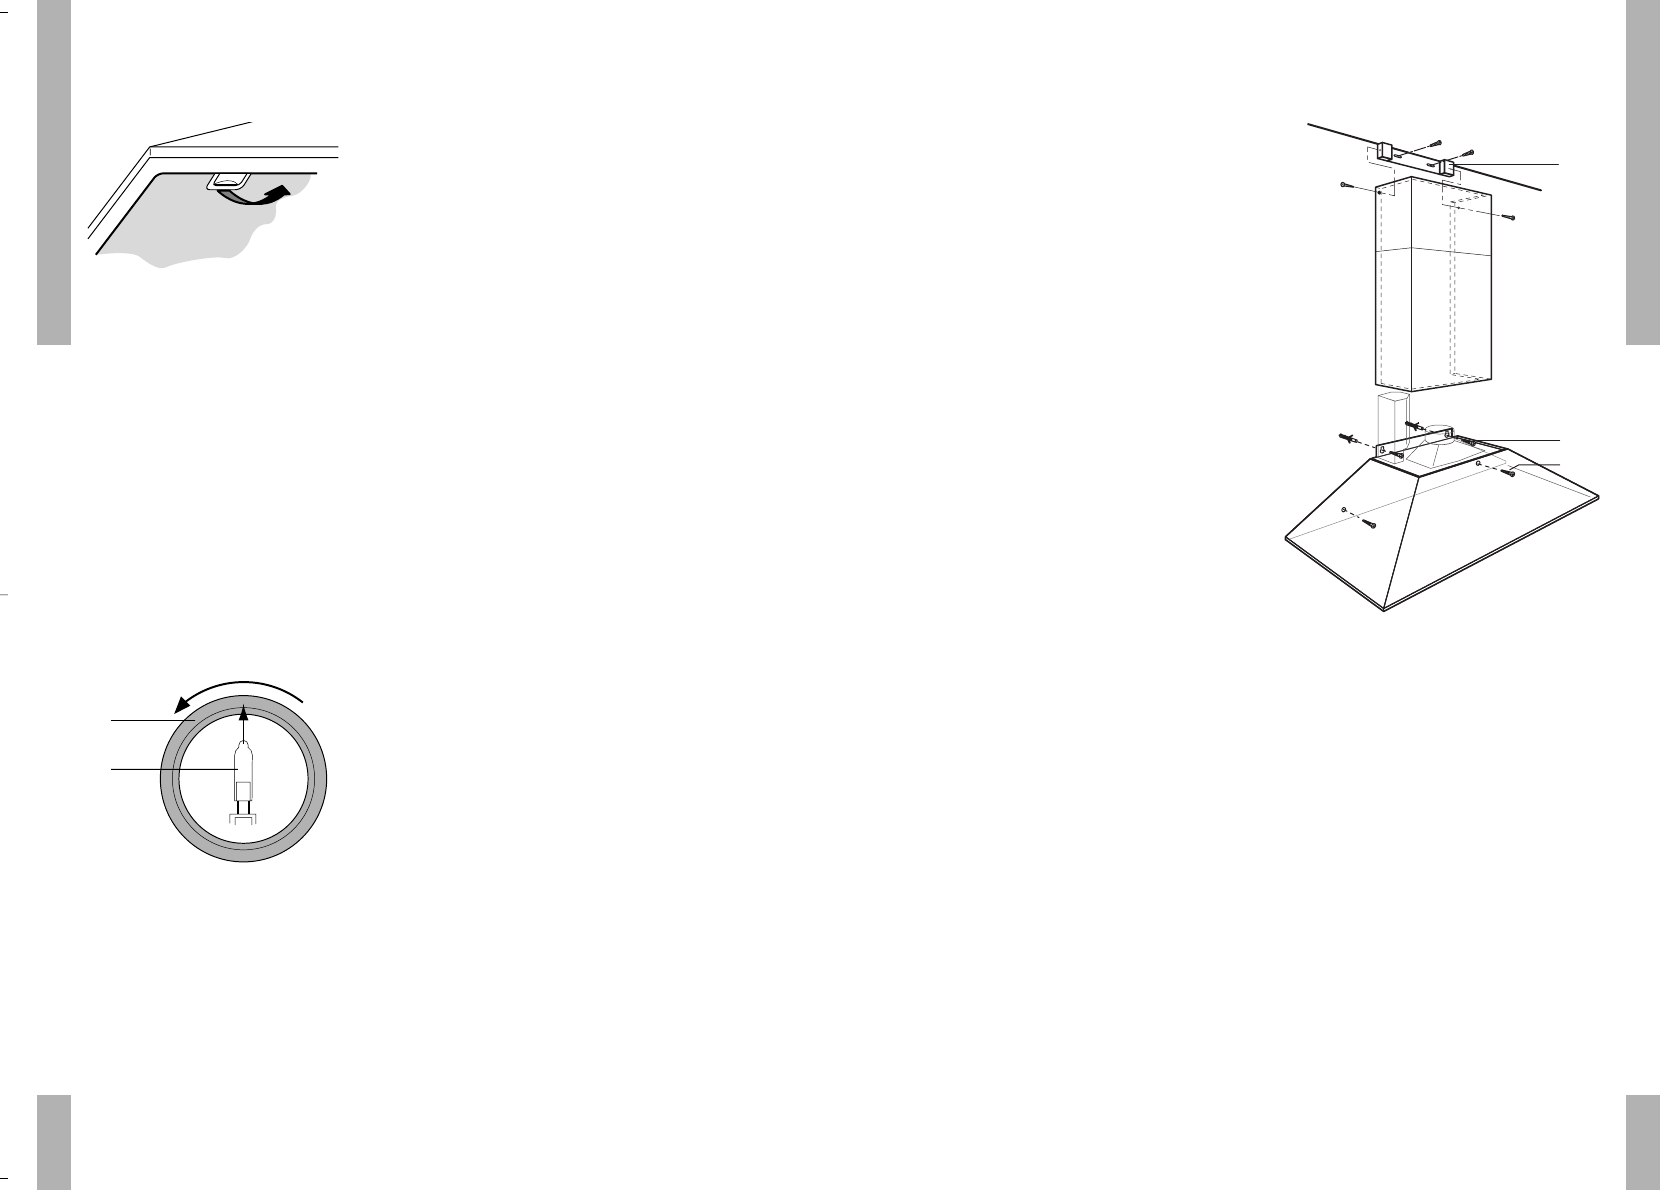
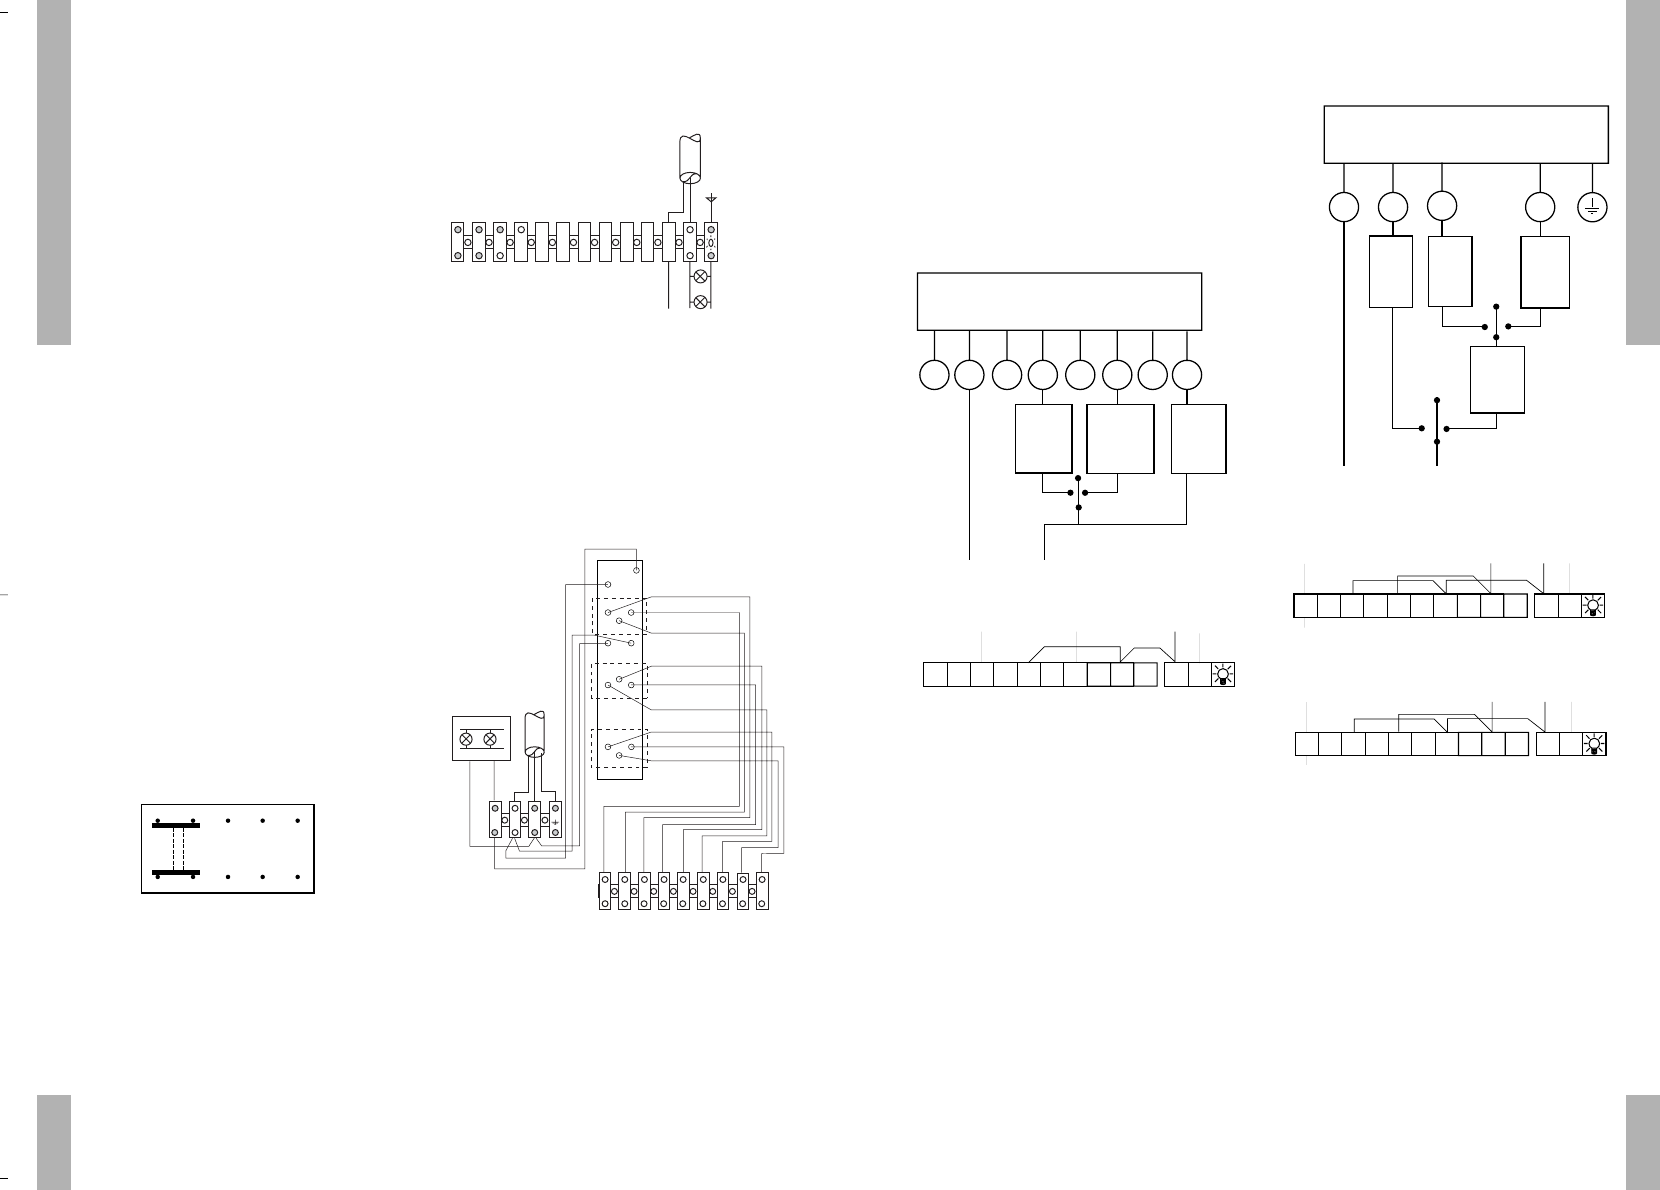
Montage van de schouwkappen
■ Bepaal eerst plaats en afstand met
betrekking tot de ophangbeugels. Teken de
te boren gaten af op de wand en boor
de gaten.
■ Bevestig de beugels (A) aan de wand met
behulp van de pluggen en de schroeven.
■ Schroef de kap op de muur met behulp van
de pluggen en de schroeven (B).
■ Aan de achterzijde van de schouwkappen
zijn 2 gaten van 8 mm om de kap te fixeren
met behulp van 2 pluggen/schroeven (C).
■ Afvoerpijp aansluiten.
■ Bevestig de korte koker aan de
bevestigingsbeugel (A) en trek de lange
koker tot op de bovenzijde van de
schouwkap.
■ Koker vastschroeven vanuit de binnenzijde
van de schouwkap (filters weghalen).
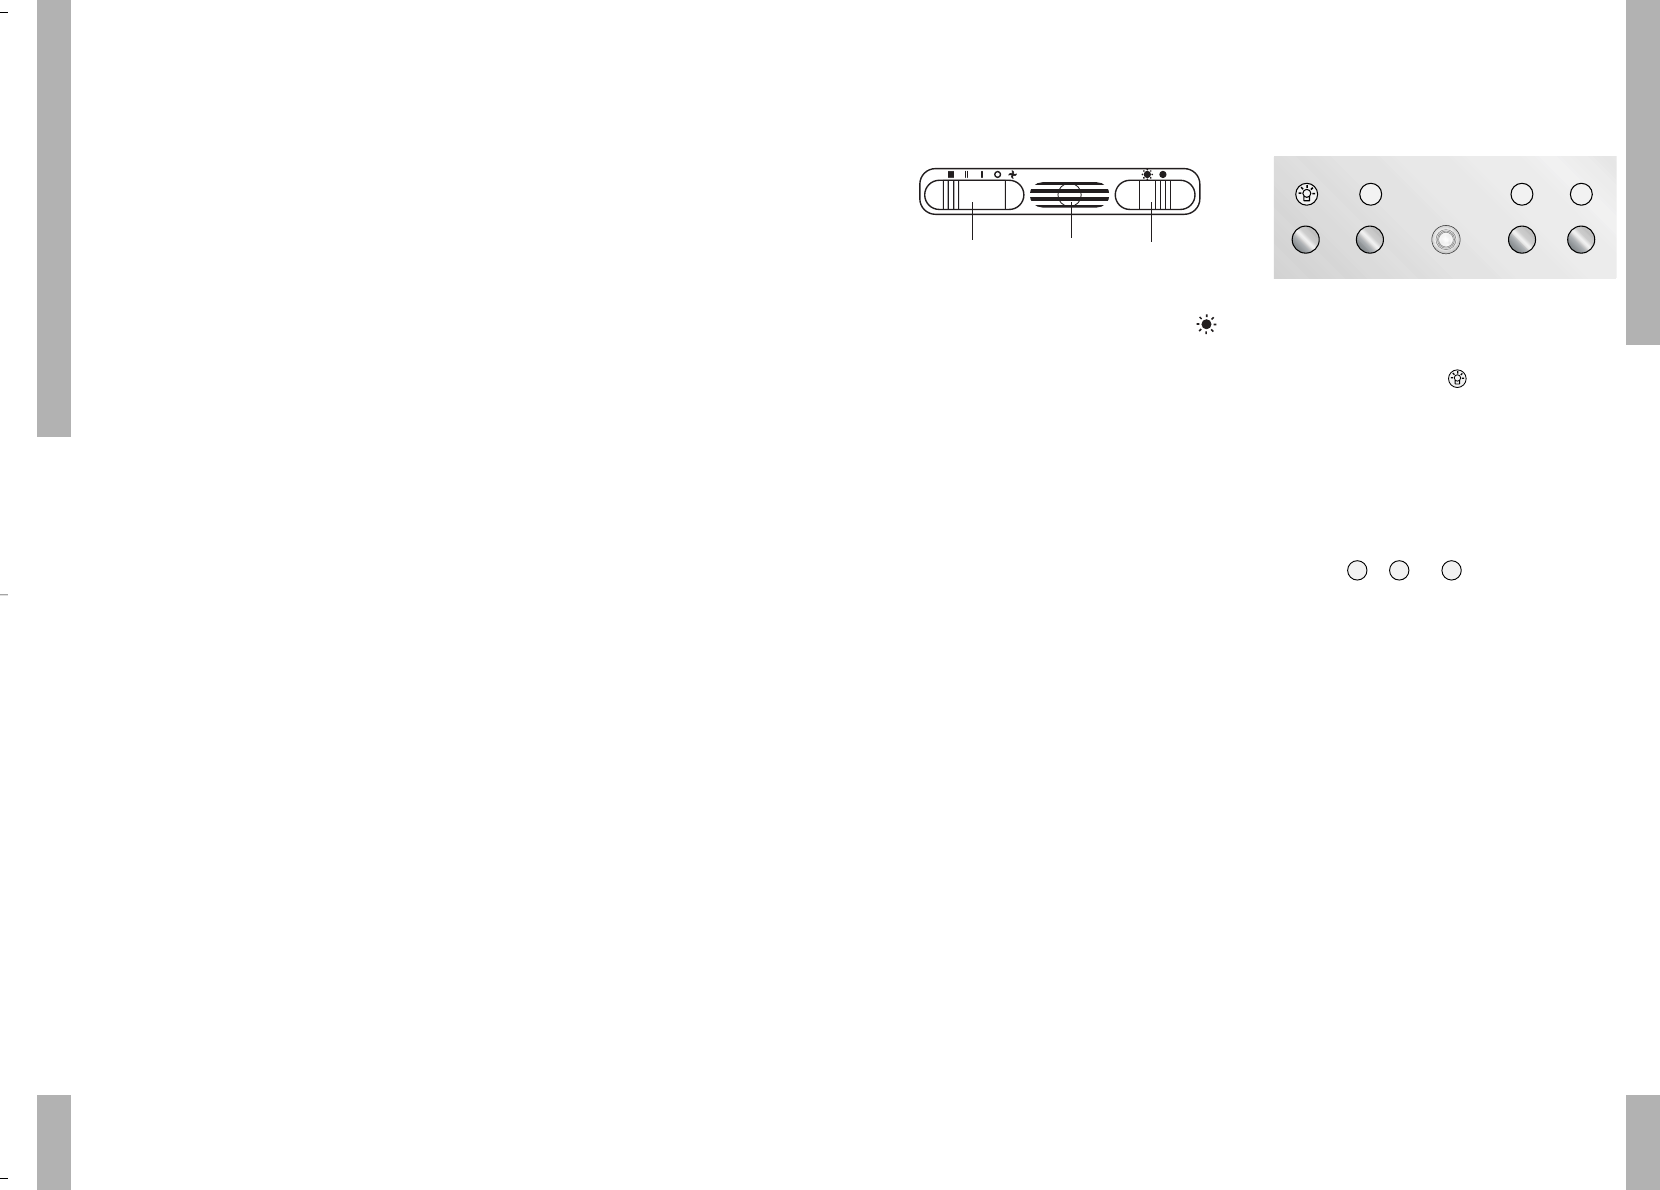
Filterrooster verwijderen
Netspanning uitschakelen! De stekker uit het
stopcontact nemen of de schakelaar in de
meterkast op nul zetten. Trek het rooster naar
u toe en kantel het naar voren toe omlaag.
Lampen vervangen
MSK 675 / 975
Verwijder het filterrooster en vervang de
lamp.
MSK 986
Draai de vergrendeling (1) linksom en
verwijder deze. Trek de lamp (2) in de
pijlrichting uit de houder en plaats de nieuwe
lamp. Denk erom dat wanneer u het lampje
vervangt u er niet met de handen aan komt,
aangezien direct contact met de huid tot
gevolg kan hebben dat het lampje doorbrandt.
Reinigen
Afzuigkap
De afzuigkap kunt u schoonmaken met een
sopje en een zachte doek, daarna met schoon
water nabehandelen. Gebruik geen agressieve
schoonmaakmiddelen zoals b.v. soda. Het
lakwerk van de afzuigkap blijft mooi als u zo
nu en dan de lak met was inwrijft.
Roestvrijstalen schouwkappen
Niet behandelen met schuursponsjes of
andere schuurmiddelen. Nabehandelen met
Stahlfix en met de structuur van het
roestvrijstaal meepoetsen.
Filters
■ Aluminiumfilters elke week reinigen in een
sopje. Het aluminiumfilter wordt door de
reinigingsmiddelen dof, dit is normaal.