TEMPERATURE AND HUMIDITY
The weather station displays indoor and outdoor
readings for:
1. Current, minimum and maximum temperatures and
relative humidity.
2. Comfort level indicator and trend line.
3. Heat index, wind chill and dew point level.
The weather station can connect up to 10 remote sensors.
NOTE Channel 1 is dedicated for outdoor temperature
and humidity.
shows which remote sensor’s data you are viewing.
appears when indoor data is displayed.
The timestamp records the date and time when storing the
temperature and humidity readings in memory.
To select the temperature measurement unit:
Press UNIT (at the bottom of the base station) to select
°C / °F.
NOTE The unit of all temperature related displays will
be changed simultaneously.
To view temperature (Current temperature, Heat Index
and Wind Chill):
1. Press SELECT to navigate to the Temperature Area.
will show next to the Area.
2. Rotate the dial left or right to select the channel.
3. Press MODE repeatedly to toggle between the
different displays.
4. Press MEMORY / ON / OFF to select MAX / MIN
display.
NOTE To view wind chill, ensure channel 1 is selected.
To view humidity (Humidity, Dew point):
1. Press
SELECT to navigate to the Humidity Area.
will show next to the Area.
2. Rotate the dial left or right to select the channel.
3. Press MODE repeatedly to toggle between the
different displays.
4. Press MEMORY / ON / OFF to select MAX / MIN
display.
Data
required
Area
located
Channels
supported
Type of
memory
Current
Temperature
Temperature
Indoor
and 1-10
outdoor
MAX
MIN
Heat Index MAX
Wind Chill 1 only MIN
Humidity
Humidity
Indoor
and 1-10
outdoor
MAX
MIN
Dew Point
MAX
MIN
The timestamp is displayed accordingly in the Clock Area.
To clear the memories and timestamp for the
temperature, heat index, wind chill, humidity and
dew point readings:
In the Temperature or Humidity Area, press and hold
MEMORY / ON / OFF to clear the readings.
To change the high / low temperature, heat index,
wind chill, humidity and dew point alarms:
1. In the Temperature or Humidity Area, press ALARM
repeatedly to toggle between high / low alarms for
temperature, heat index, wind chill, humidity and dew
point readings.
2. Press and hold
ALARM to enter the alarm setting.
3. Rotate the dial left or right to set the desired values.
4. Press
ALARM to confirm the setting.
To activate / deactivate the high / low temperature,
heat index, wind chill, humidity and dew point
alarms:
1. In the Temperature or Humidity Area, press
ALARM
repeatedly to select the desired alarm.
2. Press MEMORY /
ON / OFF to activate or
deactivate the alarm.
NOTE The dew point advises at what temperature
condensation will form. The wind chill factor is based on
the combined effects of temperature and wind speed.
TEMPERATURE AND HUMIDITY TREND
The trend lines are shown next to the temperature and
humidity readings. The trend is shown as follows:
RISING STEADY FALLING
COMFORT LEVEL
The Comfort Zone icon indicates how comfortable the
climate is based on current temperature and humidity
measurements:
COMFORTABLE NEUTRAL UNCOMFORTABLE
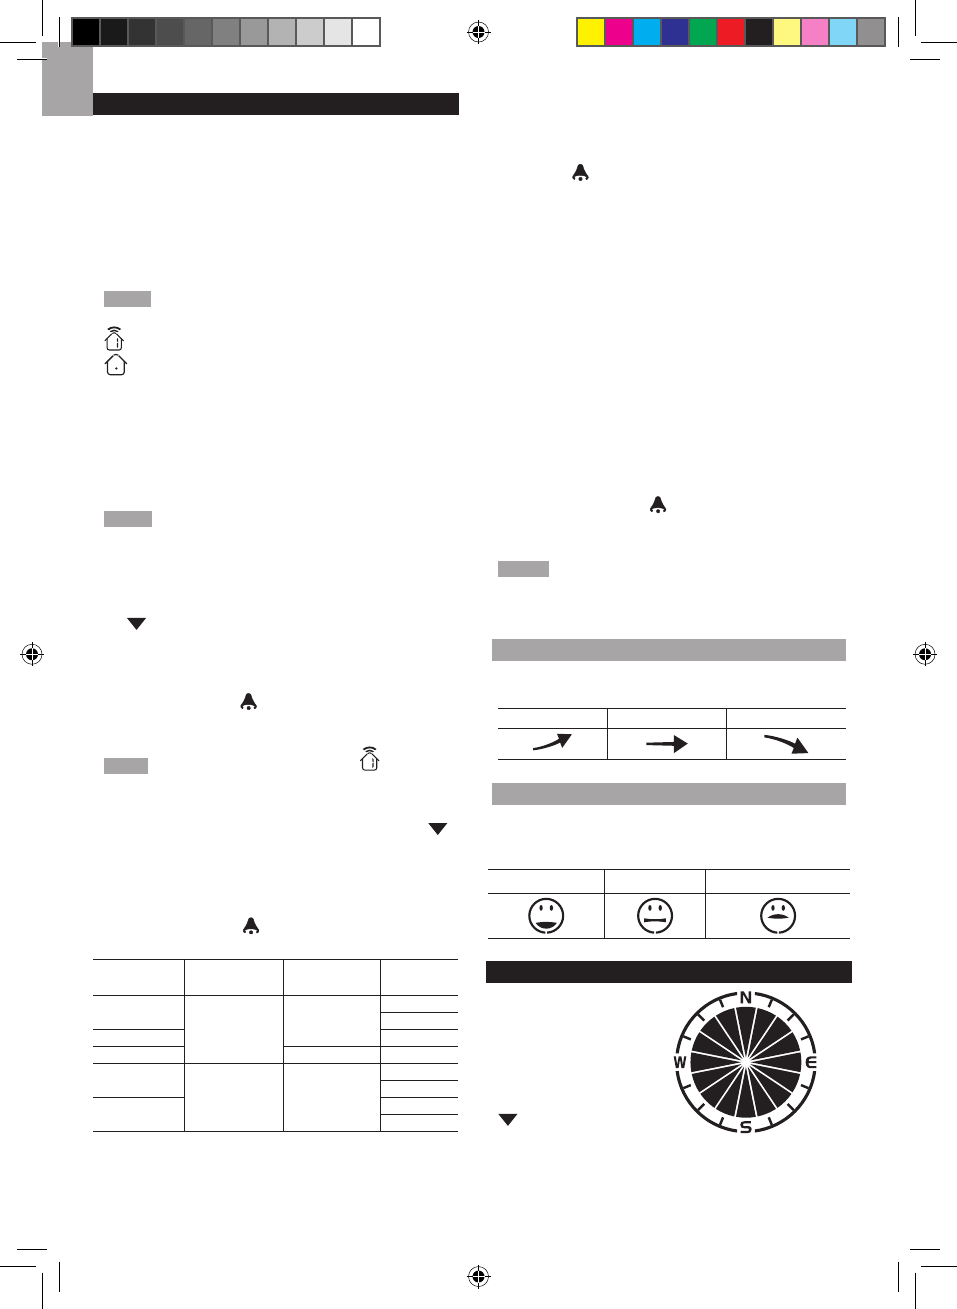
WIND DIRECTION / SPEED
The base station
provides wind speed
and wind direction
information.
To read the wind
direction find the
compass point the
is pointing to.
The timestamp records the date and time when storing
the wind speed readings.