Detailed guide / Record mode/ 133
Manual focusing – MF
For certain subjects and situations, it can be bene-
ficial to set the focus yourself, rather than using auto-
focus (see the previous sections). For example, if the
same setting is needed for several pictures and using
metering memory-lock (see p. 132) would therefore
involve more effort, or if the setting for landscape
pictures is to be kept at infinity, or if you want to focus
on particular details, which are even smaller than the
Spot AF metering area (see 132), or if poor, i.e. very
dark, lighting conditions do not allow any or only
slower AF mode.
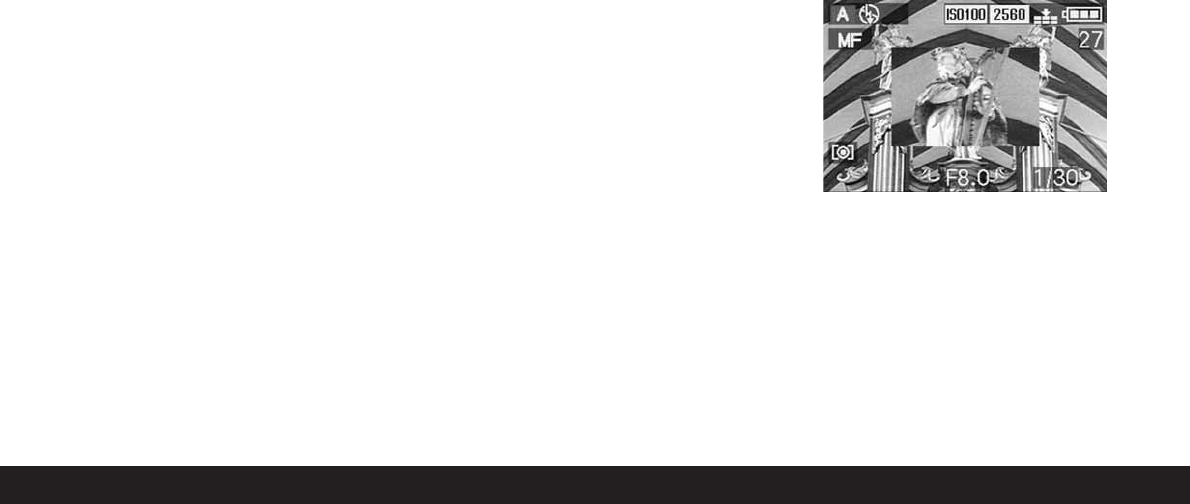
The manual focus set with the central ring (1.10) on
the lens can be controlled in both LCDs (1.19/32).
• In the viewfinder or monitor, the relevant display
appears (MF, 2.1.37 c).
Instead of a confirmation signal for a correct setting,
the magnification function (
K
MF ASSIST) is option-
ally available as a focusing aid (see the next section).
Notes:
• Manual focusing, however without the magnifica-
tion function (see next section), is also possible
during video recording (
ü
). In AF mode (see
p. 131) as soon as video recording has started by
pressing the shutter release button, the last setting
is locked, i.e. the focus cannot be changed any
more during the entire sequence, not even if the
distance setting ring is turned during that time.
• If the setting is made in the wide-angle range, it is
possible that the focus will no longer be correct
after zooming in to the telephoto range due to the
shallower depth of field. The opposite is also possible
to a lesser extent, which means that corrections
may need to be made. As a consequence, we
recommend that you always set the focus in the
telephoto range.
• Depending on the AF metering range set (see
p. 131), the associated displays (2.1.30/31) also
remain visible, but in this case they are meaning-
less.
The magnification function - K MF ASSIST
The bigger details of the subject are shown in the
viewfinder or monitor, the better their focus can be
assessed, and the more accurate the focusing. For
this purpose, the LEICA DIGILUX 2 offers an optional
help of a magnification function, where a central sec-
tion of the viewfinder/monitor screen is reproduced
in enlarged form.
This section can, also optionally, either – with an
approx. 4x magnifcation – be limited to the middle of
the viewfinder/monitor screen, so that the margin of
the actual picture remains in view (e.g., so that you
can also view the framing at the same time), or – with
approx. 8x magnification – be switched to the whole
area of the LCDs (e.g., to be able to compare the
focus of several subject details with each other).
Setting the function
In the record setup menu
k
SETUP
2
/
3
(see pp. 112/
122) select the menu item
K
MF ASSIST (3.18) and
follow the further menu instructions.
(MF1 = magnified trimmed area in center of viewfin-
der/monitor screen; MF2 = magnified trimmed area
in the whole viewfinder/monitor screen area).
• When the function is activated, the ‘magnified
image’ then appears briefly (approx. 2 s) whenever
the distance setting ring is turned.