21
Locating a Specific Title/Chapter/Track/MP3 File/Location
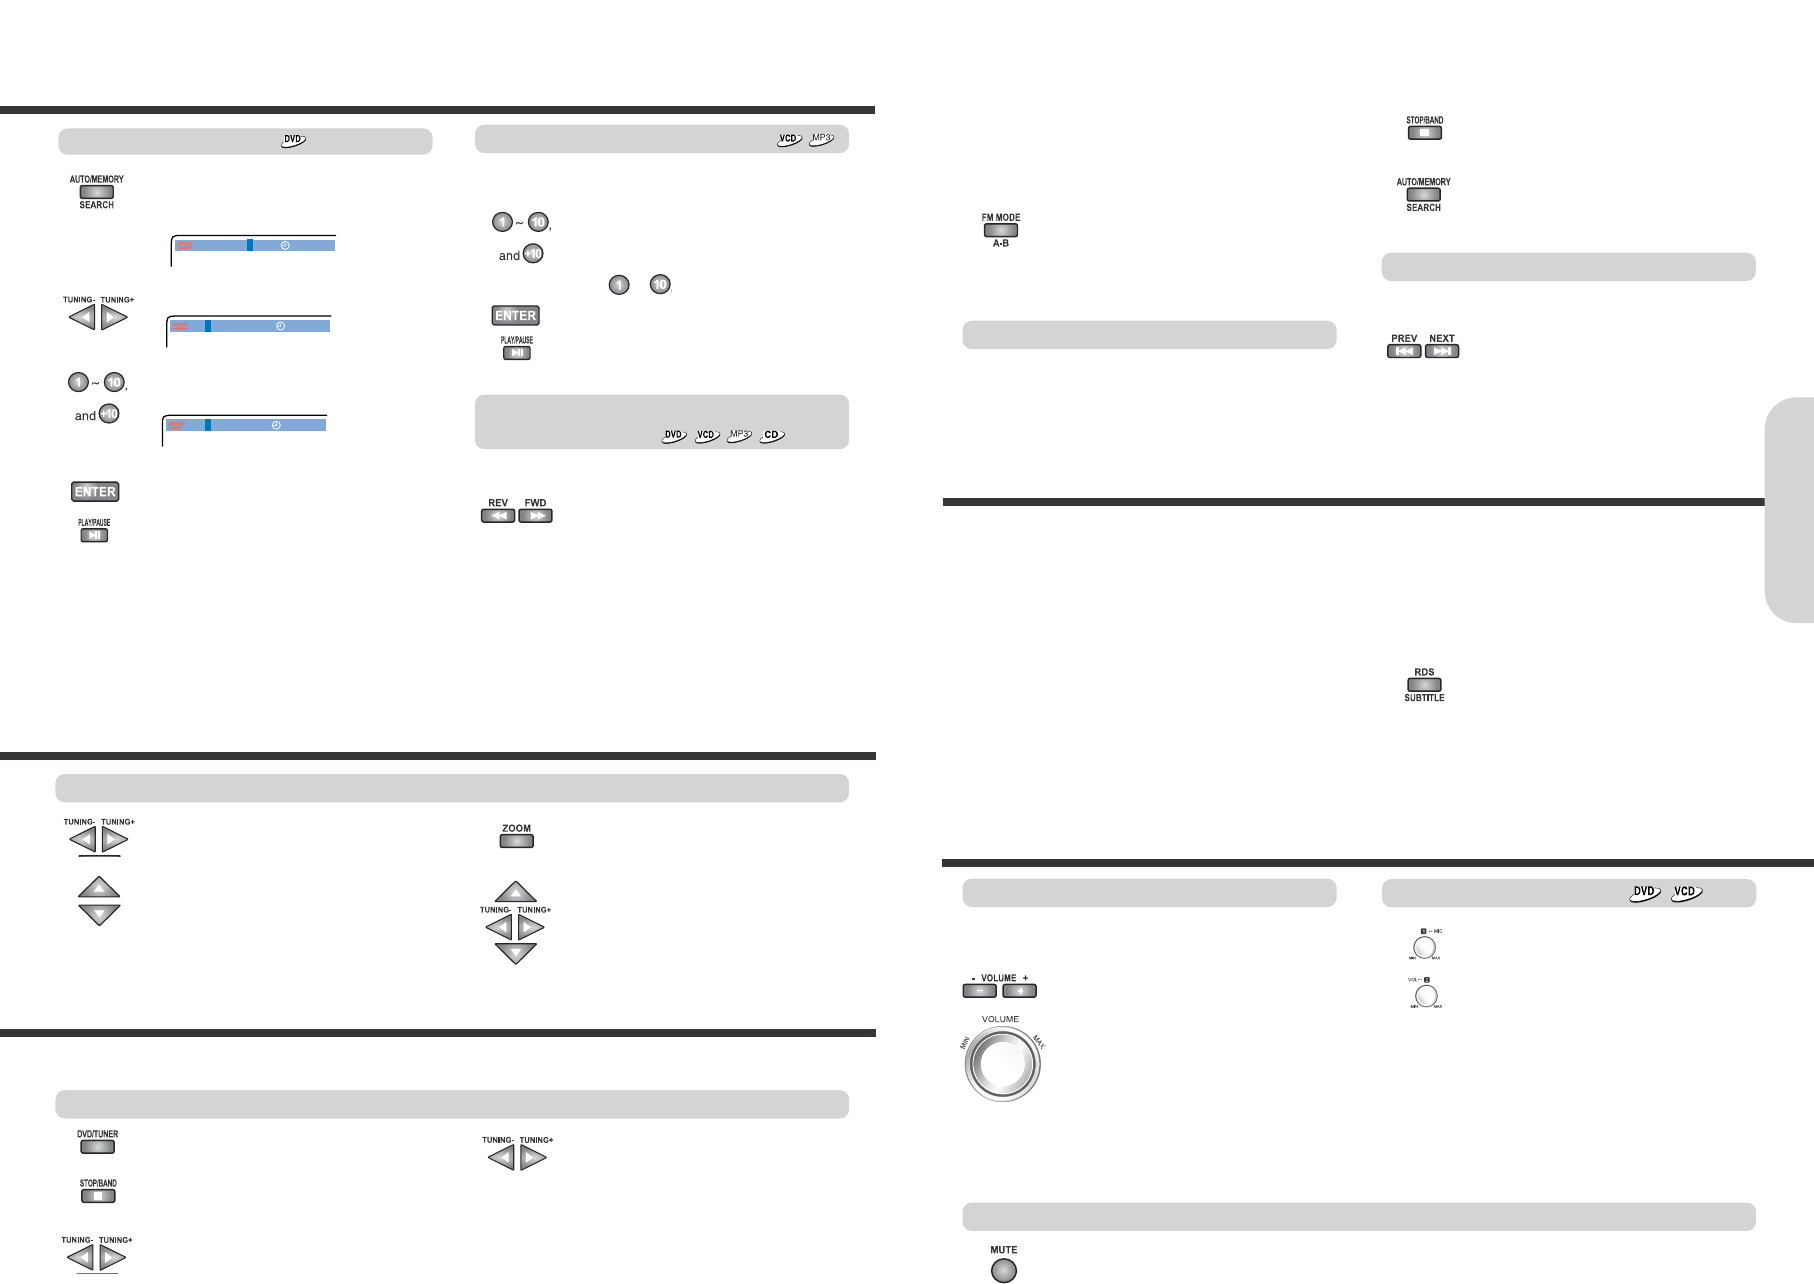
20
1. Press the number button(s) to enter the
track number for the desired track.
e.g. To select track 10
2. Press ENTER or PLAY/PAUSE.
The machine starts playback from the
selected track.
Locating a specific track directly
Locating a specific chapter, track or MP3
file consecutively
Press
I
◀◀
or
▶▶I
(repeatedly) to select the
chapter, track or MP3 file you wish to start
playing
●
Press
I
◀◀
once to start playback from the
beginning of the current chapter, track or MP3
file.
●
Press
I
◀◀
repeatedly to select the former
chapters, tracks or files in reverse order.
●
Press
▶▶I
repeatedly to select the next
chapter, track or MP3 file in order.
Notes
●
Some title may not display chapter numbers.
●
This location method is available only on a disc that contains
the numbers corresponding to the titles and chapters.
●
To cancel the entered title and chapter numbers, press
STOP before pressing ENTER.
1. Press AUTO MEMORY/SEARCH.
Make sure that the number next to
"CHAPTER" is highlighted.
2. Press to move the title field.
3. Press the number button(s) to enter the
title number.
4. Press ENTER or PLAY/PAUSE.
The machine starts playback from the
selected chapter in the selected title.
You can locate consecutive chapters, tracks or MP3 files.
You can locate the desired track by entering the number.
Locating a specific title
Playing JPEG PHOTO File
●
To rotate, press
◀
(counter-clockwise 90
°
by each pressing) or
▶
(clockwise 90
°
) or
▶
(180
°
).
●
To flip pressing
▲
or
▼
button
.
1. Press STOP/BAND to select FM or MW
(AM).
2. Press AUTO MEMORY/SEARCH.
Preset number and Frequency displayed on
the display.
Programming Station Preset Automatically
Before selecting preset stations, you need to preset the
radio stations.
Selecting Preset Stations
●
You can store up to 40 FM and 20 MW(AM) stations .
●
You can preset radio stations only with the buttons on the
remote controller.
Press
I
◀◀
or
▶▶I
repeatedly to select a
station you want.
The Channel and Frequency indicators
appears in the machine’s display.
Press FM MODE/A-B to select FM Mono.
The “STEREO” indicators turn off. At this time,
the station will be in mono and interstation noise
will be heard. Select the station to which you
want to listen.
Press VOLUME - /+ on the remote controller
or turn VOLUME on the machine.
The volume level increases or decreases.
Adjusting the Volume
Press MUTE.
MUTE indicator in the machine’s display is displayed.
To restore the sound, press MUTE or Volume
- / +
.
Muting the Sound
The volume of the front left, right, center, surround left and right,
and subwoofer speakers will be adjusted at the same time.
Notes :
●
To avoid damage to the speakers, do not keep operating the
volume with distorted strong sound.
Adjust the volume to the optimum listening level.
●
To adjust the volume of the microphone
connected the MIC 1 jack, turn MIC VOL-- 1.
●
To adjust the volume of the microphone
connected the MIC 2 jack, turn MIC VOL-- 2.
Adjusting the MIC Volume
Notes : Tuning in a weak frequency (for FM stations)
●
When you tune in a stereo FM station, the “STEREO”
indicator lights up if the signal is normal. If the signal is weak,
you may not be able to tune to the station. In this case, tune in
as follows.
Various Functions Common to all the Sources
RDS(Radio Data System) is a broadcasting service which a growing number of FM stations are now providing. It allows the FM stations
to send additional signals along with their regular program signals. For example, the stations send their station names and informations
about what type of program they broadcast, such as sports or music, etc.
When tuned to an FM station which provides the RDS service, the RDS indicator lights up, the station frequency(and then the station
name if sent)is displayed.
Not all FM stations provide RDS service, nor do all RDS stations provide same services. If in doubt, check with local radio stations for
details on RDS services in your area.
To view RDS information on the display.
Each time you press the button, the display
changes to show the following informations.
PS(Programme Service)
→→
PTY(Programme Type)
→→
RT(Radio Text)
→→
Station frequency
→→PPSS
Receiving FM stations with RDS(Europe only)
Notes :
●
The sound of the microphone is not outputted in the stop or
pause mode.
●
If feedback occurs ...
Move the microphone(s) away from the speaker.
●
After finishing MIC function ..
Disconnect the microphones or turn down the MIC VOL--1
and 2 to MIN(Minimum).
●
To zoom pressing ZOOM button.
If you press ZOOM repeatedly, the
magnification level increases.
Notes
●
Press
▲/▼/◀/▶
to enjoy pan scan mode.
To enjoy variety shows, when a picture is displayed on screen.
Radio Listening
There are two ways to select radio stations: one is manual tuning and the other is presetting radio stations then selecting the
preset channels.
Tuning Stations
1. Press DVD/TUNER.
2. Press STOP/BAND to select FM or MW
(AM).
3. Press
◀
or
▶
to tune to the station.
Station select mode will be changed from
PRESET to Manual Tuning.
4. Press and hold
◀
or
▶
more then one
second, to scan the previous or next
station automatically.
When a broadcast is received, scanning stops.
This unit can use the following RDS service.
PS (Programme Service name) : Identifies each station by a name.
RT (Radio Text) : Allows the RDS station to send text messages that
appear on the display of the unit.
PTY (Programme Type) : Identifies the type of RDS programme.
This allows you to locate a specific type name of program being
broadcast.
Basic Operation