10
8. Getting Started
8.1 Switching the Micro C@m On
Your Micro C@m will automatically switch on when you insert new batteries or connect your Micro C@m to your
PC via USB port. Press the Mode Button to turn on your Micro C@m when your Micro C@m is in Stand-by Mode.
The LCD will indicate the
mode for high resolution and it will also display the number of images which may
be taken.
8.2 Sliding the Lens Cover
C
o
o
l
-
i
C
a
m
D
I
G
I
T
A
L
C
A
M
E
R
A
Slide the lens cover outward
1. Before taking an image, remember to slide the lens cover outward.
2. When the lens cover is not slided to the desired position, a “black corner” may formed
in the images taken.
3. For maximum protection of the lens, remember to slide the lens cover inward after
taking images.
8.3 Taking an Image
Press the Shutter Button to take an image. The Micro C@m will beep. A high-pitch beep indicates that the
image was taken successfully and the counter will count down. The LCD screen displays the number of available
images remaining.
• A low beep indicates insufcient light to take an image or the lens cover has not been slide opened.
• A series of beeps indicates that the Micro C@m is full.
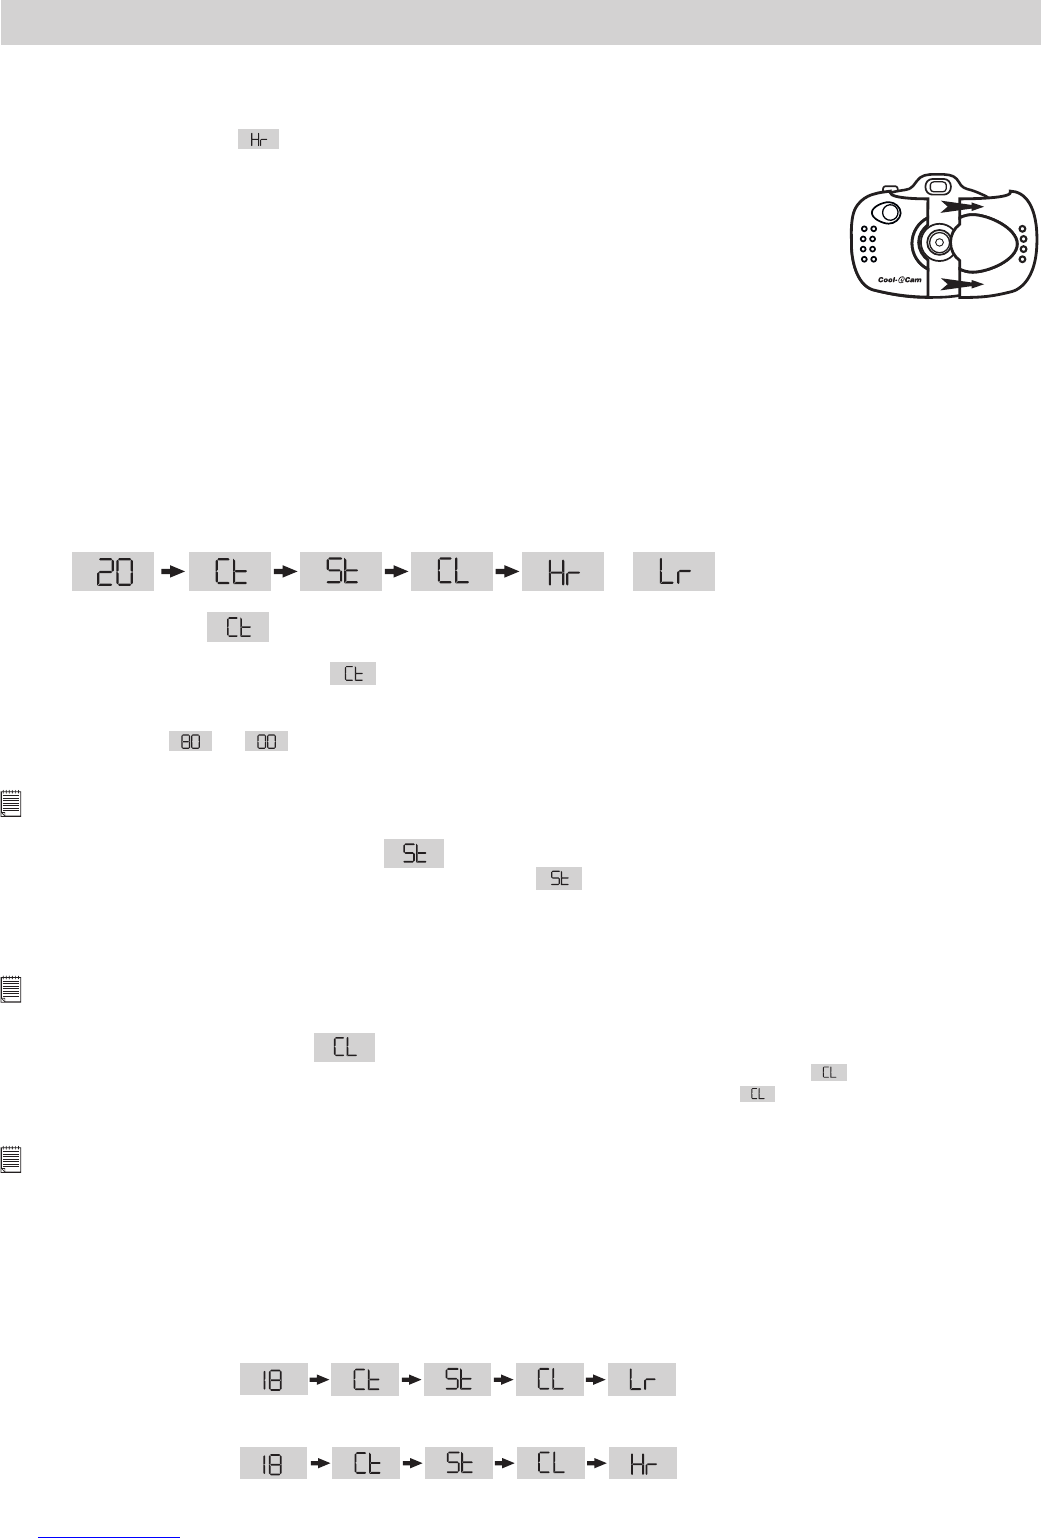
By pressing the Mode Button you can cycle through additional features as displayed on the LCD. When a given
mode is displayed it can be accessed by pressing the Shutter Button. If an option is not conrmed within 5
seconds the display will revert to show the number of available images that can be taken.
or
• Continuous Mode (see 10.4 Creating and Uploading Movie Clips)
To create a movie clip:
1. Press the Mode Button until the
appears on the LCD.
2. Press and hold the Shutter Button within 5 seconds to start taking continuous images. When you are in Low-
Res mode, the Micro C@m will allow you to take 80 images. In Continuous Mode, the counter will rapidly
decrease from to accompanied by a series of rapid beeps as each image is taken. If the Shutter
Button is not pressed within 5 seconds the Micro C@m will revert to the normal image taking mode.
Important Notes:
During the Continuous Mode the Micro C@m will allow images to be taken with insufcient light.
• Self-Timer Mode
To use the self-timer feature, press the Mode Button until
appears in the LCD then press the Shutter Button
to start a 9 seconds self-timer. The Micro C@m will issue a short beep every second and then a long beep just
prior to a further short beep which indicates that the image has been successfully taken. It is a good idea to
use the cradle for this.
Important Notes:
The Self-Timer Mode cannot be selected when the Micro C@m is full.
• Clearing the Stored Images
When you wish to clear the memory of your Micro C@m, press the Mode Button until
appears on the LCD.
Pressing the Shutter Button once will cause the Micro C@m to beep and the
start ashing. Pressing the
Shutter Button again within 5 seconds will clear all the images stored and reset the image counter.
Important Notes:
• Individual images cannot be cleared.
• All images will be lost when the memory is cleared. Please make sure you upload your wanted images before clearing your
Micro C@m’s memory.
• Changing the Image Resolution
Image resolution can be changed whenever you need.
1. Cycle through the Mode options by pressing the Mode Button.
2. Press the Shutter Button once to change to the alternative resolution.
For Example:
Changing from Hi-Res
Mode to Low-Res Mode:-
(Available Images)
Press the Shutter Button to Conrm
Changing from Low-Res
Mode to Hi-Res Mode:-
(Available Images)
Press the Shutter Button to Conrm