automatically. It will even show you a preview of the migration can be
completely assured of file and system transfer. Within minutes, your data,
including applications and operating systems, will be safely on your new
large hard disk drive and ready to go!
Hard Disk Problem? Not Any More
Quite often problems can arise with hard disk drives that cannot be solved
without a technically advanced disk editor. Such problems include: back-up,
copying, and/or recover important data areas of a hard drive; search and/or
extraction of information that was removed by accident or lost due to
different soft- and hardware failures or virus attack. Acronis DiskEditor, with
booting up from a diskette, works even if your operating system does not.
Securely Obliterate Your Hard Disks
Getting rid of an old PC, upgrading to a new hard drive, returning a leased
computer, or redeploying a PC within your company? It is truly imperative to
completely destroy all data from the old hard disk.
Your confidential data should not only be safeguarded according to the strict
rules, but it should also be reliably and completely destroyed when needed.
You think you have deleted all the financial, corporate, and personal files,
and even formatted and deleted hard disk partitions – but are they really
gone from the drive? The answer is NO!
Acronis DriveCleanser guarantees the complete destruction of data on
selected partitions and/or entire disks with extremely simple Windows XP-
style interface and straight-forward actions.
1.2 About the Acronis PowerUtilities User’s Guide
This Guide briefly describes the main features of Acronis PowerUtilities suite
components, including the following chapters:
• Chapter 2 «Installing and Starting to Work with Acronis
PowerUtilities» - installing, recovering and removing various suite
components;
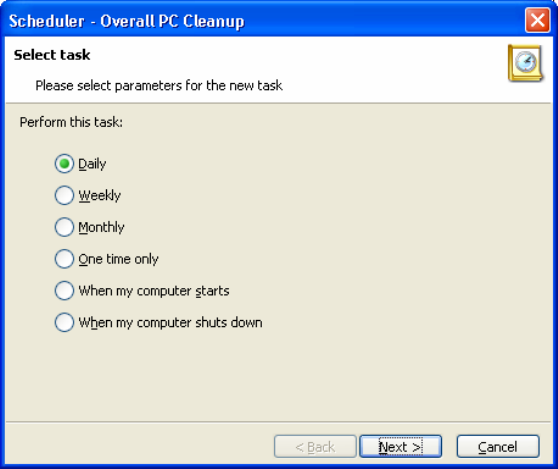
• Chapter 3 «Cleaning User Activity Traces From a Computer» -
working with Acronis PrivacyExpert: setting up and executing variants
of complex PC and system cleanup;
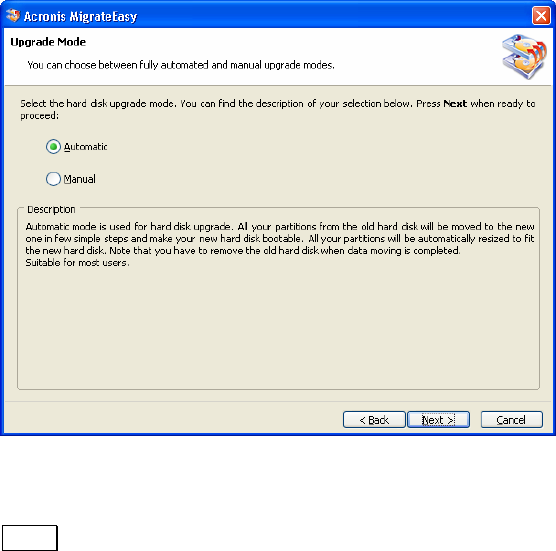
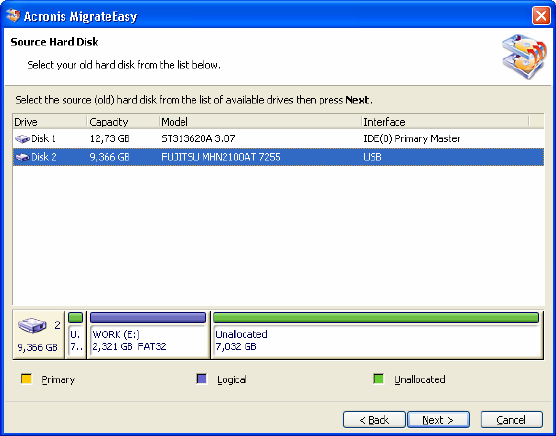
• Chapter 4 «Migrating Data to a New Hard Disk» - working with
Acronis MigrateEasy: preparing a hard disk for installation and
automatic migration of the complete data set, including operating
system, applications, documents, etc.;
• Chapter 5 «Hard Disk Error Correction» - working with Acronis
DiskEditor: low-level access to hard disk sectors, searching disk for
6
Chapter 1 : Acronis PowerUtilities