No part of this publication may be reproduced or used in any form, or by any electrical or mechanical means,
without permission in writing from Zebra. This includes electronic or mechanical means, such as photocopying,
recording, or information storage and retrieval systems. The material in this manual is subject to change
without notice.
The software is provided strictly on an “as is” basis. All software, including firmware, furnished to the user is on
a licensed basis. Zebra grants to the user a non-transferable and non-exclusive license to use each software
or firmware program delivered hereunder (licensed program). Except as noted below, such license may not be
assigned, sublicensed, or otherwise transferred by the user without prior written consent of Zebra. No right to
copy a licensed program in whole or in part is granted, except as permitted under copyright law. The user shall
not modify, merge, or incorporate any form or portion of a licensed program with other program material, create
a derivative work from a licensed program, or use a licensed program in a network without written permission
from Zebra. The user agrees to maintain Zebra’s copyright notice on the licensed programs delivered
hereunder, and to include the same on any authorized copies it makes, in whole or in part. The user agrees not
to decompile, disassemble, decode, or reverse engineer any licensed program delivered to the user or any
portion thereof.
Zebra reserves the right to make changes to any software or product to improve reliability, function, or design.
Zebra does not assume any product liability arising out of, or in connection with, the application or use of any
product, circuit, or application described herein.
No license is granted, either expressly or by implication, estoppel, or otherwise under any Zebra Technologies
Corporation, intellectual property rights. An implied license only exists for equipment, circuits, and subsystems
contained in Zebra products.
iii
Revision History
Changes to the original guide are listed below:
ChangeDateDescription
A01 Rev A10/2015Initial release.
A02 Rev A3/2016Add expansion Back, and Power Pack accessories.
ivET5X User Guide
TABLE OF CONTENTS
Revision History.................................................................................................................................... iii
About This Guide
Introduction........................................................................................................................................... ix
Documentation Set......................................................................................................................... ix
Configurations....................................................................................................................................... ix
Chapter Descriptions............................................................................................................................ x
Notational Conventions......................................................................................................................... x
Related Documents and Software........................................................................................................ xi
Service Information............................................................................................................................... xi
Checking Operating System Version.............................................................................................. xi
Features ............................................................................................................................................... 1-2
Getting Started ..................................................................................................................................... 1-4
Installing a micro SIM Card (ET55 Only) ....................................................................................... 1-5
Install a microSD Card ................................................................................................................... 1-8
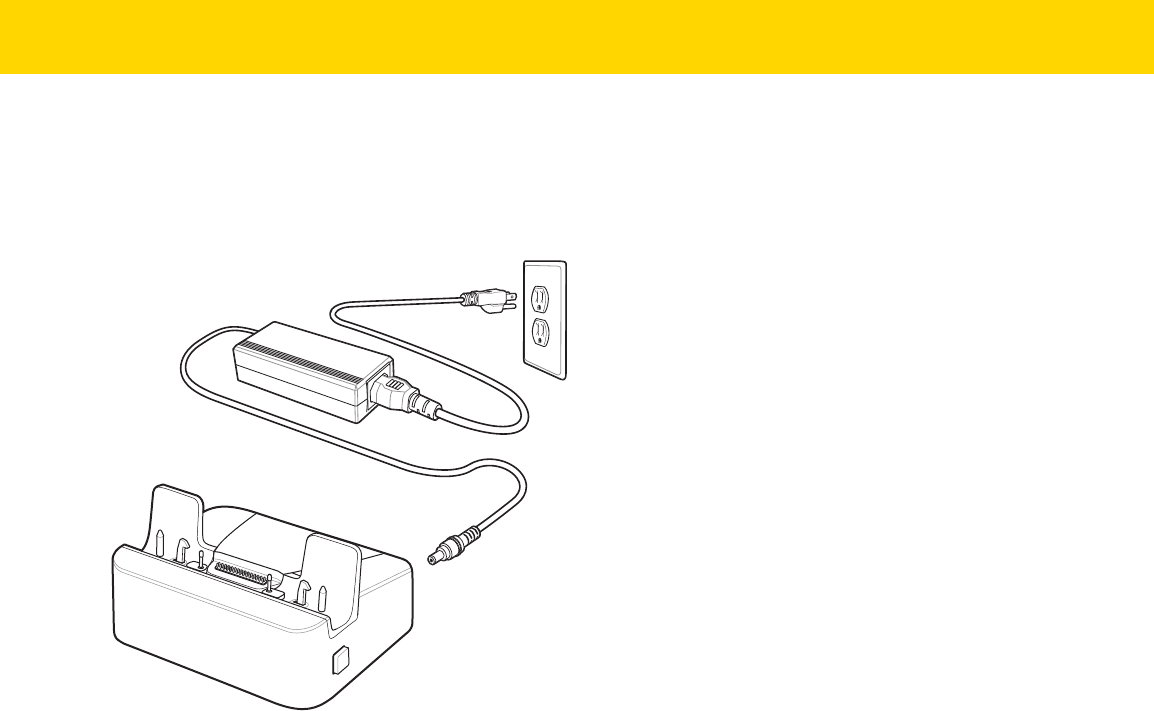
Charging the ET5X ........................................................................................................................ 1-9
Removing the microSD Card ............................................................................................................... 1-13
Turning Off the ET5X ........................................................................................................................... 1-14
Turning Off the Screen ........................................................................................................................ 1-14
Turning Off the Radios ......................................................................................................................... 1-14
Adjusting the Volume ........................................................................................................................... 1-16
Checking Battery Status ...................................................................................................................... 1-16
Main Battery ................................................................................................................................... 1-16
Power Pack .................................................................................................................................... 1-18
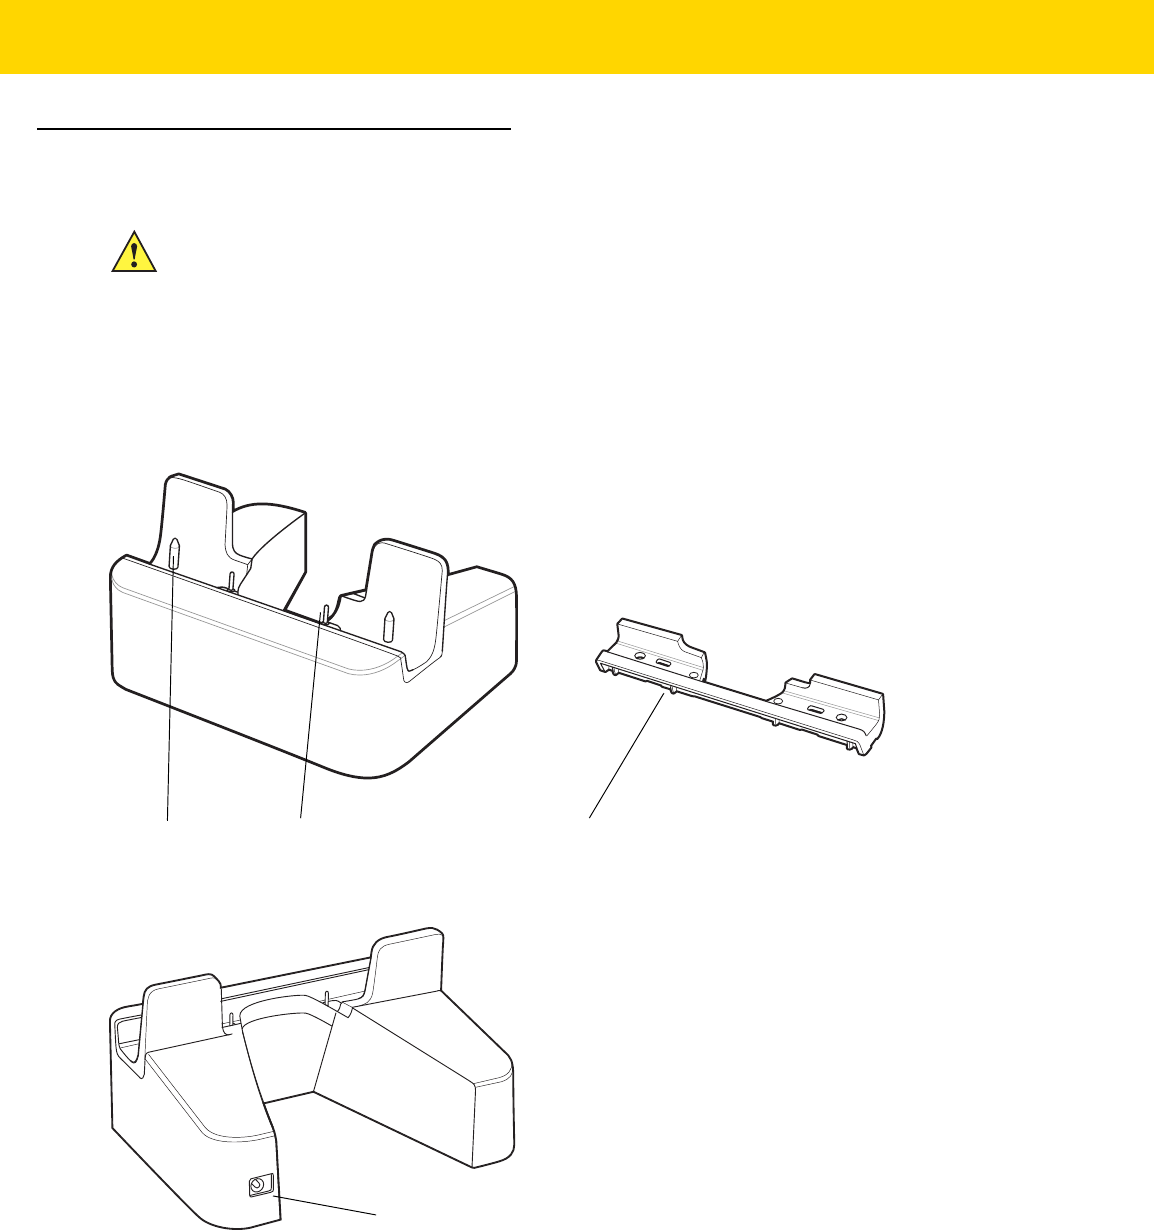
Charge Only Cradle ............................................................................................................................. 5-4
Table of Contentsvii
Installing the Insert ......................................................................................................................... 5-5
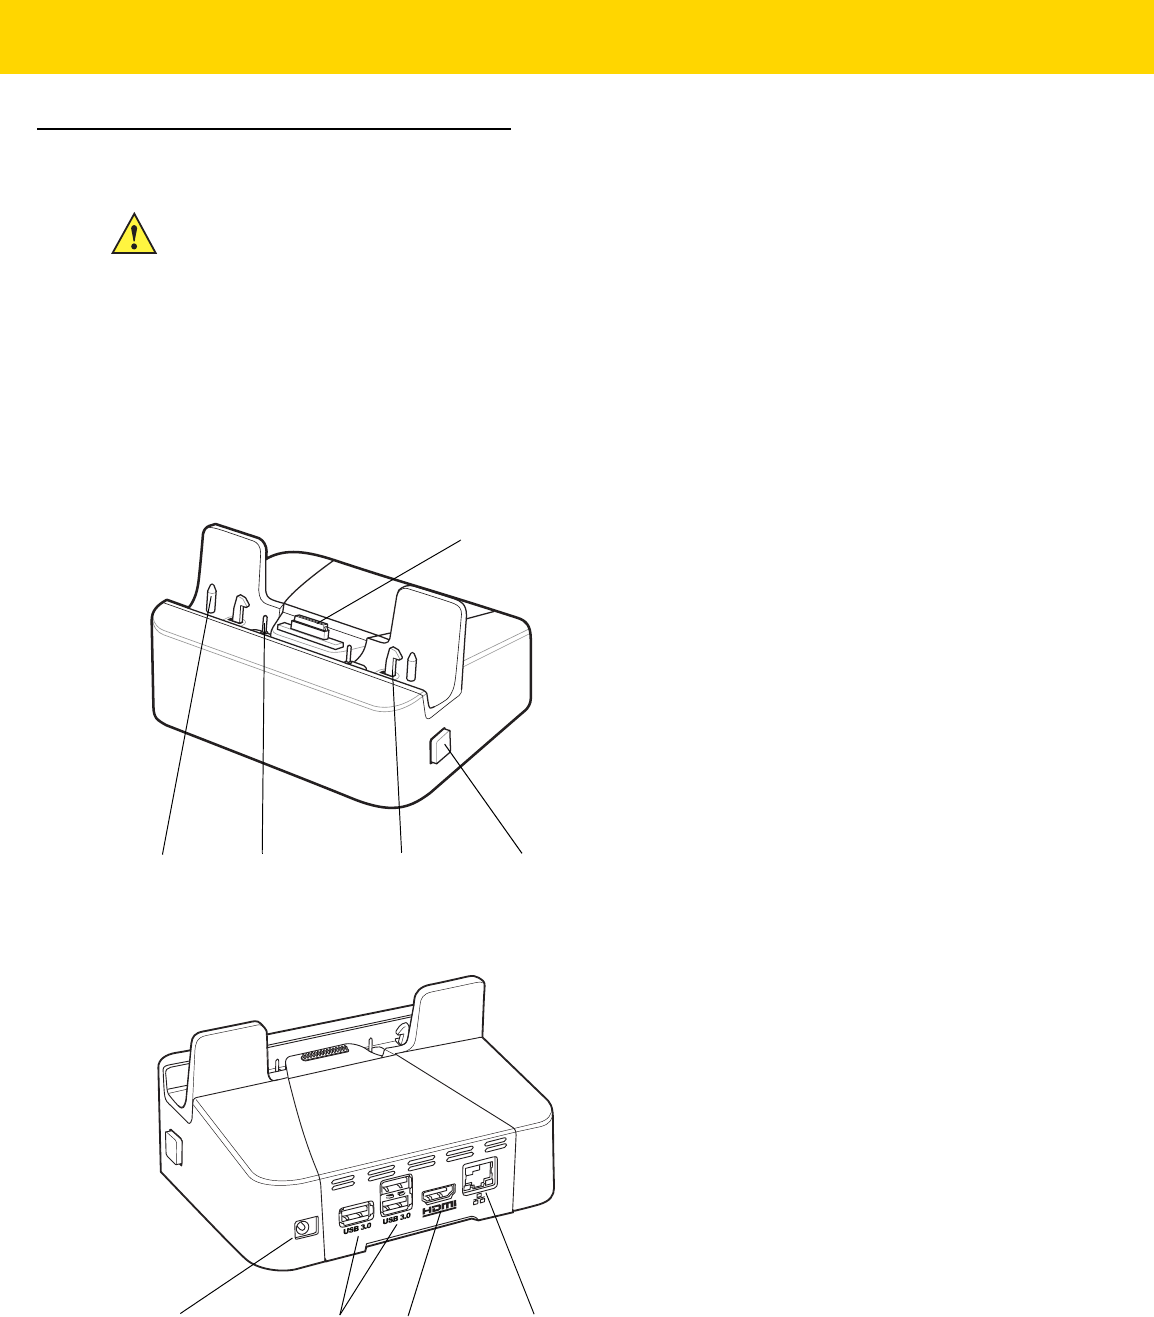
Communication and Charging Cradle .................................................................................................. 5-6
Installing the Insert ......................................................................................................................... 5-7
Rugged Communication and Charging Cradle .................................................................................... 5-8
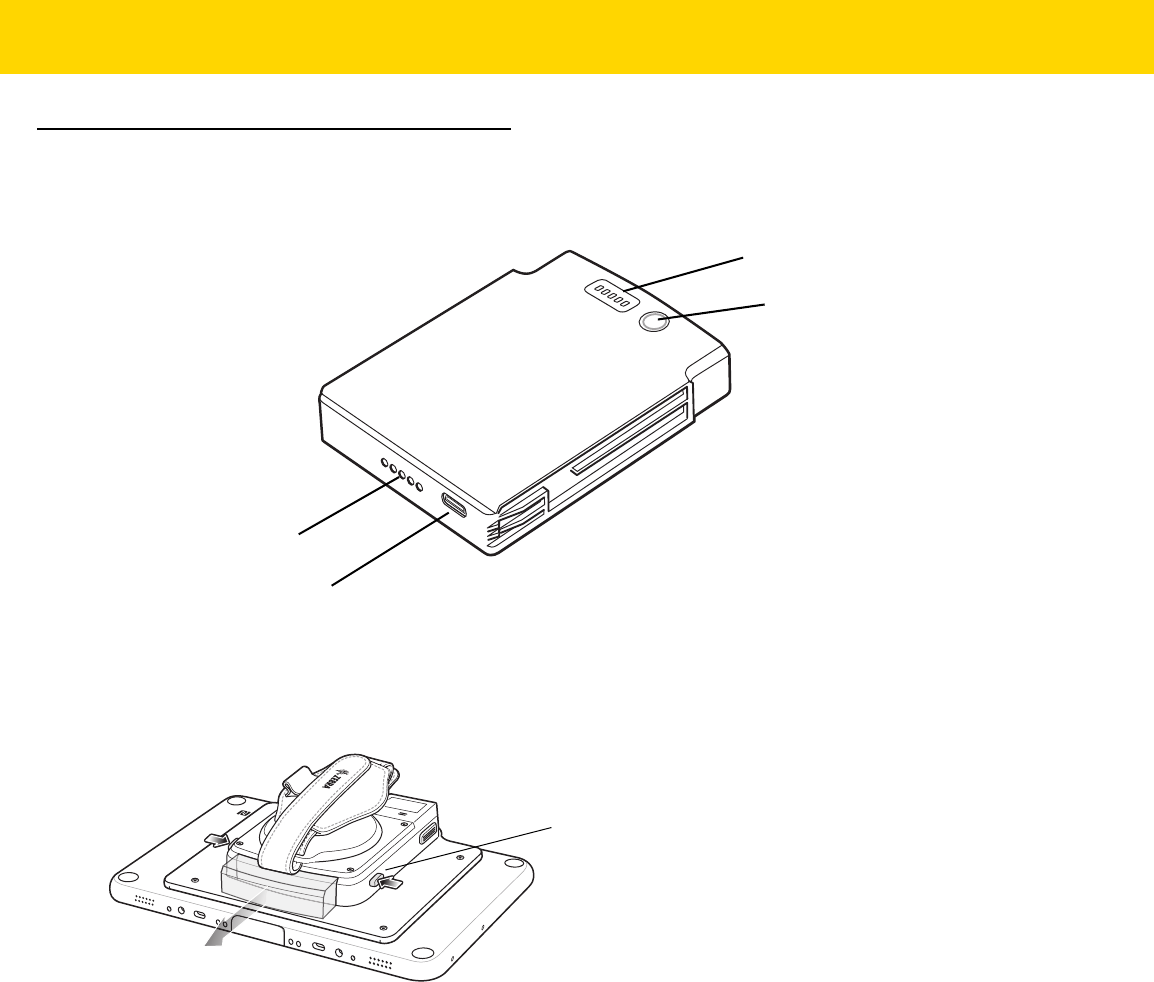
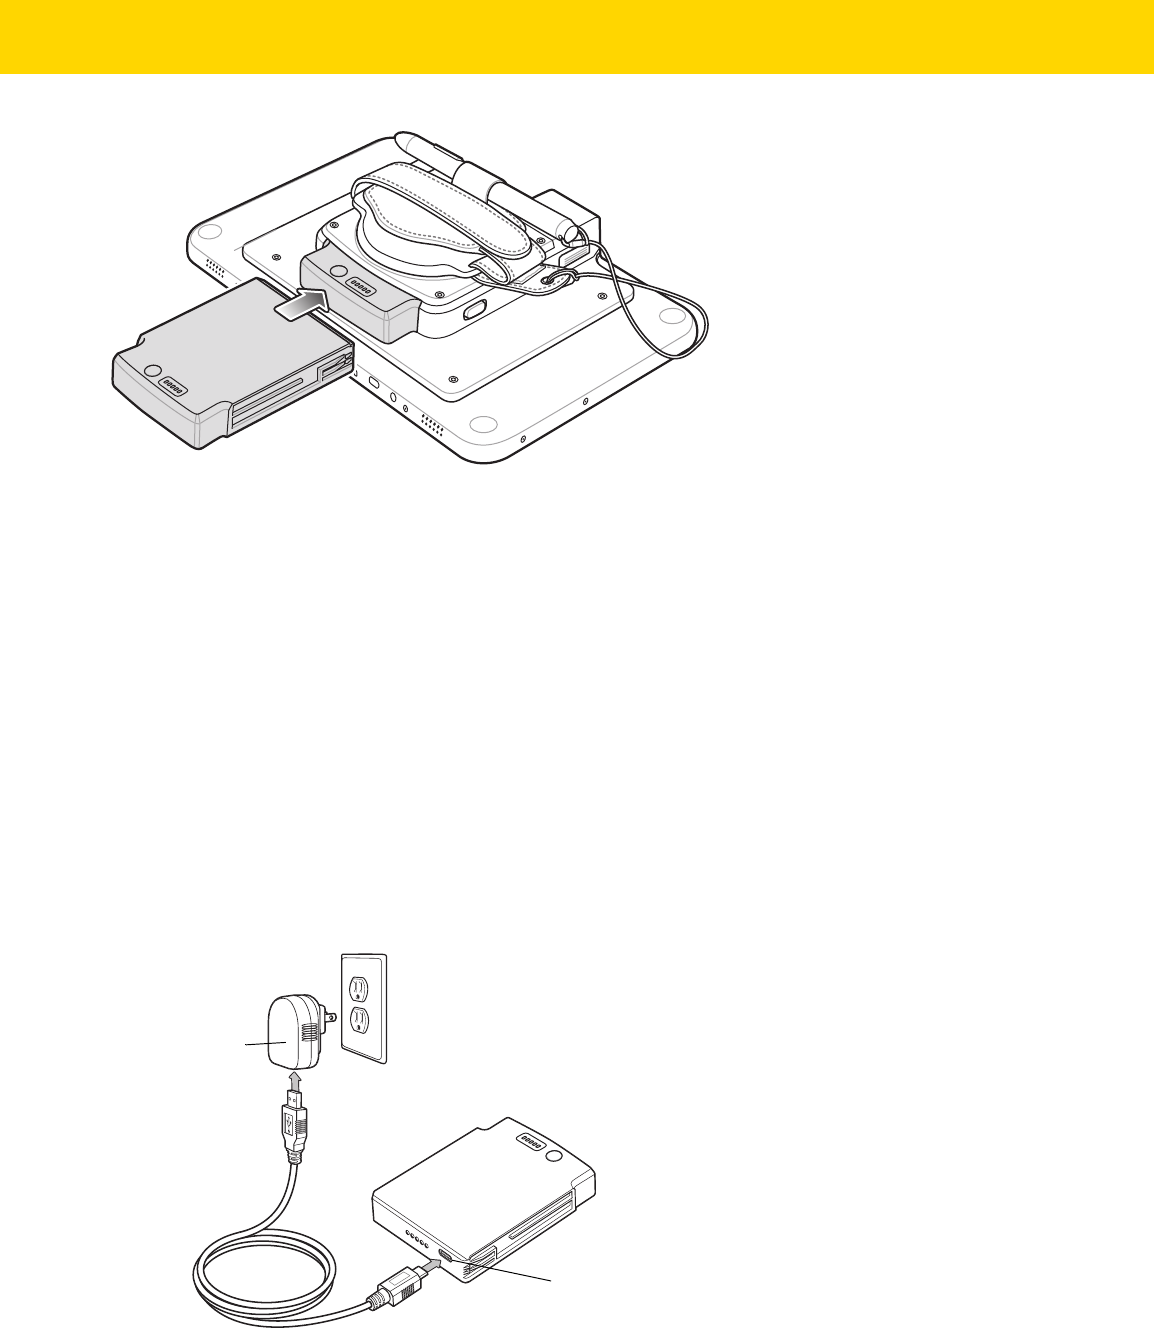
Power Pack .......................................................................................................................................... 5-10
Charging the Power Pack .............................................................................................................. 5-11
Using Dock ............................................................................................................................... 5-11
Using USB Power Adapter ....................................................................................................... 5-11
Active Stylus ........................................................................................................................................ 5-13
Gebruikershandleiding.com neemt misbruik van zijn services uitermate serieus. U kunt hieronder aangeven waarom deze vraag ongepast is. Wij controleren de vraag en zonodig wordt deze verwijderd.
Product:
Spelregels forum
Om tot zinvolle vragen te komen hanteren wij de volgende spelregels:
lees eerst de handleiding door;
controleer of uw vraag al eerder door iemand anders is gesteld;
probeer uw vraag zo duidelijk mogelijk te stellen;
heeft u een probleem en al geprobeerd om dit op te lossen, vermeld dit erbij aub;
heeft u een oplossing gekregen van een bezoeker dan horen wij dat graag in dit forum;
wilt u een reactie geven op een vraag of antwoord, gebruik dan niet dit formulier maar klik op de knop 'reageer op deze vraag';
uw vraag wordt direct op de website gezet; vermijd daarom persoonlijke gegevens in te vullen;
Belangrijk! Als er een antwoord wordt gegeven op uw vraag, dan is het voor de gever van het antwoord nuttig om te weten als u er wel (of niet) mee geholpen bent! Wij vragen u dus ook te reageren op een antwoord.
Belangrijk! Antwoorden worden ook per e-mail naar abonnees gestuurd. Laat uw emailadres achter op deze site, zodat u op de hoogte blijft. U krijgt dan ook andere vragen en antwoorden te zien.
Abonneren
Abonneer u voor het ontvangen van emails voor uw Zebra ET5X bij:
nieuwe vragen en antwoorden
nieuwe handleidingen
U ontvangt een email met instructies om u voor één of beide opties in te schrijven.
Ontvang uw handleiding per email
Vul uw emailadres in en ontvang de handleiding van Zebra ET5X in de taal/talen: Engels als bijlage per email.
De handleiding is 26,94 mb groot.
U ontvangt de handleiding per email binnen enkele minuten. Als u geen email heeft ontvangen, dan heeft u waarschijnlijk een verkeerd emailadres ingevuld of is uw mailbox te vol. Daarnaast kan het zijn dat uw internetprovider een maximum heeft aan de grootte per email. Omdat hier een handleiding wordt meegestuurd, kan het voorkomen dat de email groter is dan toegestaan bij uw provider.
Uw handleiding is per email verstuurd. Controleer uw email
Als u niet binnen een kwartier uw email met handleiding ontvangen heeft, kan het zijn dat u een verkeerd emailadres heeft ingevuld of dat uw emailprovider een maximum grootte per email heeft ingesteld die kleiner is dan de grootte van de handleiding.
Er is een email naar u verstuurd om uw inschrijving definitief te maken.
Controleer uw email en volg de aanwijzingen op om uw inschrijving definitief te maken
U heeft geen emailadres opgegeven
Als u de handleiding per email wilt ontvangen, vul dan een geldig emailadres in.
Uw vraag is op deze pagina toegevoegd
Wilt u een email ontvangen bij een antwoord en/of nieuwe vragen? Vul dan hier uw emailadres in.