586917
133
Verklein
Vergroot
Pagina terug
1/156
Pagina verder
133
Utility Mode
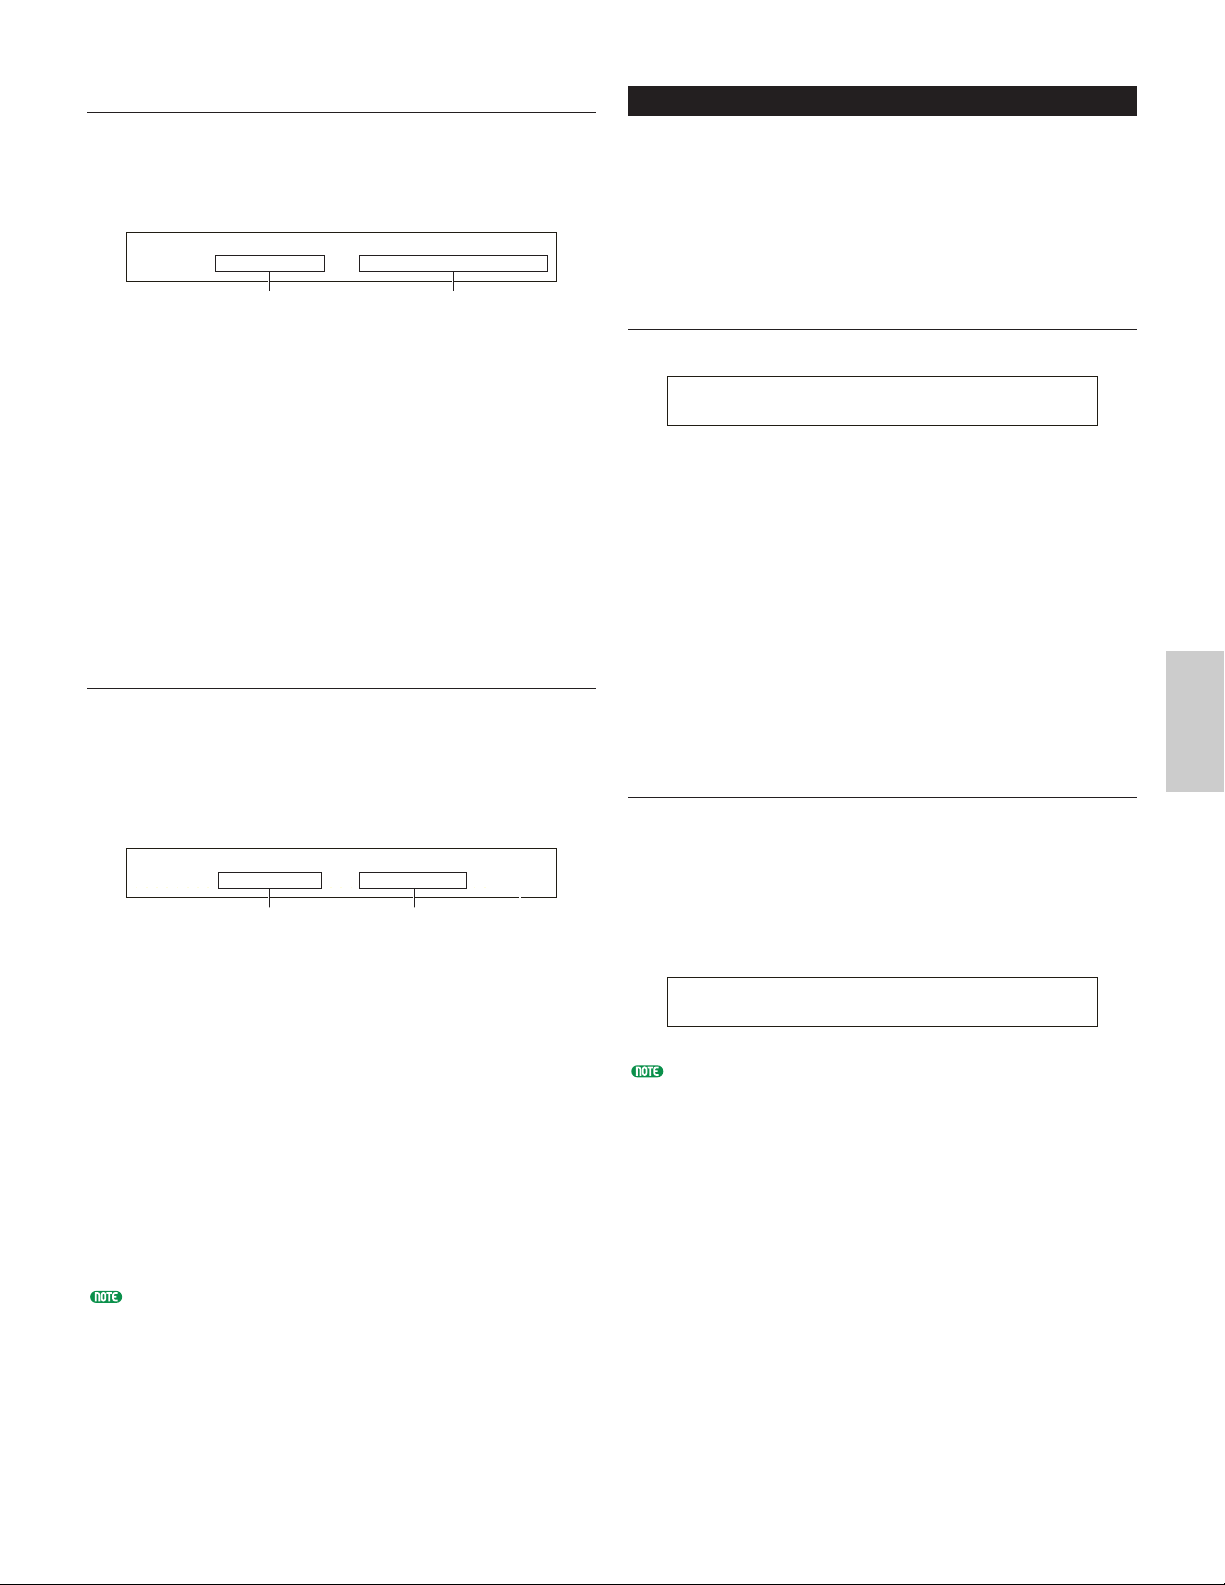
CTRL Assign1 (Controller Assign 1)
Use Knobs [C], [1] and [2] to assign Control Change
Numbers to the Breath Controller, Knob [1] and Knob
[2], respectively. The selected Control Change Name is
shown on the left of the display.
BC (Breath Controller)
Specify a Control Change Number for this
Assignable Controller. When MIDI information for
this Assignable Controller is received, the specified
Control Change is applied.
Settings: 00 ~ 95 (see the separate Data List for details)
Knob1/2 (Knob [1]/[2])
Assign Control Change Numbers to Knobs [1] and
[2] on the front panel.
Settings: 00 ~ 95 (see the separate Data List for details)
CTRL Assign2 (Controller Assign 2)
Use Knobs [C] and [1] to assign Control Change
Numbers to the Foot Controller and Ribbon Controller,
respectively. The selected function is shown on the left
of the display. Use Knob [2] to select the Ribbon
Controller Mode.
FC (Foot Controller)
Assign a Control Change Number to the Foot Controller.
The Foot Controller is connected to the FOOT
CONTROLLER connector on the rear panel (Page 13).
Settings: 00 ~ 95 (see the separate Data List for details)
RB (Ribbon Controller)
Specify a Control Change Number for this Assignable
Controller. When MIDI information for this Assignable
Controller is received, the specified Control Change is
applied.
Settings: 00 ~ 95 (see the separate Data List for details)
Details about Controller Assign settings in Performance
Mode are given on Page 111.
CTRL Assign2) FC RB
Vce [--------] 04 22
Control Change
Number
Control Change Name
CTRL Assign1) BC Knob1 Knob2
Vce [FootCtrl] 02 16 17
Control
Change Number
Control
Change Name
PLG (Plug-in) (if a Plug-in Board has been installed)
If you have a Plug-in Board installed, the following two
screens are available for setting its parameters.
However, the number of sub-screens and parameters will
vary depending on the type of Plug-in Board installed.
PLG MIDI (Plug-in MIDI)
PLG System (Plug-in System)
PLG MIDI (Plug-in MIDI)
Set the MIDI parameters of the Plug-in Board.
Clock
Select whether or not to transmit MIDI Clock
messages to the Plug-in Board.
Settings: off, on
DevNo (Device Number)
Set the MIDI Device Number of the Plug-in Board.
This number must match the Device Number of the
external MIDI device when transmitting/receiving
bulk data, parameter changes or other system
exclusive messages to/from it.
Settings: 1 ~ 16, all, off
PLG System (Plug-in System)
Set the system parameters for each Plug-in Board. Use
Knob [C]/[2] to change the parameter. The number of
screens and parameters will vary depending on the type
of Plug-in Board installed. In the following example, a
PLG150-AN Plug-in Board has been installed in the
Plug-in slot.
Part Assign (assignment) for a Single-Part Plug-in Board is
fixed as follows:
• Voice Mode: 1
• Performance Mode: 15
PLG System) Vel Curve Mrph CtrlNo
norm off
PLG MIDI) Clock DevNo
PLG150-AN on all
133

Hulp nodig? Stel uw vraag in het forum

Spelregels

Misbruik melden

Gebruikershandleiding.com neemt misbruik van zijn services uitermate serieus. U kunt hieronder aangeven waarom deze vraag ongepast is. Wij controleren de vraag en zonodig wordt deze verwijderd.

Product:

Bijvoorbeeld antisemitische inhoud, racistische inhoud, of materiaal dat gewelddadige fysieke handelingen tot gevolg kan hebben.

Bijvoorbeeld een creditcardnummer, een persoonlijk identificatienummer, of een geheim adres. E-mailadressen en volledige namen worden niet als privégegevens beschouwd.

Spelregels forum

Om tot zinvolle vragen te komen hanteren wij de volgende spelregels:

Belangrijk! Als er een antwoord wordt gegeven op uw vraag, dan is het voor de gever van het antwoord nuttig om te weten als u er wel (of niet) mee geholpen bent! Wij vragen u dus ook te reageren op een antwoord.

Belangrijk! Antwoorden worden ook per e-mail naar abonnees gestuurd. Laat uw emailadres achter op deze site, zodat u op de hoogte blijft. U krijgt dan ook andere vragen en antwoorden te zien.

Abonneren

Abonneer u voor het ontvangen van emails voor uw Yamaha S30 bij:


U ontvangt een email met instructies om u voor één of beide opties in te schrijven.


Ontvang uw handleiding per email

Vul uw emailadres in en ontvang de handleiding van Yamaha S30 in de taal/talen: Engels als bijlage per email.

De handleiding is 5,2 mb groot.


U ontvangt de handleiding per email binnen enkele minuten. Als u geen email heeft ontvangen, dan heeft u waarschijnlijk een verkeerd emailadres ingevuld of is uw mailbox te vol. Daarnaast kan het zijn dat uw internetprovider een maximum heeft aan de grootte per email. Omdat hier een handleiding wordt meegestuurd, kan het voorkomen dat de email groter is dan toegestaan bij uw provider.

Stel vragen via chat aan uw handleiding

Stel uw vraag over deze PDF

loading

Andere handleiding(en) van Yamaha S30

Yamaha S30 Gebruiksaanwijzing - Nederlands - 154 pagina's

Yamaha S30 Gebruiksaanwijzing - Deutsch - 30 pagina's

Yamaha S30 Installatiehandleiding - Deutsch - 24 pagina's

Yamaha S30 Gebruiksaanwijzing - Deutsch - 156 pagina's

Yamaha S30 Gebruiksaanwijzing - English - 30 pagina's

Yamaha S30 Installatiehandleiding - English - 24 pagina's

Yamaha S30 Gebruiksaanwijzing - Français - 156 pagina's

Yamaha S30 Gebruiksaanwijzing - Français - 30 pagina's

Yamaha S30 Installatiehandleiding - Français - 24 pagina's

Yamaha S30 Gebruiksaanwijzing - Italiano - 155 pagina's

Yamaha S30 Gebruiksaanwijzing - Italiano - 12 pagina's

Yamaha S30 Gebruiksaanwijzing - Português - 288 pagina's

Yamaha S30 Gebruiksaanwijzing - Espanõl - 152 pagina's


Uw handleiding is per email verstuurd. Controleer uw email

Als u niet binnen een kwartier uw email met handleiding ontvangen heeft, kan het zijn dat u een verkeerd emailadres heeft ingevuld of dat uw emailprovider een maximum grootte per email heeft ingesteld die kleiner is dan de grootte van de handleiding.

Er is een email naar u verstuurd om uw inschrijving definitief te maken.

Controleer uw email en volg de aanwijzingen op om uw inschrijving definitief te maken

U heeft geen emailadres opgegeven

Als u de handleiding per email wilt ontvangen, vul dan een geldig emailadres in.

Uw vraag is op deze pagina toegevoegd

Wilt u een email ontvangen bij een antwoord en/of nieuwe vragen? Vul dan hier uw emailadres in.


Info