PORTDetermines the MIDI transmission port for the corresponding track. Playback data of tracks set to off is output
via MIDI without any Port message.
The internal tone generator parts of this synthesizer can be played back only over Port 1.
Settings:off, 1 – 3
nPort data can be output only through the USB terminal. No port data is transmitted through the MIDI OUT terminal, even
if the corresponding track is set to a specific port number.
[SF2] OUT SW (Output Switch)
You can also simultaneously set multiple tracks (tracks 1 – 8 or tracks 9 – 16) to the same setting as the
currently selected track, by changing the parameter while holding the [SF2] 1 – 8 button or [SF3] 9 – 16 button.
INT SW (Internal Switch)Determines whether playback data is transmitted to the internal tone generator block or not.
Settings:on, off
EXT SW (External Switch)Determines whether playback data is output to the external MIDI tone generator via MIDI or not.
Settings:on, off
[SF3] TR LOOP (Track Loop)
From this display you can determine whether the data in the selected track loops or not in playback. Using
Loop can be an effective way to repeat short patterns and phrases throughout the Song. For details, see page
193.
Settings:off, on
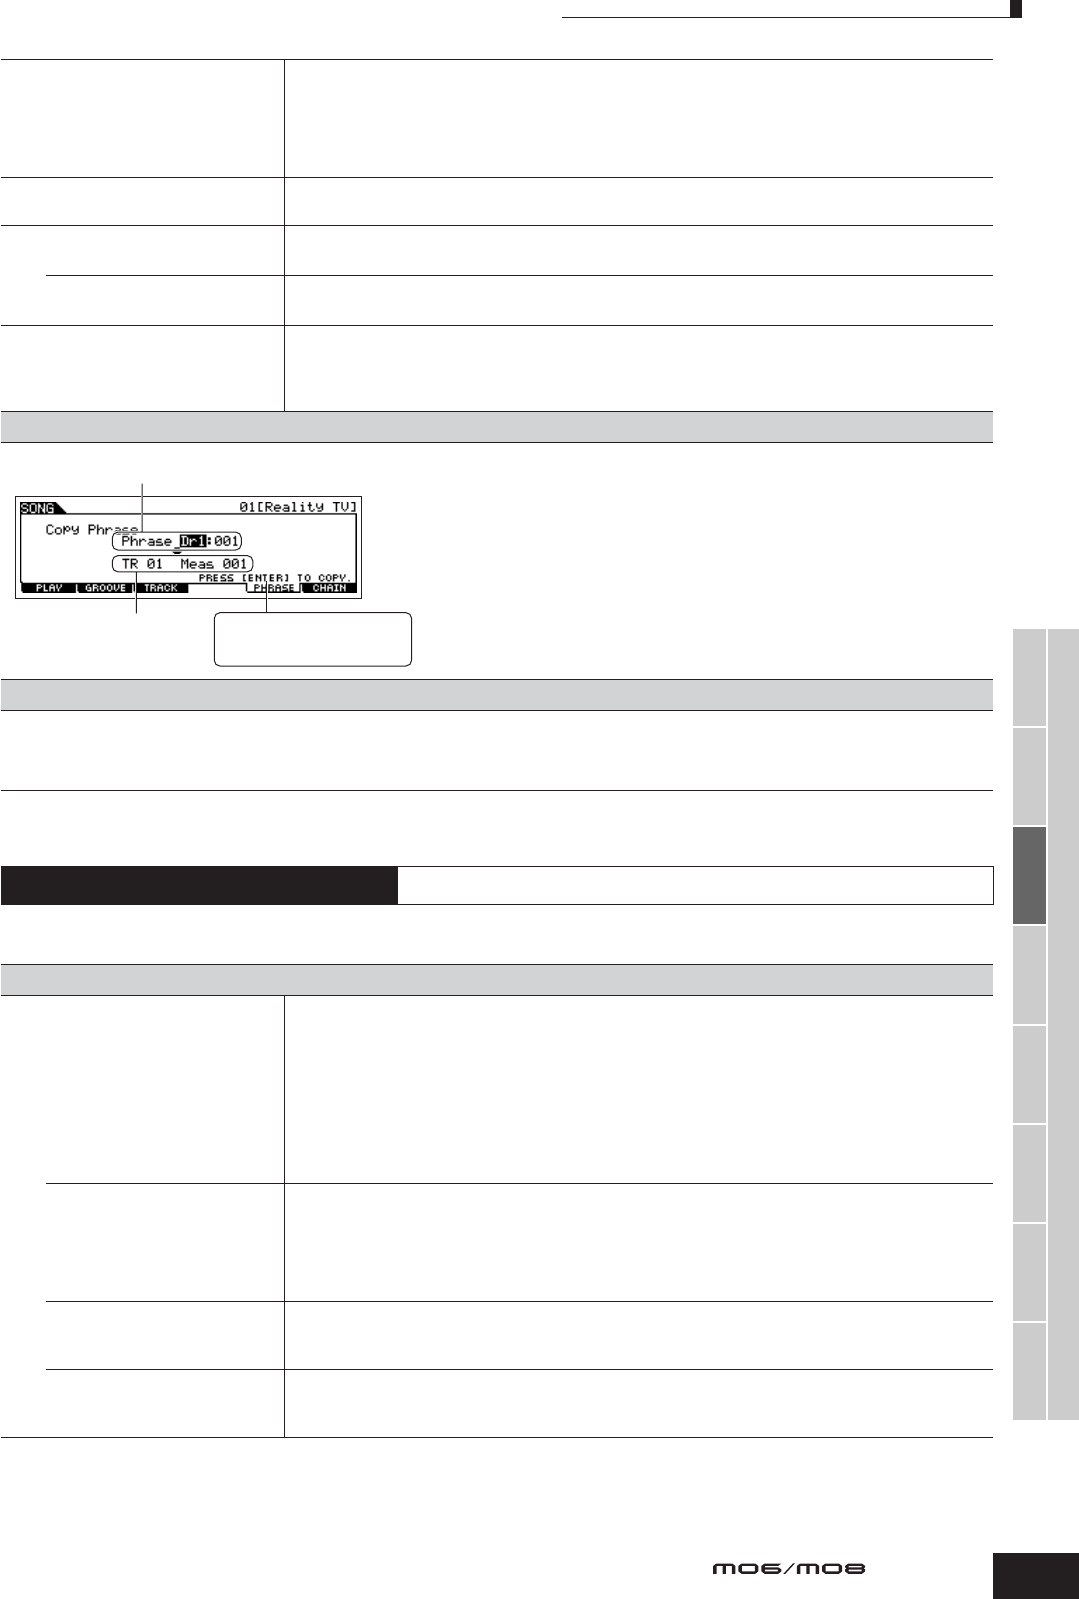
[F5] PHRASE
You can copy any of the Preset Phrases (Dr1 – Dr4) and User Phrases in the
previously selected Pattern to the track of the currently selected song.
[F6] CHAIN
This function allows Songs to be “chained” together for automatic sequential playback. For details, refer to the Quick Guide on page 95.
skip.................Skips past (ignores) the selected chain number and continues playback from the next chain number.
stop.................Stops Song chain playback at that chain number. You can restart the Song chain playback from the next chain number by pressing the [F] (Play) button.
end..................Indicates the end mark of the Song chain data.
Song Record mode
[SONG] ➞ Song selection ➞ [REC]
[F1] SETUP
Type (Recording Type)Determines the recording method. For details on each method, refer to page 138 in the Basic Structure
section.
Settings:When the RecTrack is set to any of 1-16: replace, overdub, punch, step
When the RecTrack is set to tempo: replace, punch, step
When the RecTrack is set to scene: replace, punch
When the RecTrack is set to multi: replace, overdub, punch
nWhen “punch” is selected, “Punch-in measure: beat” and “Punch-out measure: beat” appear in the display and should
be set. If you’ve set the Locate 1 and 2 points (Loc1, Loc2; see page 92), the punch-in/out points can be set with a
single button press. Move the cursor to the punch-in/out value, and notice that a “COPYLOC” menu item appears. Press
the [SF1] COPYLOC button, and the punch-in/out settings are automatically assigned to the existing Locate points.
nWhen “step” is selected, you should specify the event type to be entered.
QuantizeThis parameter is available when the Recording Type is set to something other than “step.” Record quantize
aligns the timing of notes automatically, as you record.
You can set this parameter also by using the Note Type selection window called up via the [INFORMATION]
Gebruikershandleiding.com neemt misbruik van zijn services uitermate serieus. U kunt hieronder aangeven waarom deze vraag ongepast is. Wij controleren de vraag en zonodig wordt deze verwijderd.
Product:
Spelregels forum
Om tot zinvolle vragen te komen hanteren wij de volgende spelregels:
lees eerst de handleiding door;
controleer of uw vraag al eerder door iemand anders is gesteld;
probeer uw vraag zo duidelijk mogelijk te stellen;
heeft u een probleem en al geprobeerd om dit op te lossen, vermeld dit erbij aub;
heeft u een oplossing gekregen van een bezoeker dan horen wij dat graag in dit forum;
wilt u een reactie geven op een vraag of antwoord, gebruik dan niet dit formulier maar klik op de knop 'reageer op deze vraag';
uw vraag wordt direct op de website gezet; vermijd daarom persoonlijke gegevens in te vullen;
Belangrijk! Als er een antwoord wordt gegeven op uw vraag, dan is het voor de gever van het antwoord nuttig om te weten als u er wel (of niet) mee geholpen bent! Wij vragen u dus ook te reageren op een antwoord.
Belangrijk! Antwoorden worden ook per e-mail naar abonnees gestuurd. Laat uw emailadres achter op deze site, zodat u op de hoogte blijft. U krijgt dan ook andere vragen en antwoorden te zien.
Abonneren
Abonneer u voor het ontvangen van emails voor uw Yamaha MO8 bij:
nieuwe vragen en antwoorden
nieuwe handleidingen
U ontvangt een email met instructies om u voor één of beide opties in te schrijven.
Ontvang uw handleiding per email
Vul uw emailadres in en ontvang de handleiding van Yamaha MO8 in de taal/talen: Engels als bijlage per email.
De handleiding is 5,36 mb groot.
U ontvangt de handleiding per email binnen enkele minuten. Als u geen email heeft ontvangen, dan heeft u waarschijnlijk een verkeerd emailadres ingevuld of is uw mailbox te vol. Daarnaast kan het zijn dat uw internetprovider een maximum heeft aan de grootte per email. Omdat hier een handleiding wordt meegestuurd, kan het voorkomen dat de email groter is dan toegestaan bij uw provider.
Uw handleiding is per email verstuurd. Controleer uw email
Als u niet binnen een kwartier uw email met handleiding ontvangen heeft, kan het zijn dat u een verkeerd emailadres heeft ingevuld of dat uw emailprovider een maximum grootte per email heeft ingesteld die kleiner is dan de grootte van de handleiding.
Er is een email naar u verstuurd om uw inschrijving definitief te maken.
Controleer uw email en volg de aanwijzingen op om uw inschrijving definitief te maken
U heeft geen emailadres opgegeven
Als u de handleiding per email wilt ontvangen, vul dan een geldig emailadres in.
Uw vraag is op deze pagina toegevoegd
Wilt u een email ontvangen bij een antwoord en/of nieuwe vragen? Vul dan hier uw emailadres in.