■ Source
Select the Source from which you will record.
Select “mic” if you are recording a microphone level
device through the A/D INPUT jack.
Select “line” if you are recording from a line level
device, such as a CD player or other audio
equipment, through the A/D INPUT jack.
Select “voice”, “perform” or “pclip” when recording
a Voice, Performance, or an existing Phrase Clip used
by the synthesizer. For instance, if you have selected
a Voice in Voice Play Mode before entering Phrase
Clip Record Mode, you can play that Voice on the
keyboard to record it as a Phrase Clip.
❏ Settings: mic, line, pclip (Phrase Clip), voice, perform
(Performance)
■ Trigger
Set the Mode by which you will trigger the recording
process. The Trigger mode will vary according to
the currently selected Source.
If “mic” or “line” is currently selected as the Source,
select either “level” or “manual.”
If you select “level”, the recording process is
automatically started when the input level reaches
the designated threshold (Trigger Level). You will
see a parameter on the right where you can specify
the Trigger Level. Alternatively, if you choose
“manual,” recording is started as soon as you press
the [ENTER] key.
If you set the Source parameter value to any other
than “mic” and “line,” Set this parameter to “key” or
“manual.” If you set to “key,” recording will start
the moment you hit a key on the keyboard.
❏ Settings:
If Source is set to “mic” or “line”: level, manual
If Source is set to “pclip”, “voice” or “perform”: key, manual
■ Level (Trigger Level)
This parameter is only available if you have selected
“level” in the Trigger parameter. Recording will
begin automatically when the signal at the A/D
INPUT jack reaches the Trigger Level. The ï
indicator is displayed to the left of the Trigger Level
setting. Use the Trigger Level pointer and Input
Level pointer to visually compare the input signal
level with the Trigger Level setting.
❏ Settings: 0 ~ 127
If the input signal level is too large, The indicator is
displayed to the left of the ï indicator.
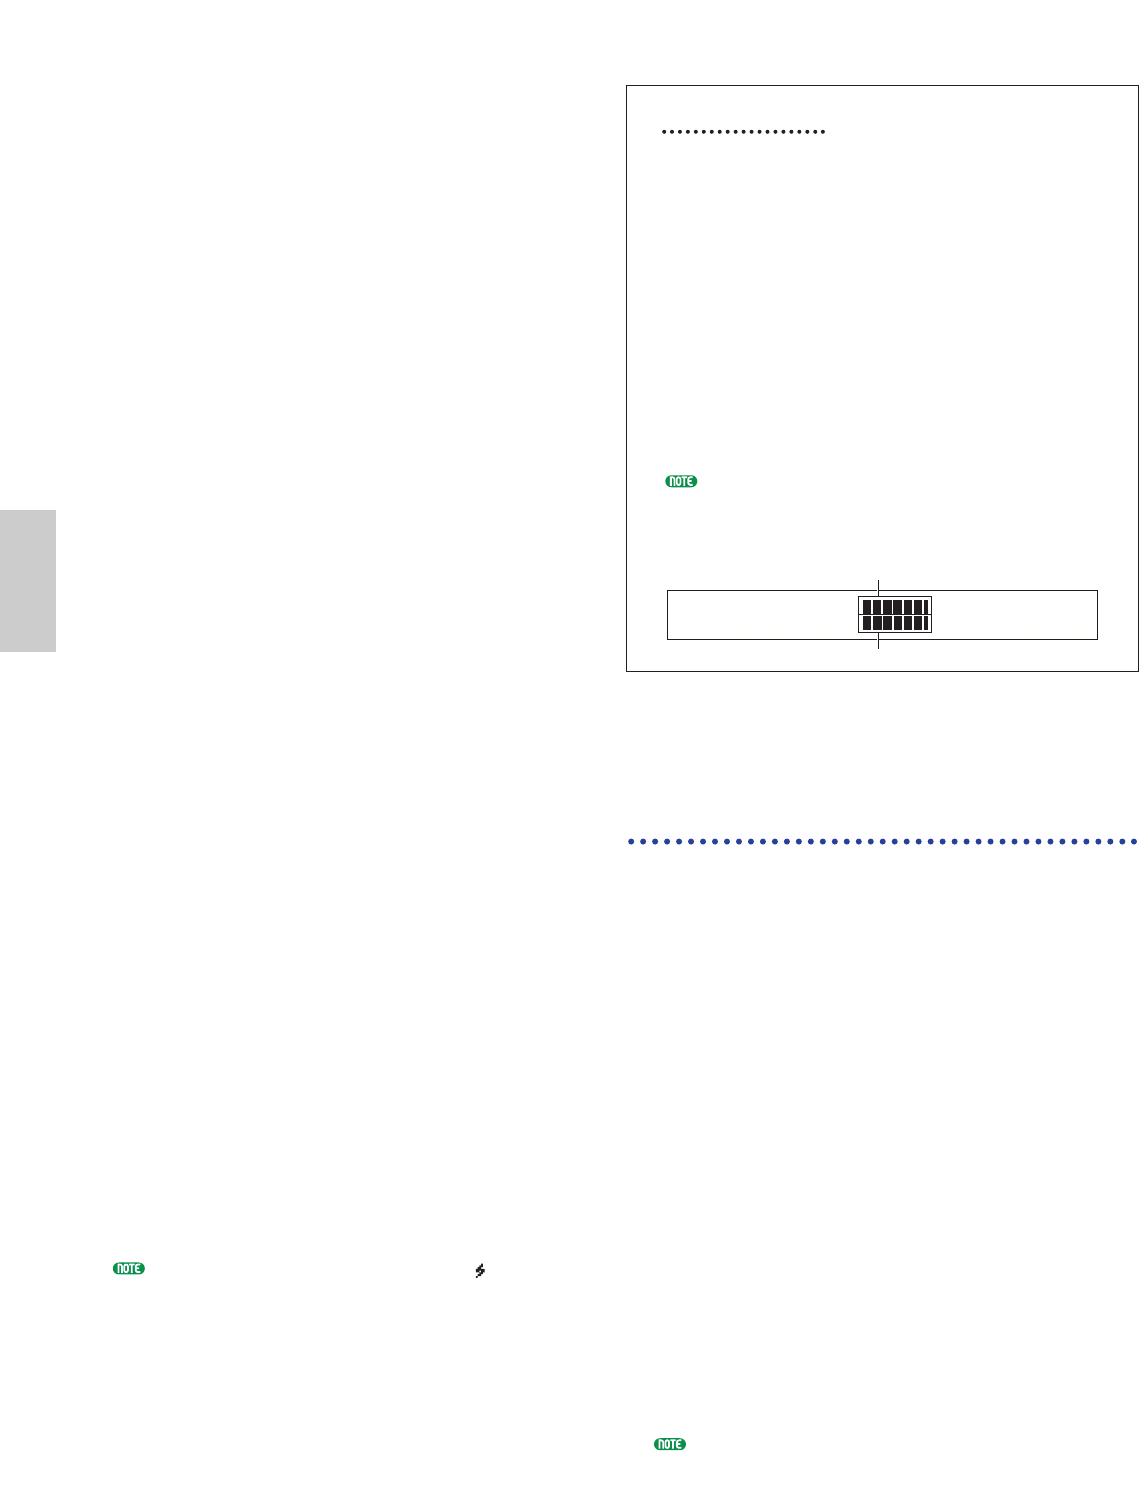
The Level Screen
When you are recording from a “mic” or “line” level
source in Phrase Clip Record Mode, use the [PAGE]
knob to turn to the following screen. You will see
the Input Level pointer and the Trigger Level
pointer. Here, you can use the Input Level pointer
and Trigger Level pointer to check the Trigger Level
and the level of the signal at the A/D INPUT
connector. If you have selected “level” in Trigger
Mode, use Knob [1] to set the Trigger Level. The
recording process begins the moment the Input
Level Pointer reaches or passes the Trigger Level
pointer. Using both the pointer, you can determine
the starting point for recording based on the input
signal’s level.
Turning the [PAGE] knob counterclockwise when
the Level screen is shown takes you back to the
previous screen.
Example 1: Recording a
Phrase Clip from a Microphone
or Audio Equipment
Connect a microphone or audio equipment to the A/D
INPUT jack (Page 14).
1In Phrase Clip Play Mode, press the [REC] key and
the screen for selecting the Clip Key (which is used
to play the Phrase Clip) will be shown.
2While still holding down the [REC] key, use Knob
[C] or press a note on the keyboard to set the Clip
Key. When you release the [REC] key, you will see
the Recording screen.
3Select “mic” if recording from a microphone-level
source or “line” if recording from a line-level source
such as a CD player or other audio equipment.
You can set the Trigger parameter to “level” or
“manual.” If you set it to “level,” you will also need
to set the Trigger Level parameter.
4Turn the [PAGE] knob clockwise to show the Level
screen. Here, you can check the Input Level pointer
to monitor the level of the input signal. If necessary,
you can use the [GAIN] knob on the rear panel to
adjust the gain of the input signal.
The recorded clip will automatically be assigned a vacant
Clip Number in memory (DRAM). Therefore, you will
not have to choose a Clip Number before recording.

