172
173
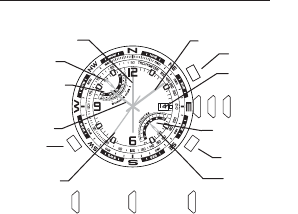
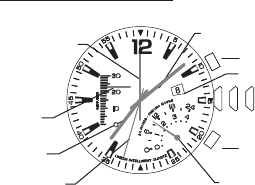
RÉGLAGE DE L’AIGUILLE DE LA BOUSSOLE
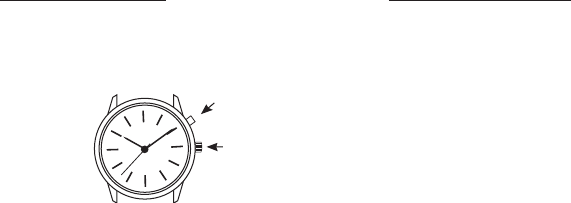
Tirez la COURONNE complètement. L’aiguille de la bous-
sole devrait indiquer 12 heures. Sinon, appuyez sur A ou
B pour faire avancer l’aiguille jusqu’à ce qu’elle indique
12 heures. Tenez le bouton enfoncé pour la faire avancer
rapidement. Enfoncez la COURONNE CENTRALE pour
valider et refaire l’étalonnage.
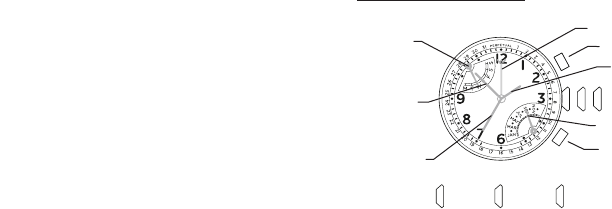
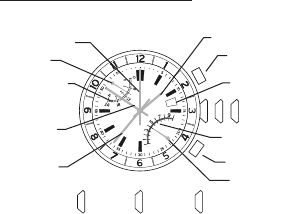
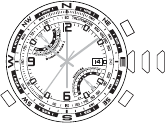
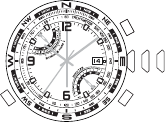
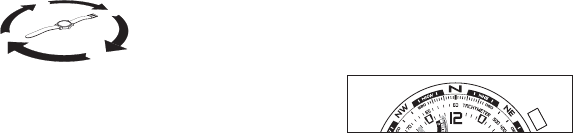
ÉTALONNAGE DE LA BOUSSOLE
La boussole doit être étalonnée avant utilisation.
Une boussole utilise le champ magnétique terrestre ;
par conséquent, il importe d’éviter d’être à proximité de
grands objets métalliques (automobiles, ponts, etc.) ou
autres objets produisant un rayonnement électromag-
nétique, tels que téléviseurs ou ordinateurs, susceptible
d’affecter le champ magnétique autour de la montre. Si
la boussole est étalonnée à proximité de tels objets, elle
ne fonctionnera correctement qu’à cet endroit. Si la bous-
sole est étalonnée loin de tels objets, elle ne fonctionnera
pas correctement près d’eux. Pour de meilleurs résultats,
étalonner à l’endroit où elle sera utilisée.
Lors de l’étalonnage et des relevés d’orientation, il im-
porte, comme avec toutes les boussoles, de maintenir la
montre dans un plan horizontal. Procéder à l’étalonnage
ou à des relevés d’orientation alors que la montre n’est
pas en position horizontale peut aboutir à d’importantes
erreurs. Veiller également à éviter les endroits suscep-
tibles de présenter des concentrations de fer de roche ou
industriel supérieures à la normale, dont l’effet pourrait
produire des mesures inexactes. En présence de toute
mesure suspecte, effectuer un nouvel étalonnage.
Veiller à ne pas ranger la montre à proximité d’une
quelconque source magnétique (ordinateurs, appareils