English - 16 -
Channel List
Use “
” or “ ” buttons to go to Channel List option.
Use “ ” or “ ” buttons to toggle Channel List Mode.
If you select “TV Only”, with the “ ” or “ ” buttons,
you navigate through only TV channels. If you select
“Radio Only”, with the “ ” or “ ” buttons, you navigate
through only radio channels. If you select “Text Only”,
with the “ ” or “ ” buttons, you navigate through only
text channels.
Active Antenna
Use
“ ” or “ ” buttons to highlight Active Antenna
option.
When antenna power option is set as On by pressing
“ ” or “ ” button, +5V will be transmitted to the
antenna output.
This feature enables the use of active antenna.
Note: Antenna power should be “Off” when standard
antenna is used instead of the active antenna.
Scan Encrypted (**)
(**) for
UK broadcasts only.
Scan Encrypted Channel feature will always be ON
after performing first time installation. When this
setting is on, search process will locate the encrypted
channels as well. If it is set as OFF manually, encrypted
channels will not be located while in automatic search
or manual search.
Use
“ ” or “ ” button to select Scan Encrypted and
then press “ ” or “ ” button to set this setting as
On or Off.
Receiver Upgrade
Over Air Download (OAD)
To ensure that your TV always has the most update
information, use this setting. Please ensure that the TV
is set to standby mode. The TV automatically powers
up at 3.00 A.M. each day and searches for any new
information which may be broadcast and will download
this to your receiver automatically. This operation will
normally take approximately 30 minutes. If you have
an important recording to be carried out at 3.00 A.M.
and you do not want to interrupt it, disable auto OAD
search by performing the following:
• Press “MENU” button and using the “ ” or “ ”
buttons to choose Setup and press the OK button.
• Highlight Confi guration menu with “
” or “ ” keys
and press OK .
• Use “
” or “ ” buttons to choose “RECEIVER
UPGRADE” and press OK button.
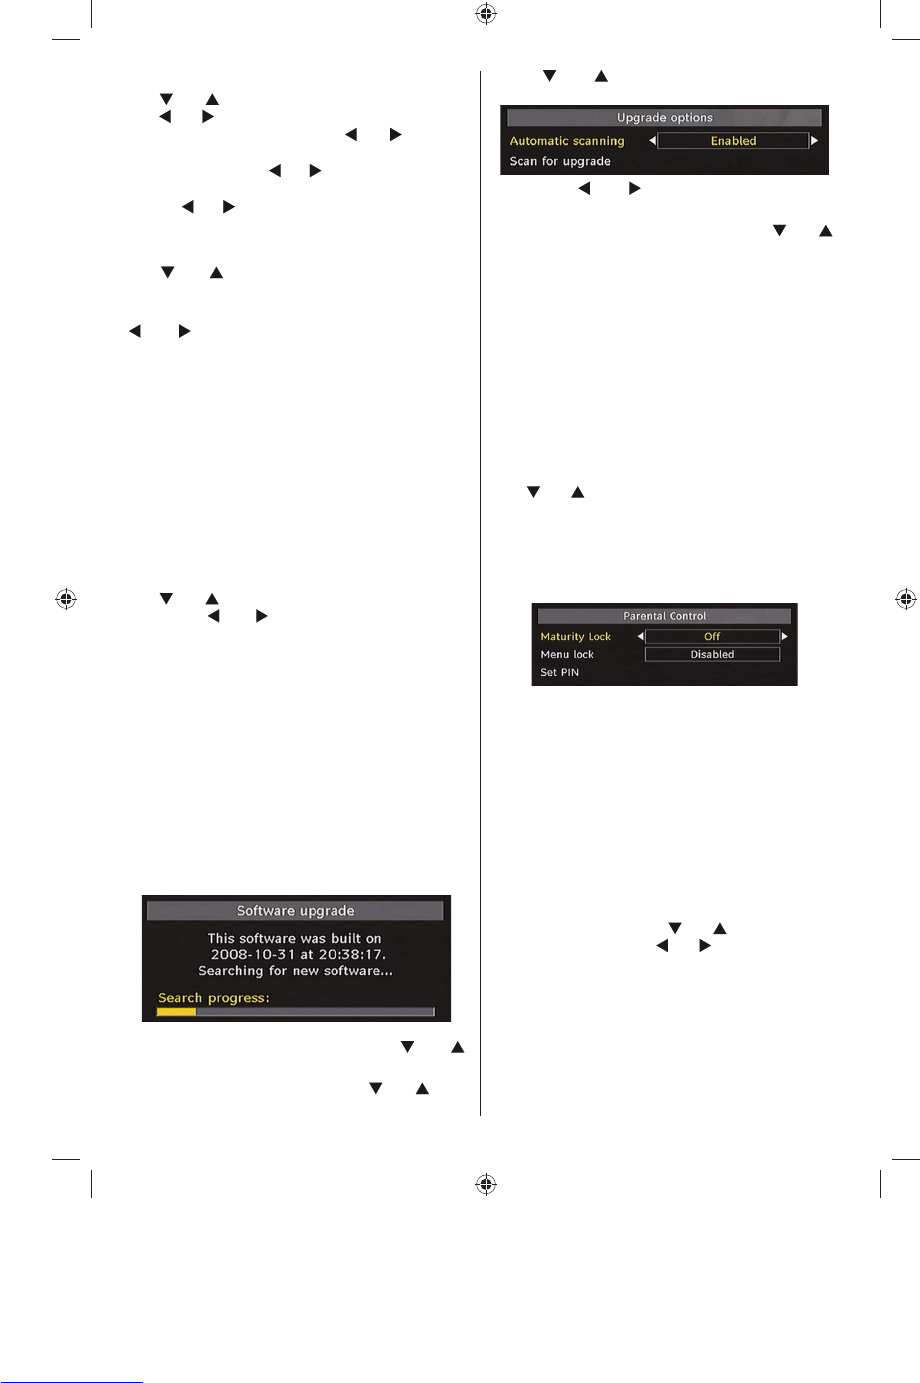
• Using the“ ” or “ ” button change “Automatic
scanning” from Enabled to Disabled.
• Highlight “Scan for upgrade” menu with “
” or “ ”
keys and pres OK to commence upgrade.
• After the search progress is completed, the message
“ Completed searching for upgrade. No new software
was found” appears on the screen if no new software
is found.
• Do not forget to re enable the automatic OAD
function after you have made your recording by
repeating the above instructions but this time
selecting ENABLE.
Note: Your TV may start in First Time Installation mode
after OAD update.
Parental Control
Use “
” or “ ” buttons to go to Parental Lock option.
Press OK button to enter the menu. A dialog box
asking for the lock key will be displayed. The key is set
to “0000” initially. Enter PIN. If it is incorrect, “Wrong
Pin” OSD will be displayed. If it is correct, the Parental
Control menu will be displayed:
Maturity Lock (*)
(*) If you set Country option as UK in the fi rst time
installation, Maturity Lock option will not be visible.
This setting is available only for EU countries.
When set, this option gets the maturity information
from the broadcast and if this maturity level is disabled,
does not show video-audio.
Menu Lock
In menu lock you can set locking for all menus, or the
Installation Menu to restrict access to these menus.
If the menu lock is disabled, there will be free access
to the menu system. Use “
” or “ ” buttons to go to
Menu Lock option. Use “ ” or “ ” buttons to choose
Menu Lock Mode.
DISABLED : All menus are unlocked.
ALL MENUS : All Menus are accessible only with
the correct lock key. So the user cannot add, delete,
rename, channels, cannot set timers.
INSTALLATION MENU : Installation menu is locked.
So the user can’t add channels. Changes will be
updated after exiting ‘Confi guration Menu’.
MB25_[GB]_(01-TV)_COST_1055UK_IDTV_32855W_BRONZE12_10063137_50153024.indd 16MB25_[GB]_(01-TV)_COST_1055UK_IDTV_32855W_BRONZE12_10063137_50153024.indd 16 16.08.2009 11:42:3416.08.2009 11:42:34