23
ENGLISH
EN EN
IMPORTANT
For the instructions relative to the engine and
the battery, please read the relevant instruction
handbooks.
Equipment which is marked with an asterisk (*)
comes as standard in certain models or countries.
Certain models do not have throttle control. The
engine’s speed is set for optimal function and min-
imal exhaust emissions.
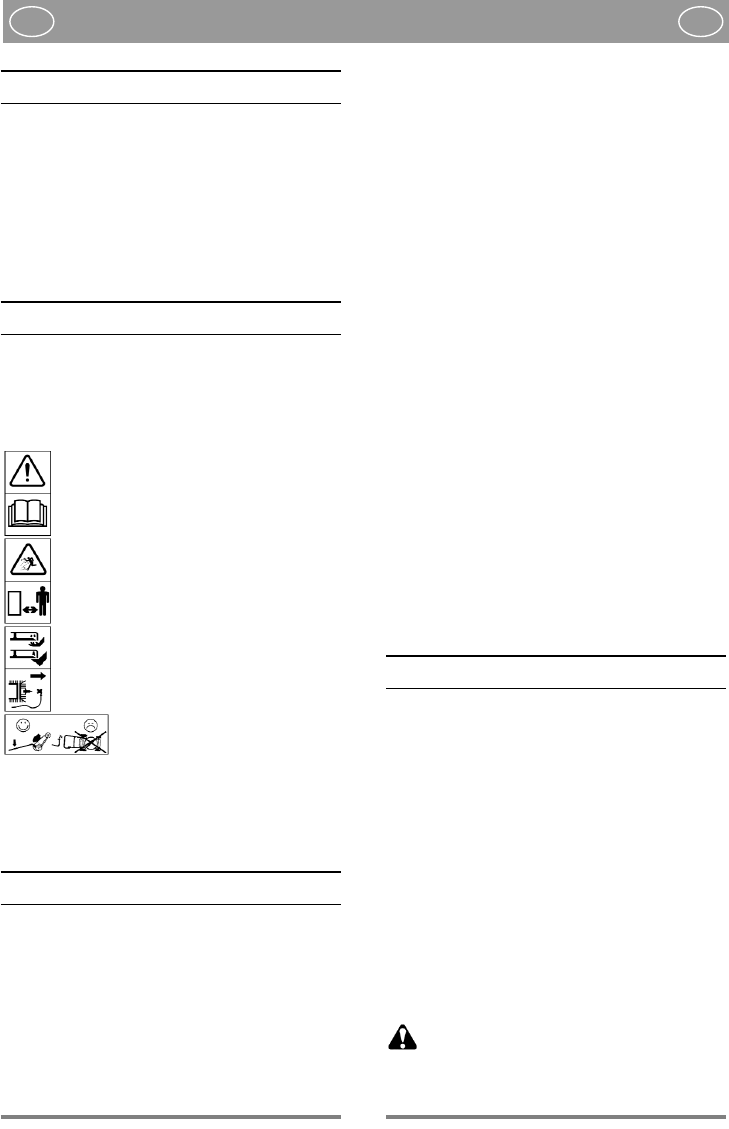
SYMBOLS
The following symbols can be found on the
machine to remind you of the care and attention
that are required during use.
The symbols mean:
Important: Read the instruction handbook
before using the
Warning! Keep onlookers away. Beware of
objects being flung out.
Warning! Keep hands and feet clear of the
cutting deck when the machine is running.
Before starting any repair work, remove
the spark plug cable from the spark plug.
Warning! Always tilt the lawn-
mower backwards when cleaning
the underside. Petrol and oil can run out if the
lawnmower is tilted in the other direction.
INSTALLATION
NOTE - The machine can be supplied with some
parts already assembled.
WARNING - Unpacking and completing the
assembly should be done on a flat and stable
surface, with enough space for machine han-
dling and its packaging, always making use of
suitable equipment.
Disposal of the packaging should be done in
accordance with the local regulations in force.
EJECTION SHIELD
Under no condition must the machine be started
without the ejection shield being fitted on the
machine. If it is not fitted, stones and other flying
objects may easily be ejected by the rotating blade.
The parts for assembly of the ejector shield are
attached to the packaging. Remove the parts and
assemble the ejector shield according to fig. l.
Tighten the screws securely.
HANDLEBAR
1. Set the highest cutting height (position 4, see
also under heading “CUTTING HEIGHT”)
2. The parts used for installation of the lower sec-
tion of the steering handle are installed in a
package. Remove the parts from the lower hole
on the chassis. Then fold the lower section of
the steering handle up and fit the parts. NOTE
that the washer A should be fitted between the
screw and the plastic bushing (fig. 2).
3. Fold the upper section of the steering handle up
and tighten the lock knobs (fig. 2).
4. Attach the starter handle to the eyelet on the
steering handle (fig. 3).
CABLE HOLDER
Secure the cables in the cable holders E (fig. 4):
USING THE MOWER
STARTING THE ENGINE
1. Place the lawnmower on flat, firm ground. Do
not start in long grass.
2. Make sure the spark plug cable is connected to
the spark plug.
3. Press in the Start/Stop loop G towards the han-
dle. NOTE! The Start/Stop loop G must be kept
pressed in to prevent the engine stopping (fig.
5).
4. Grasp the starter handle and start the engine by
pulling briskly on the starter cord.
5. For the best mowing results, the engine should
always be driven at full throttle.
STOPPING THE ENGINE
The engine may be very warm immediate-
ly after it is shut off. Do not touch the
silencer, cylinder or cooling flanges. This can
cause burn injuries.