106
Index
Numeric
1080i/576i.............................70
16:9.......................................69
21-pin adaptor.......................42
2ch STEREO ........................62
4:3.........................................69
576i.......................................70
5.1ch SURROUND ..............62
5.1ch surround recording......28
A
AC Adaptor ....................14, 15
ADD by date.........................50
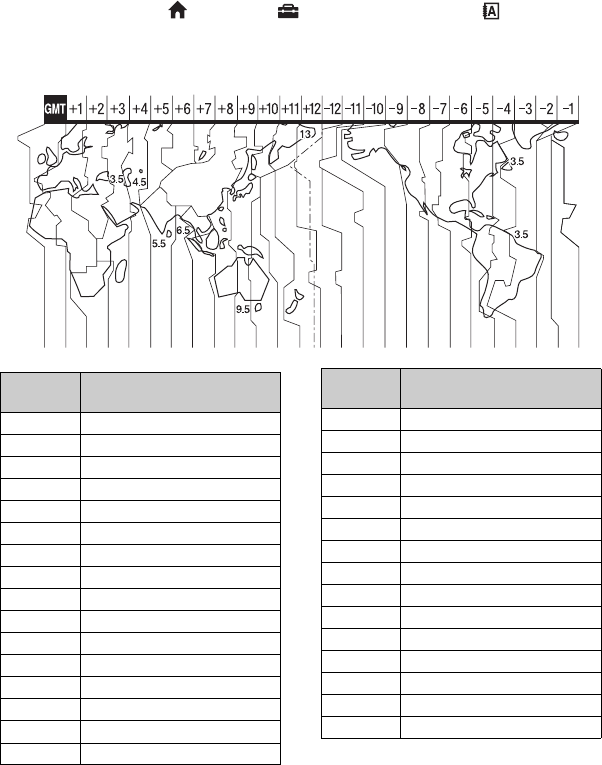
AREA SET...........................70
AUDIO MODE ....................62
AUTO SLW SHUTTR (Auto
Slow Shutter)..................63, 84
AVCHD format ............92, 105
A.SHUT OFF (Auto shut off)
..............................................71
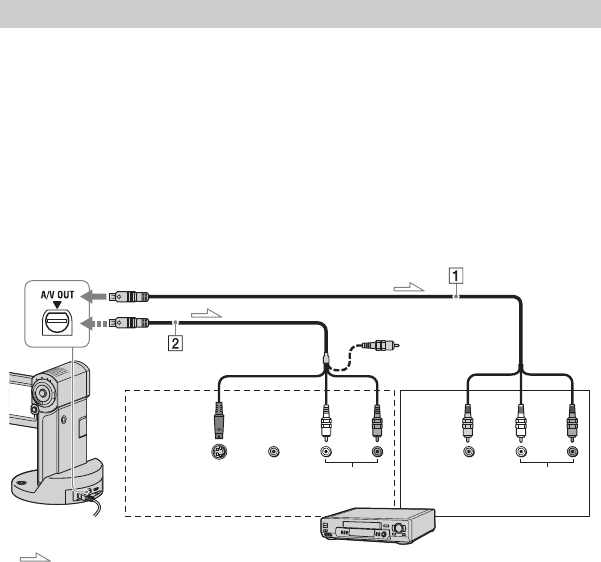
A/V connecting cable
..................................14, 41, 52
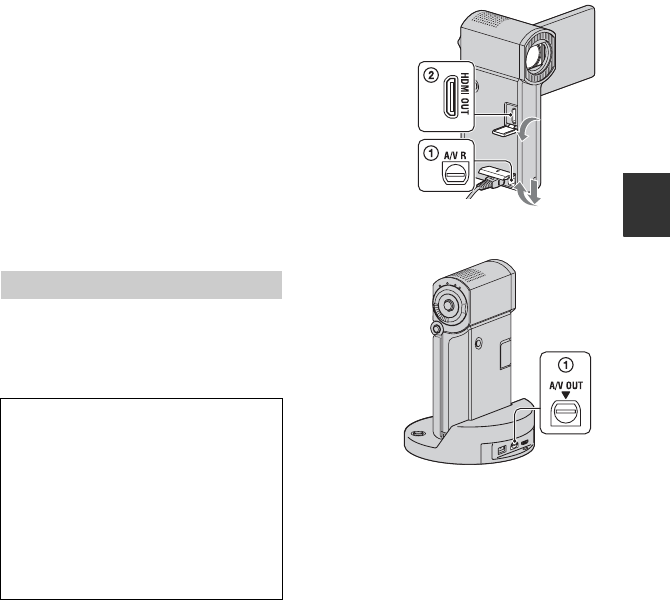
A/V OUT jack ......................37
A/V Remote Connector ........37
B
Backup........See Saving images
Battery pack..........................15
BEACH ................................76
BEEP ....................................68
BLACK FADER ..................77
BLT-IN ZOOM MIC (Built-in
zoom microphone)................78
“BRAVIA” Sync ..................42
B&W (Black and white).......77
C
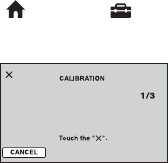
CALIBRATION...................96
CAMERA DATA.................67
CANDLE..............................75
CD-ROM..............................14
Charging the battery............. 15
Charging time ...................... 17
CLOCK SET........................ 19
CLOCK/LANG.................... 70
COLOR SLOW SHTR (Color
Slow Shutter) ................. 77, 84
COMPONENT..................... 70
Component A/V cable
................................. 14, 39, 41
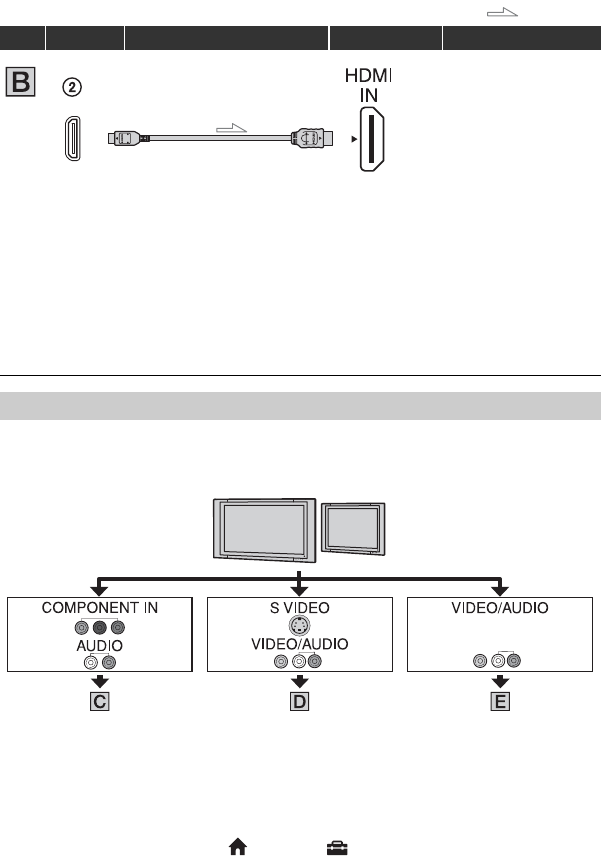
Connection
4:3 TV........................... 40
DVD/HDD recorders.... 52
High definition TV ....... 39
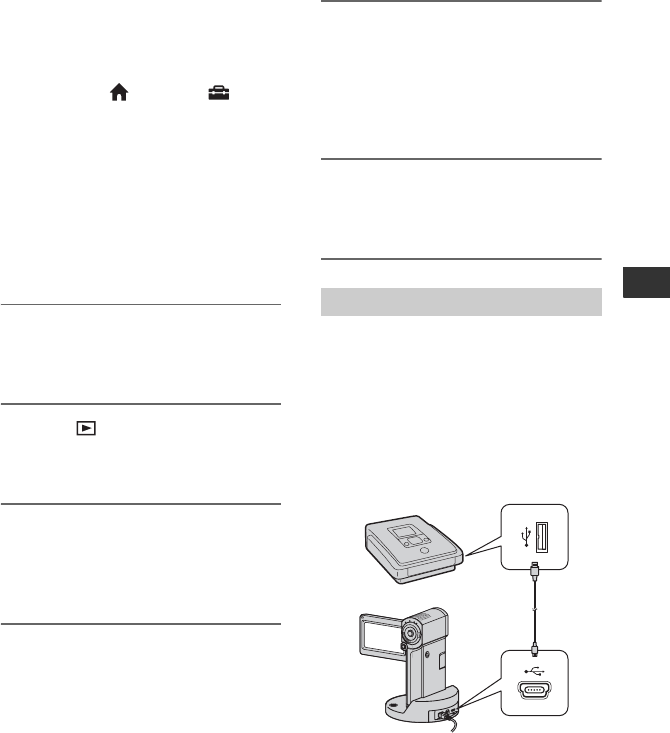
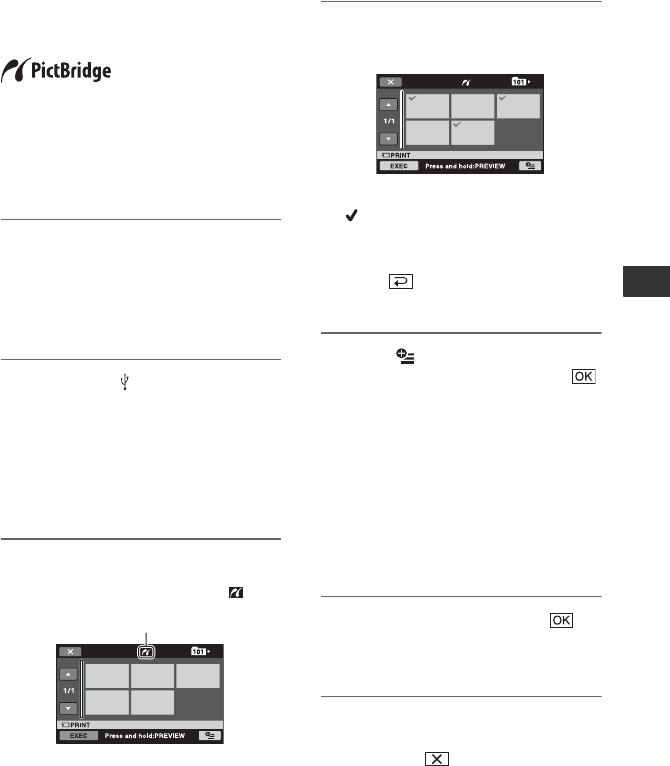
Printer ........................... 55
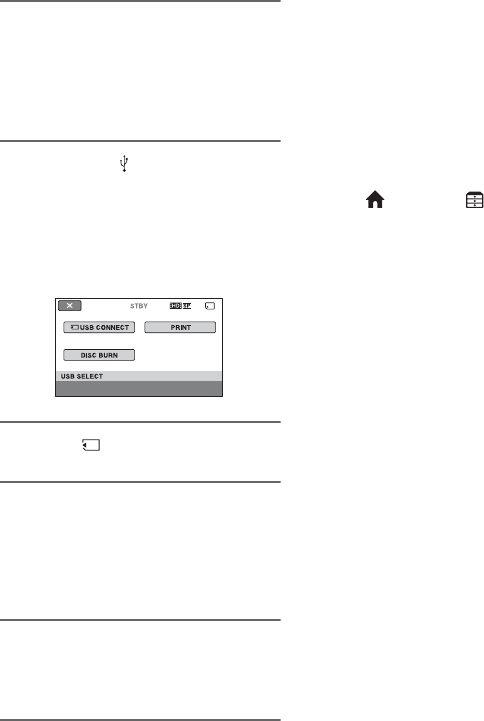
USB device................... 53
VCR.............................. 52
Wide TV ....................... 40
CTRL FOR HDMI (Control for
HDMI) ................................. 71
D
DATA CODE .............. 67, 104
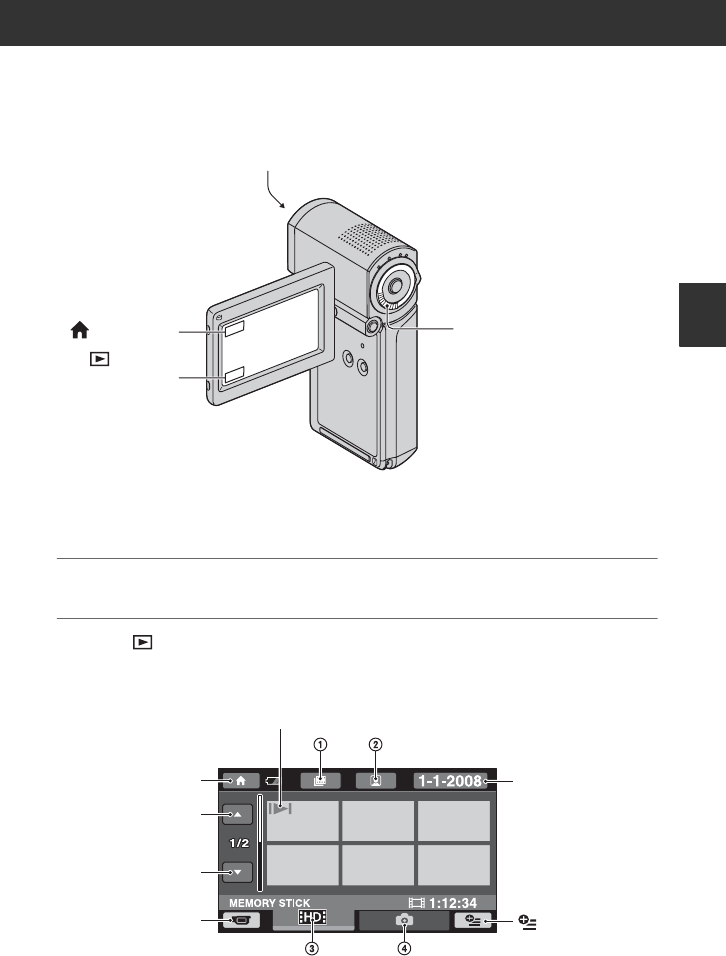
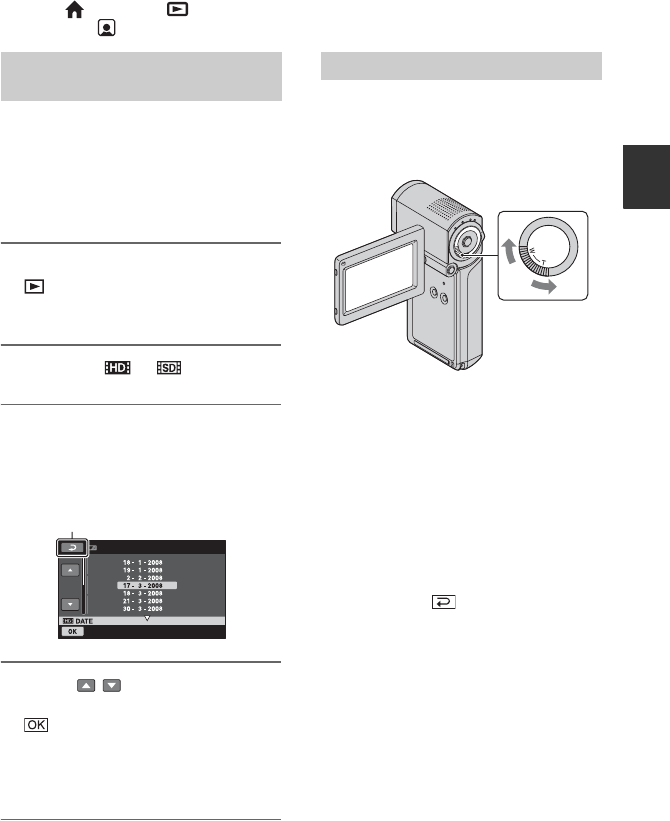
Date Index............................ 35
DATE/TIME................ 67, 104
DC IN jack ........................... 15
Dedicated USB Terminal
Adaptor .................. 14, 54, 101
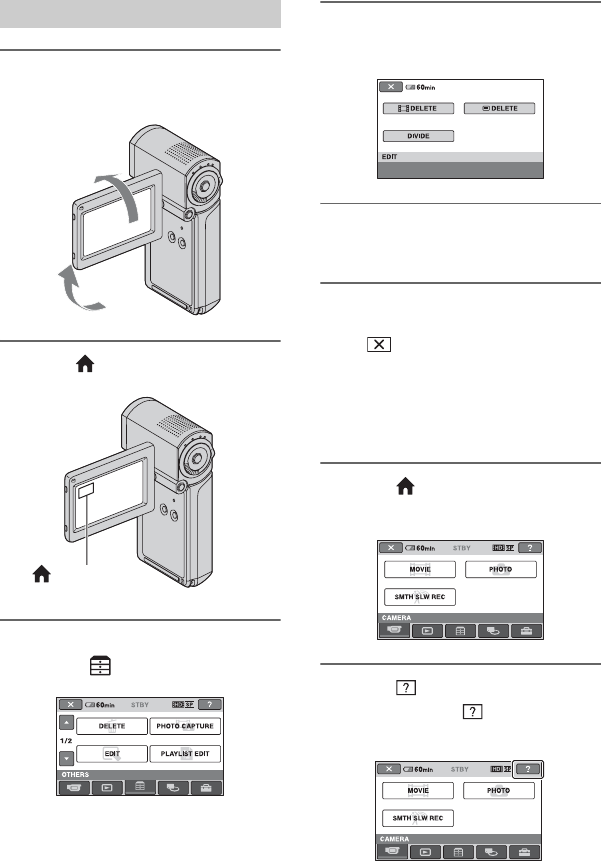
DELETE .............................. 46
DELETE ALL .............. 46
DELETE by date .......... 46
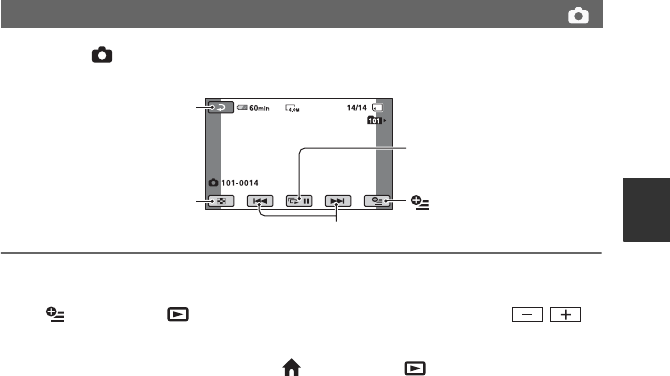
Still image..................... 47
DEMO MODE..................... 71
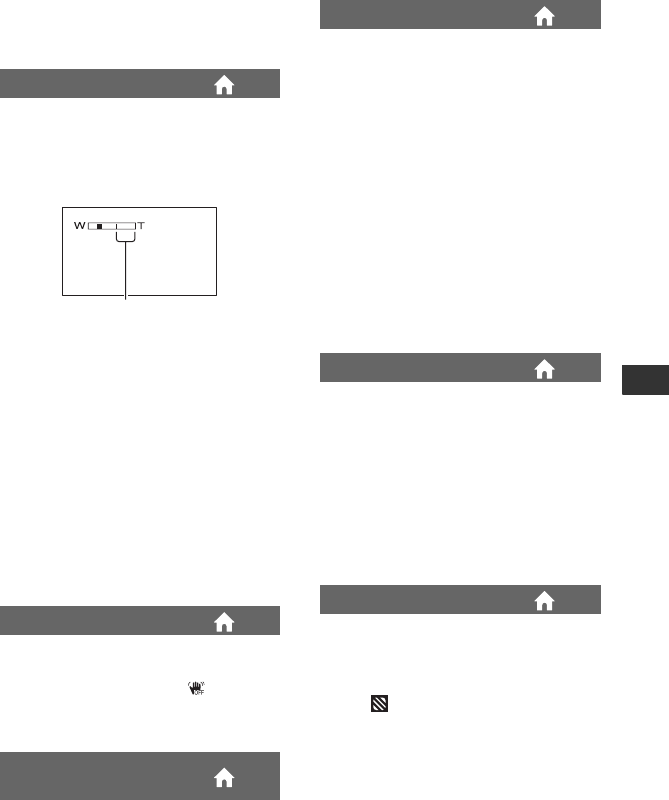
DIGITAL ZOOM ................ 63
DISP OUTPUT.............. 70, 85
DISPLAY............................. 68
Display indicators .............. 103
DIVIDE................................ 48
Dolby Digital 5.1 Creator .... 28
Dual Rec .............................. 29
D.EFFECT (Digital effect)
....................................... 77, 84
E
Easy Handycam operation....22
Editing ..................................45
EXPOSURE .........................75
F
FACE DETECTION ......65, 85
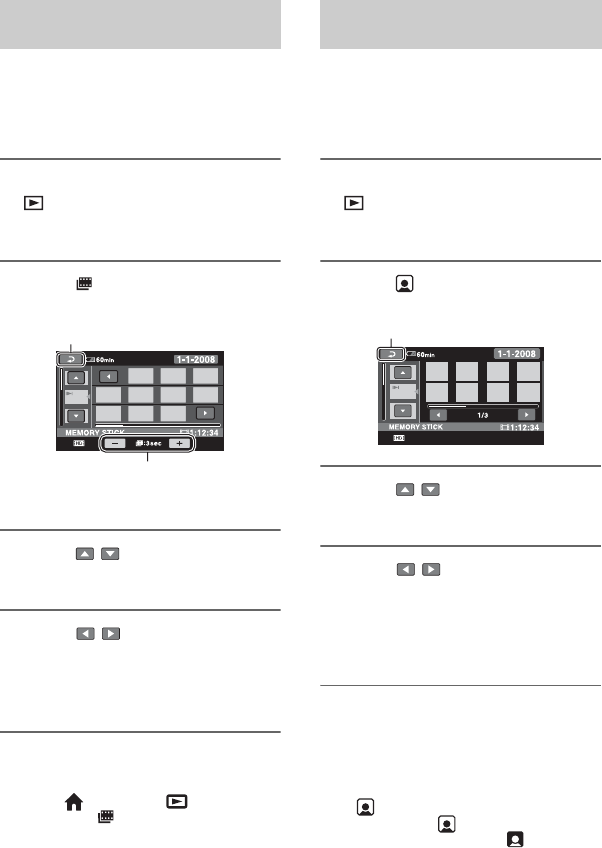
Face Index ............................ 34
FADER...........................77, 84
FH.........................................62
File........................................91
FILE NO. (File number).......66
Film Roll Index ....................34
FIREWORKS.......................75
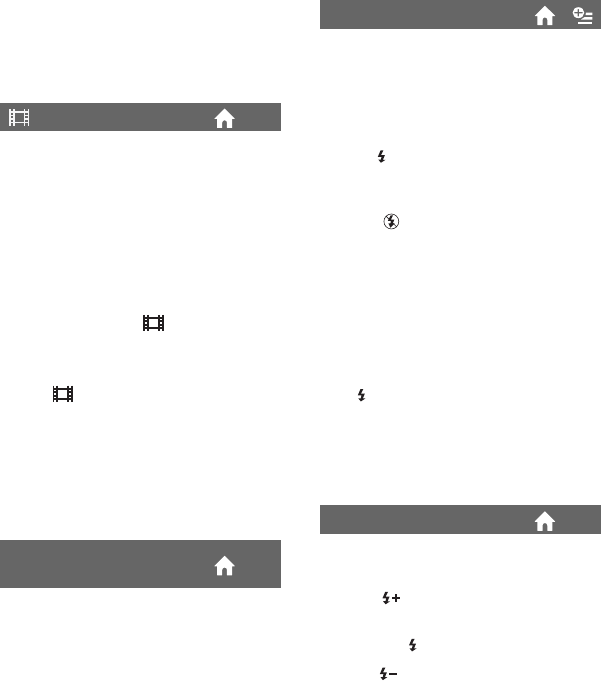
Flash .....................................81
FLASH LEVEL....................64
FLASH MODE ....................64
FOCUS...........................74, 82
Folder ...................................91
Fragmentation.....................105
Full charge............................17
G
GENERAL SET ................... 71
GUIDEFRAME....................63
H
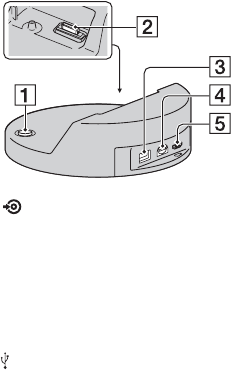
Handycam Station ................15
HD (high definition) image
quality.....................................8
HDMI cable..........................40
HD/SD SET..........................57
HELP....................................12
High Definition TV .............. 39
Holding the camcorder .........26
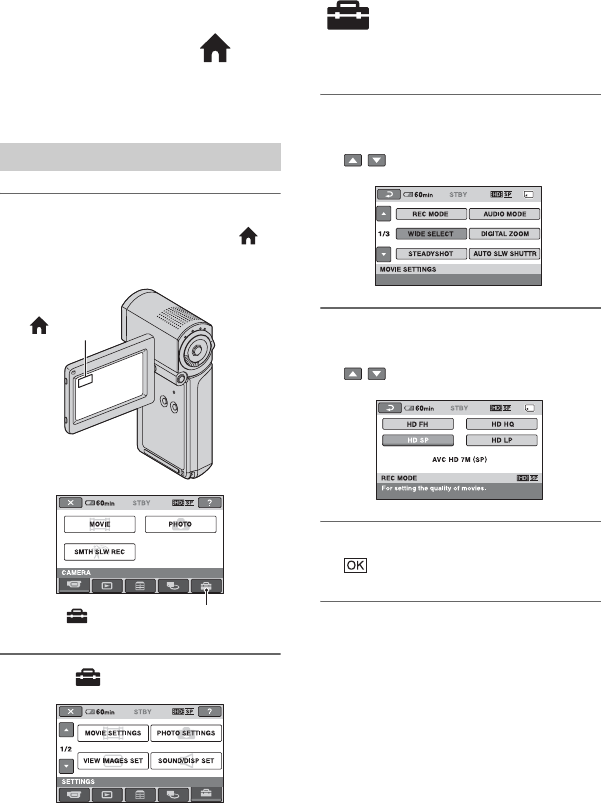
HOME MENU ...............11, 60
CLOCK/LANG.............70
GENERAL SET............ 71
MOVIE SETTINGS...... 62
OUTPUT SETTINGS...69
PHOTO SETTINGS .....66