OPERA
Contents .........................................................................................1
Dear SHARP customer
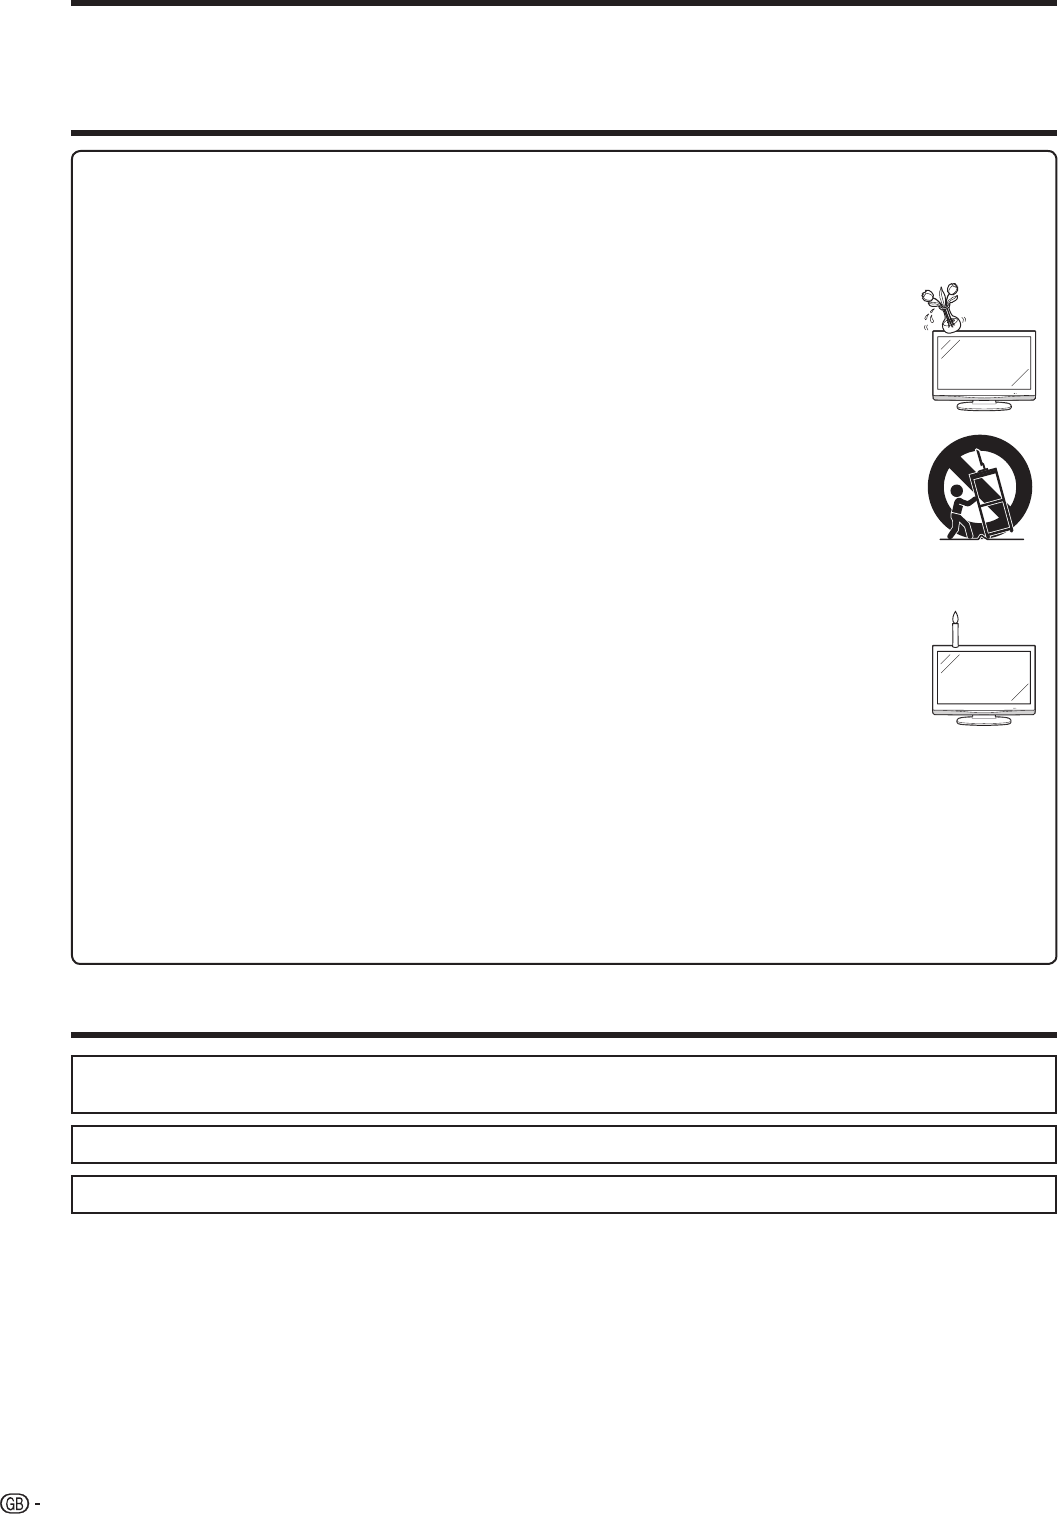
Important Safety Precautions
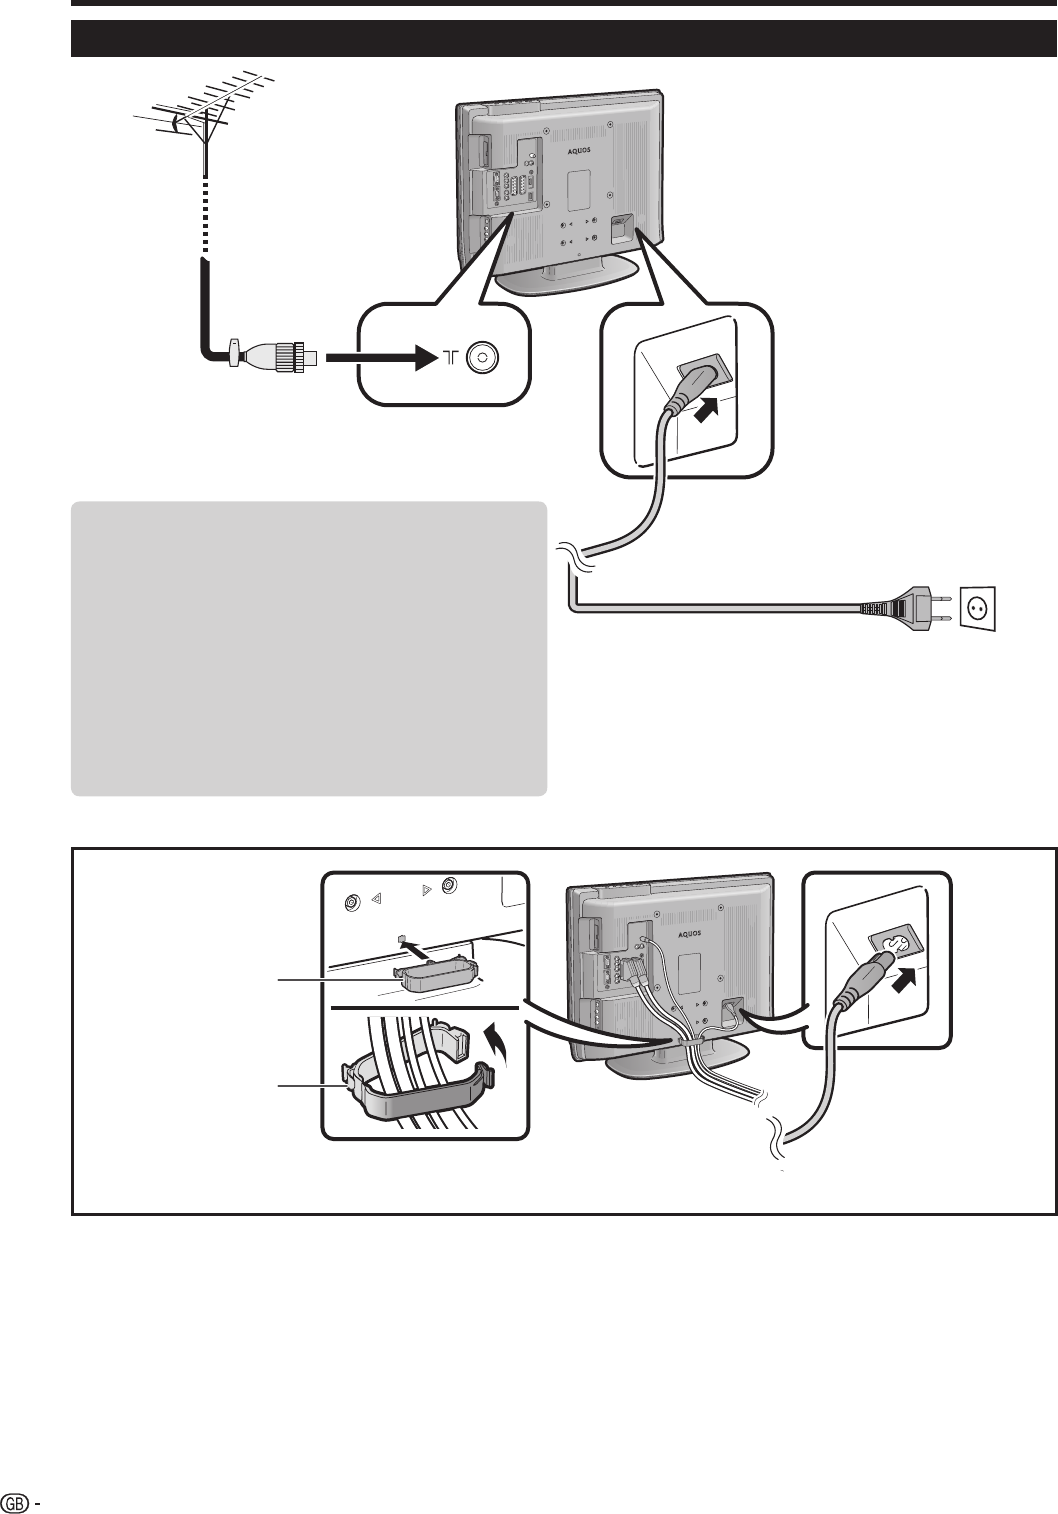
T
Supplied accessories
Quick guide
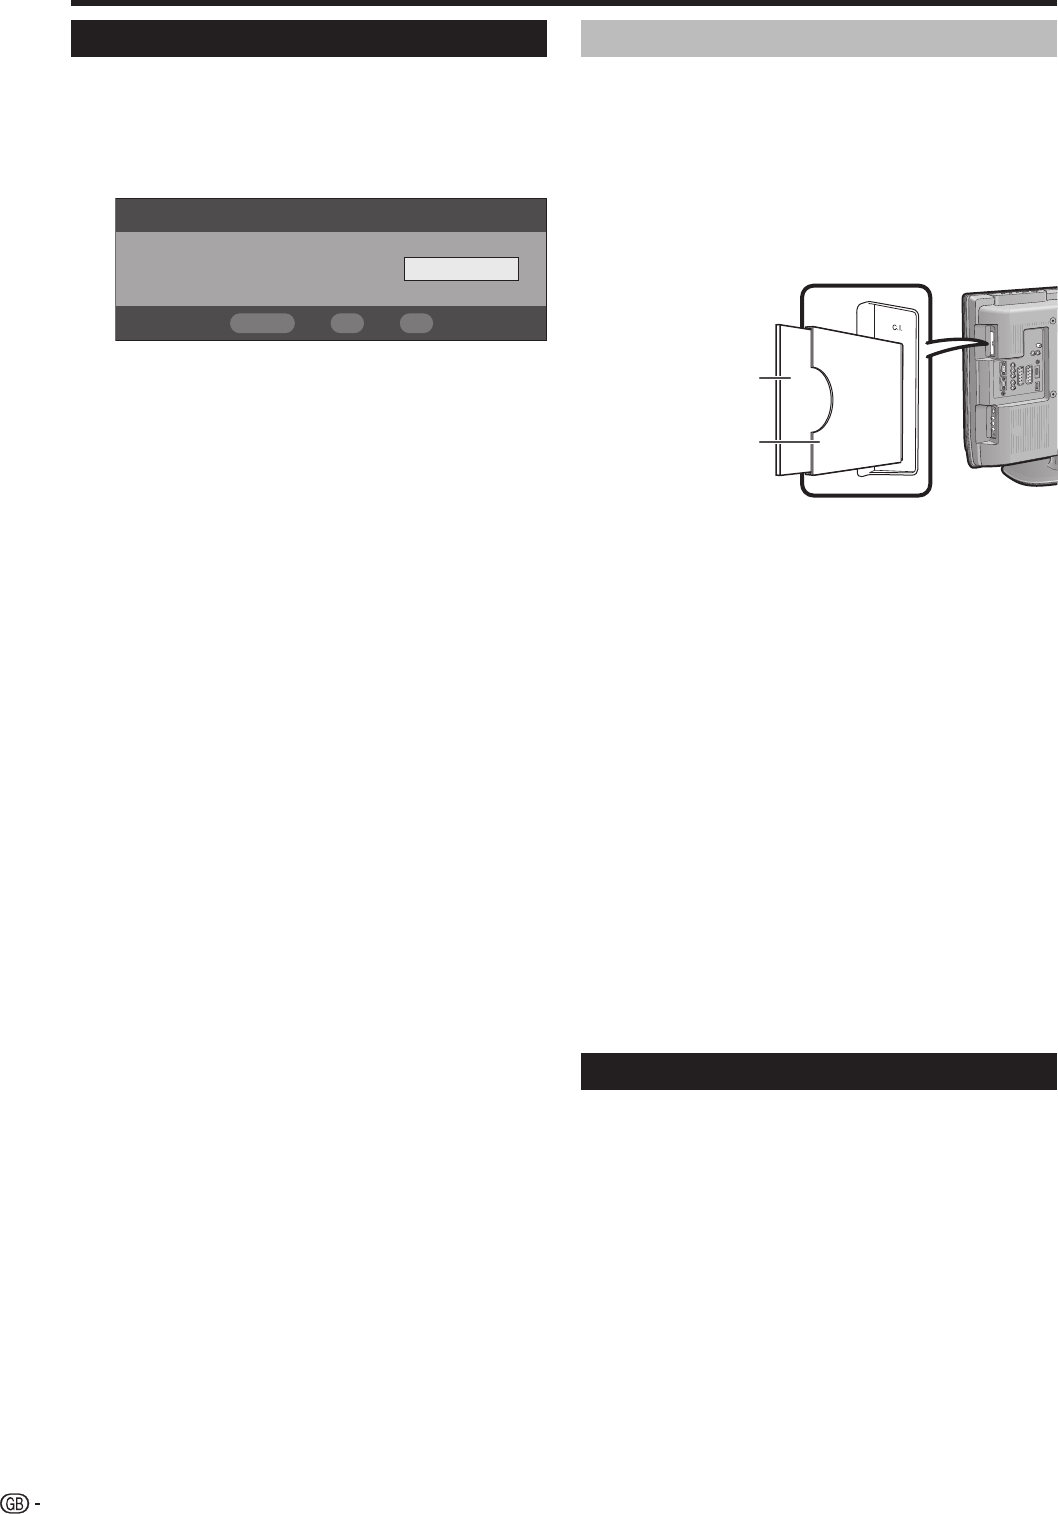
Attaching the stand
Setting the TV
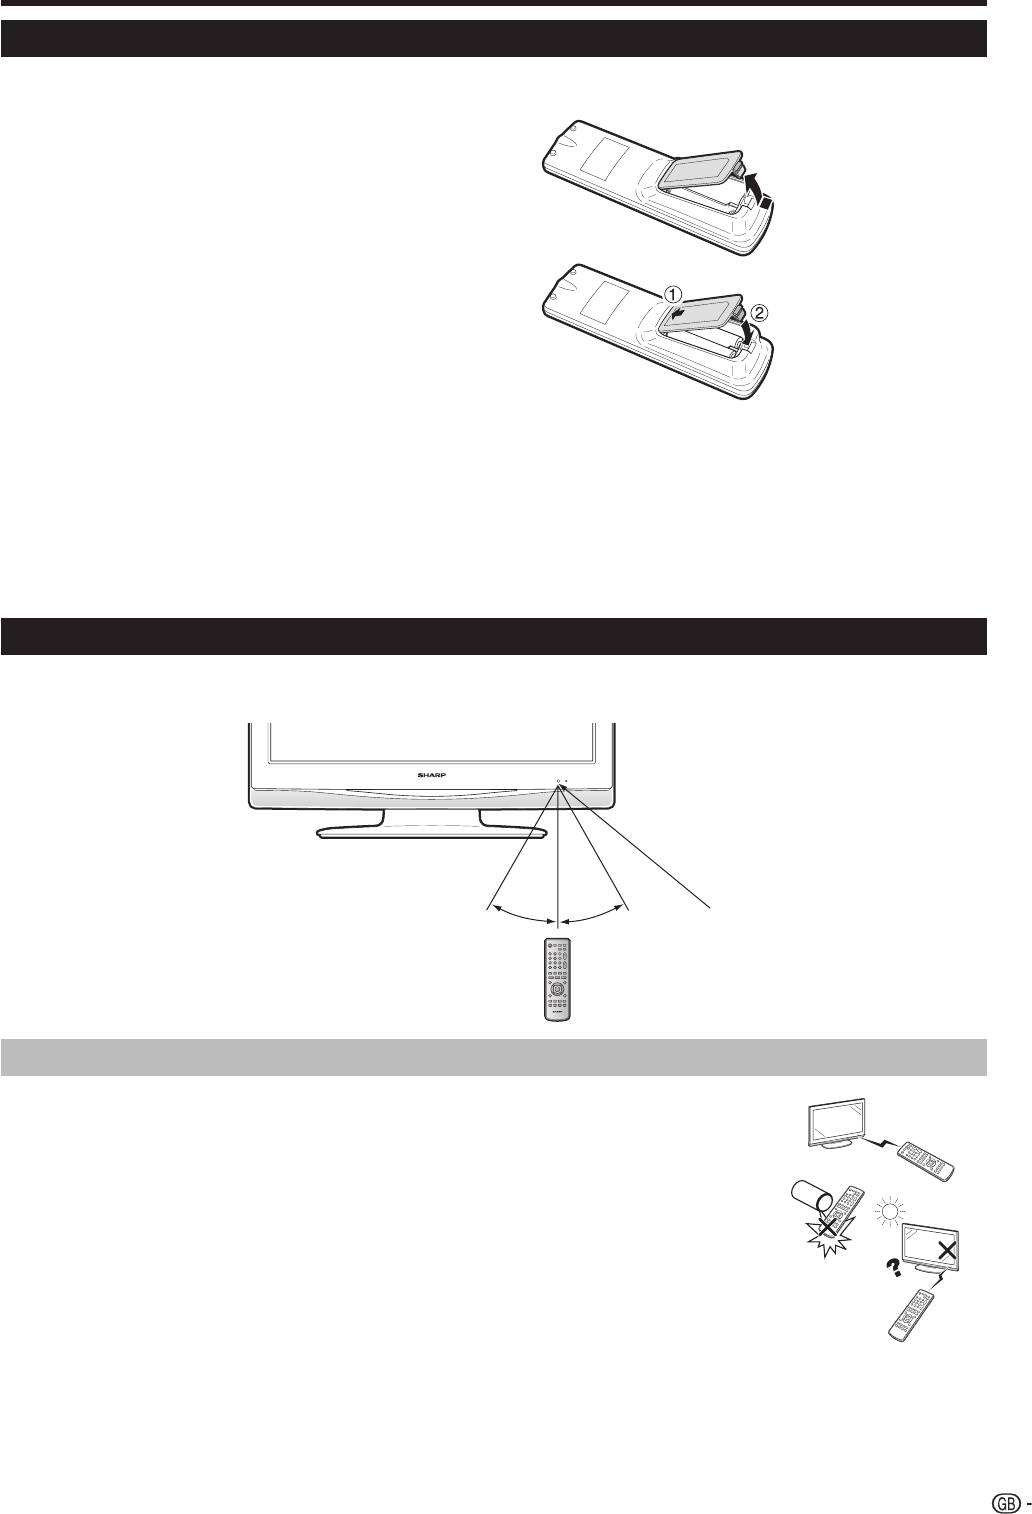
Inserting the batteries
Using the remote contr
Cautions regar
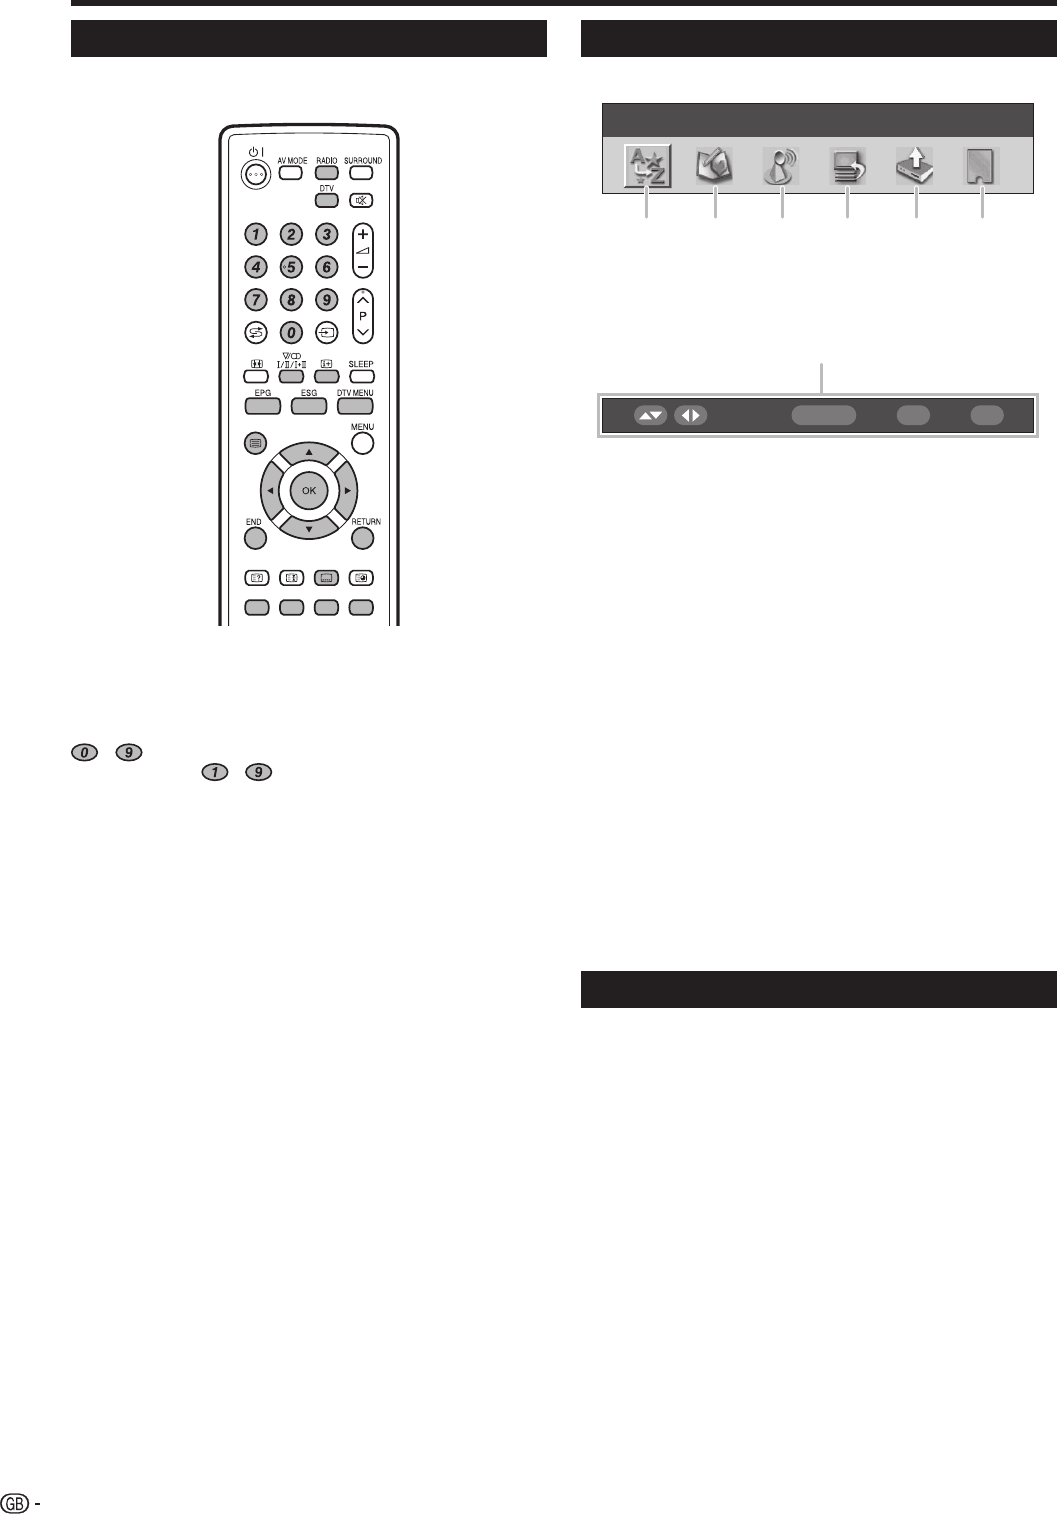
Remote control unit...................................................................6
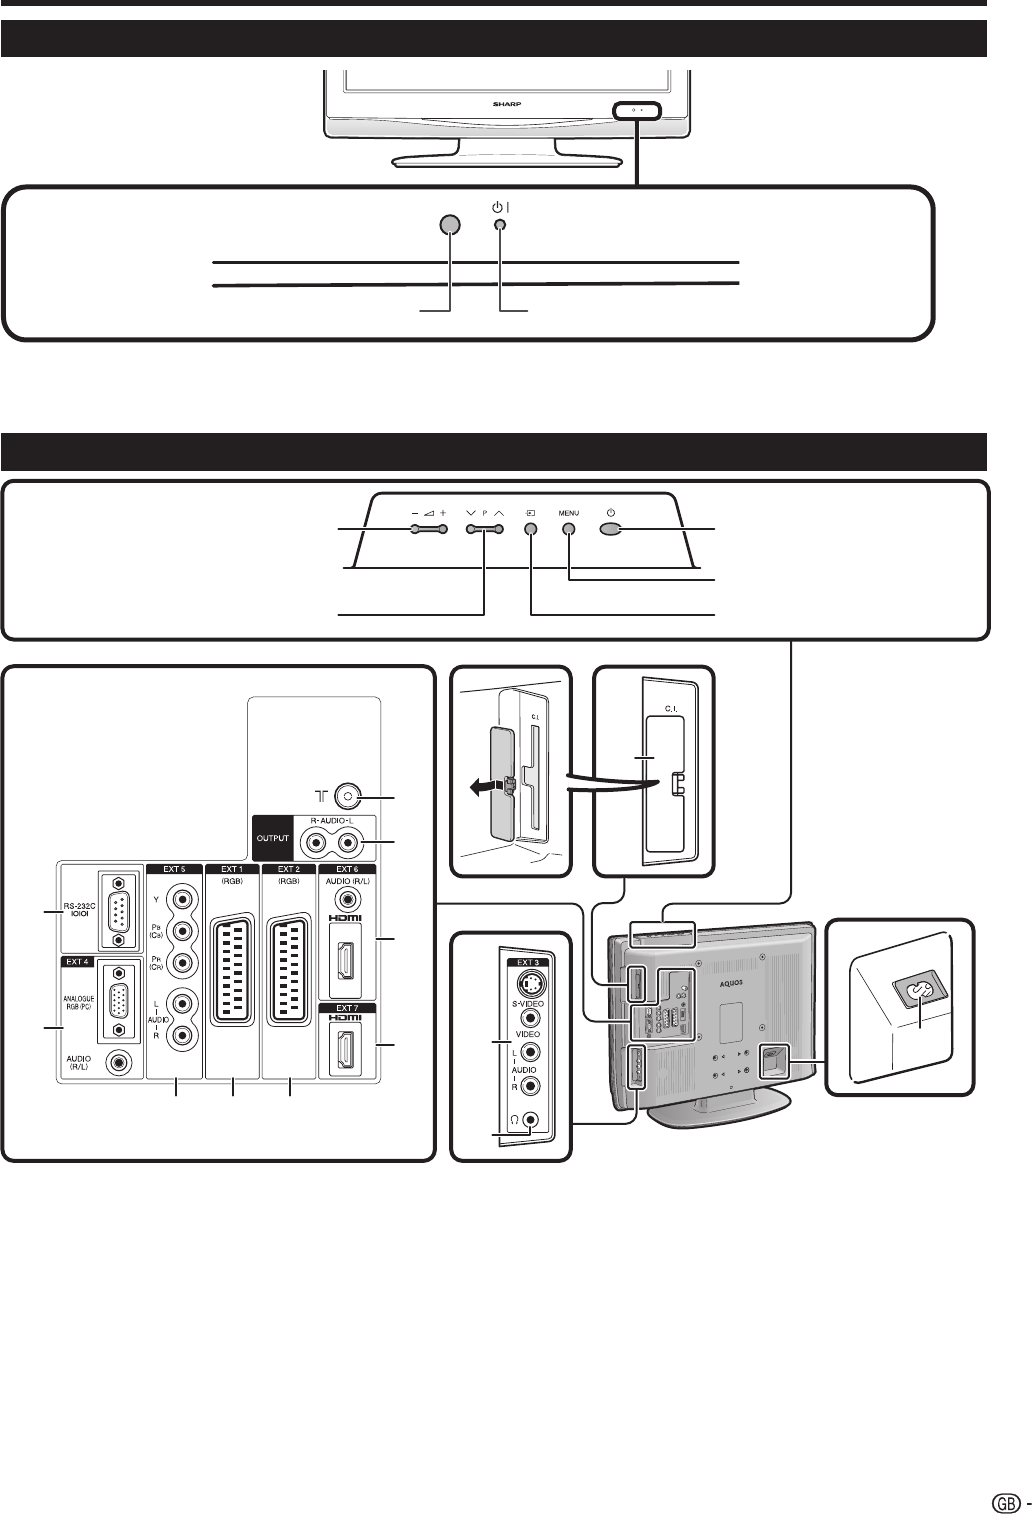
TV (Front view)
TV (Rear view)
T
Standby mode
Initial auto installation (Analogue)
Using the analogue programme list
Initial auto installation (DTV)
Using external equipment.............................................................
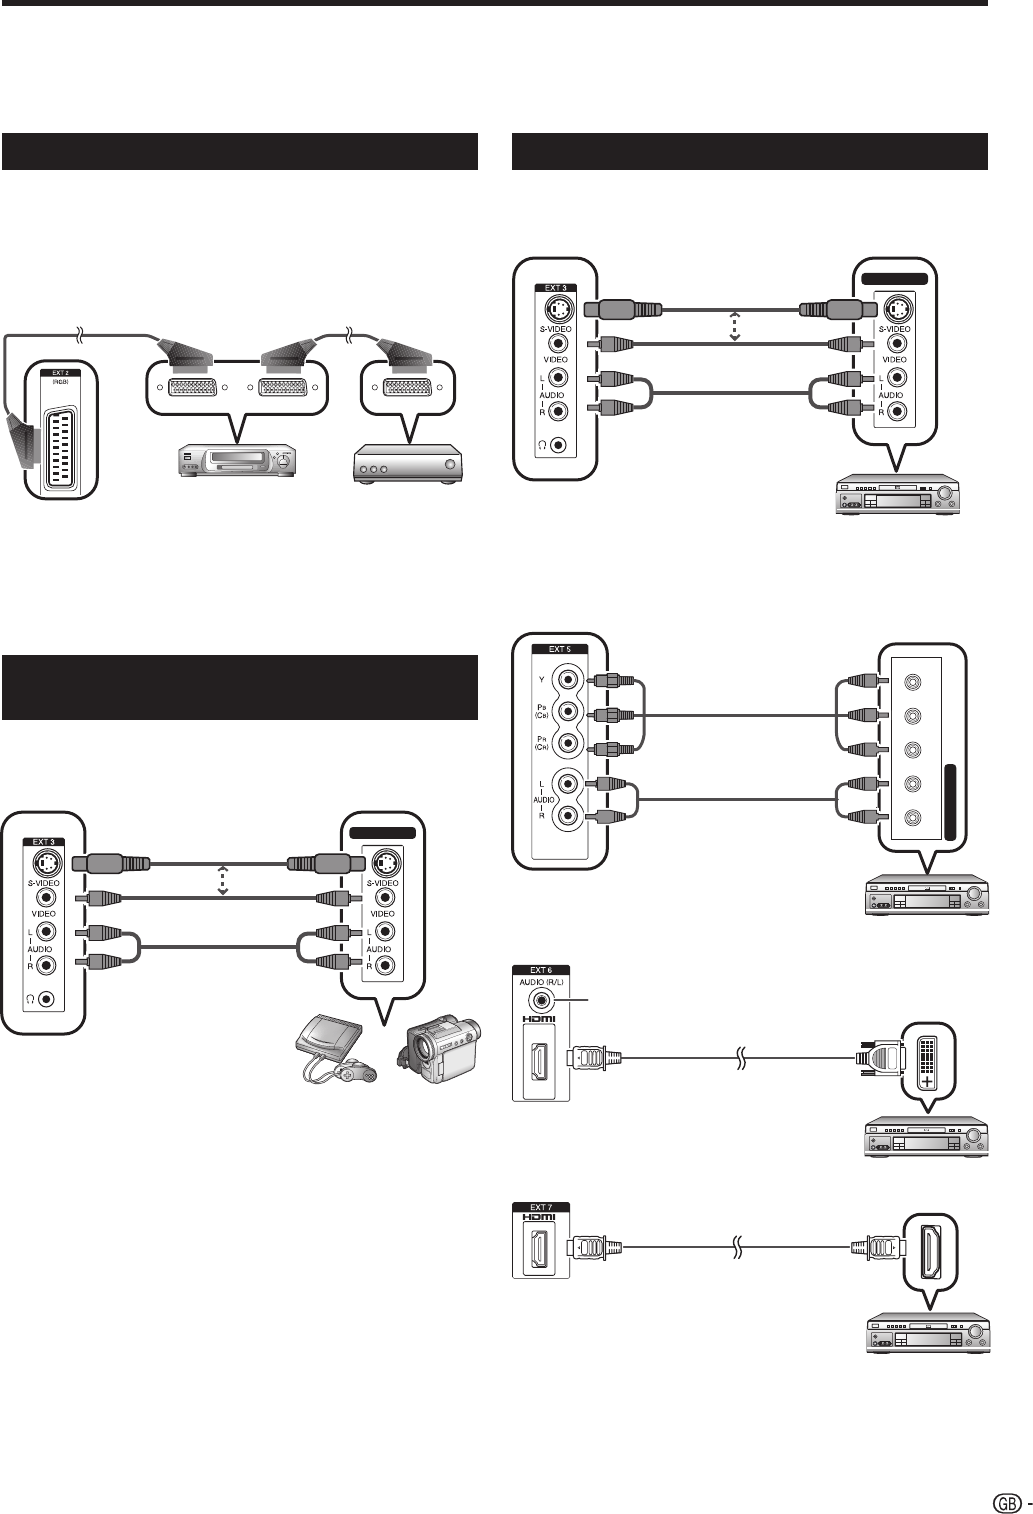
Connecting a VCR
Connecting a game console or camcorder
Connecting a DVD player
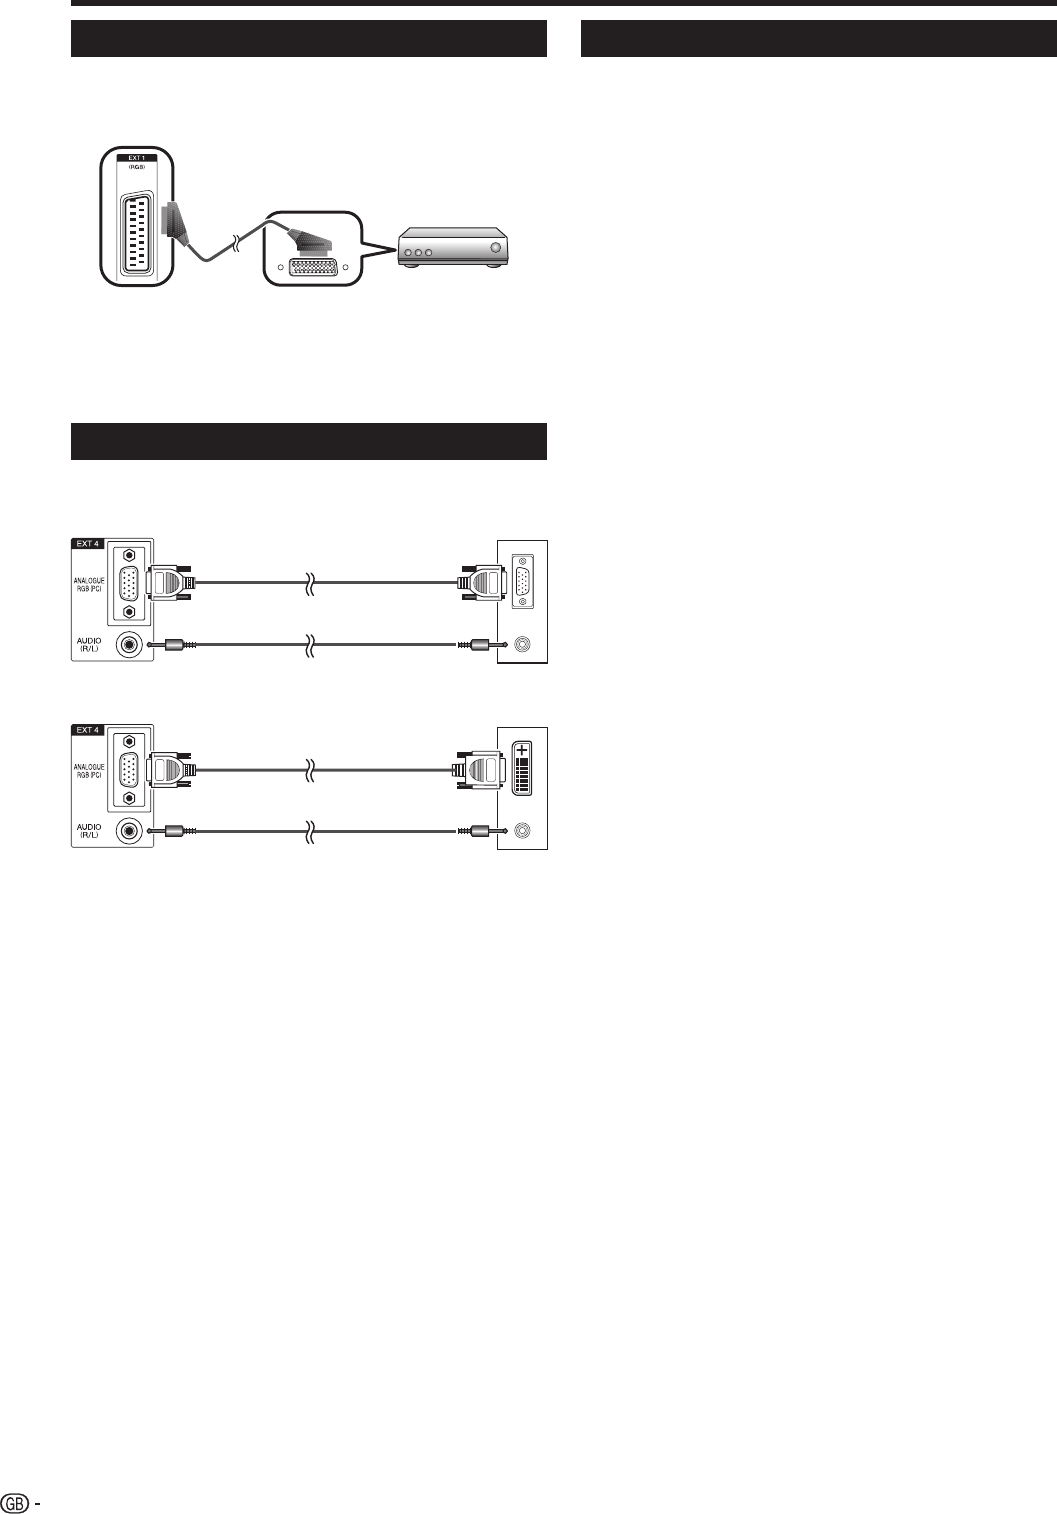
Connecting a decoder
Connecting a PC ....................................................................10
Using A
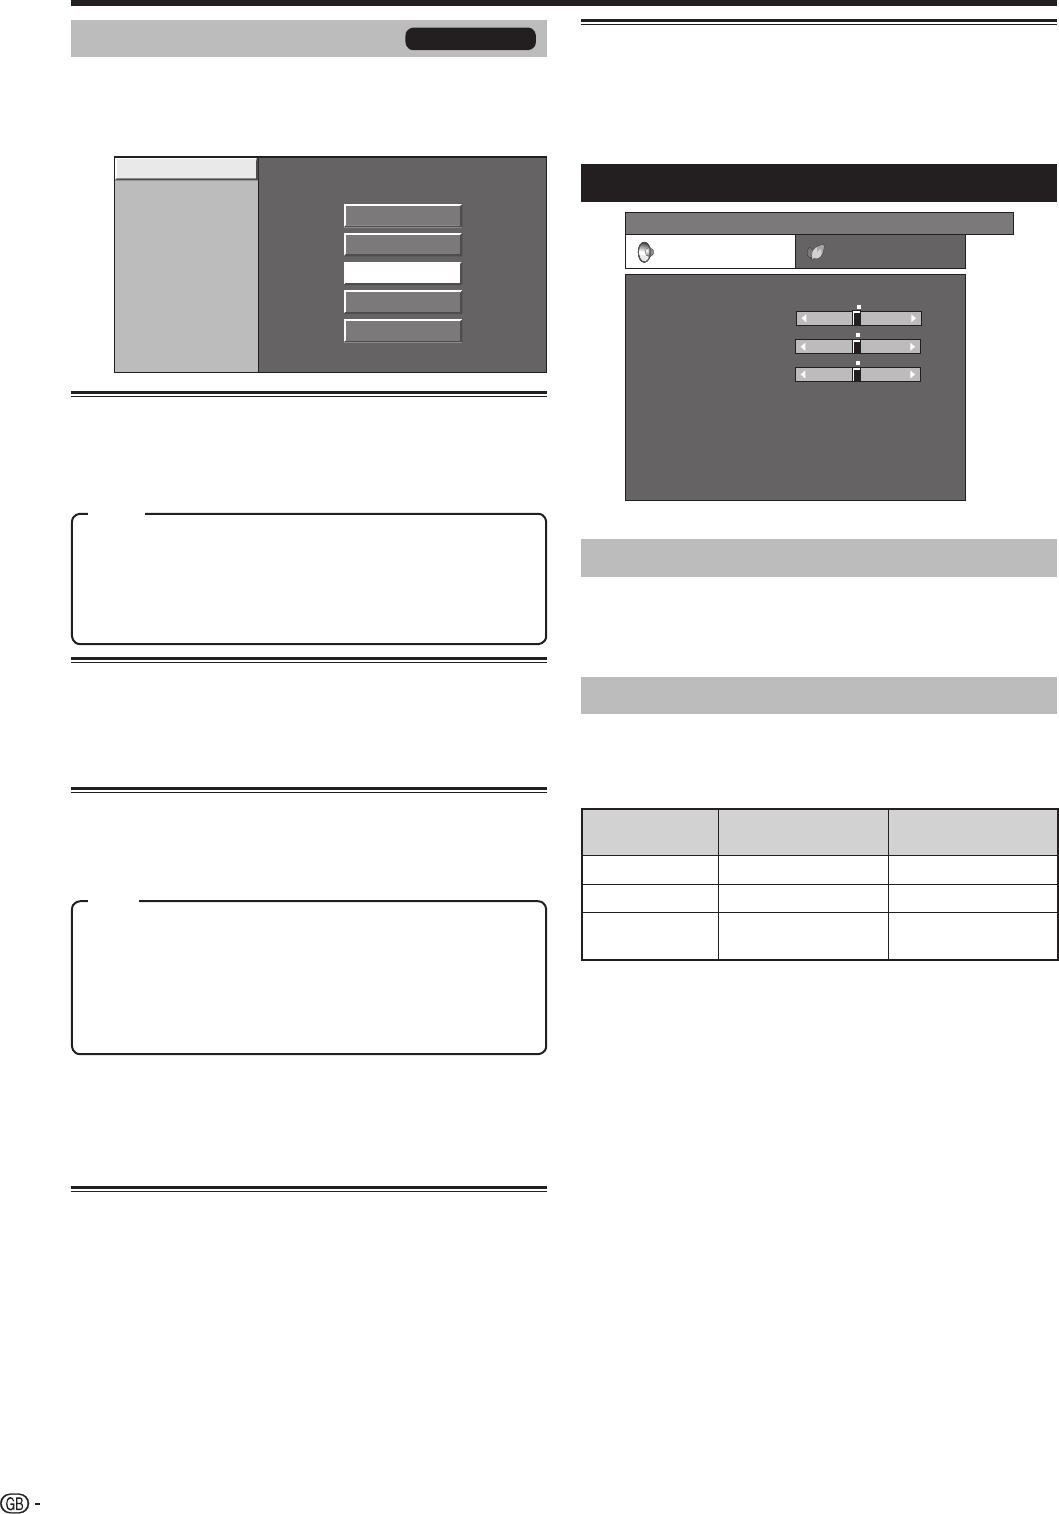
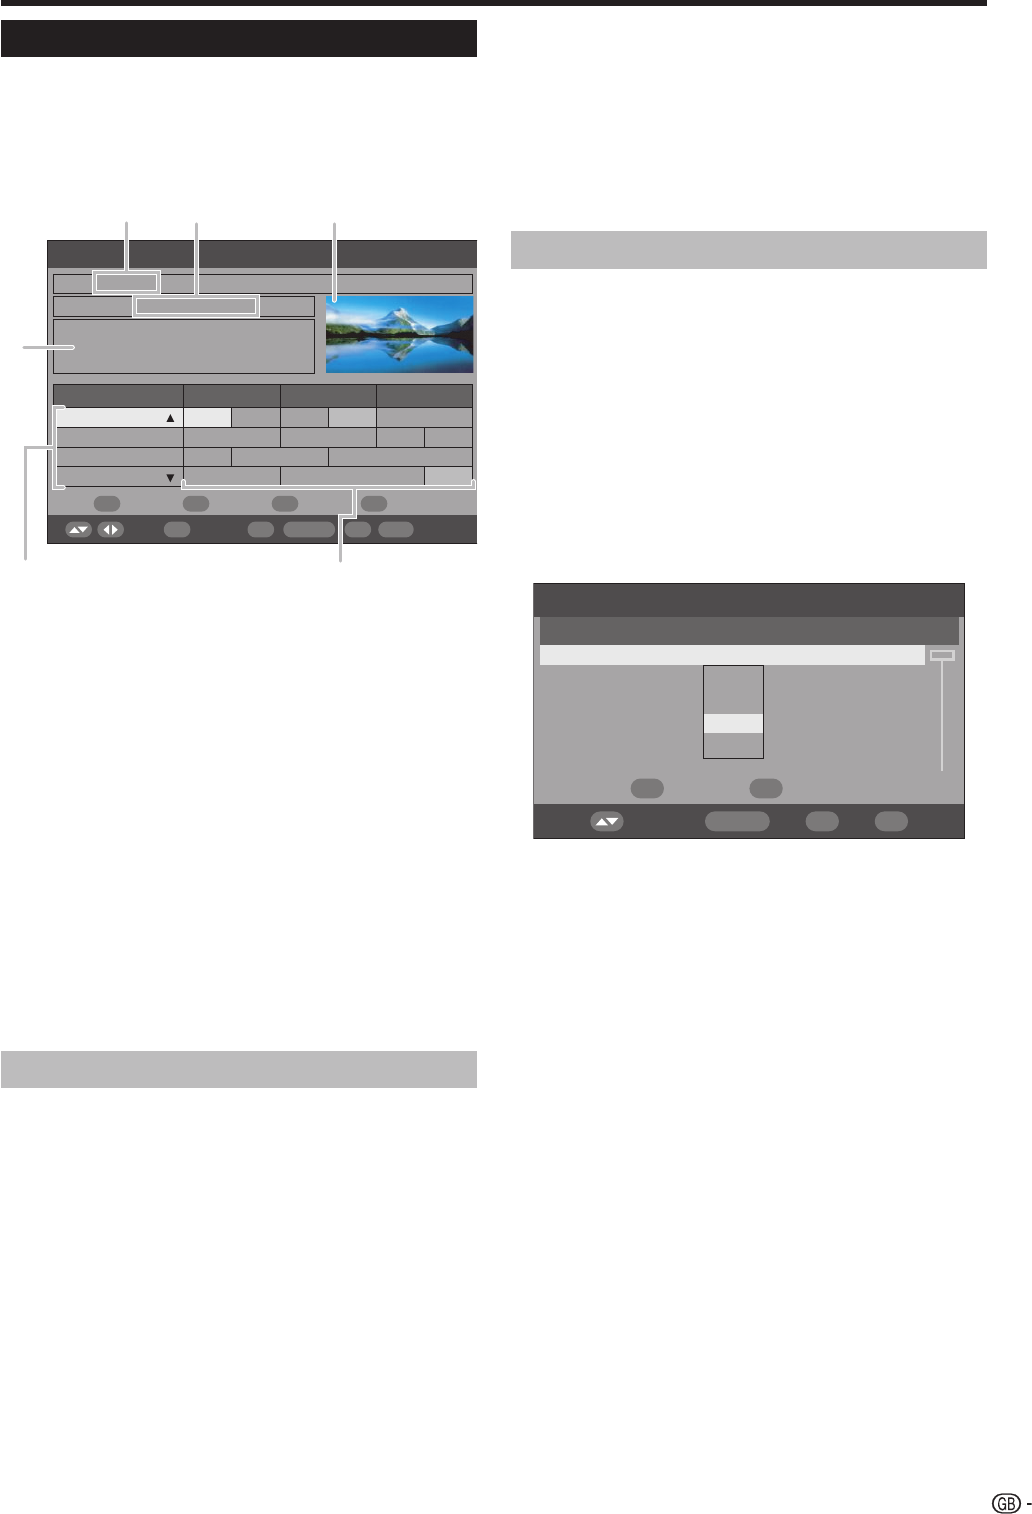
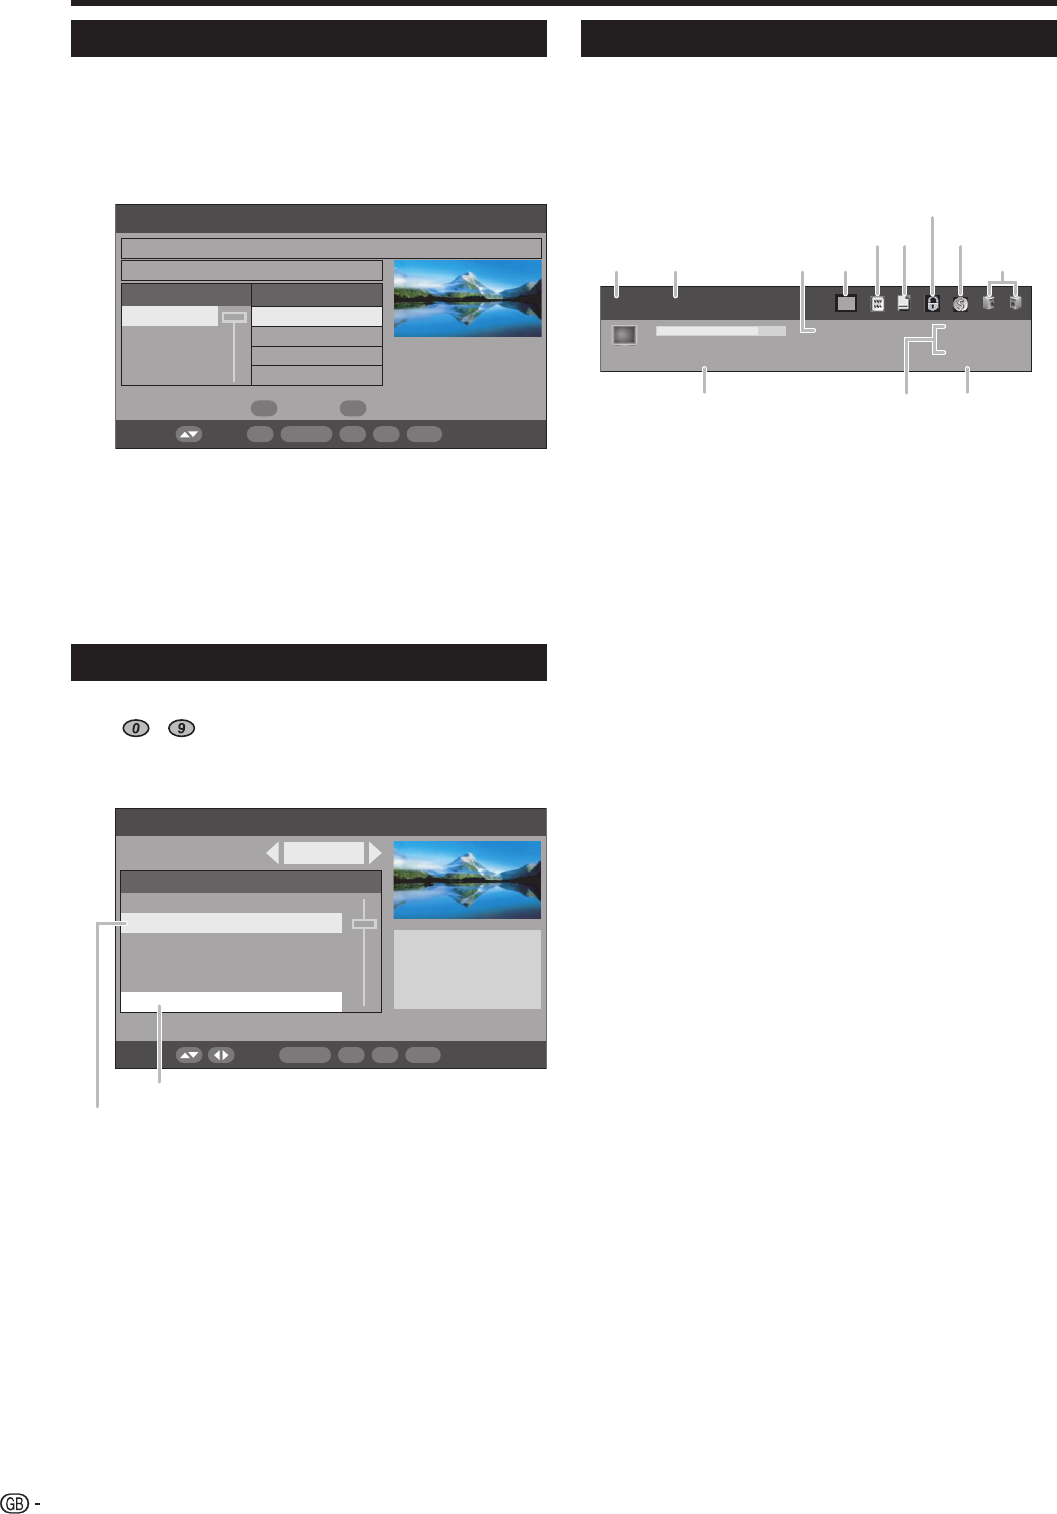
Menu operations
Menu operation buttons
Operation without a remote contr
On-Screen Display
Common operations
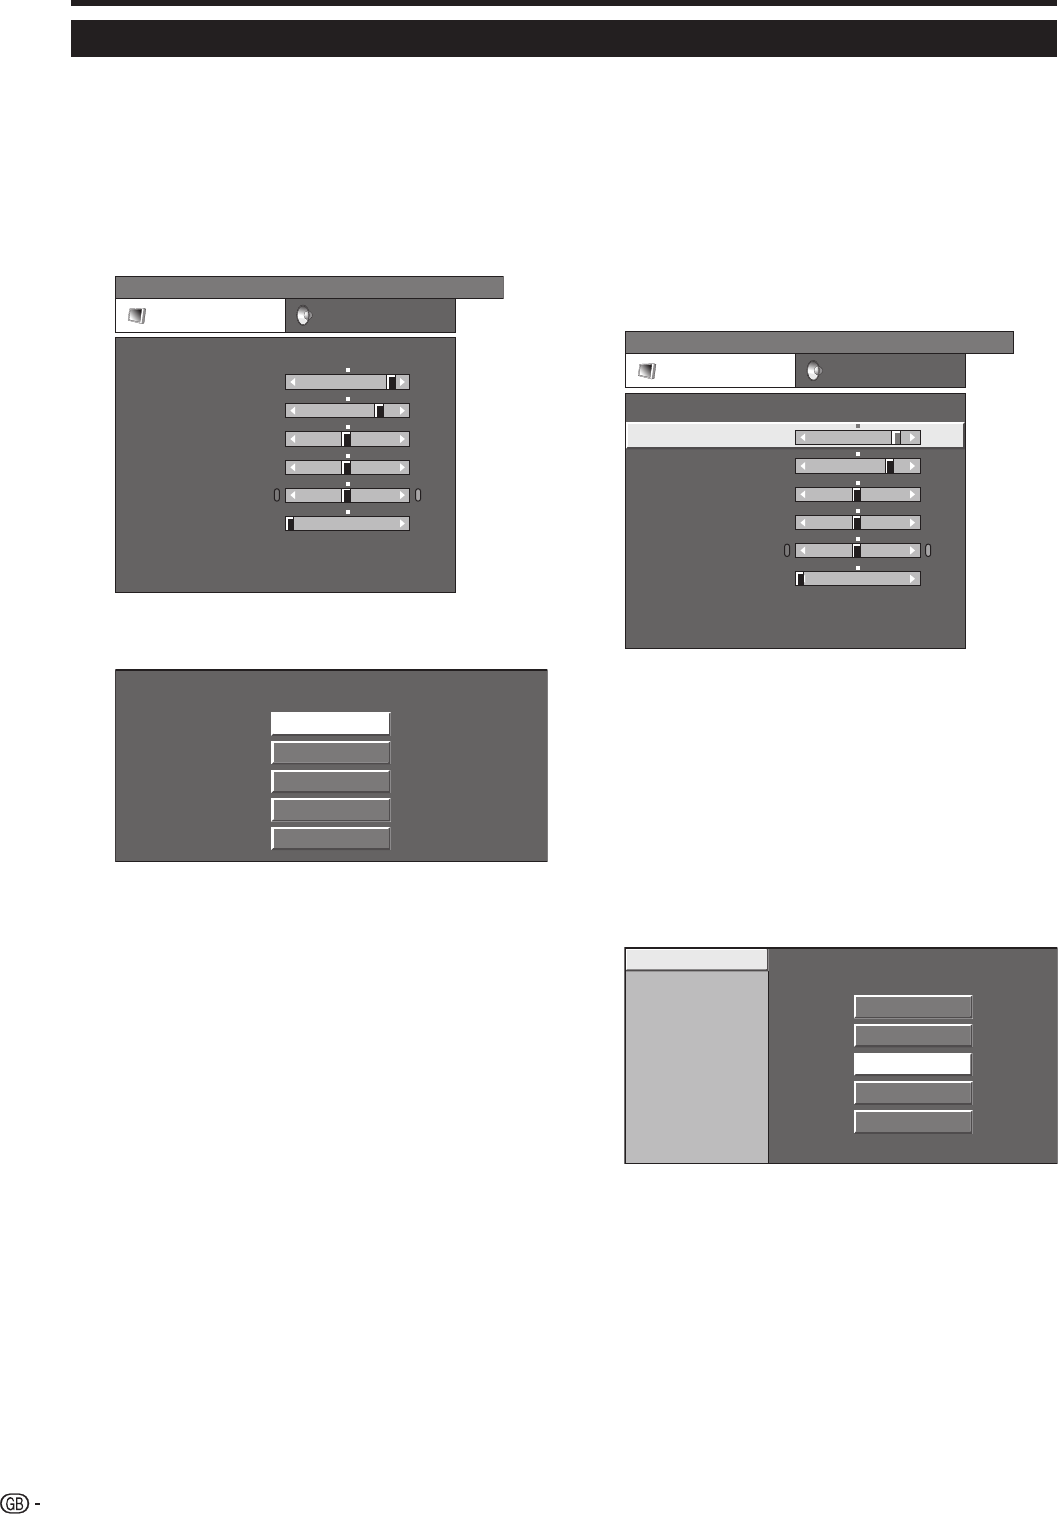
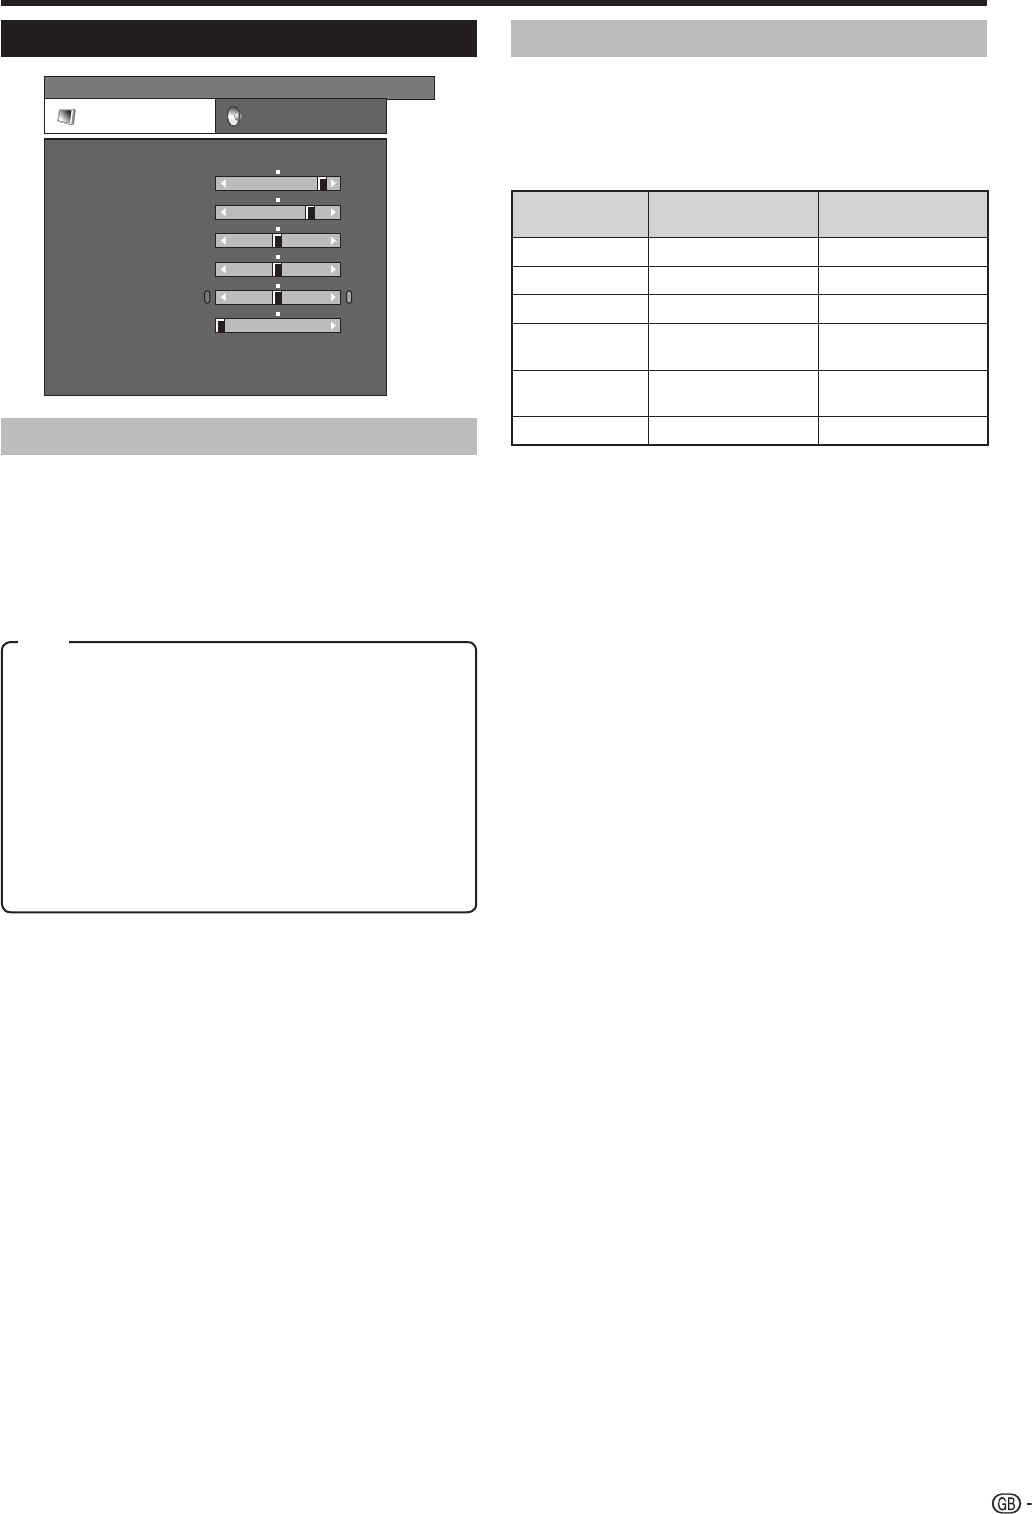
Picture menu
A
Picture adjustments
Advanced ..........................................................................14
Colour T
Black ............................................................................14
3D-Y/C .........................................................................14
Monochrome ................................................................14
Film Mode.....................................................................14
Audio menu
A
Audio adjustments
Surround ...........................................................................15
Auto V
Clear V
Power Control menu
No Signal Off
No Operation Off................................................................15
Power Management ..........................................................15
Setup menu
Auto Installation
Programme Setup
Auto Search
Manual Adjust
Fine .........................................................................16
Colour sys.
Sound sys. (Broadcasting system)
Label .......................................................................16
Skip .........................................................................16
Decoder ..................................................................16
Lock ........................................................................17
Sort ..............................................................................17
Erase Programme
Child Lock
Input Label
Position .............................................................................18
WSS (Wide Screen Signalling)
4:3 Mode
Fine Sync.
XGA Mode
Language ..........................................................................18
Supply V
Option menu
Audio Only
DNR (Digital Noise Reduction)
HDMI Setup
Input Select
Colour System
Useful features
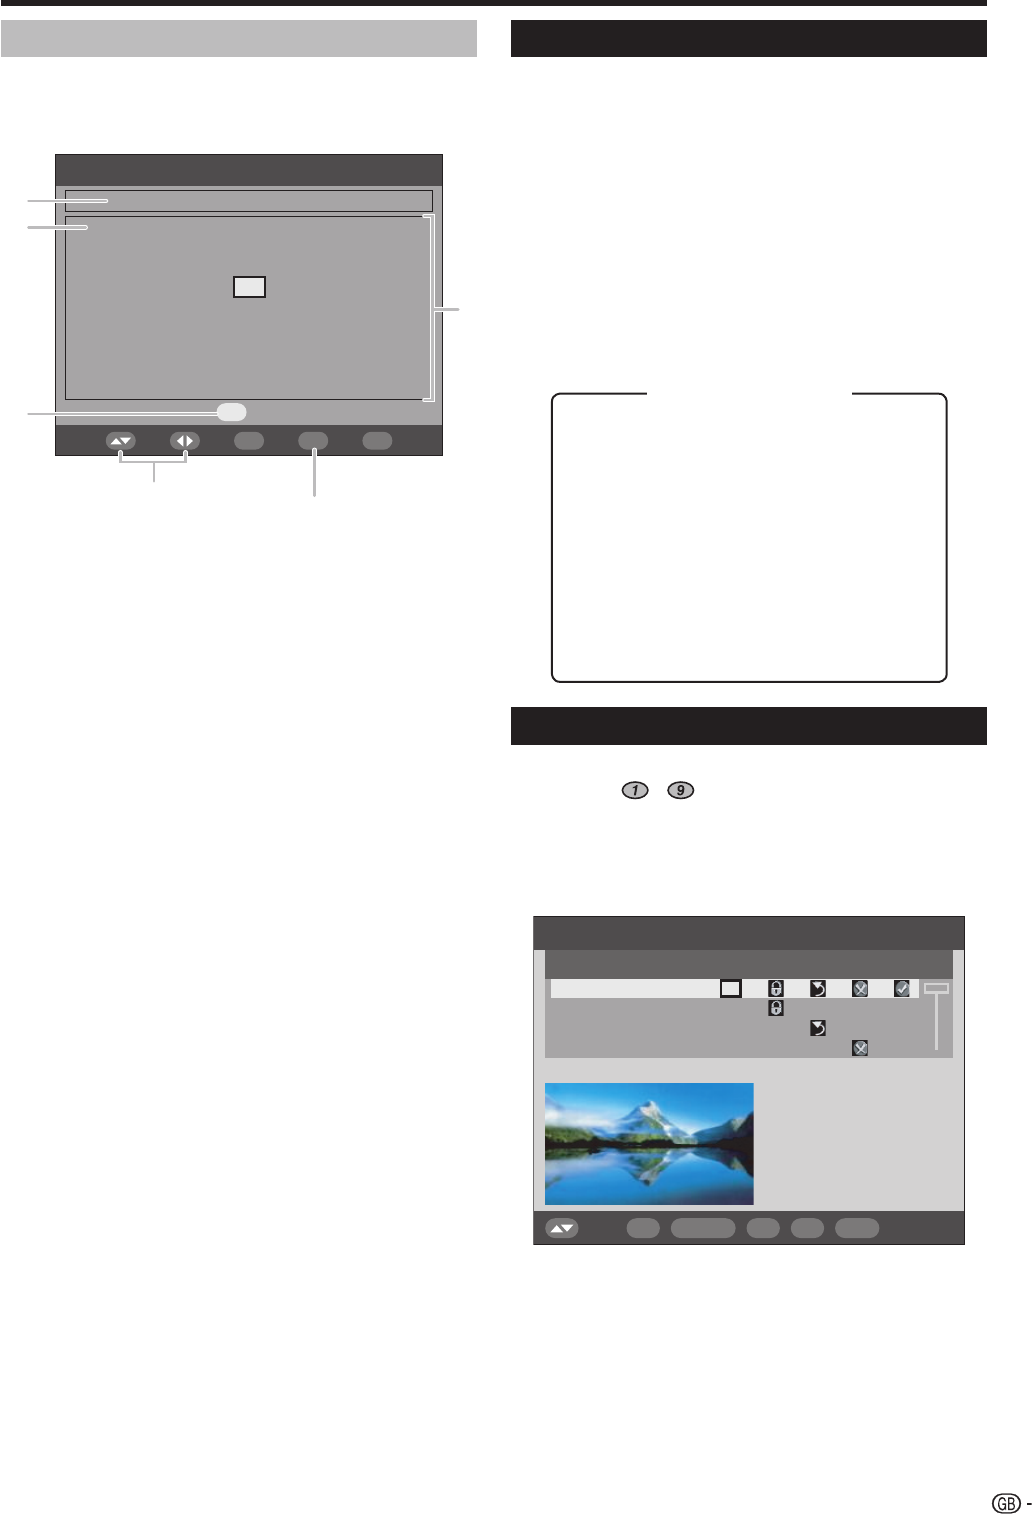
WIDE MODE
Still image
T
DTV menu operations .................................................................22
DTV menu operation buttons
DTV On-Screen Display
DTV common operations
About using the character set screen
Language................................................................................23
Programme Setup...................................................................23
Favourite
Lock .............................................................................24
Move ............................................................................24
Move T
Skip ..............................................................................24
Select ...........................................................................25
Erase ............................................................................25
Label ............................................................................25
View .............................................................................25
Installation ...............................................................................25
Auto Installation
Carrier Scan.......................................................................25
Carrier Setup
System Setup
OSD Setup
Child Lock
Accessories ............................................................................27
Software V
Software Upgrade
Common Interface
Inserting a CA card
Supplying power to the antenna..............................................28
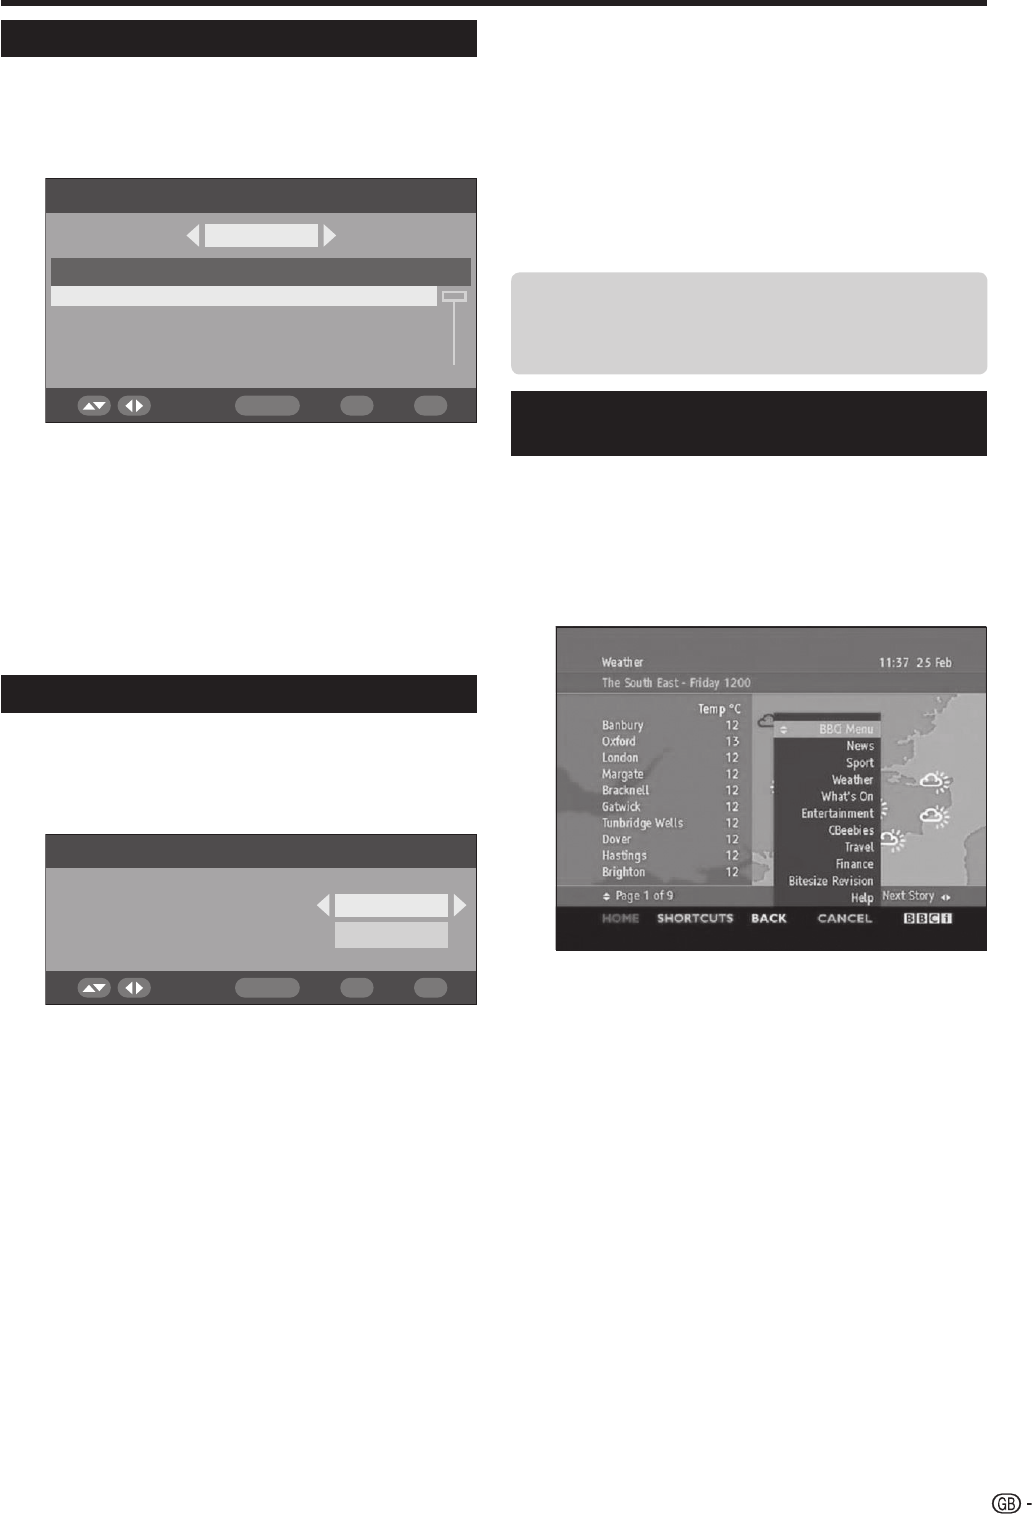
Useful features (DTV)
About EPG..............................................................................29
Using the EPG
Using the EPG Timer
Using the ESG
Using the digital programme list
Viewing a service banner ........................................................30
Using the multi audio function
Displaying subtitles
Using the MHEG5 application (UK only)
Appendix ......................................................................................32
T
PC compatibility chart
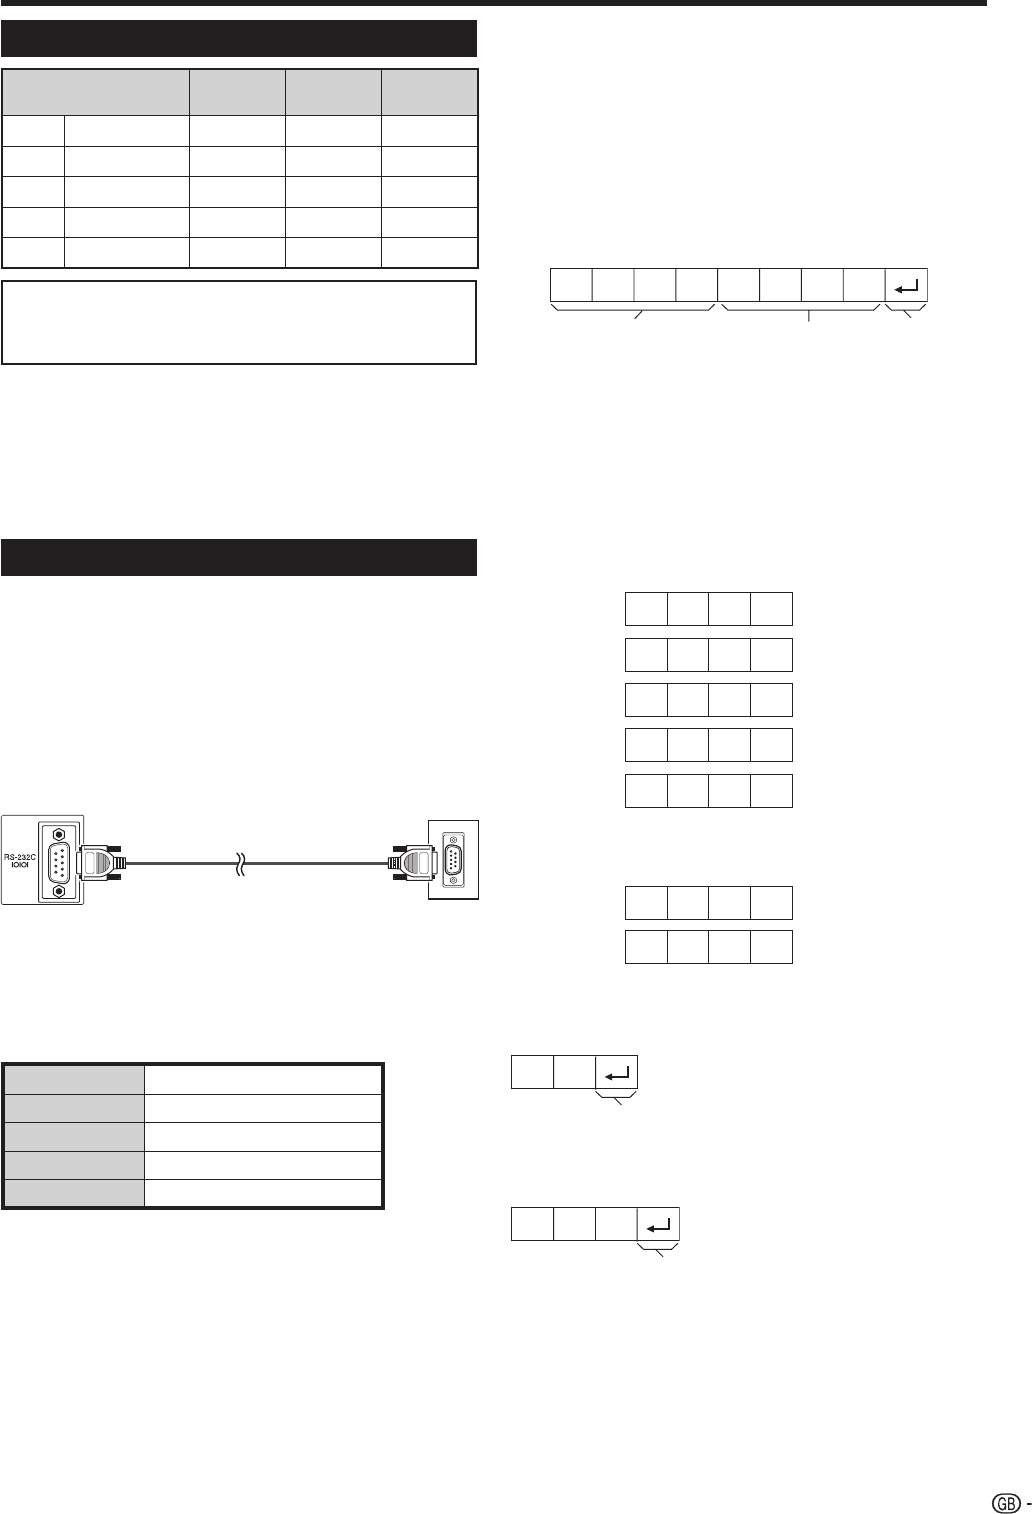
RS-232C port specifications
Specifications .........................................................................35
Optional accessory
End of life disposal
ENGLISH
• The models LC-26D44E-BK and LC-26D44S-BK feature a black cabinet.
• The models LC-26D44E-GY and LC-26D44S-GY feature a silver cabinet.
• The illustrations and on-screen displays in this operation manual ar
actual operations.
• The factory preset PIN is “1234”.
: these icons used throughout this manual indicate
the menu item can be set or adjusted only in the
selected input mode.
Contents
1
ENGLISH
TV only TV/A TV/DTV/A AV only PC only
LC-26D44E-gb.indd 1LC-26D44E-gb.indd 1 2008/02/19 10:21:102008/02/19 10:21:10