CLEANING AND MAINTENANCE
42
Website: http://www.sharp.co.uk/support Help Line: 08705 274277 (office hours)
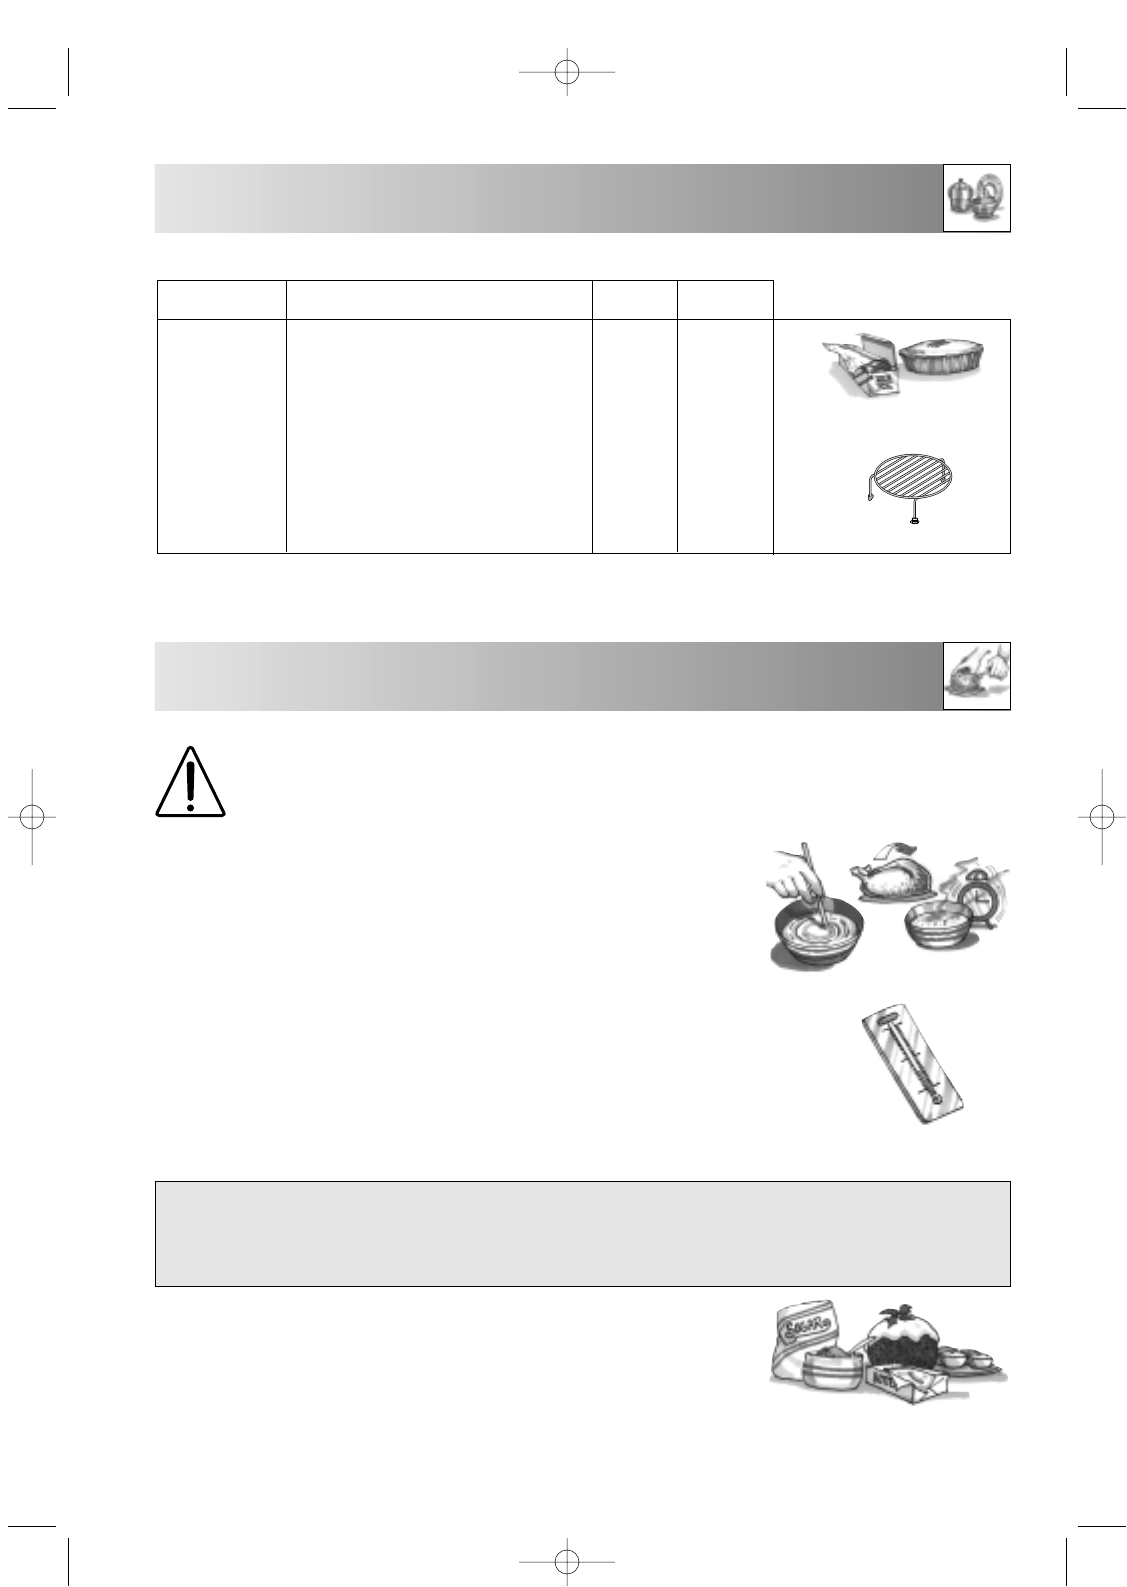
ACCESSORIES
Accessories should be washed in a mild washing-up
liquid solution and dried. They are dishwasher safe.
OUTER CABINET
Wipe the outer cabinet with a mild detergent solution on
a soft cloth. The control panel must be wiped clean
whilst the door is open, therefore inactivating the oven.
WARNINGS-
WARNINGS:
• It is hazardous for anyone other than a
competent person to carry out any
service or repair operation which
involves the removal of a cover which
gives protection against exposure to
microwave energy.
• The door seal stops microwave leakage during oven
operation, but does not form an airtight seal. It is
normal to see drops of water, light or feel warm air
around the oven door. Food with a high moisture
content will release steam and cause condensation
inside the door which may drip from the oven.
• Repairs & Modifications: Do not attempt to operate
the oven if it is not working properly.
• Outer Cabinet & Lamp Access: Never remove the
outer cabinet. This would be very dangerous due to
high voltage parts inside which must never be
touched, as this could be fatal. As your oven is not
fitted with a lamp access cover, if the lamp fails, do
not attempt to replace the lamp yourself, call a
Service Technician appointed by SHARP.
If you think the oven is not working properly there are
some simple checks you can carry out yourself before
calling an engineer. This will help prevent unnecessary
service calls if the fault is something simple.
Simply answer “YES” or “NO” to the following questions:
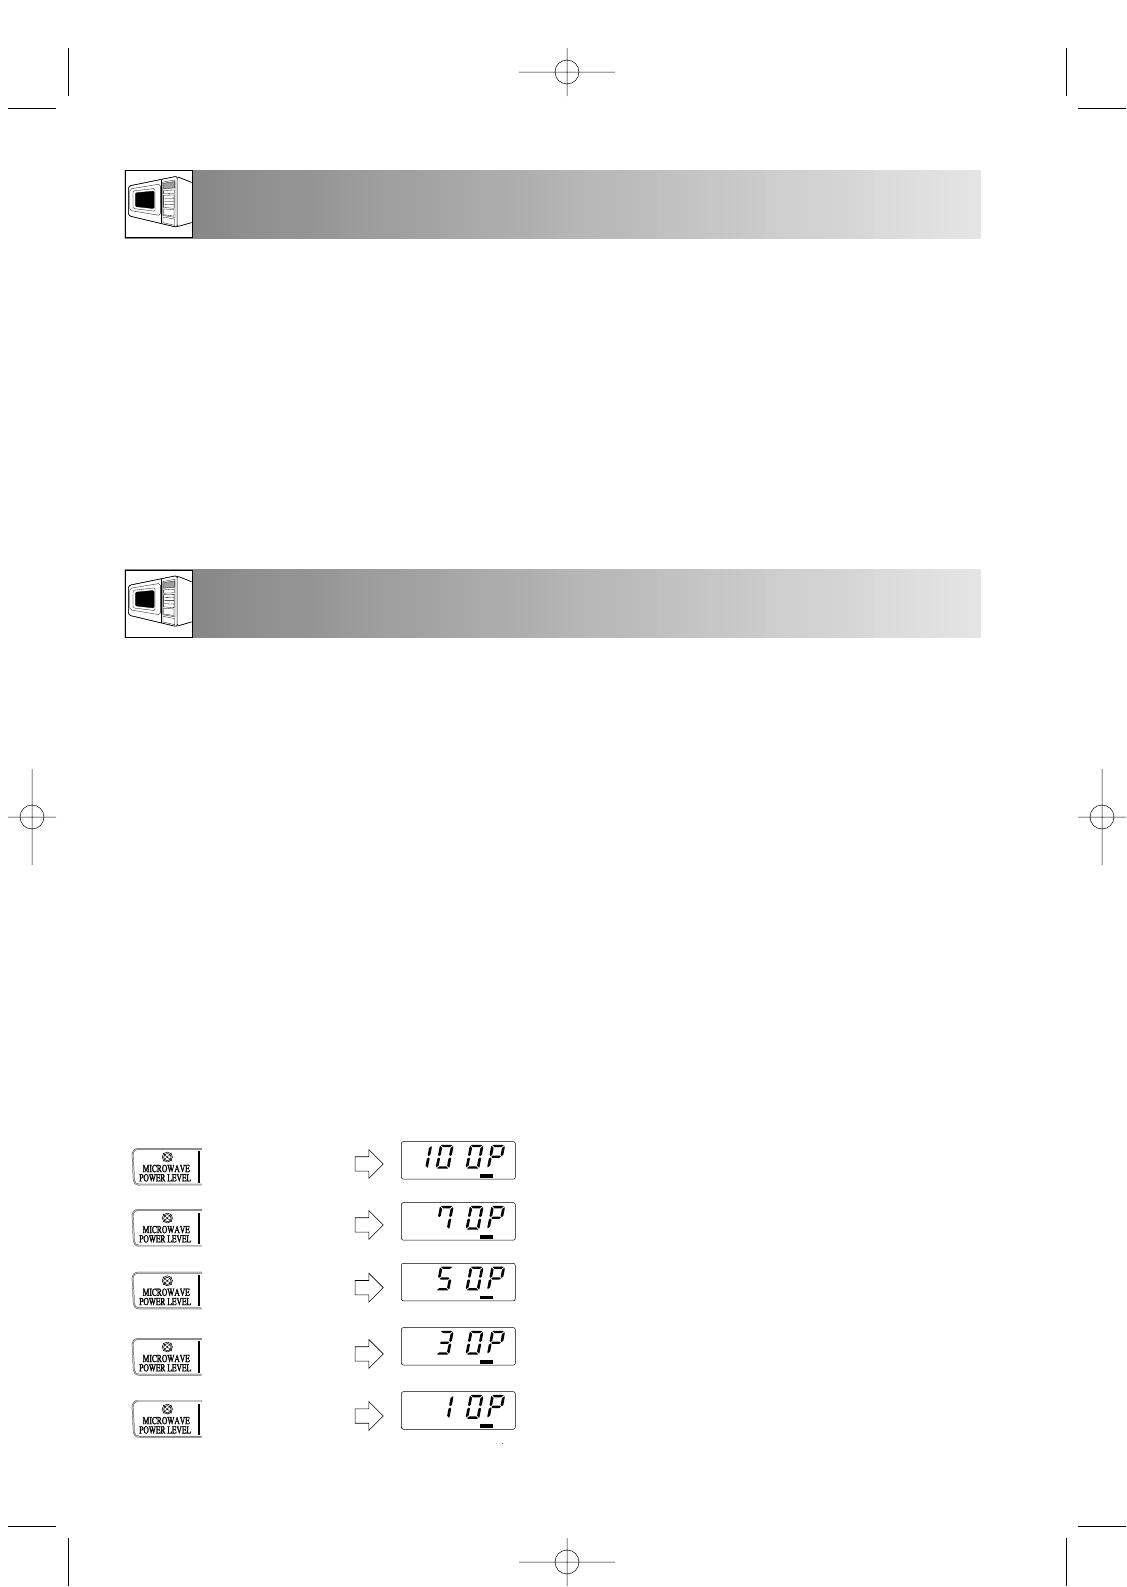
(Put half a cup of water in the oven, on the turntable
and close the door. Programme the oven to cook for 1
minute and select 100P.)
1. Does the oven lamp come on when it is cooking?
YES/NO
2. Does the turntable rotate? YES/NO
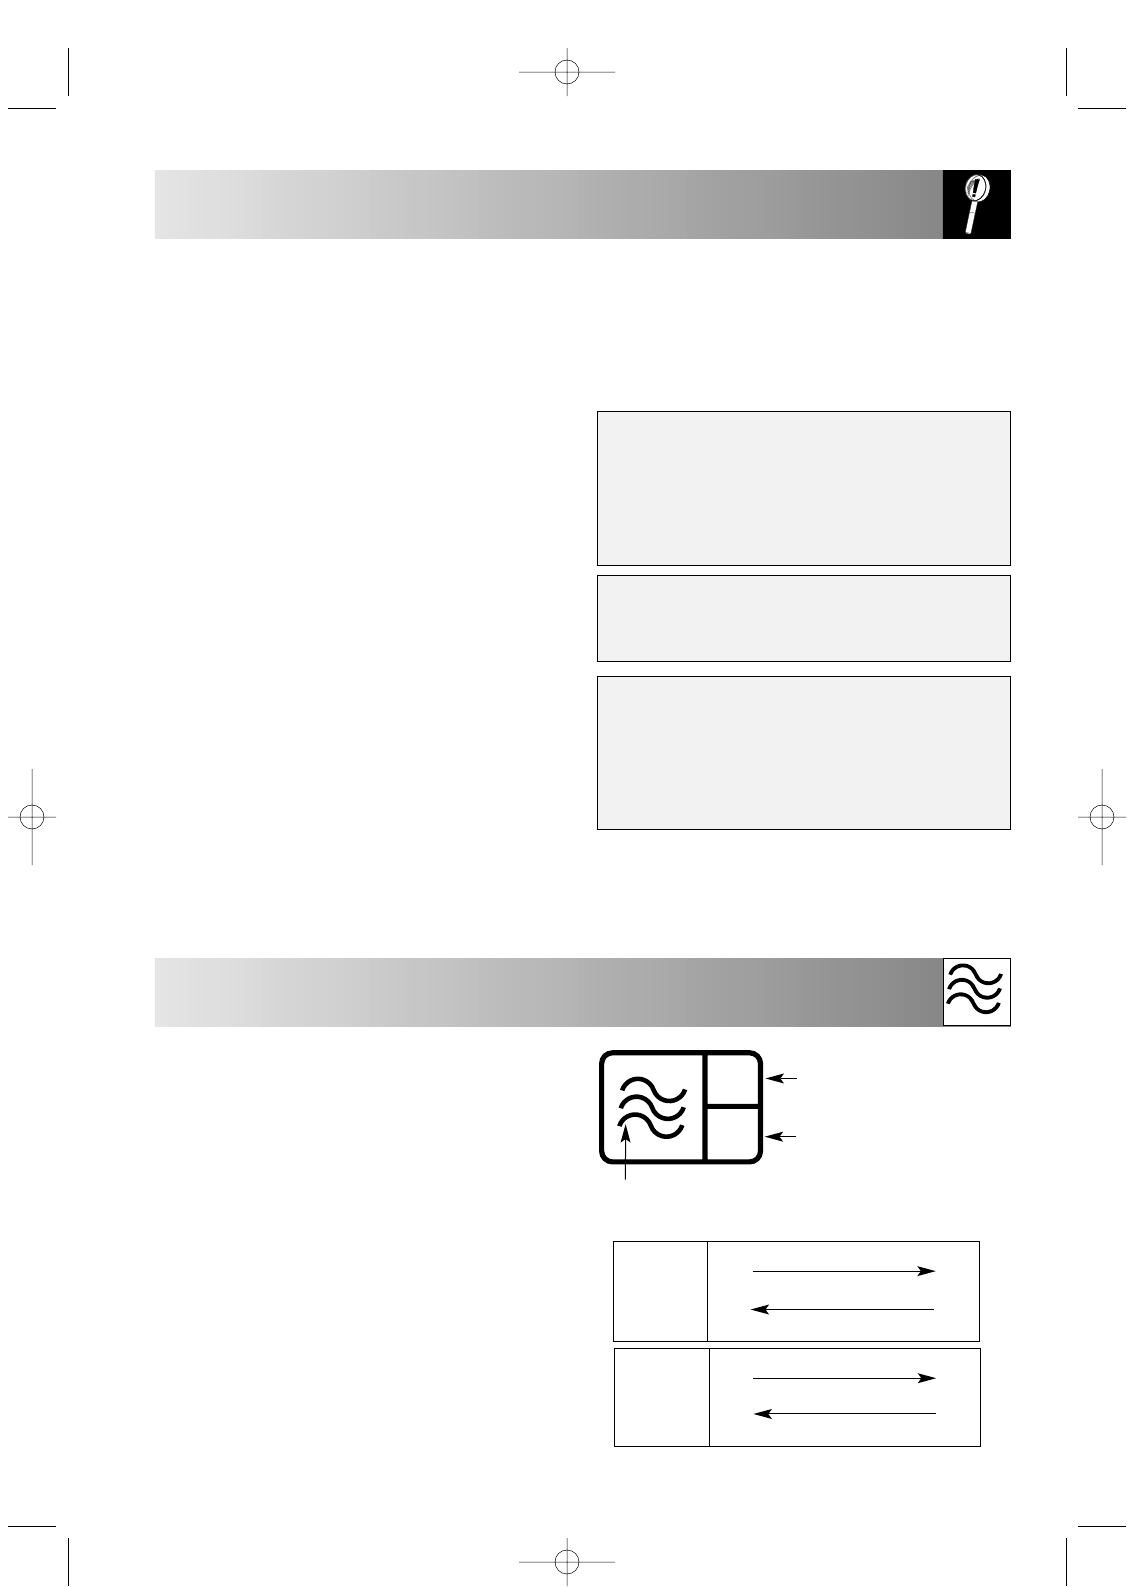
3. Does the cooling fan work? (Check by placing your
hand above the air vent openings) YES/NO
4. After 1 minute does the "beep" sound?
YES/NO
5. Is the water in the cup hot? YES/NO
6. (Take the cup out of the oven and close the door. Set
the grill time for 3 minutes).
At the end of 3 minutes, does the grill heating
element become hot? YES/NO
If you answer “NO” to any question first check that the
oven is plugged in properly and the fuse has not blown,
if there is no fault with either, check against the
troubleshooting chart on page 43.
• Keep the waveguide cover clean at all times. If you
leave grease or fat in the cavity, it may overheat,
smoke or even catch fire when next using the oven.
• Never use spray cleaners, oven pads or abrasive
scourers as these damage the surface of the oven.
• Do not allow grease or dirt to build up on
the door seals and adjacent parts as
this may prevent the door from closing
correctly and may cause a leakage of
microwaves. To clean use a mild
detergent solution on a soft damp cloth.
OVEN INTERIOR
Clean the microwave oven cavity after each
use with a mild detergent solution on a soft
cloth, pay special attention to the
waveguide cover.
After Grill, Dual, AutoCook and Express Cook
modes the oven cavity, door, cabinet and
accessories will become very hot. Before cleaning,
ensure that they have cooled down.
Slight tarnishing of the oven cavity around the area of
the grill heater is likely to occur, this effect does not
indicate a problem.
Take care not to let soapy water drip through the small
holes in the oven walls and the cavity floor particularly
if the turntable and roller stay are removed. Excess
water spillage through these holes will cause damage
to the oven interior. It is important that the door seals
and sealing surfaces are kept clean at all times, wipe
regularly with a damp cloth.
TROUBLESHOOTING