6 Welcome
• PhotoLab for non-destructive adjustment and effect filters
The powerful PhotoLab studio packs a punch with an impressive
selection of editable adjustments, creative, and artistic effects (pencil,
water color, oil, and more). Use integrated Straighten, Crop, Red-
eye, and Spot-repair tools for easy retouching. Apply filters to
selected areas of your photo by using brush-based masking. Save
adjustment/effect combinations as favorites for future use.
• Quick-and-easy Image Cutouts
Image Cutout Studio makes light work of cutting out your placed
pictures, directly in PagePlus. Use brushes to discard uniform
backgrounds (sky, walls, etc.) or keep subjects of interest (people,
objects, etc.).
• A versatile Metafile Format
Import and Export Serif Metafiles (.SMF), a proprietary image format
with improvements to the Windows Metafile format (WMF). Better
line, fill, and text definitions make them ideal for sharing graphics
between Serif applications.
Creativity
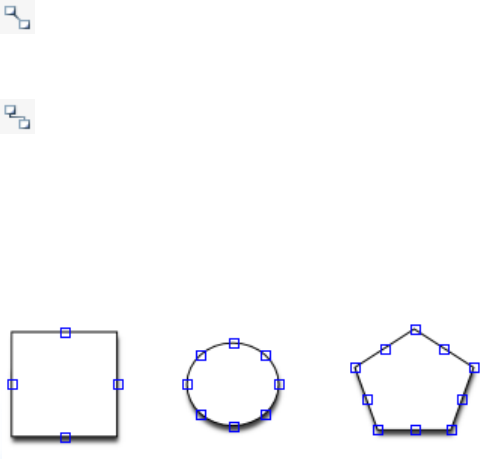
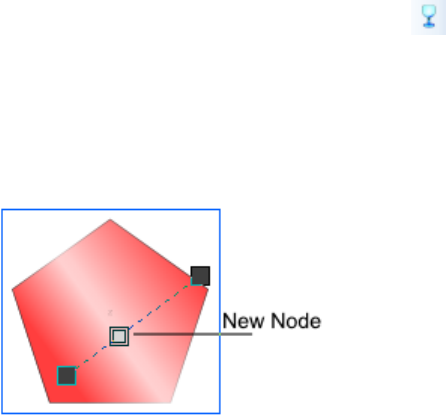
• Drawing Tools
Design stunning vector graphics with Pencil, Pen and Straight Line
tools, and add line endings like arrowheads, diamonds, and quills.
Alternatively, the array of fully-customizable QuickShapes let you
quickly create outlines for your designs, while Convert to Curves,
Crop to Shape, and curve drawing offer complete flexibility for
creating any shape imaginable! Mesh warp envelopes add
perspective, slant, and bulge to any object.
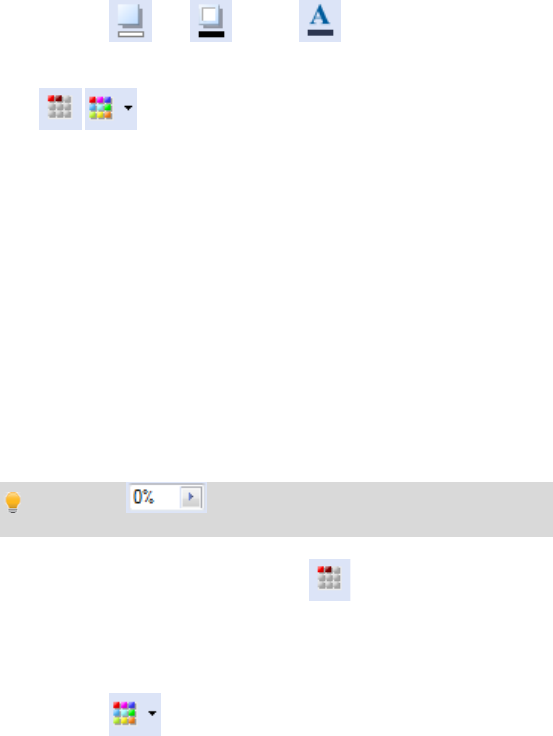
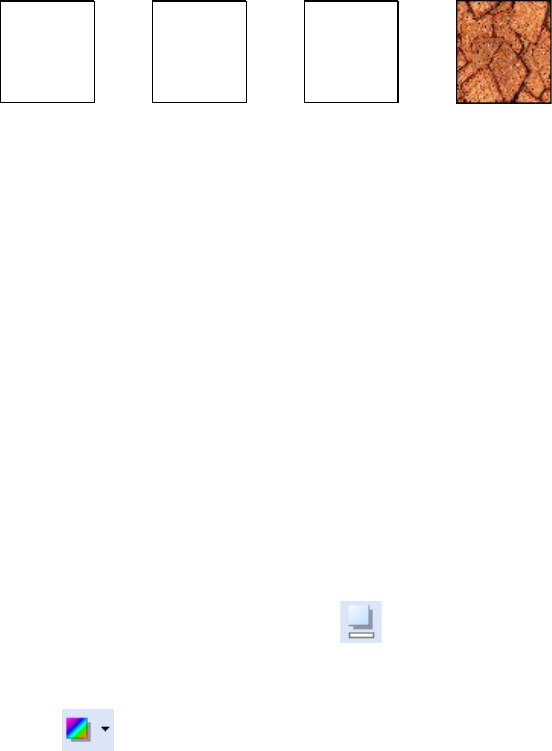
• Fills
Enhance shapes and artistic text with fantastic professional fills. Use
the Color tab to change fill, line, or text color with one click. Choose
preset fills (solid, gradient, or bitmap) from the Swatches tab's
palettes—even create stunning bitmap fills from your own images.
What's more, every color used is added to the Publication Palette so
that you can easily re-use it again and again.
• Intelligent Color Schemes
Choose from dozens of preset color schemes to change the overall
appearance of your publications with a single click. You can
customize the scheme colors, create brand new schemes, and apply
any scheme to a "from-scratch" publication.