1 2
B GB
CLASS 1 LASER PRODUCT
KLASSE 1 LASER PRODUKT
LUOKAN 1 LASER LAITE
KLASS 1 LASER APPARAT
PRODUCTO LASER CLASE 1
CAUTION:
TO REDUCE THE RISK OF ELECTRIC SHOCK,
DO NOT REMOVE REAR COVER, NO USER
SERVICEABLE PARTS INSIDE, REFER SERVIC-
ING TO QUALIFIED SERVICE PERSONNEL.
CAUTION
RISK OF ELECTRIC
SHOCK. DO NOT OPEN
CLASS 1 LASER PRODUCT
This Compact Disc player is
classified as a CLASS 1 LASER
product.
Use of controls, adjustments or perfor-
mance of procedures other than those
specified herein may result in haz-
ardous radiation exposure.
CAUTION-INVISIBLE LASER
RADIATION WHEN OPEN AND
INTER LOCKS DEFEATED, AVOID
EXPOSURE TO BEAM.
◆ Safety Warnings
....................................................................................................
1
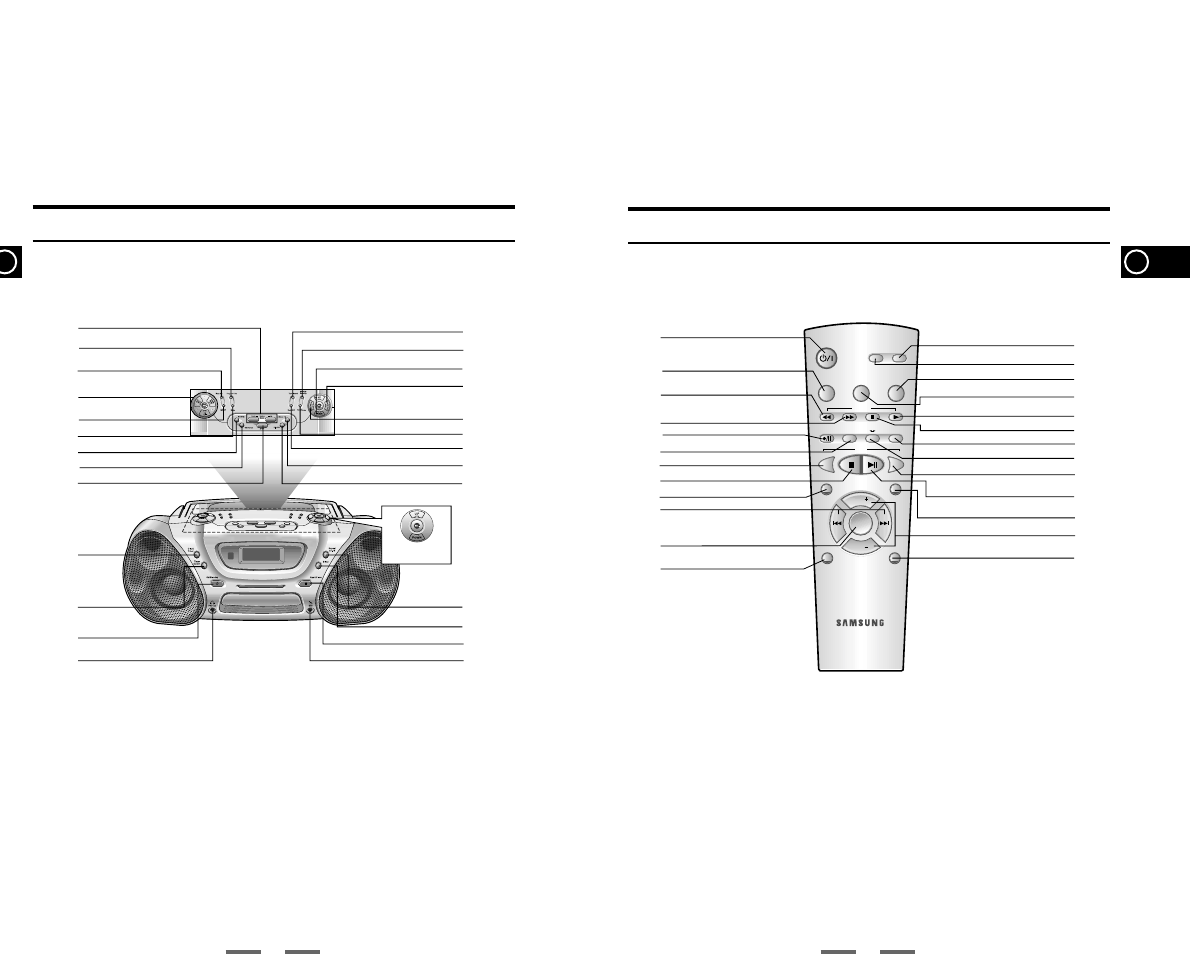
■
Front Panel View
.....................................................................................................
3
■
Remote Control.......................................................................................................4
■
Power Sources
........................................................................................................
5
■
Setting the Clock
.....................................................................................................
6
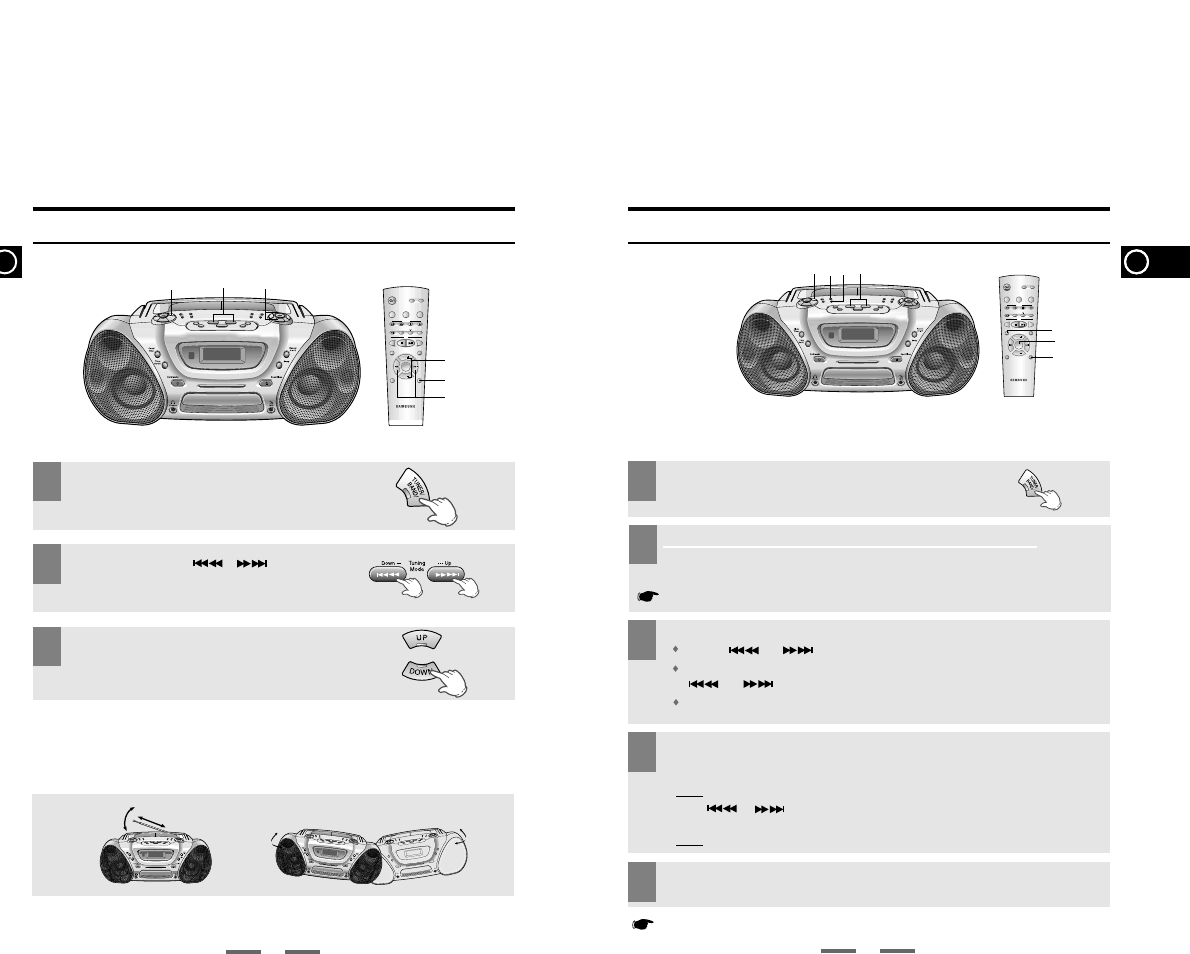
◆ Tuner
■
Listening to the Radio
............................................................................................
7
■
Searching For and Storing the Radio Stations
....................................................
8
■
Selecting a Stored Station
.....................................................................................
9
■
Improving Radio Reception
....................................................................................
9
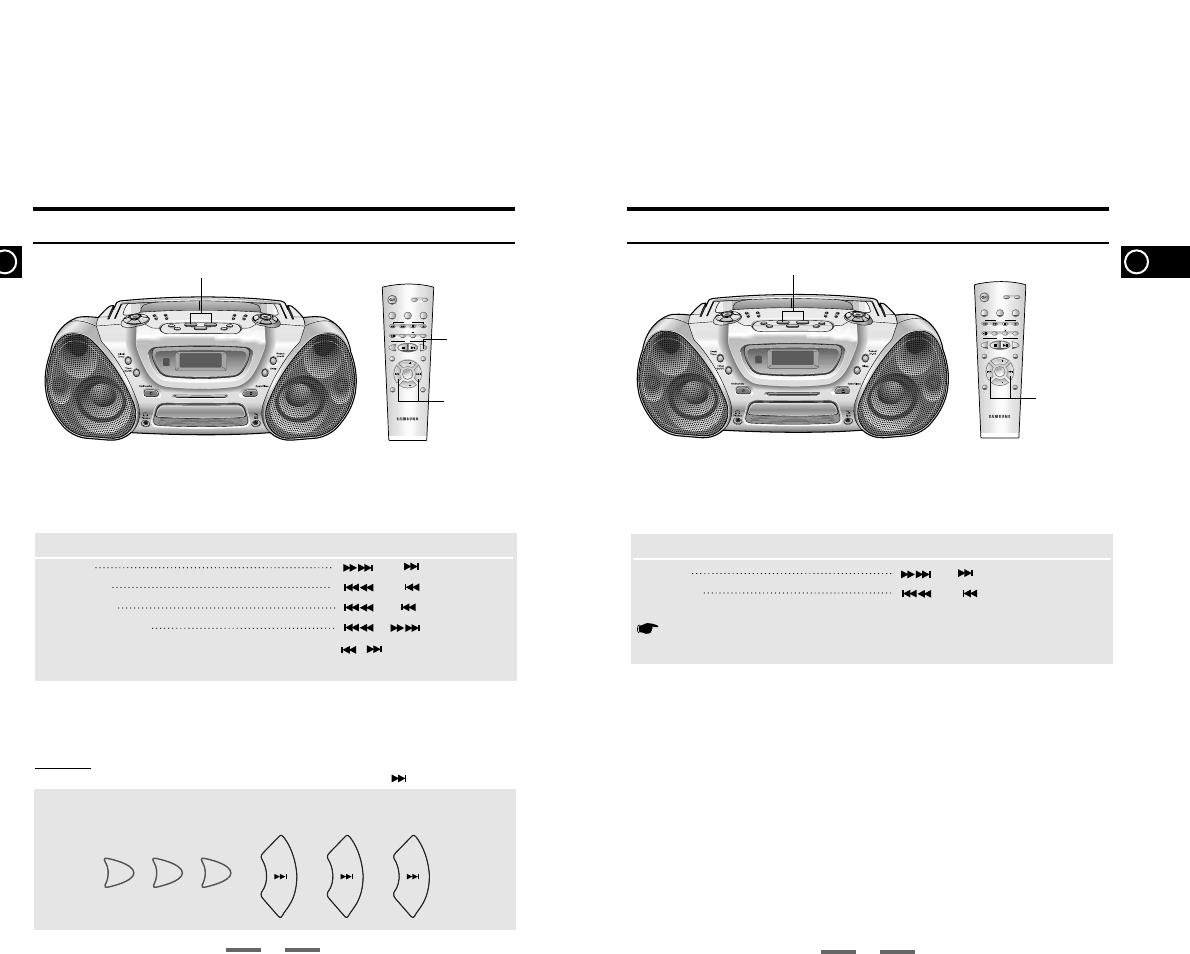
◆ CD-Player
■
Listening to the Compact Disc
............................................................................
10
■
Selecting a Track/+10 Function
............................................................................
11
■
Searching for a Specific Music Passage
..........................................................
12
■
Random Playback Function
............................................................................
13
■
CD Repeat Function
.............................................................................................
14
■
Repeat A↔B Function
..........................................................................................
15
■
Programming the order of Playback
....................................................................
16
◆ Tape Deck
■
Listening to the Cassette
......................................................................................
18
■
Various Functions for tape
....................................................................................
19
■
REV. Mode Function
................................................................................................
19
■
Selecting the side of a tape
......................................................................................
19
■
Tape Speed Function
..............................................................................................
19
■
Tape Counter
..........................................................................................................
19
■
Copying a Cassette (Dubbing).............................................................................20
■
Recording from Radio
...........................................................................................
21
■
Recording from CD
...............................................................................................
22
◆ Other Functions
■
CD Synchro Function
...........................................................................................
23
■
Timer Function
......................................................................................................
24
■
Sleep Timer/Display Color
....................................................................................
26
■
Equalizer Mode
.....................................................................................................
27
■
Power Surround/Mute Function
...........................................................................
28
■
MIC Function(Option)
...........................................................................................
29
◆ Recommendations for Use
■
Precautions when using Compact Discs
.............................................................
30
■
Maintaining the Sound Quality
.............................................................................
30
■
Before Contacting the After-Sales Service
..........................................................
31
■
Specifications
........................................................................................................
32
Safety Warnings
Contents
This symbol indicates that dangerous voltage which can cause electric shock is present inside this unit.
This symbol alerts you to important operating and maintenance instructions accompanying the unit.
WARNING:
To reduce the risk of fire or electric shock, do not expose this appliance to rain or moisture.
CAUTION:
TO PREVENT ELECTRIC SHOCK, MATCH WIDE BLADE OF PLUG TO WIDE SLOT, FULLY
INSERT.