4 Release the clutch. The way you do this depends on your clutch settings. Either stop pressing the clutch button or press
and release it.
Viewing the time and date
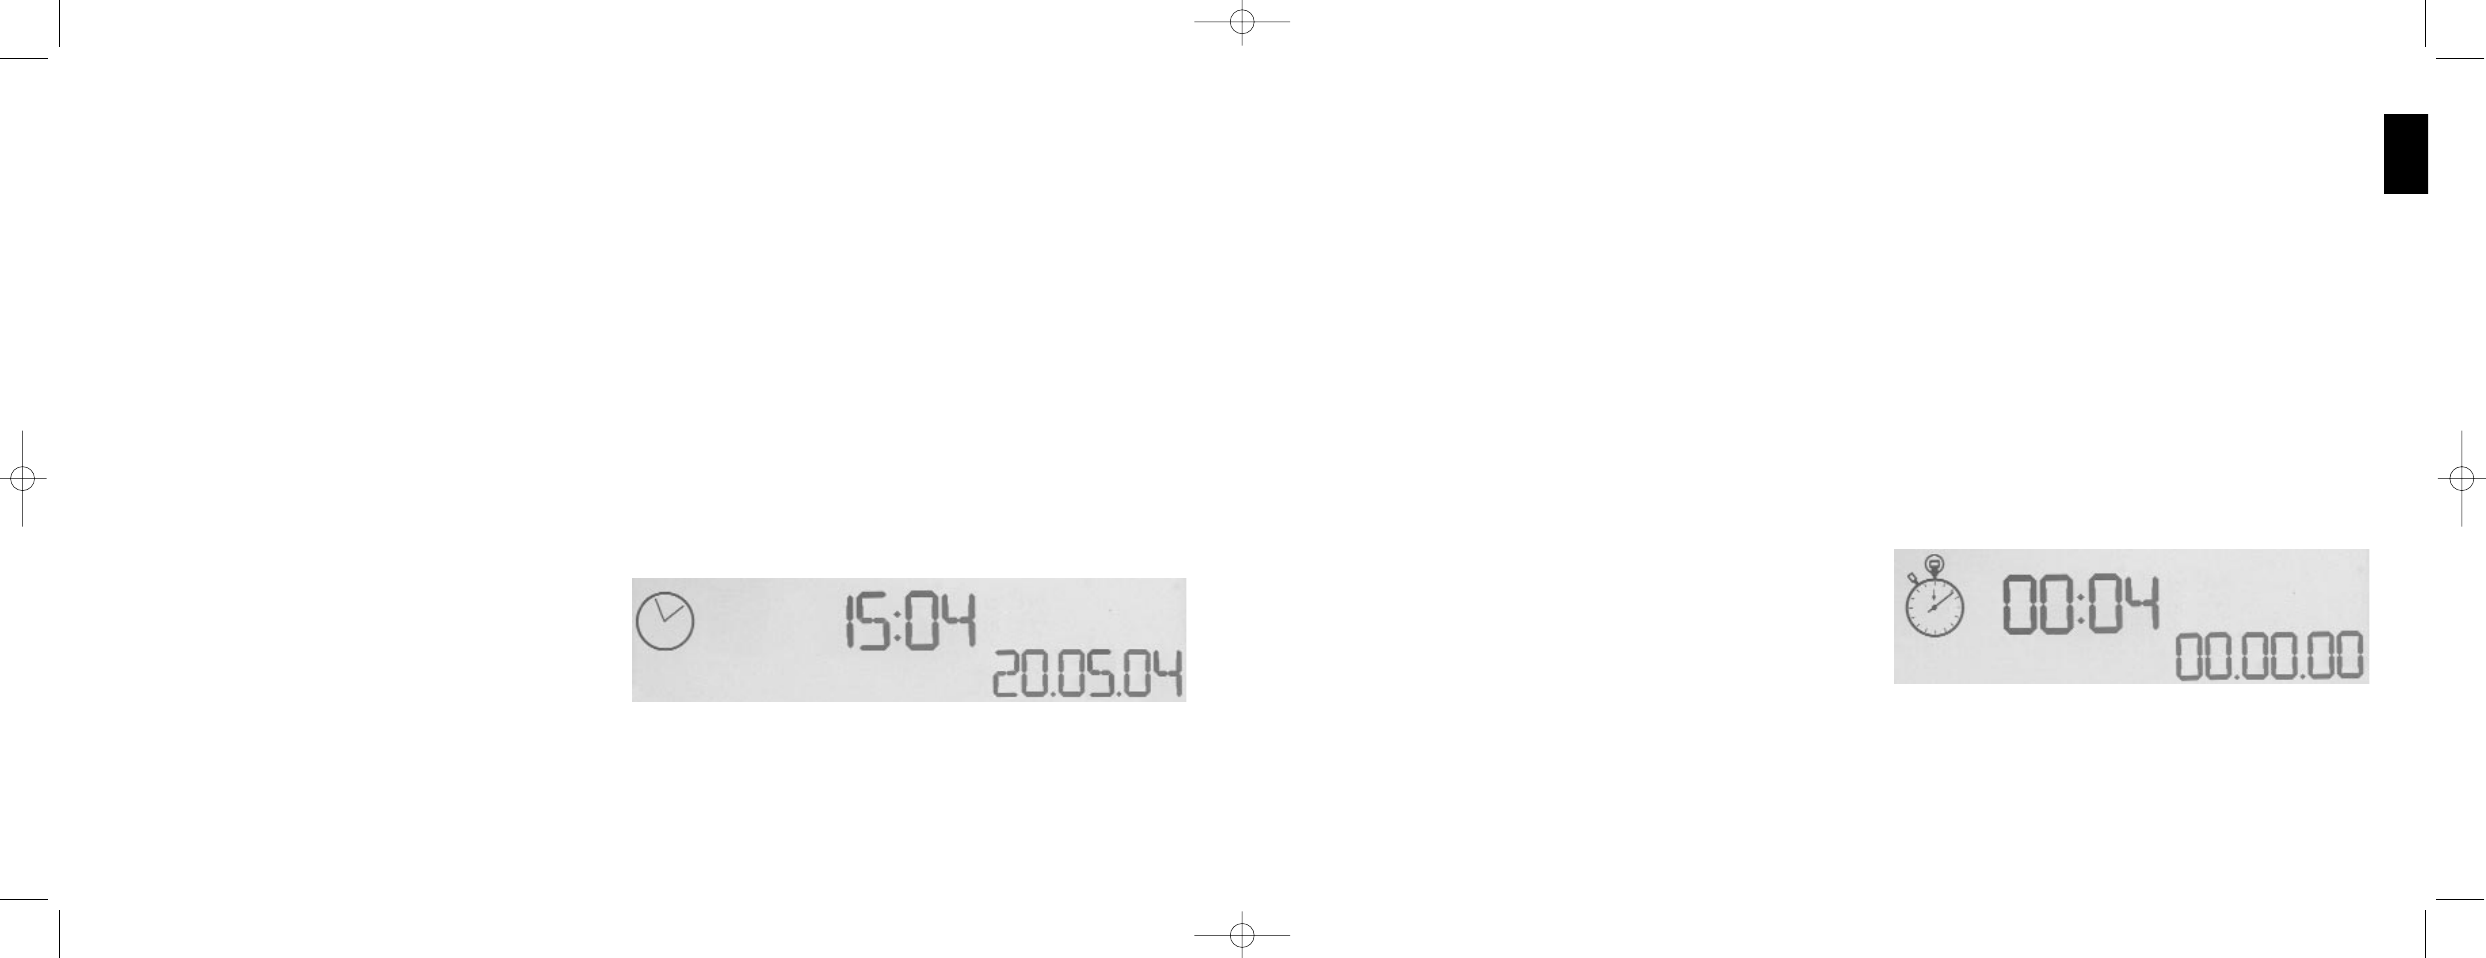
The lower part of the MFD displays the current time and date:
This part of the MFD can also be used as a stopwatch. You toggle between the two features by pressing the Function
button. See Using the stopwatch, below, for more information about this feature.
Viewing the time
You can choose the time zone for which the current time is displayed from up to three available time zones. To move
between the available time zones, press the up (Start/Stop) and down (Reset) buttons.
As you move between the three time zones, a number is displayed in the bottom right corner of the MFD (in place of the
date). This number disappears after a few seconds.
Greenwich Mean Time (GMT) is available by default, and is represented by the number 1. You can choose which other time
zones are available and the format in which each time is displayed. See Maintaining clock settings in the section Maintaining
your controller settings for an explanation of this procedure.
Viewing the dateThe date is displayed in the bottom right-hand corner of the MFD. By default, it is shown in the format
MMDDYY. You can change the date format, for example to DDMMYY. See Maintaining date settings in the section
Maintaining your controller settings for an explanation of this procedure.
Using the stopwatch
The lower part of the MFD can also be used as a stopwatch. You
toggle between the stopwatch and time displays by pressing the
Function button. When the stopwatch is selected, the following is
displayed:
To use the stopwatch
1 Press Start/Stop once. The number of seconds begins to
increase.
2 Press Start/Stop again to stop the timer.
3 Press Reset to clear the time and return to 00:00.
23
ENGLISH
To view the name of a button, press it as you normally would. Its name is displayed in the centreline of the MFD.
If a game is in progress, use the clutch to deactivate the buttons in the game. You can then press them and view their
names without affecting the game. When supplied, the clutch is set up so that you must keep it depressed for as long as
you want the buttons to remain inactive in the current game. You can change the way the clutch button works via the
MFD tab of the Saitek X52 Flight Stick properties window. See Changing the way your clutch button works in Maintaining
your controller settings for details.
Note: You cannot view button names if the Saitek X52 Flight Stick properties window is open.
Changing the current profile
You can use the MFD to change the current profile 'on the fly'. You may, for example, realise that you're not working in
the correct profile for the game in progress.
To change the profile on the fly
1 Press the clutch button. The LEDs on your clutch and on the main POV control on your flight stick begin to flash on
and off. Pressing buttons does not affect the game in progress when the clutch is engaged.
Note: When supplied, the clutch is set up so that you must keep it depressed for as long as you want it to be
engaged. You can change the way the clutch works via the MFD tab of the Saitek X52 Flight Stick properties
window. See Changing the way your clutch button works in Maintaining your controller settings for details.
2 Move the main POV control on your flight stick up (north) or down (south) to scroll through your profiles. As you do
this, the profile names are displayed in the bottom row of the centre section of the MFD.
Note: You can use the MFD to access any folder
on your computer. To open a folder, push the POV
to the right (east). To move up a level, scroll
through the files and folders in the current folder
until [É] is displayed, and then push the POV to
the right (east).
3 Select the profile you want by moving the main
POV control right (east) when the profile's name is displayed on the MFD. It becomes the current profile and its
settings are applied when you resume the game in progress.
Tip: You can clear the current profile by moving the POV left (west). The buttons on your stick and throttle return to their
default settings.
22