ENGLISH
18
9. Teletext
Teletext functions vary according to television companies and are only available if the selected channel transmits
teletext.
• Teletext display
Press the button to switch on teletext without video.
Pressing the button again allows you to view teletext imposed on the current video.
You can exit from Teletext mode by pressing again.
If there is no teletext on the channel you are watching, a message will inform you of this.
• Selecting the index page
Teletext pages include an introduction page (usually page 100) telling you how to use the service.
The button allows you to select this introduction page directly.
• LIST or FASTEXT mode
There are two teletext modes:
- LIST mode: in this mode, four pages numbers appear at the bottom of the screen, each in a different colour.
Each of these numbers can be changed and saved in the memory.
- FASTEXT mode: in this mode, four subjects appear at the bottom of the screen, each in a different colour.
To obtain more information on one of these subjects press the corresponding coloured button.
- This function allows you to obtain information on the displayed subjects quickly.
The required mode is selected by pressing the button .
• Selecting a page
Enter the number of the required page using the 0-9 buttons (There are no pages starting with a 0 or 9.).
The page counter at the top of the screen searches for the page or the page appears immediately, if the page
number has already been saved.
If the page does not exist, a message appears to tell you that you have entered a non-existent number.
You can quickly scroll through teletext pages by using the P+ P- or buttons (by skipping non-existent
pages).
To save another page in this mode, press the relevant coloured button and enter the page number.
When in FASTEXT mode, you can select a chosen subject using the colour buttons corresponding to the
options at the bottom of the screen.
• Displaying hidden information
Press the button to call up and delete hidden information, such as puzzle solutions and replies to
questions.
• Holding a page
Press the button to hold a text page, whilst looking at information that is on several pages. Press again to
return to automatic update.
• Expand
Press the MENU button then the green button. Pressing it more than once allows you to display the top half,
the bottom half and then return to normal format.
• Navigation within sub-pages
When the selected pages contain one or more sub-pages, a help line listing the sub-pages appears at the
bottom of the screen.
Use the buttons to choose the next or the previous sub-page.
• Subtitles
TV channels with teletext often transmit certain programmes with subtitles.
Press the button and select the relevant subtitle page.
The subtitle page continuously appears on the screen if the current programme is transmitted with subtitles.
17
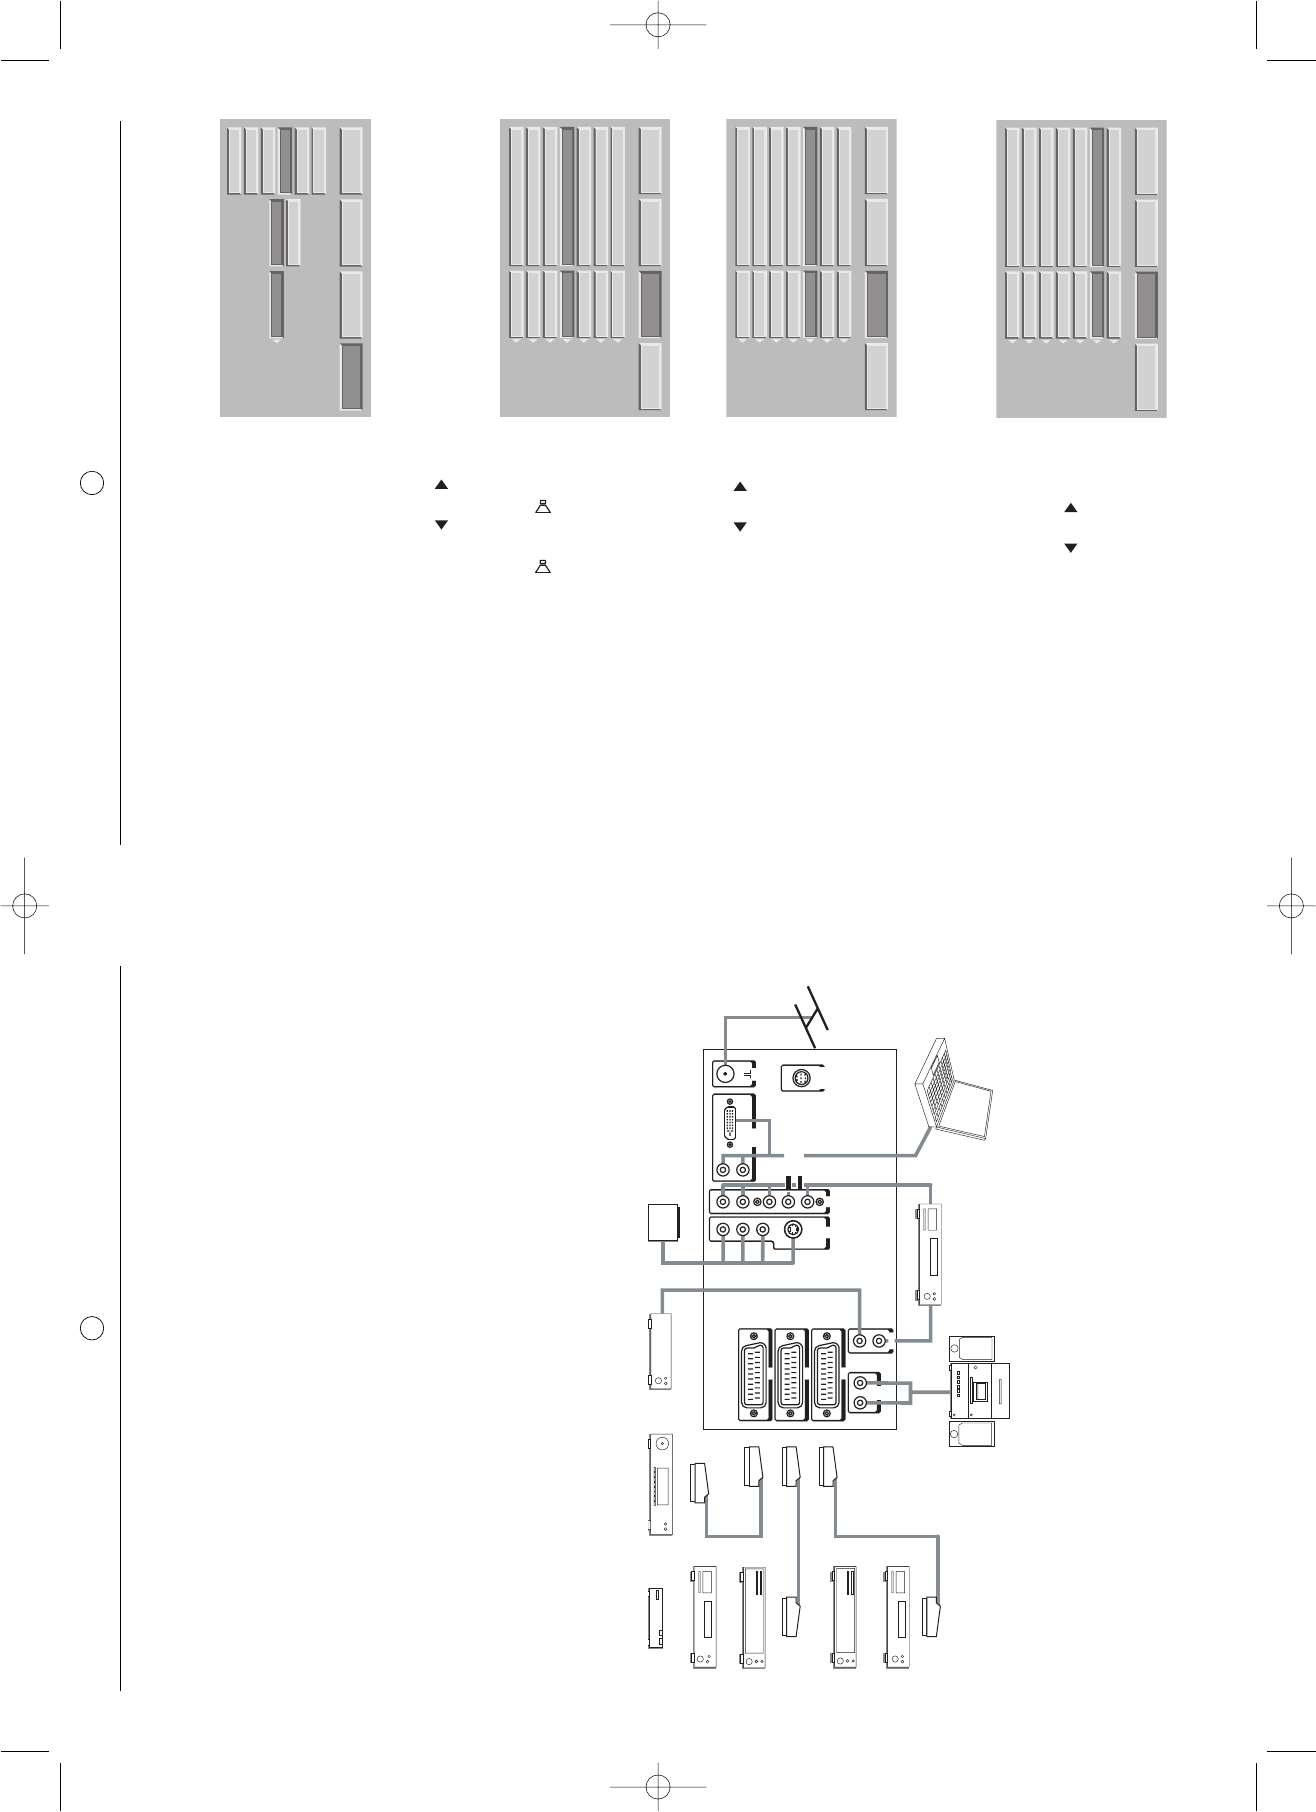
CINEMA FORMAT
This format allows you to watch films in 1.85 (ACADEMY FLAT) format, broadcast in 4:3 in maximum screen
format without distortion with black bands at the top and bottom.
It allows you to watch films in 2.0, 2.20, and 2.35 format.
SUBTITLE FORMAT
This format allows you to watch films in 1:85 (ACADEMY FLAT) format broadcast in 4:3 at maximum screen
format without picture loss and without distortion by moving the picture to the top to enable any subtitles to be
read.
SCOPE FORMAT
This format allows you to watch films in 2.35 (PANAVISION) format, broadcast in 4:3 in maximum screen format-
without distortion, at maximum height but with picture loss at the right and left edges.
NATIVE FORMAT
This format allows you to watch the picture as it really is, with no resizing.
8.6. Programme information
Press the button at any time to obtain information on the TV
channel.
When you are watching an external video source, the name of the
source will be displayed.
8.7. Double picture mode selection
Switching on double picture mode
Choose the video insert mode (PIP) or two videos side-by-side (PAP)
by pressing the button more than once.
When one of the two Modes - (PIP or PAP) is in use, you can:
Invert the sources by pressing the button .
Change source on the screen by pressing the button
to name the source to be changed; then
Change the format on the screen by pressing the button
to name the source to be changed; then
The buttons change the position of the pip window if the
pip mode is activated. You can navigate through 4 possible
positions in the order top-left, top-right, bottom-left, bottom-right.
8.8. Choosing a TV programme
Use the 0/9 buttons to choose your channel. For a two-digit number, enter the second within 2 seconds.
Use the BACK button to return to the channel previously watched. BACK also allows you to return from an exter-
nal video source to the TV channels.
8.9. Picture hold
Use the pause button to freeze the picture or reactivate it.
• Pr+ or Pr- to change the wireless channel,
• to change the source.
• to change the format.