For safe and correct use, be sure to read the Safety Information in
Read This FIrst before using the machine.
Information for This Machine
Troubleshooting
Adding Paper and Toner
Web Image Monitor
Document Server
Scan
Print
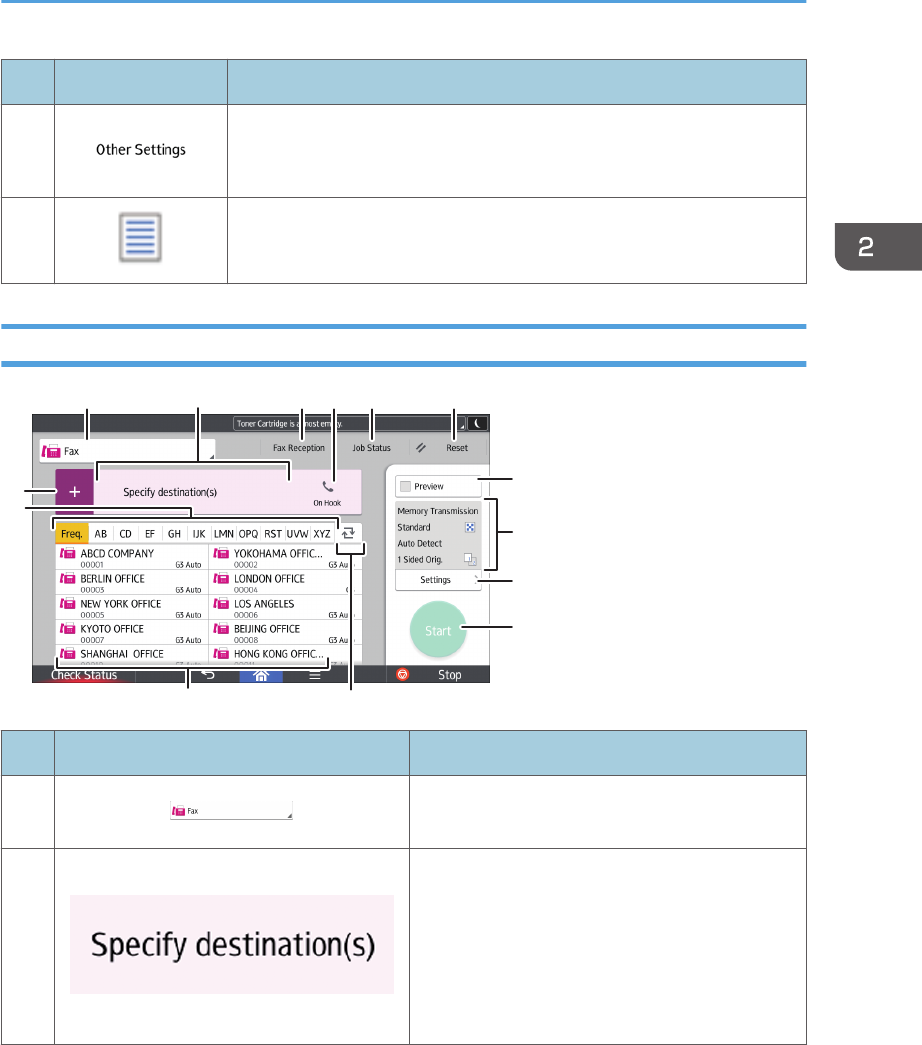
Fax
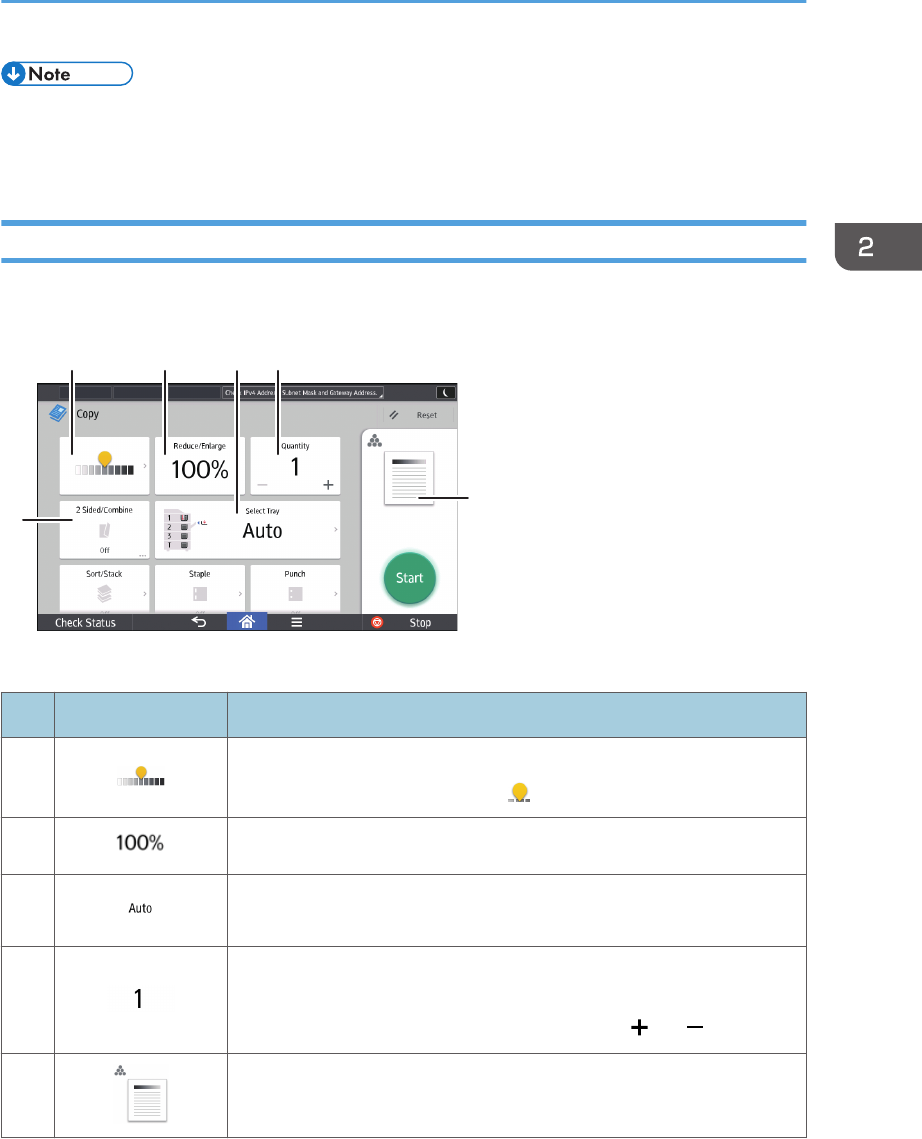
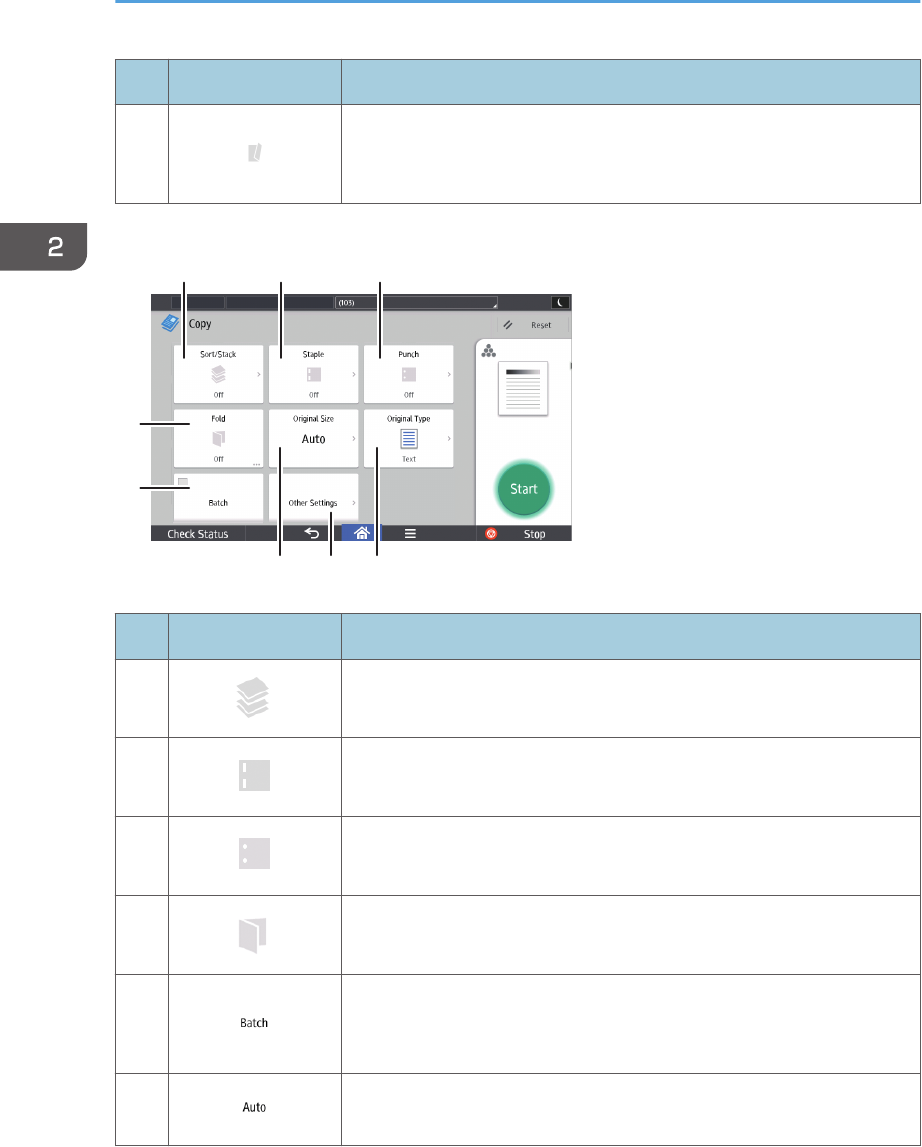
Copy
Getting Started
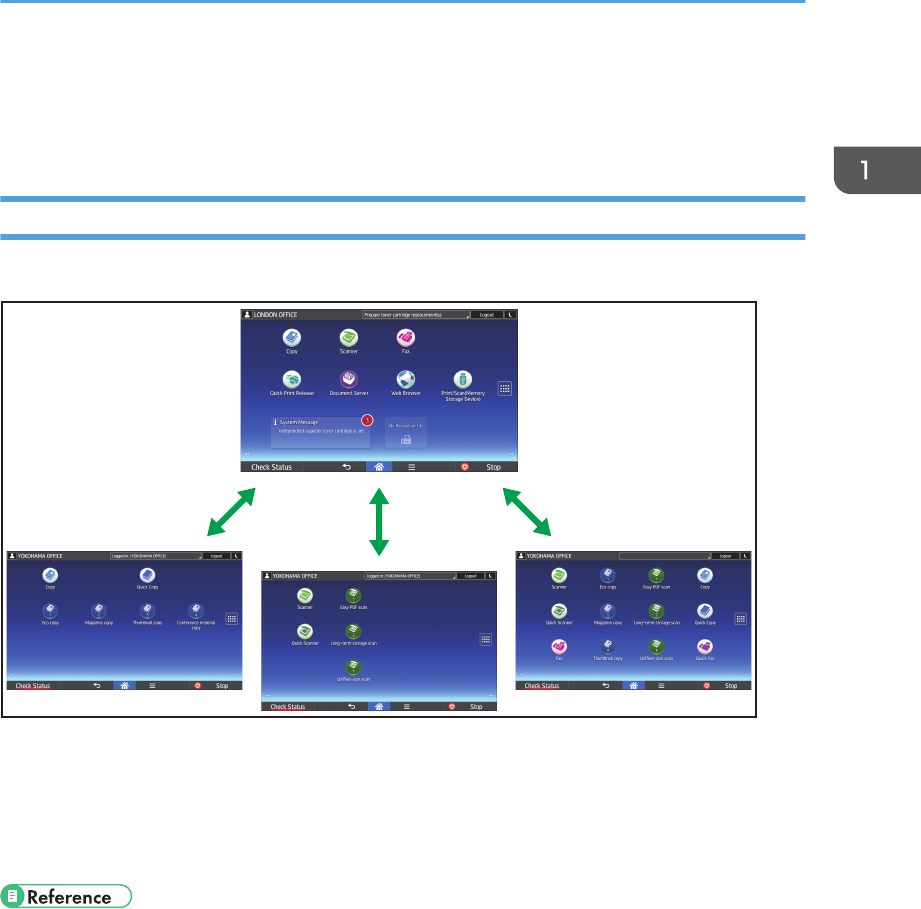
What You Can Do with This Machine
User Guide
TABLE OF CONTENTS
How to Read the Manuals.................................................................................................................................6
Symbols Used in the Manuals.......................................................................................................................6
Names of Major Features..................................................................................................................................8
1. What You Can Do with This Machine
Searching by What You Want to Do................................................................................................................9
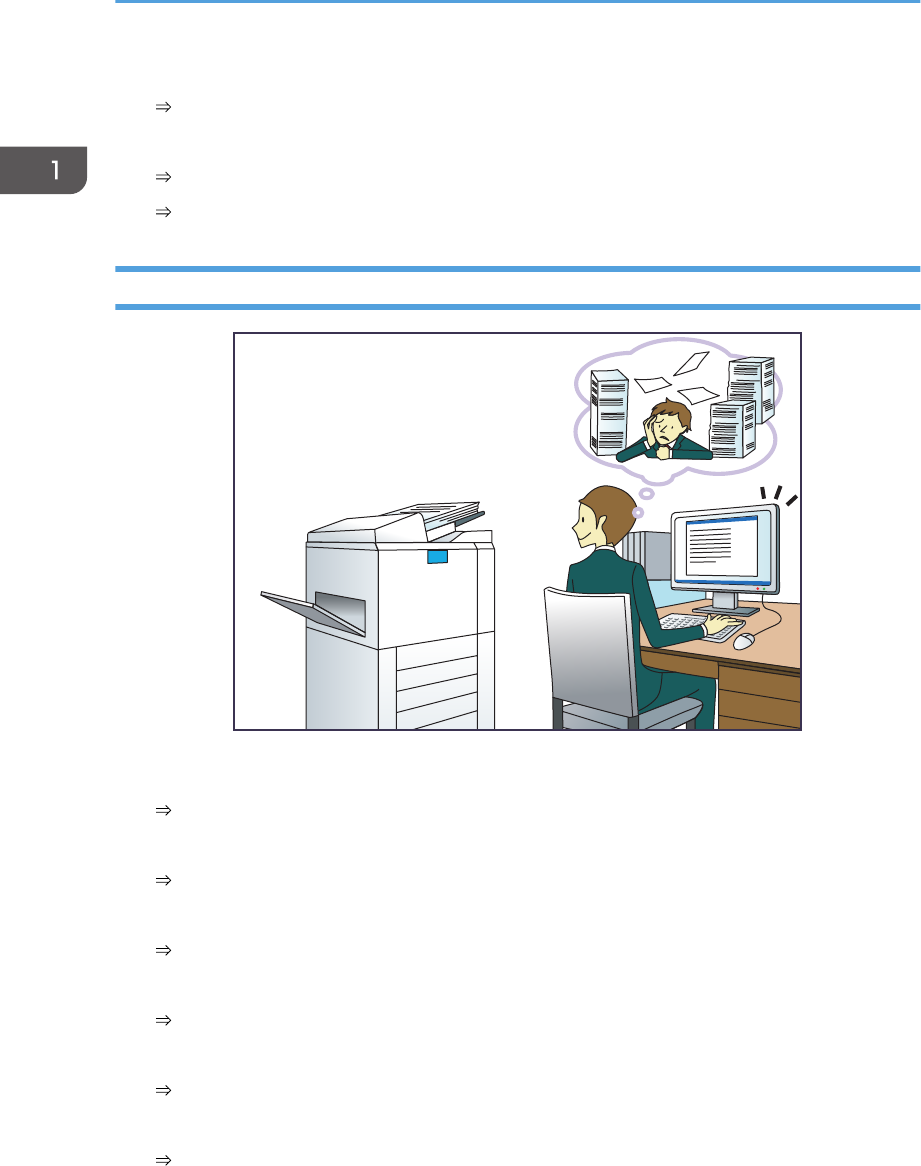
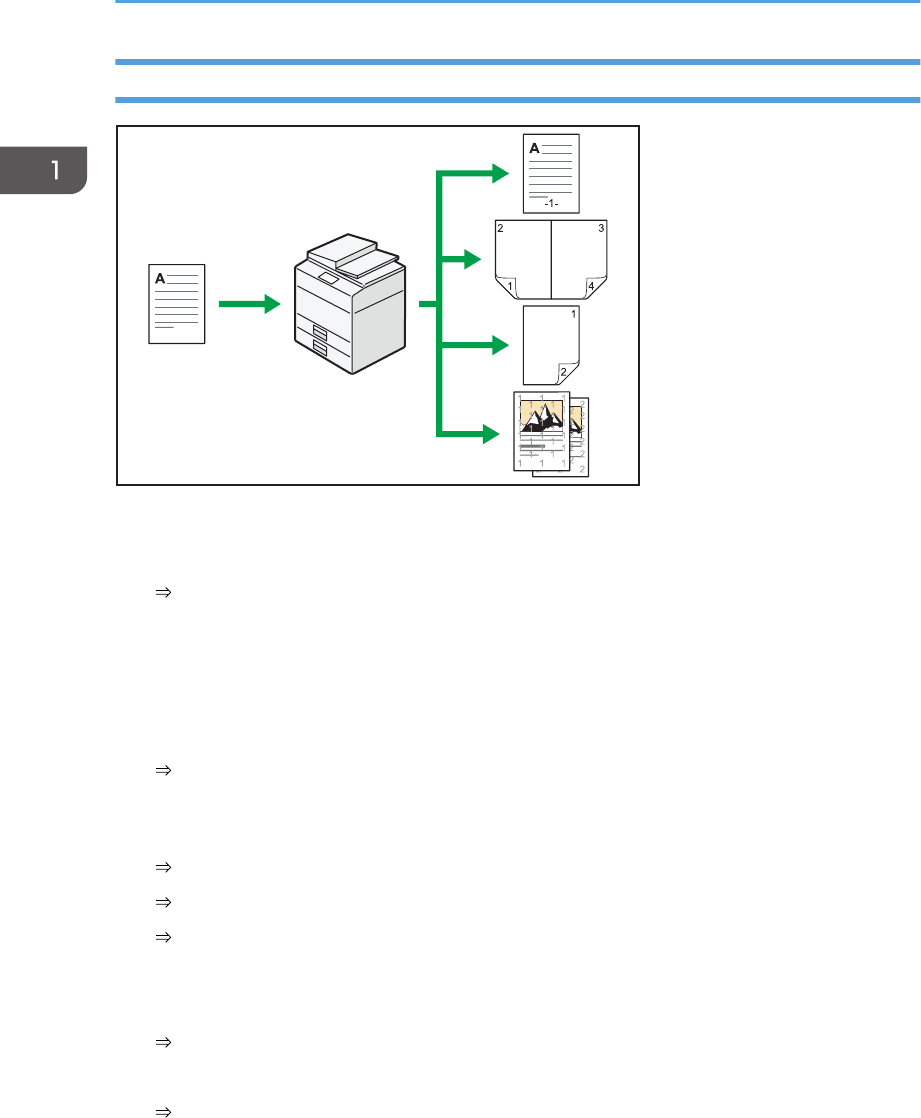
Reducing my Costs.........................................................................................................................................9
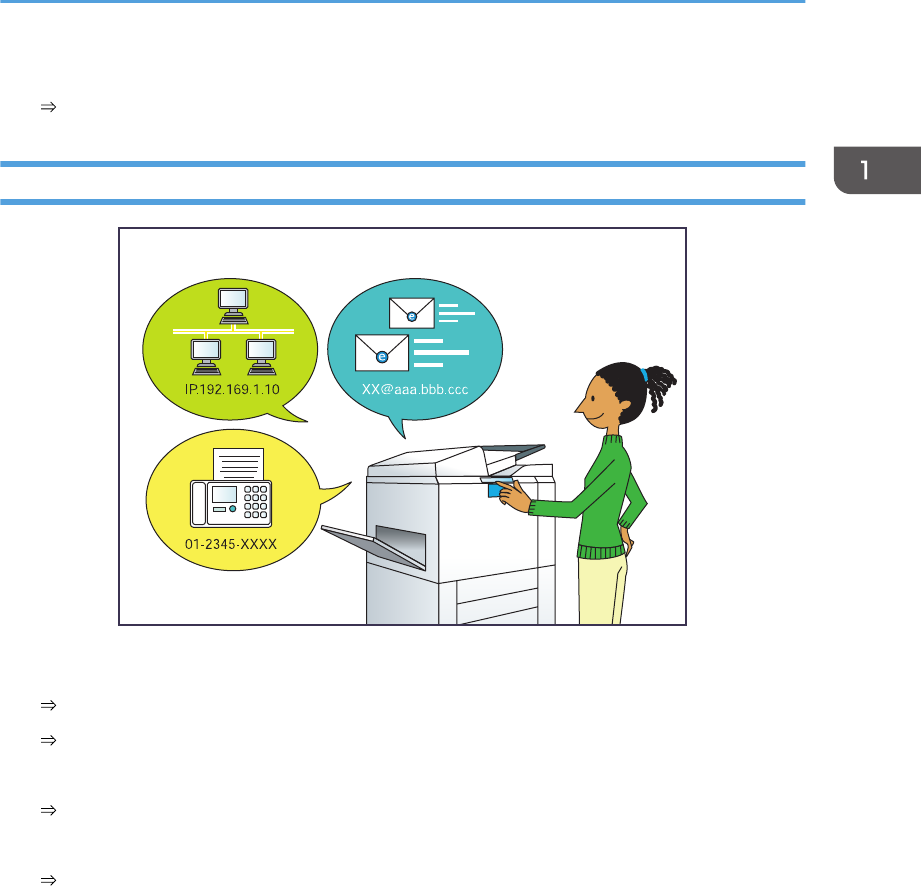
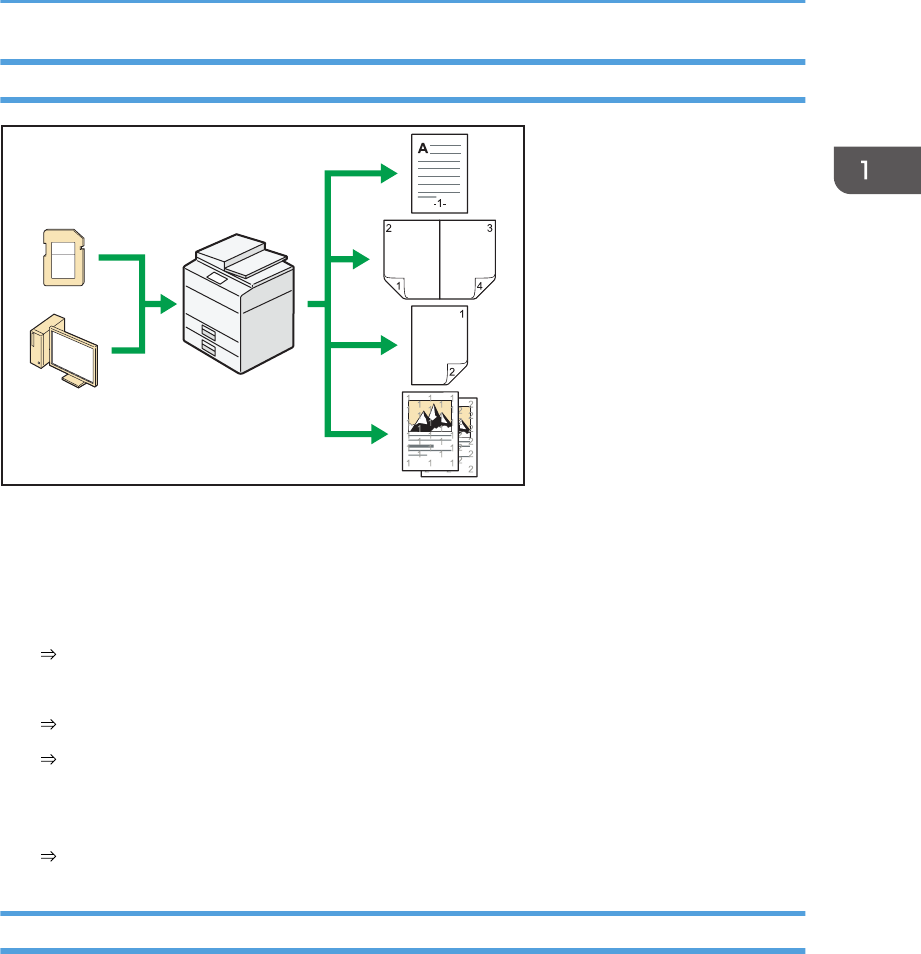
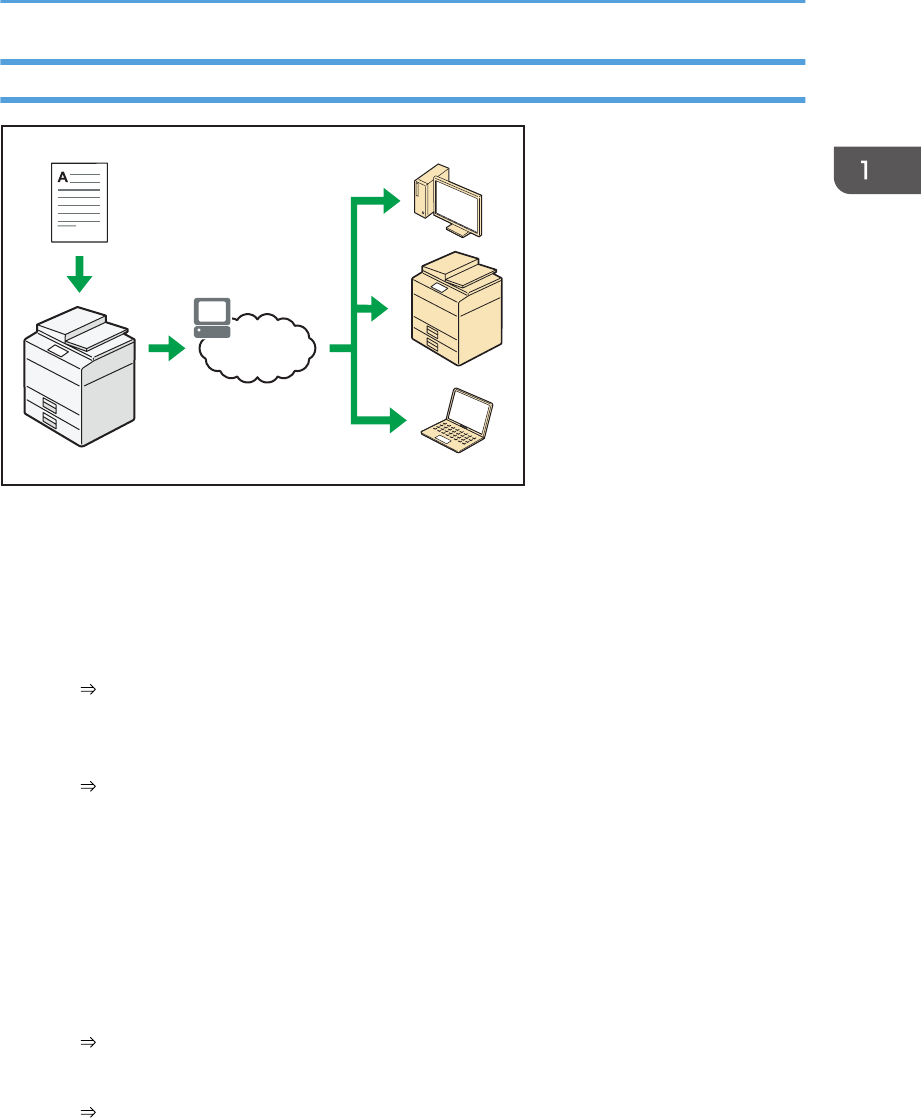
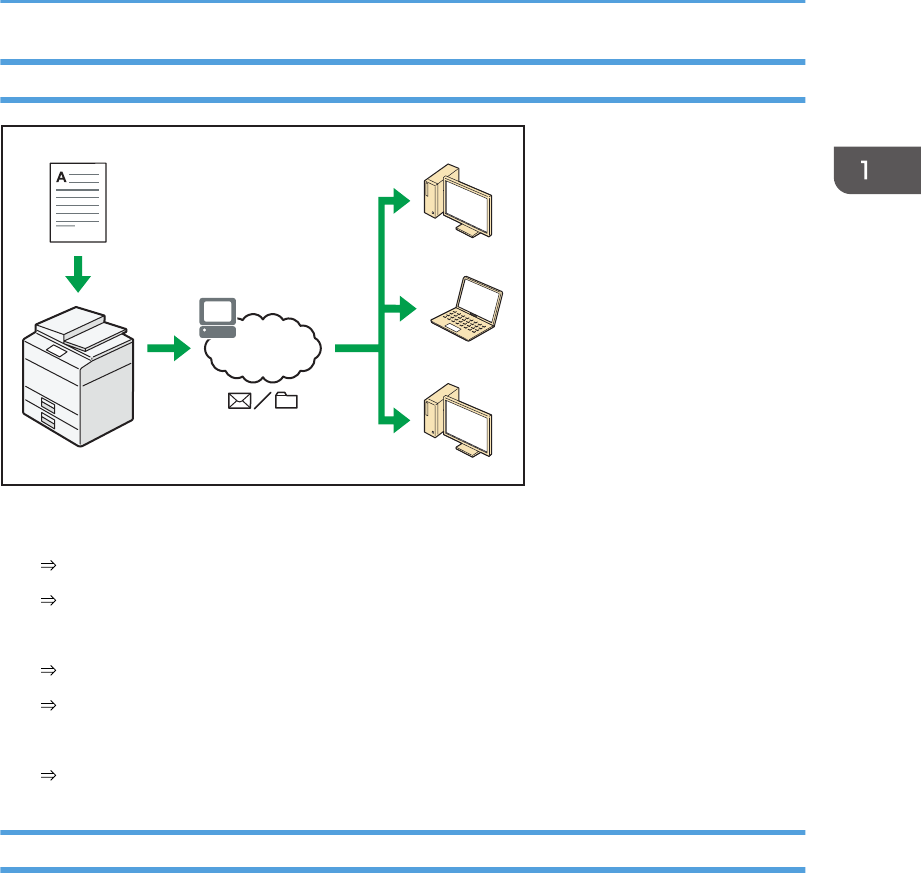
Using Scanned Files on the Computer.......................................................................................................10
Registering Functions in a Program.................................................................................................................53
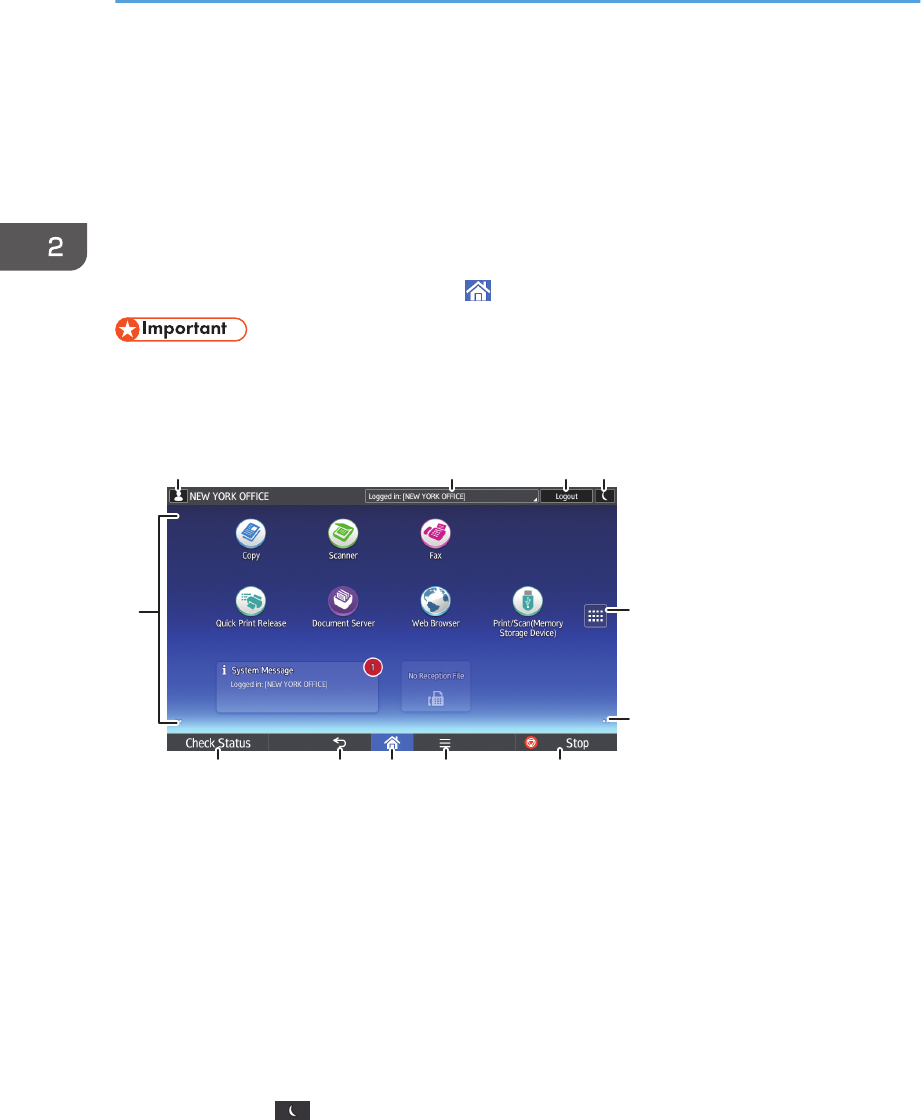
Turning On/Off the Power..............................................................................................................................56
Turning on the Main Power.........................................................................................................................56
Turning Off the Main Power........................................................................................................................56
Logging In the Machine...................................................................................................................................58
When the Authentication Screen is Displayed..........................................................................................58
User Code Authentication Using the Control Panel..................................................................................58
Logging In Using the Control Panel............................................................................................................58
Logging Out Using the Control Panel.........................................................................................................59
Auto Reduce / Enlarge....................................................................................................................................64
Changing the Number of Sets....................................................................................................................75
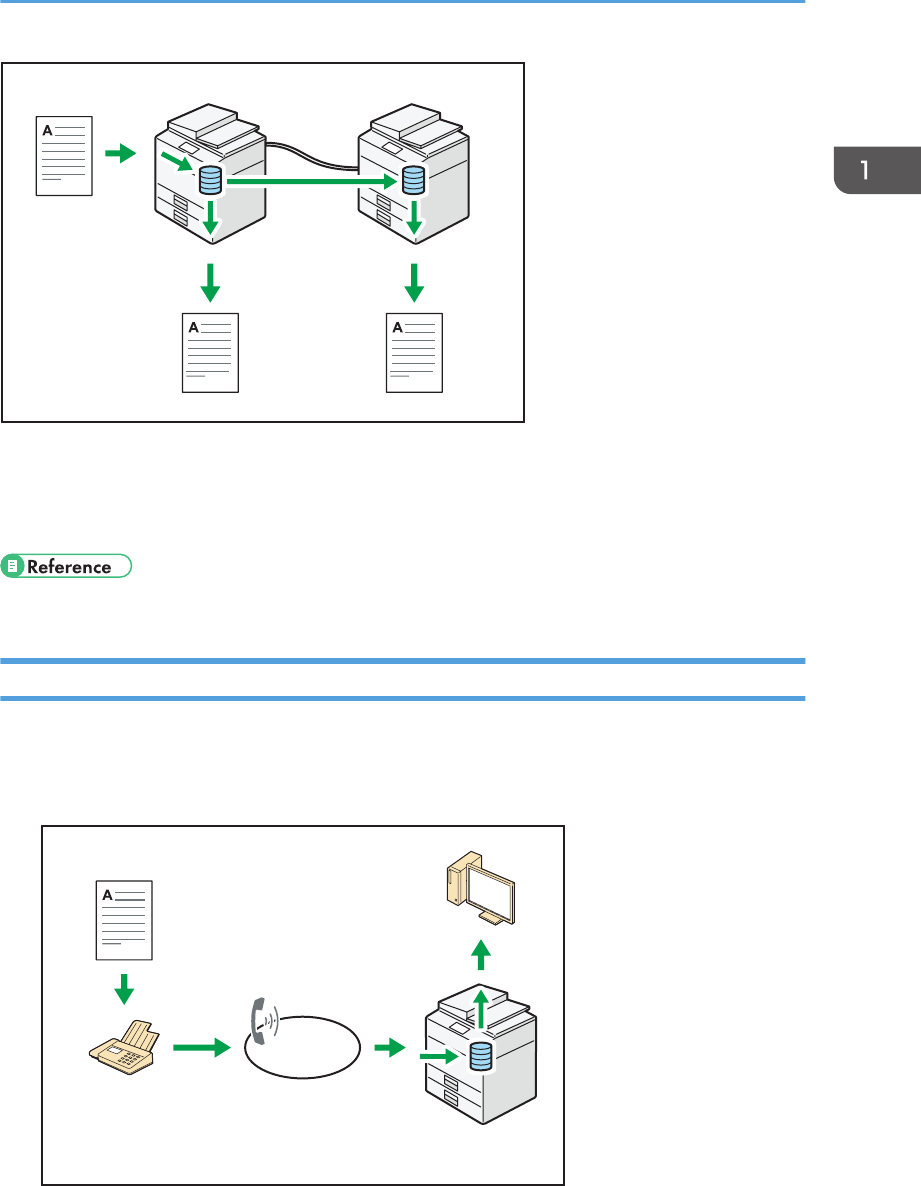
Storing Data in the Document Server.............................................................................................................77
4. Fax
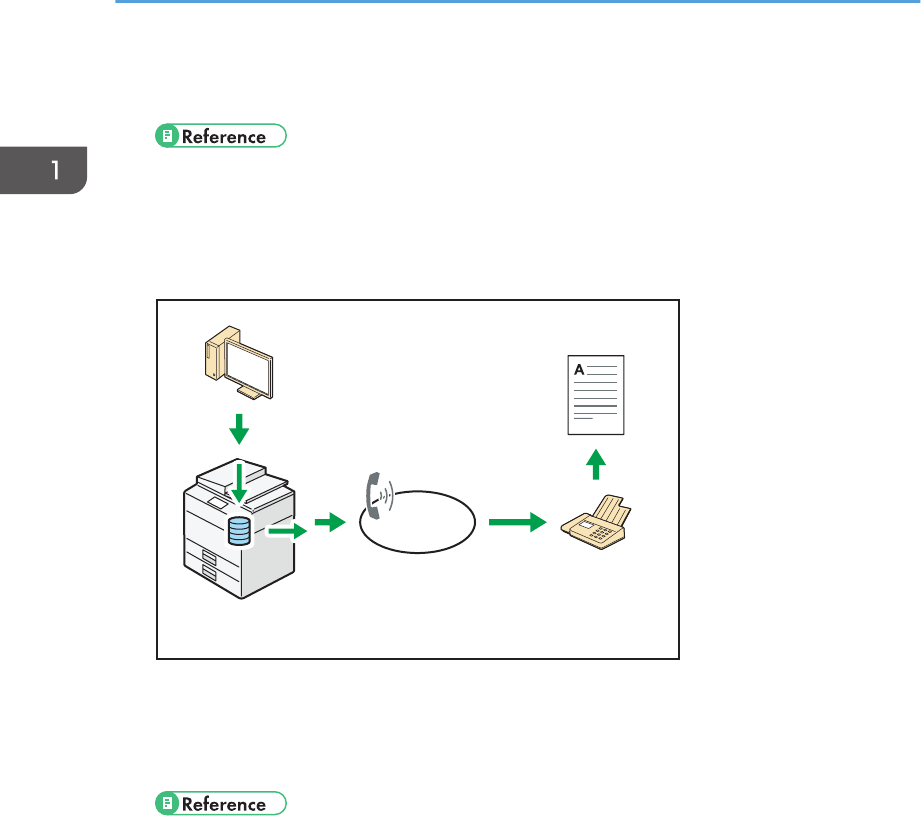
Basic Procedure for Transmissions (Memory Transmission)..........................................................................79
Registering a Fax Destination......................................................................................................................79
Deleting a Fax Destination..........................................................................................................................81
Transmitting while Checking Connection to Destination (Immediate Transmission)................................... 82
2
Canceling a Transmission................................................................................................................................83
Canceling a Transmission Before the Original Is Scanned......................................................................83
Canceling a Transmission While the Original Is Being Scanned.............................................................83
Canceling a Transmission After the Original Is Scanned.........................................................................83
Storing a Document......................................................................................................................................... 85
Printing the Journal Manually..........................................................................................................................88
Displaying the Printer Driver Properties..........................................................................................................90
Standard Printing..............................................................................................................................................91
When Using the PCL 6 Printer Driver..........................................................................................................91
Printing on Both Sides of Sheets......................................................................................................................92
When Using the PCL 6 Printer Driver..........................................................................................................92
Types of Two-sided Printing........................................................................................................................92
Combining Multiple Pages into Single Page..................................................................................................93
When Using the PCL 6 Printer Driver..........................................................................................................93
Types of Combine Printing.......................................................................................................................... 93
Saving and Printing Using the Document Server...........................................................................................95
Storing Documents in Document Server.....................................................................................................95
Managing Documents Stored in Document Server...................................................................................96
Using the Quick Print Release Function..........................................................................................................97
Using the Print/Scan(Memory Storage Device) Function............................................................................ 98
6. Scan
Basic Procedure When Using Scan to Folder.............................................................................................101
Creating a Shared Folder on a Computer Running Windows/Confirming a Computer's Information.....
Registering an SMB Folder.......................................................................................................................103
Deleting an SMB Registered Folder.........................................................................................................106
Entering the Path to the Destination Manually........................................................................................107
Basic Procedure for Sending Scan Files by E-mail......................................................................................108
Registering an E-mail Destination.............................................................................................................108
Deleting an E-mail Destination.................................................................................................................110
3
Entering an E-mail Address Manually.....................................................................................................110
Basic Procedure for Storing Scan Files........................................................................................................111
Checking a Stored File Selected from the List.........................................................................................112
Specifying the File Type................................................................................................................................113
Displaying Top Page.....................................................................................................................................119
Gebruikershandleiding.com neemt misbruik van zijn services uitermate serieus. U kunt hieronder aangeven waarom deze vraag ongepast is. Wij controleren de vraag en zonodig wordt deze verwijderd.
Product:
Spelregels forum
Om tot zinvolle vragen te komen hanteren wij de volgende spelregels:
lees eerst de handleiding door;
controleer of uw vraag al eerder door iemand anders is gesteld;
probeer uw vraag zo duidelijk mogelijk te stellen;
heeft u een probleem en al geprobeerd om dit op te lossen, vermeld dit erbij aub;
heeft u een oplossing gekregen van een bezoeker dan horen wij dat graag in dit forum;
wilt u een reactie geven op een vraag of antwoord, gebruik dan niet dit formulier maar klik op de knop 'reageer op deze vraag';
uw vraag wordt direct op de website gezet; vermijd daarom persoonlijke gegevens in te vullen;
Belangrijk! Als er een antwoord wordt gegeven op uw vraag, dan is het voor de gever van het antwoord nuttig om te weten als u er wel (of niet) mee geholpen bent! Wij vragen u dus ook te reageren op een antwoord.
Belangrijk! Antwoorden worden ook per e-mail naar abonnees gestuurd. Laat uw emailadres achter op deze site, zodat u op de hoogte blijft. U krijgt dan ook andere vragen en antwoorden te zien.
Abonneren
Abonneer u voor het ontvangen van emails voor uw Ricoh MP 6503 series bij:
nieuwe vragen en antwoorden
nieuwe handleidingen
U ontvangt een email met instructies om u voor één of beide opties in te schrijven.
Ontvang uw handleiding per email
Vul uw emailadres in en ontvang de handleiding van Ricoh MP 6503 series in de taal/talen: Engels als bijlage per email.
De handleiding is 16,88 mb groot.
U ontvangt de handleiding per email binnen enkele minuten. Als u geen email heeft ontvangen, dan heeft u waarschijnlijk een verkeerd emailadres ingevuld of is uw mailbox te vol. Daarnaast kan het zijn dat uw internetprovider een maximum heeft aan de grootte per email. Omdat hier een handleiding wordt meegestuurd, kan het voorkomen dat de email groter is dan toegestaan bij uw provider.
Uw handleiding is per email verstuurd. Controleer uw email
Als u niet binnen een kwartier uw email met handleiding ontvangen heeft, kan het zijn dat u een verkeerd emailadres heeft ingevuld of dat uw emailprovider een maximum grootte per email heeft ingesteld die kleiner is dan de grootte van de handleiding.
Er is een email naar u verstuurd om uw inschrijving definitief te maken.
Controleer uw email en volg de aanwijzingen op om uw inschrijving definitief te maken
U heeft geen emailadres opgegeven
Als u de handleiding per email wilt ontvangen, vul dan een geldig emailadres in.
Uw vraag is op deze pagina toegevoegd
Wilt u een email ontvangen bij een antwoord en/of nieuwe vragen? Vul dan hier uw emailadres in.