c) Switch on the pedelec 6.3.1 Switching on the pedelec Page EN-40.
There is no speed displaya) The spoke magnet has
slipped.
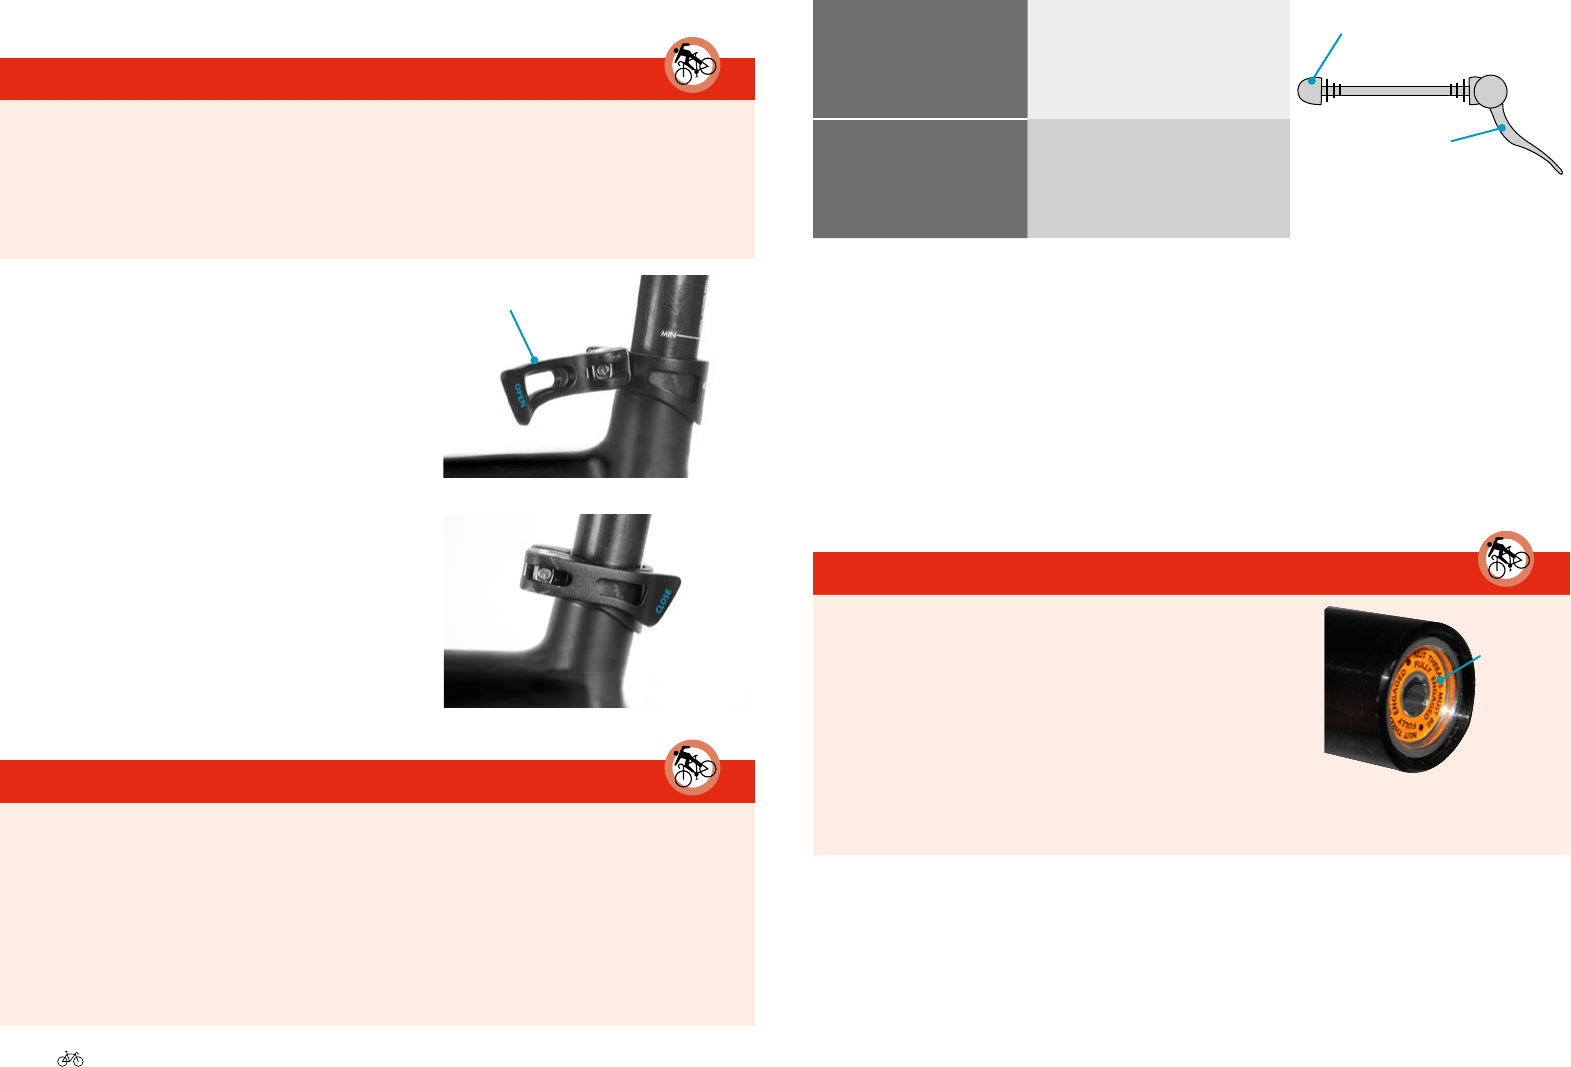
a) Check whether the spoke magnet has slipped. It should be as close
as possible to the speed sensor on the chain stay (max. 10 mm).
Align the magnet on the marker point with the speed sensor.
Spoke magnet
Speed sensor
b) The speed sensor is faulty.b) Contact your DCW/RU dealer. He will be able to replace the speed
sensor.
c) Spoke magnet missing.c)ContactyourDCW/RUdealer.Theycantanewspokemagnetto
your pedelec.
d) Speeds below 10 km/h are
not always displayed due to
the inertia of the system.
d) Check whether a speed is displayed when riding at a higher speed.
If that is the case, the display is not faulty.
Speed display incorrecta) Incorrect unit set.a) Check the mph and km/h settings 6.8.2.7 Unit Page EN-51 6.6 LCD Compact Display P. EN-42.
b) Wheel circumference setting
incorrect.
b) Set the correct wheel circumference 6.8.2.8 Wheel circumference Page EN-51.
Some of the display is missingThe display is faulty.Enable the test display 6.8.2.12 Version Page EN-53. The display may have to be replaced. Please ask your
DCW/RU dealer.
Display lighting not workingThe display is faulty.Please ask your DCW/RU dealer. The display may have to be replaced.
Original User Guide | Impulse 2.0 Pedelec Version 3 EN-81
DescriptionCauseRemedy
The display is misted upMoisture has got in.Dry out the pedelec complete with display at room temperature (19–21°C). If the display is still misted up,
contact your DCW/RU dealer. The display may have to be replaced.
Motor assist level is too weaka) Climb Assist is set too low.a) Change the value 6.8.2.10 Climb assist Page EN-52.
c) Unsuitable ride profile.c) Please ask your DCW/RU dealer. They can set another ride profile on your pedelec.
Motor idlesa) Gear changing is not properly
set.
a) Check the setting. If necessary, ask your DCW/RU dealer.
b)Chain/belthascomeo.b) Lift the chain/belt on to the sprocket and adjust the tension. If necessary, ask your DCW/RU dealer 3.7.1
Chain tension Page EN-20 3.8.1 Belt tension Page EN-22.
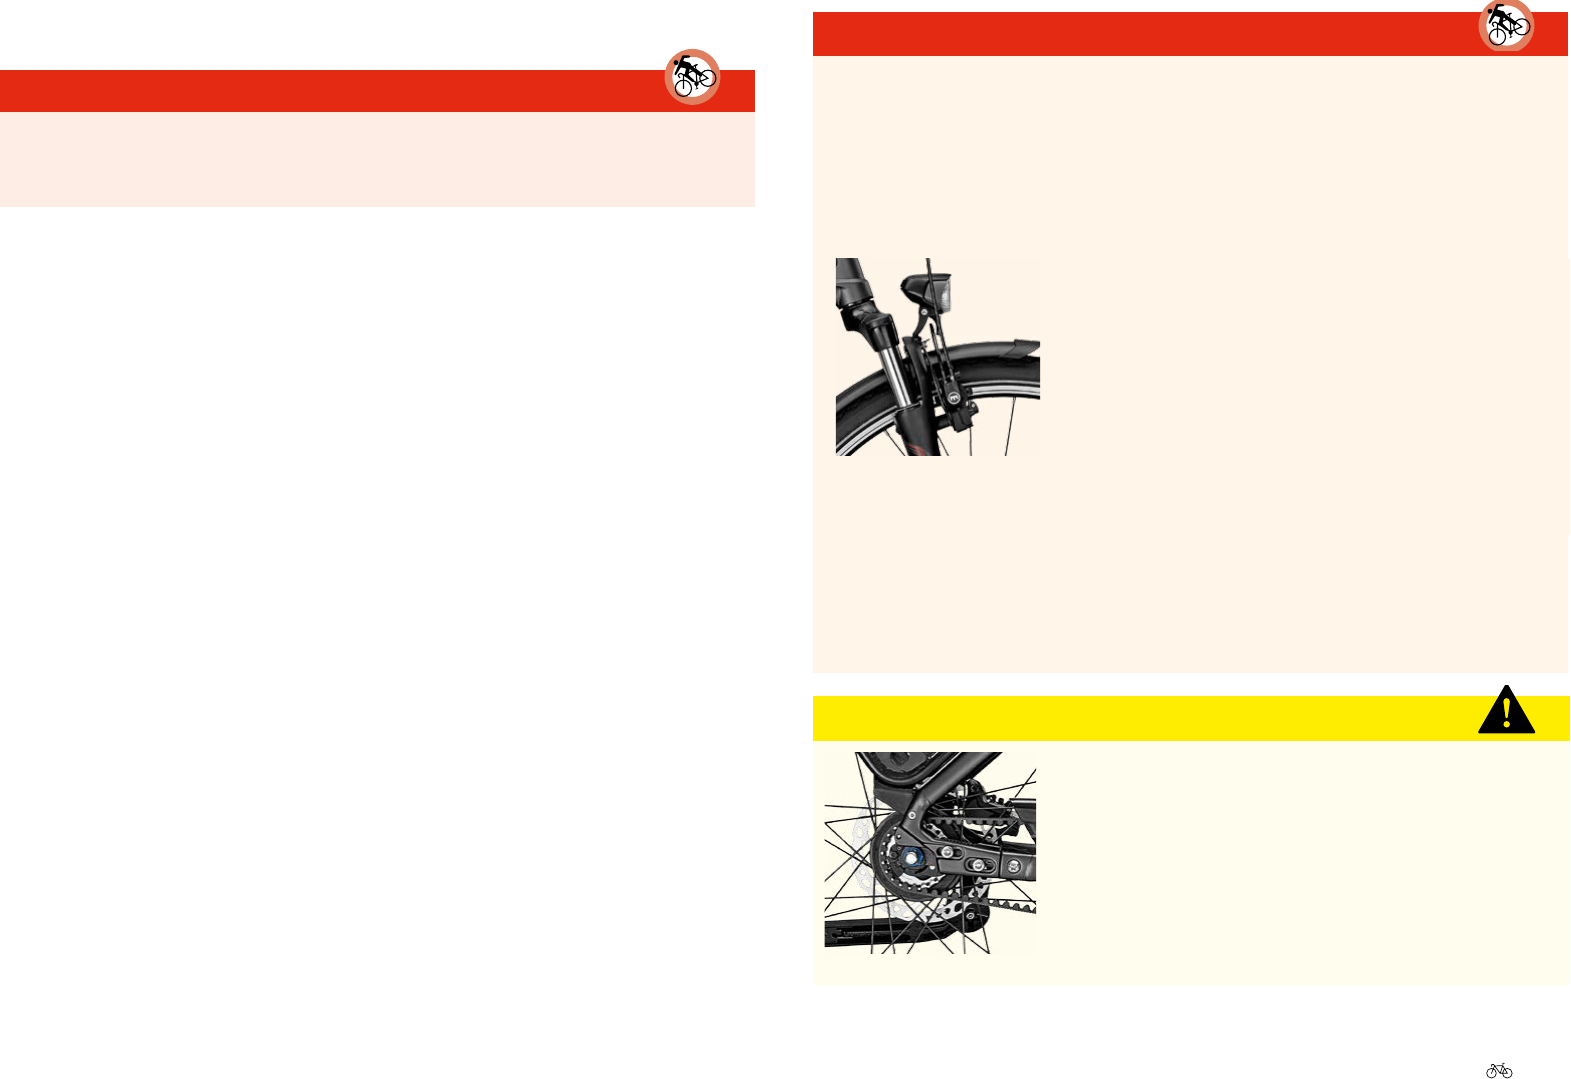
Power assist sporadically cuts outa) The spoke magnet has
slipped.
a) Check whether the spoke magnet has slipped. It
should be as close as possible to the speed sensor
on the chain stay (max. 10 mm). Align the magnet
on the marker point with the speed sensor.
Spoke magnet
Speed sensor
b) Climb Assist is set too high.b) Change the value 6.8.2.10 Climb assist Page
EN-52.
EN-82 Original User Guide | Impulse 2.0 Pedelec Version 3
DescriptionCauseRemedy
Motor noisea)Therearevariousreasonsformotornoise–itisnotalwaysduetoamechanicalfault.Forexample,thefollowingfactorscannegativelyaect
noise:
»Excessively high cadence with a low load.
»Very high assist level (e.g. riding uphill).
»Derailleur gear (as opposed to a gear hub).
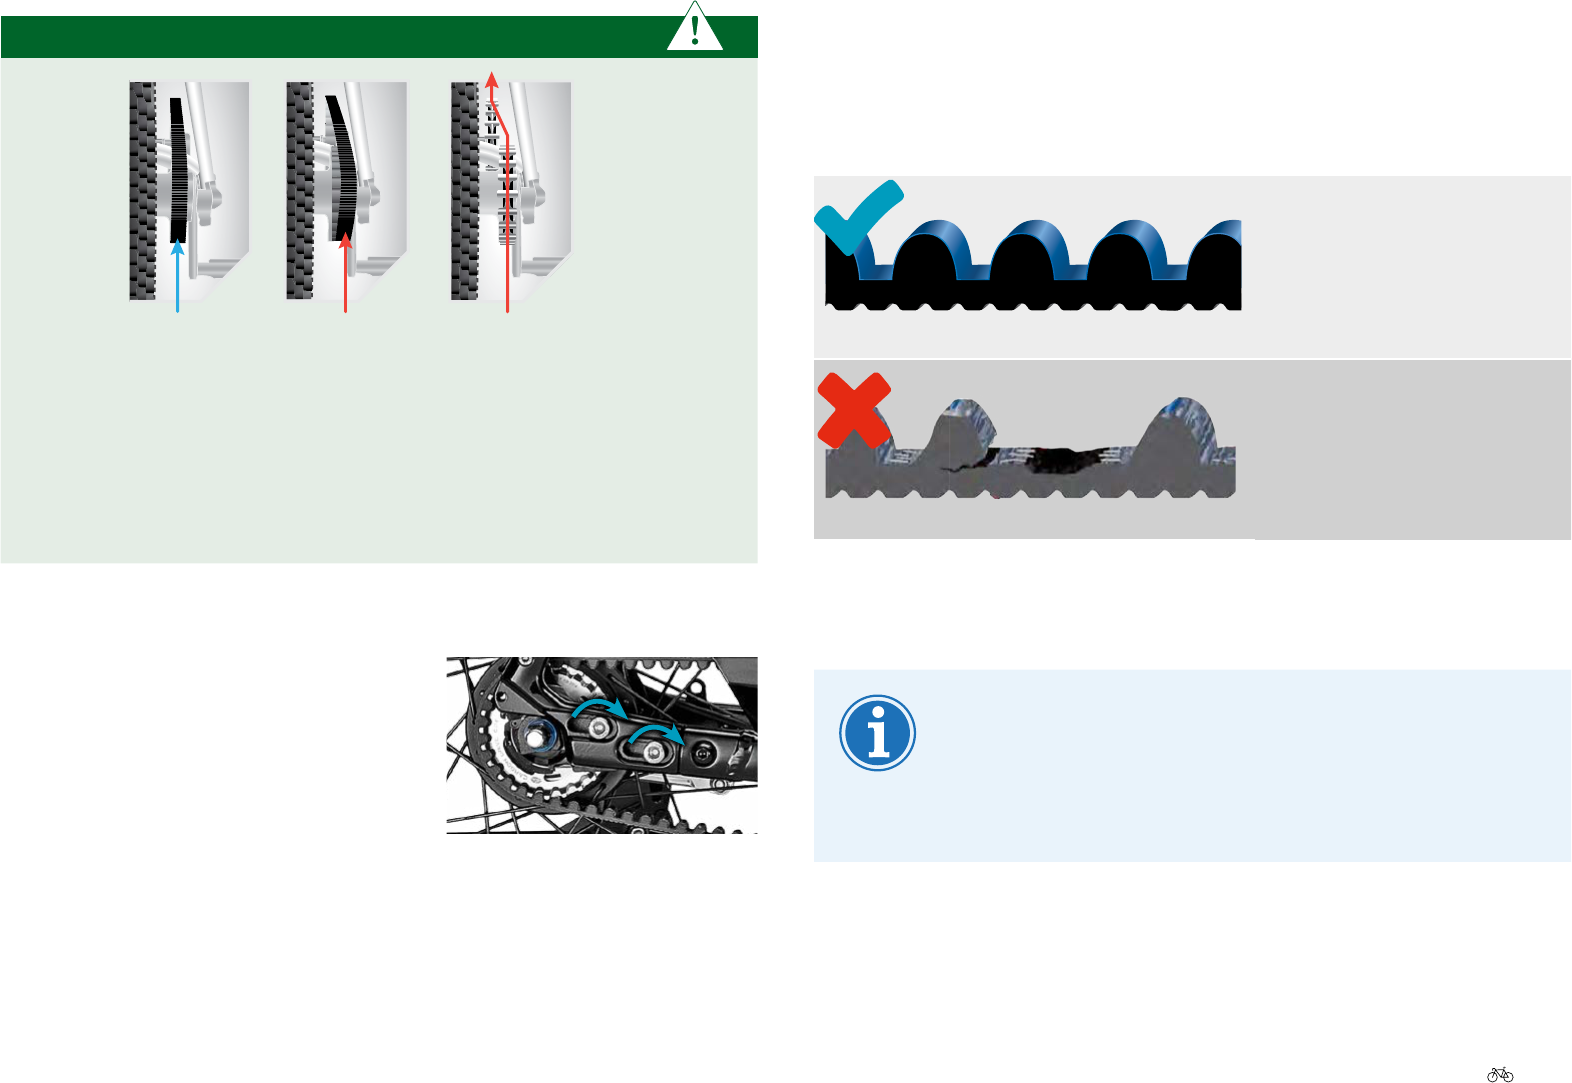
b) Chain/belt tension too high.b) Reduce chain/belt tension. If necessary, ask your DCW/RU dealer 3.7.1 Chain tension Page EN-20
3.8.1 Belt tension Page EN-22.
c) Dirty chain/belt.c) Clean chain/belt 3.8.3 Cleaning Page EN-24.
d) Defective pedals.d) Replace pedals 3.1 Attaching the pedals P. EN-16.
e) Motor bolts not tight enough.e) Tighten motor bolts 10. Torque settings Page EN-86.
Buttons on easy-reach control not
functioning
Easy-reach control is defective.Please ask your DCW/RU dealer. The easy-reach control may have to be replaced.
The system freezes in a mode
Shift sensor not workingShift sensor defective.Please ask your DCW/RU dealer. The Shift sensor may have to be replaced.
Push assist is too weaka) Software is not up to date.
Please ask your DCW/RU dealer. They can install the latest system software.
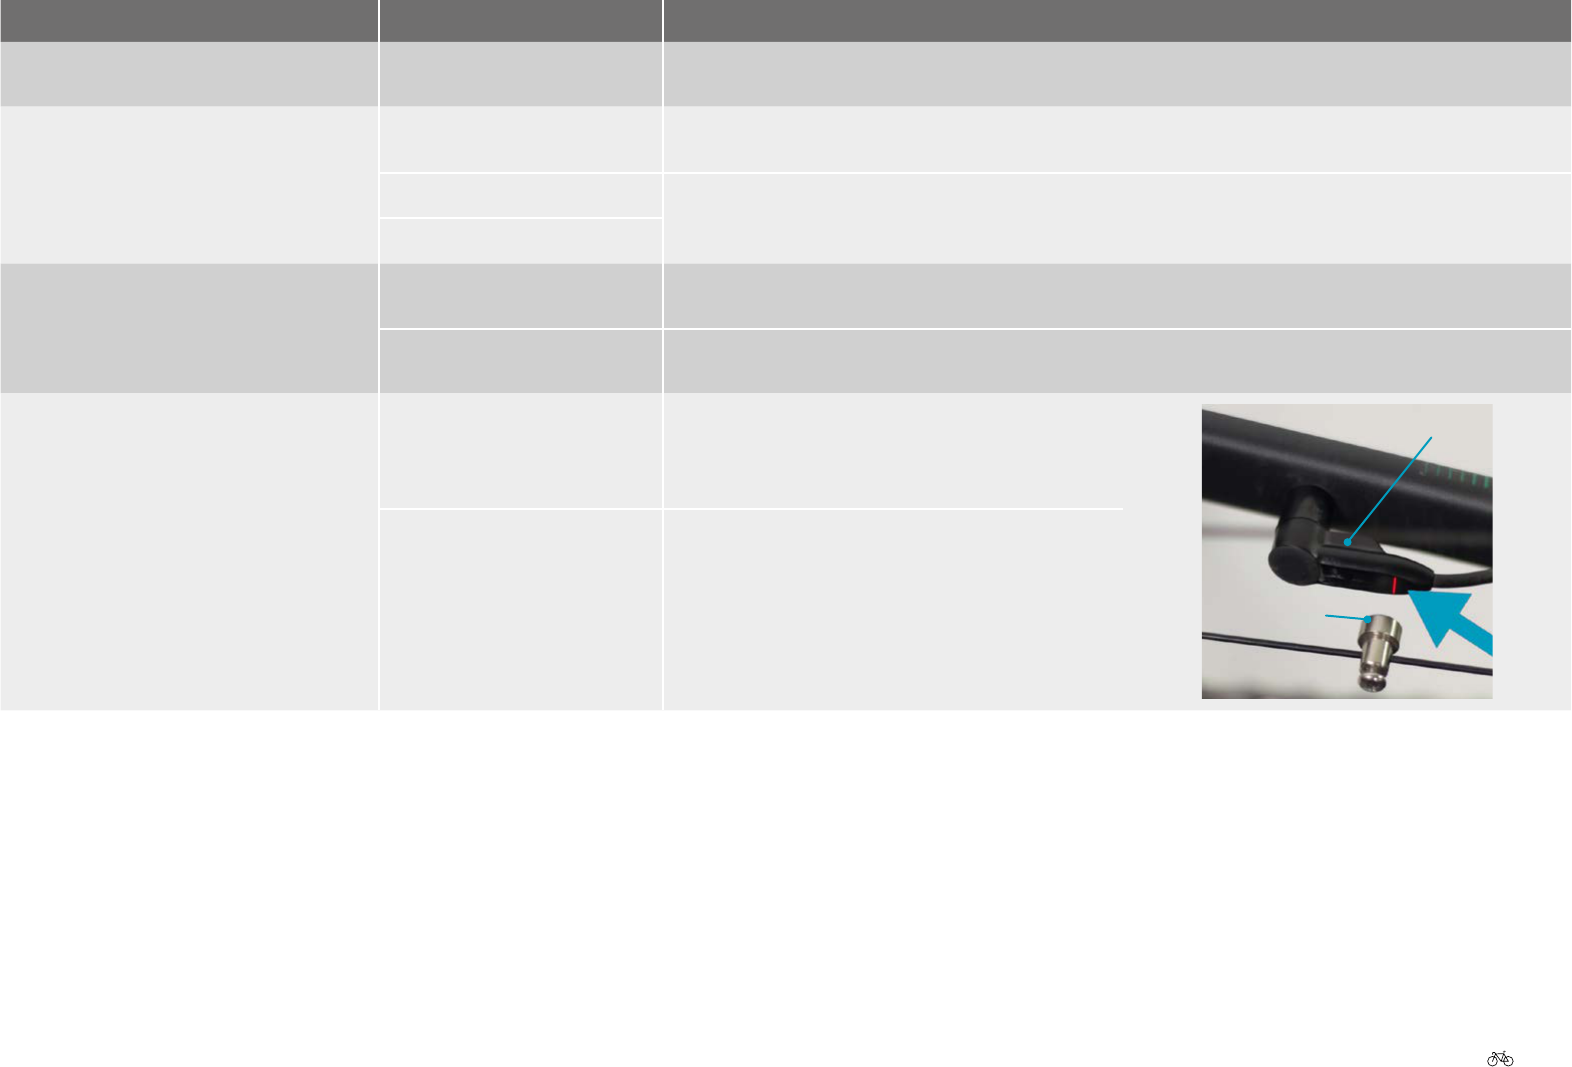
b) Shift cable incorrectly
threaded.
DisplayCause Remedy
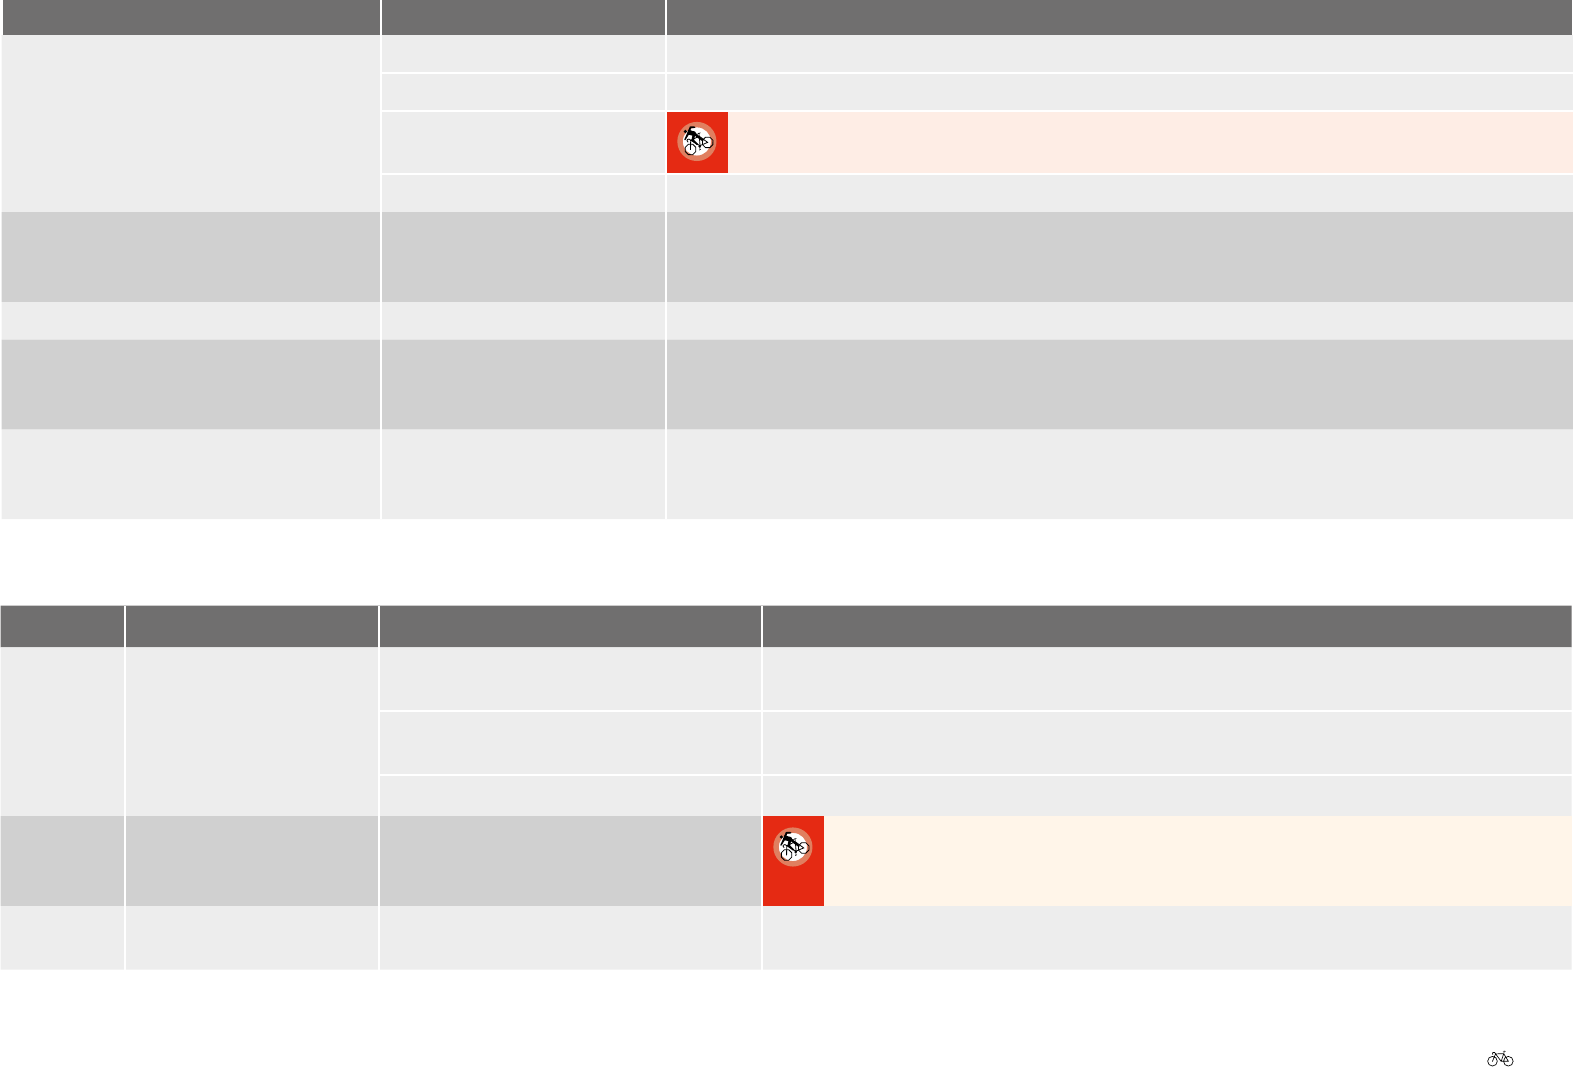
"Check speed sensor"/"SPEED"a) The spoke magnet has
slipped.
a) Check whether the spoke magnet has slipped. It should be as close as possible to the speed sensor on the
chain stay (max. 10 mm). Align the magnet on the marker point with the speed sensor.
b) The speed sensor is faulty.b) Contact your DCW/RU dealer. He will be able to replace the speed sensor.
c) Spoke magnet missing.c) Contact your DCW/RU dealer. He will be able to replace the spoke magnet.
d) Assist mode is queried in
standby.
d) The display should disappear when travelling at over 6 km/h.
Original User Guide | Impulse 2.0 Pedelec Version 3 EN-83
DisplayCause Remedy
"Communication error with the battery"/
Battery charge level indication on the
displayashes
a) No connection to battery.a) Remove battery and reinsert it.
b) Dirty contacts.b) Clean the battery discharge plug and docking station contacts with a soft, dry cloth.
c) The battery is damaged.
c) Damaged batteries must not be charged or used for any other purpose. Please ask your DCW/RU
dealer; the battery may have to be replaced.
d) Battery not charged.d) Charge the battery.
"Motor temperature is too high"The motor has overheated. For
example, after riding up a long,
steep incline in a high gear.
Allow the motor to cool down before resuming your journey.
"Battery temperature is too high"The battery has overheated.Allow the battery to cool down for a while by riding without motor assist.
"Battery temperature is too low"The temperature of the battery
is too low, e.g. after a very cold
night outdoors.
Store the battery in a warm room for a while so that it reaches a sufficient temperature.
Permanent display: "Please move the
pedals"/"PEDAL".
Caster switch may be faulty.Turn the pedal crank backwards briefly, then forwards again so that a system check can be carried out. If the
"Please move the pedals"/"PEDAL" message is still displayed, please contact your DCW/RU dealer. The motor
Mijn Raleigh Dover ondersteunt niet meer. Display werkt, batterij vol en snelheid sensor werkt. Iemand een idee wat het zou kunnen zijn?
Gesteld op 11-2-2025 om 18:46
Gebruikershandleiding.com neemt misbruik van zijn services uitermate serieus. U kunt hieronder aangeven waarom deze vraag ongepast is. Wij controleren de vraag en zonodig wordt deze verwijderd.
Product:
Spelregels forum
Om tot zinvolle vragen te komen hanteren wij de volgende spelregels:
lees eerst de handleiding door;
controleer of uw vraag al eerder door iemand anders is gesteld;
probeer uw vraag zo duidelijk mogelijk te stellen;
heeft u een probleem en al geprobeerd om dit op te lossen, vermeld dit erbij aub;
heeft u een oplossing gekregen van een bezoeker dan horen wij dat graag in dit forum;
wilt u een reactie geven op een vraag of antwoord, gebruik dan niet dit formulier maar klik op de knop 'reageer op deze vraag';
uw vraag wordt direct op de website gezet; vermijd daarom persoonlijke gegevens in te vullen;
Belangrijk! Als er een antwoord wordt gegeven op uw vraag, dan is het voor de gever van het antwoord nuttig om te weten als u er wel (of niet) mee geholpen bent! Wij vragen u dus ook te reageren op een antwoord.
Belangrijk! Antwoorden worden ook per e-mail naar abonnees gestuurd. Laat uw emailadres achter op deze site, zodat u op de hoogte blijft. U krijgt dan ook andere vragen en antwoorden te zien.
Abonneren
Abonneer u voor het ontvangen van emails voor uw Raleigh Pedelec Impulse 2.0 - 2016 bij:
nieuwe vragen en antwoorden
nieuwe handleidingen
U ontvangt een email met instructies om u voor één of beide opties in te schrijven.
Ontvang uw handleiding per email
Vul uw emailadres in en ontvang de handleiding van Raleigh Pedelec Impulse 2.0 - 2016 in de taal/talen: Engels als bijlage per email.
De handleiding is 10,18 mb groot.
U ontvangt de handleiding per email binnen enkele minuten. Als u geen email heeft ontvangen, dan heeft u waarschijnlijk een verkeerd emailadres ingevuld of is uw mailbox te vol. Daarnaast kan het zijn dat uw internetprovider een maximum heeft aan de grootte per email. Omdat hier een handleiding wordt meegestuurd, kan het voorkomen dat de email groter is dan toegestaan bij uw provider.
Stel vragen via chat aan uw handleiding
Stel uw vraag over deze PDF
Andere handleiding(en) van Raleigh Pedelec Impulse 2.0 - 2016
Uw handleiding is per email verstuurd. Controleer uw email
Als u niet binnen een kwartier uw email met handleiding ontvangen heeft, kan het zijn dat u een verkeerd emailadres heeft ingevuld of dat uw emailprovider een maximum grootte per email heeft ingesteld die kleiner is dan de grootte van de handleiding.
Er is een email naar u verstuurd om uw inschrijving definitief te maken.
Controleer uw email en volg de aanwijzingen op om uw inschrijving definitief te maken
U heeft geen emailadres opgegeven
Als u de handleiding per email wilt ontvangen, vul dan een geldig emailadres in.
Uw vraag is op deze pagina toegevoegd
Wilt u een email ontvangen bij een antwoord en/of nieuwe vragen? Vul dan hier uw emailadres in.