


-
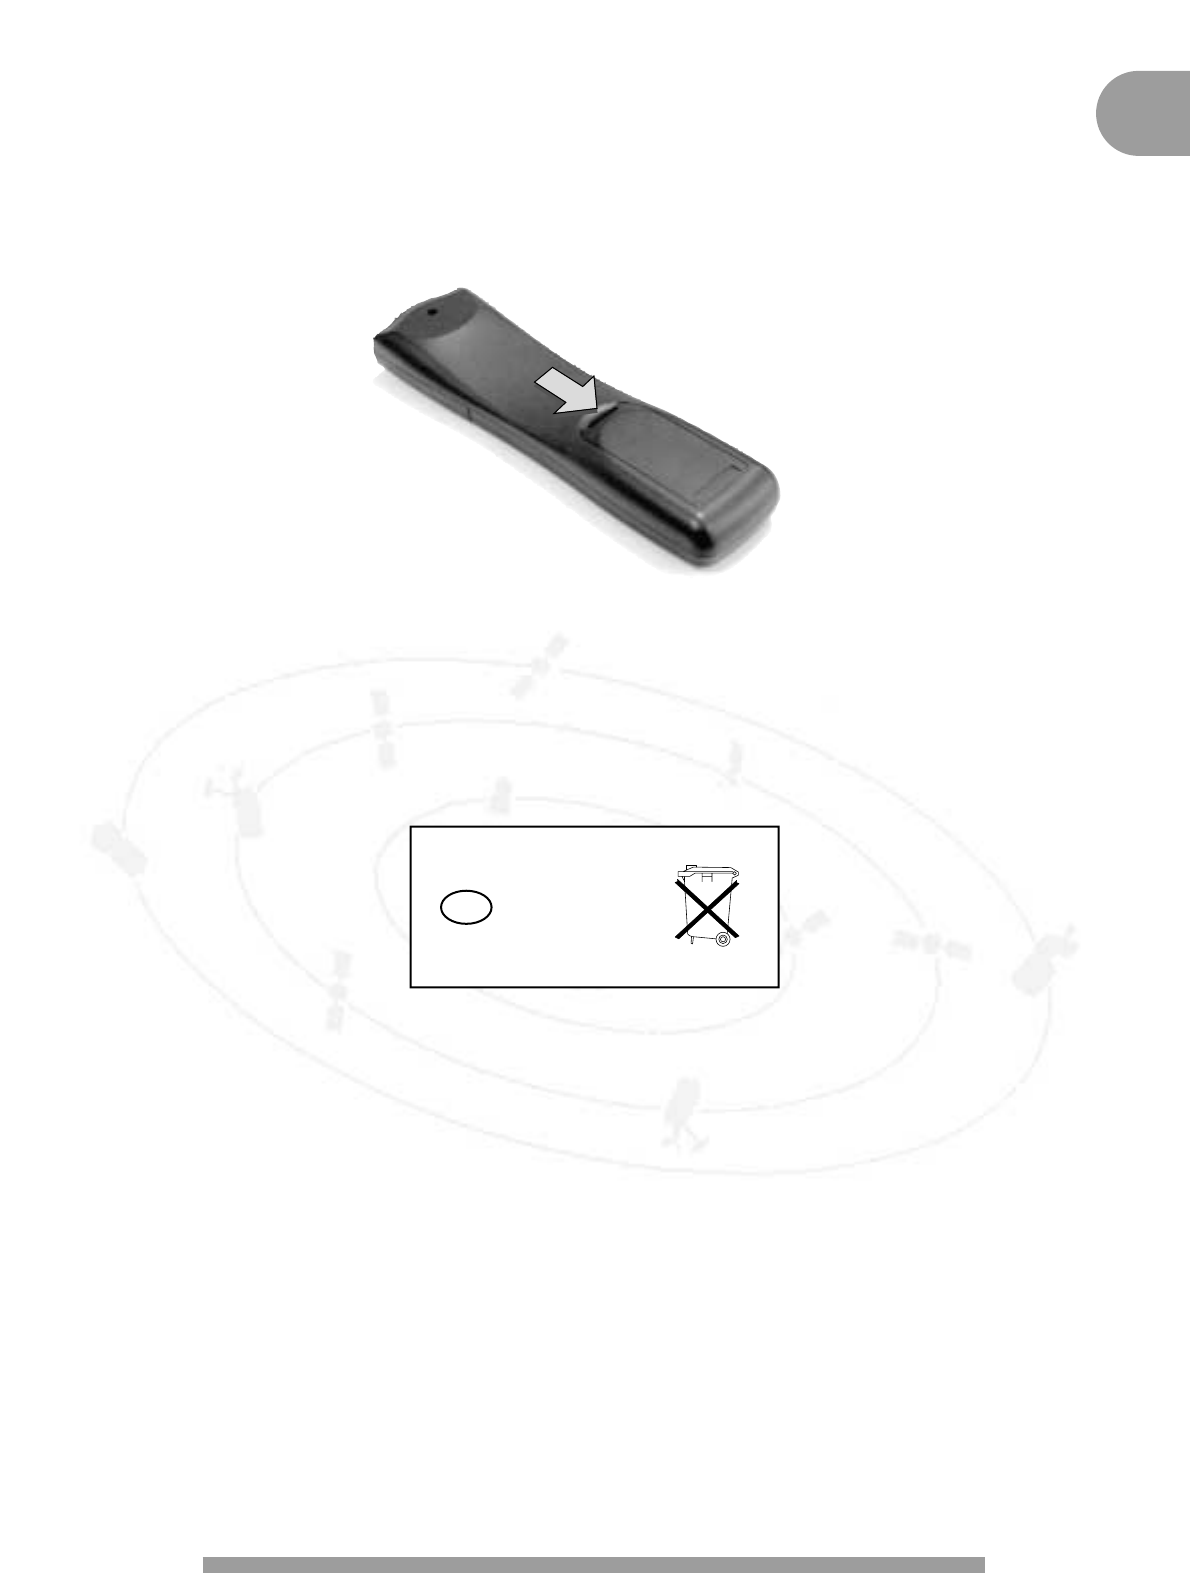
Mijn afstandbediening is weg,welke afstandbediening kan ik voor deze reciver gebruiken? Welke stelt u voor! Gesteld op 22-7-2014 om 14:26
Reageer op deze vraag Misbruik melden-
Een unieversele afstandsbediening b.v. de grundig 1 for 7, en gebruik dan de code: 0804, niet alle toetsen verken. Geantwoord op 26-3-2015 om 15:28
Waardeer dit antwoord Misbruik melden
-
-
Hij reageerde niet op de afstands bediening van menu Gesteld op 7-6-2014 om 15:44
Reageer op deze vraag Misbruik melden-
Bij mij ook na driekwart jaar niet gebruikt te hebben Geantwoord op 8-7-2014 om 20:52
Waardeer dit antwoord Misbruik melden
-
-
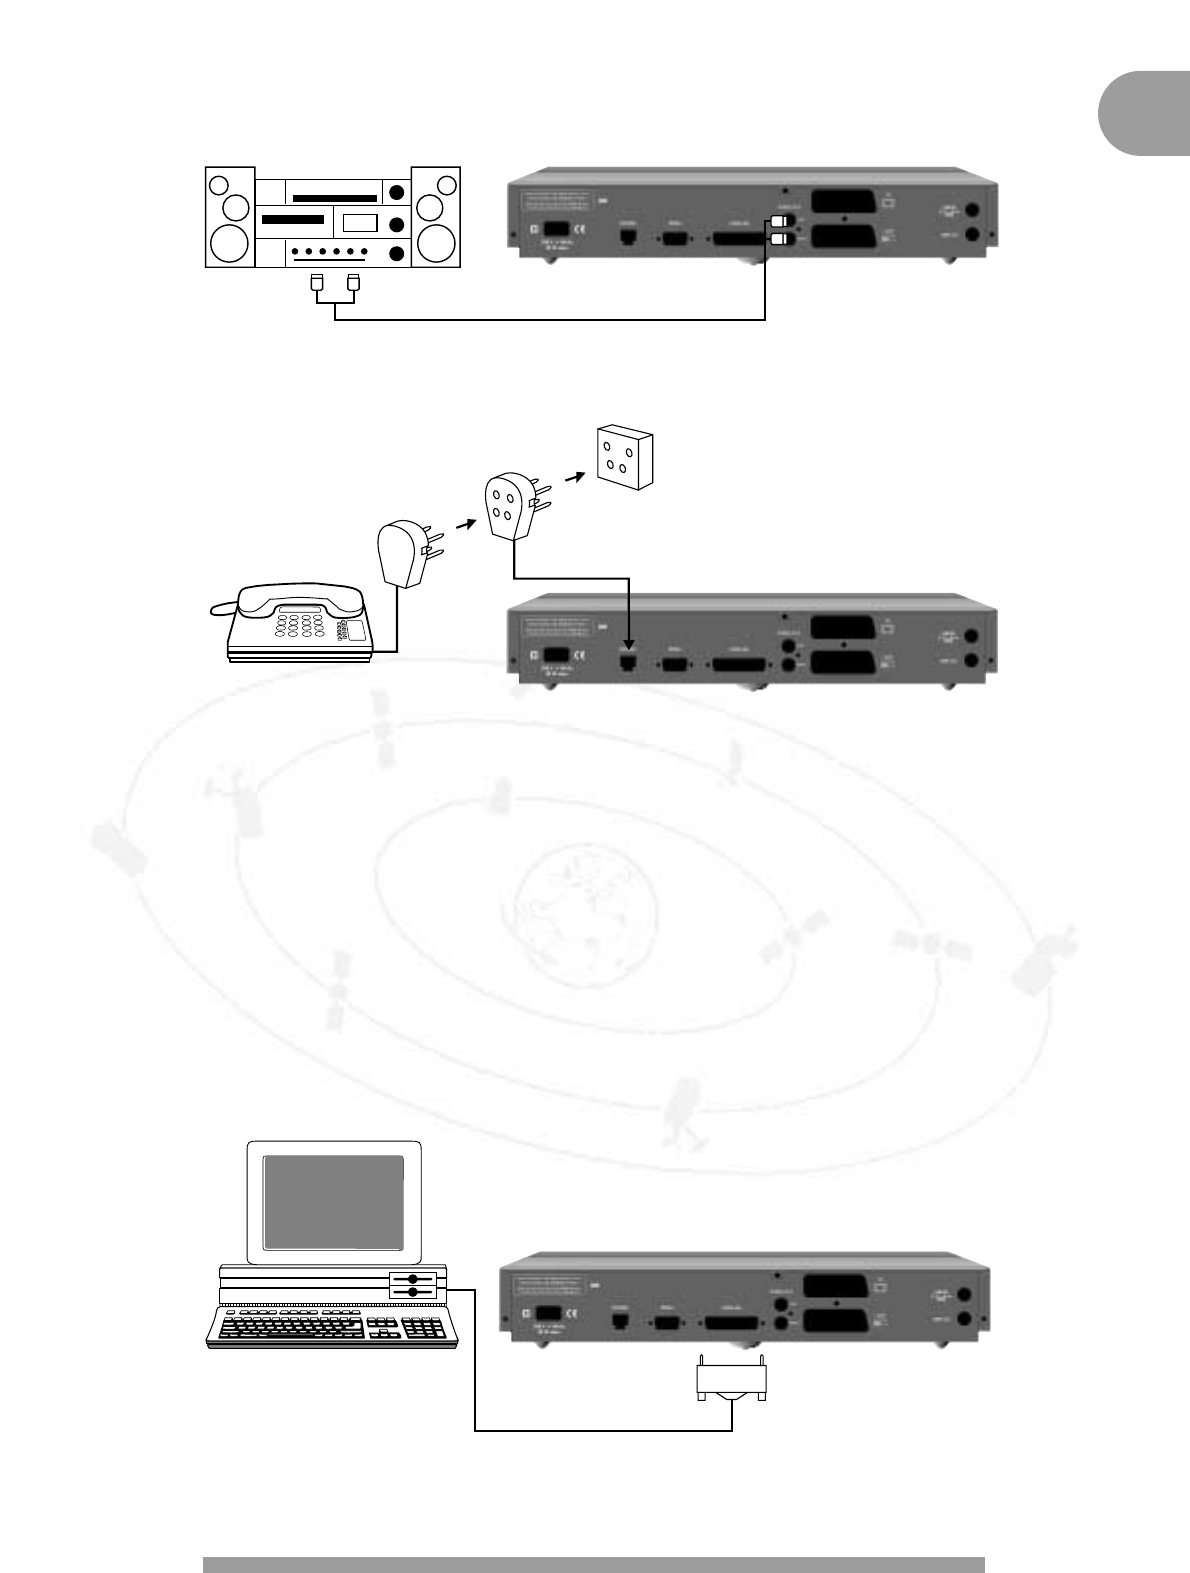
kan ik direct speakers op de audio uitgang van de tuner aansluiten, en met welke soort speakers? Gesteld op 1-10-2013 om 20:00
Reageer op deze vraag Misbruik melden-
Dit is zonder gebruik te maken van een versterkerker niet mogelijk.
Waardeer dit antwoord Misbruik melden
Geantwoord op 26-3-2015 om 15:31
-
-
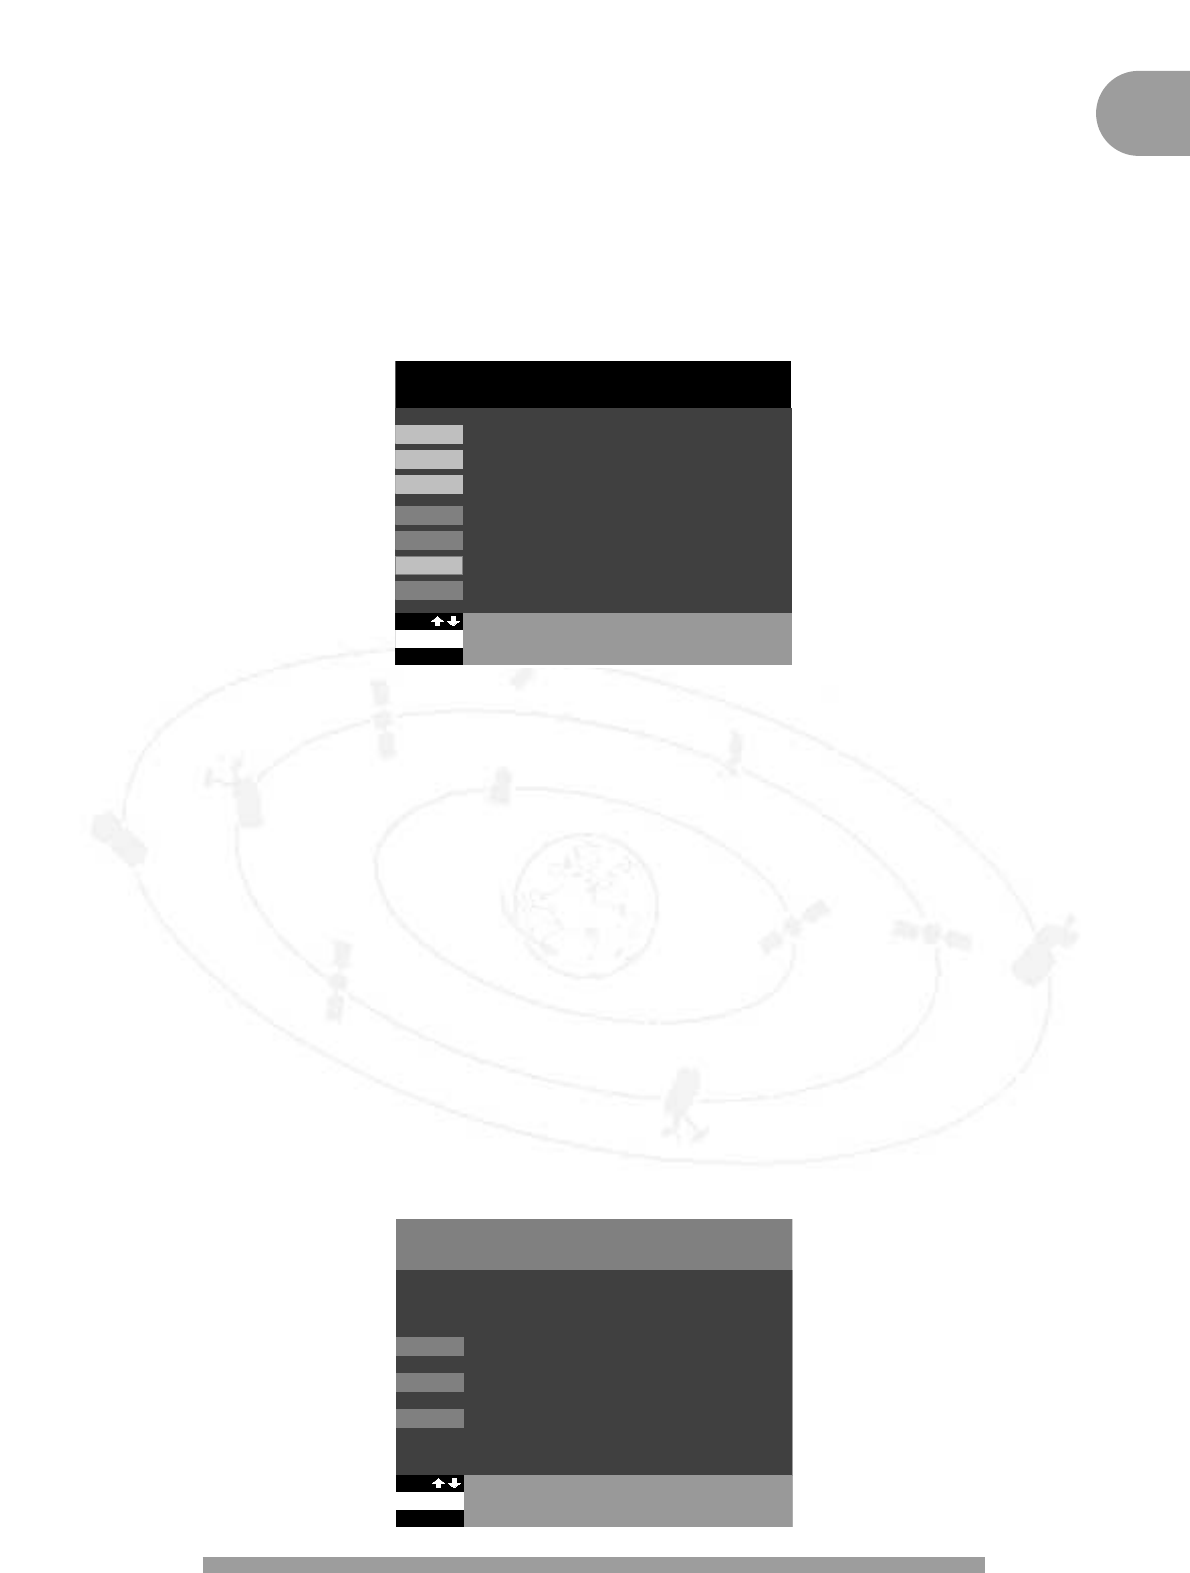
hernummeren van zenders licht niet op Gesteld op 11-11-2012 om 13:34
Reageer op deze vraag Misbruik melden-
Bij snelladen kun de programma plaatsen niet meer wijzigen.
Waardeer dit antwoord Misbruik melden
Geantwoord op 26-3-2015 om 15:33
-
-
kan deze reciever werken zinder smartcard Gesteld op 5-8-2011 om 14:50
Reageer op deze vraag Misbruik melden-
nee er moet een kaart in zitten met of zonder abonnement Geantwoord op 5-8-2011 om 16:06
Waardeer dit antwoord (1) Misbruik melden
-
-
kan een receiver werken zonder smartcard? Gesteld op 11-5-2011 om 20:08
Reageer op deze vraag Misbruik melden-
dat weet ik niet Geantwoord op 9-7-2011 om 16:54
Waardeer dit antwoord Misbruik melden
-
-
ik heb eenphilips dsx en nu heeft canal digital iets veranderd en nu moet ik een nieuwe decoder kopen.
Reageer op deze vraag Misbruik melden
maar ik zou toch ned 1,2,3 nog moeten ontvangen?
hoe moet ik dat doen Gesteld op 15-4-2011 om 23:15-
Canal Digital vertellen dat u naar het standaard pakket wilt gaan , is GRATIS vlgs mij en dan heeft u 1,2,3 en dat kon ik wel ontvangen Geantwoord op 22-9-2011 om 10:06
Waardeer dit antwoord Misbruik melden
-
-
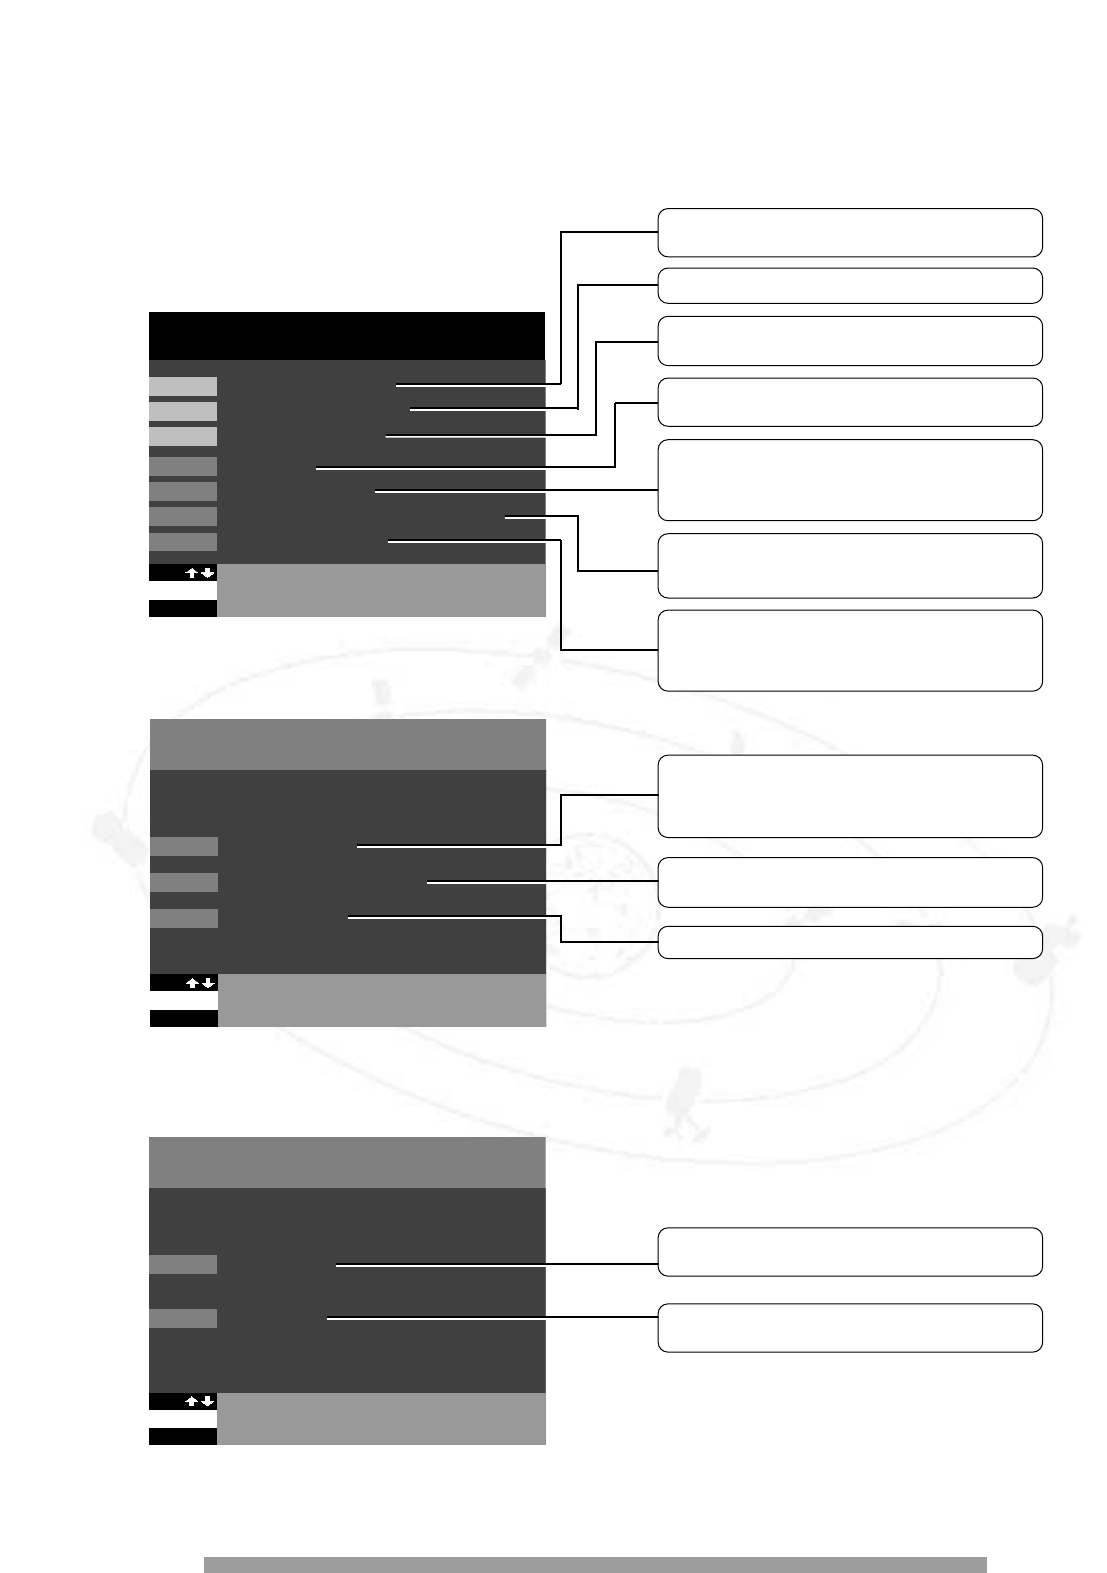
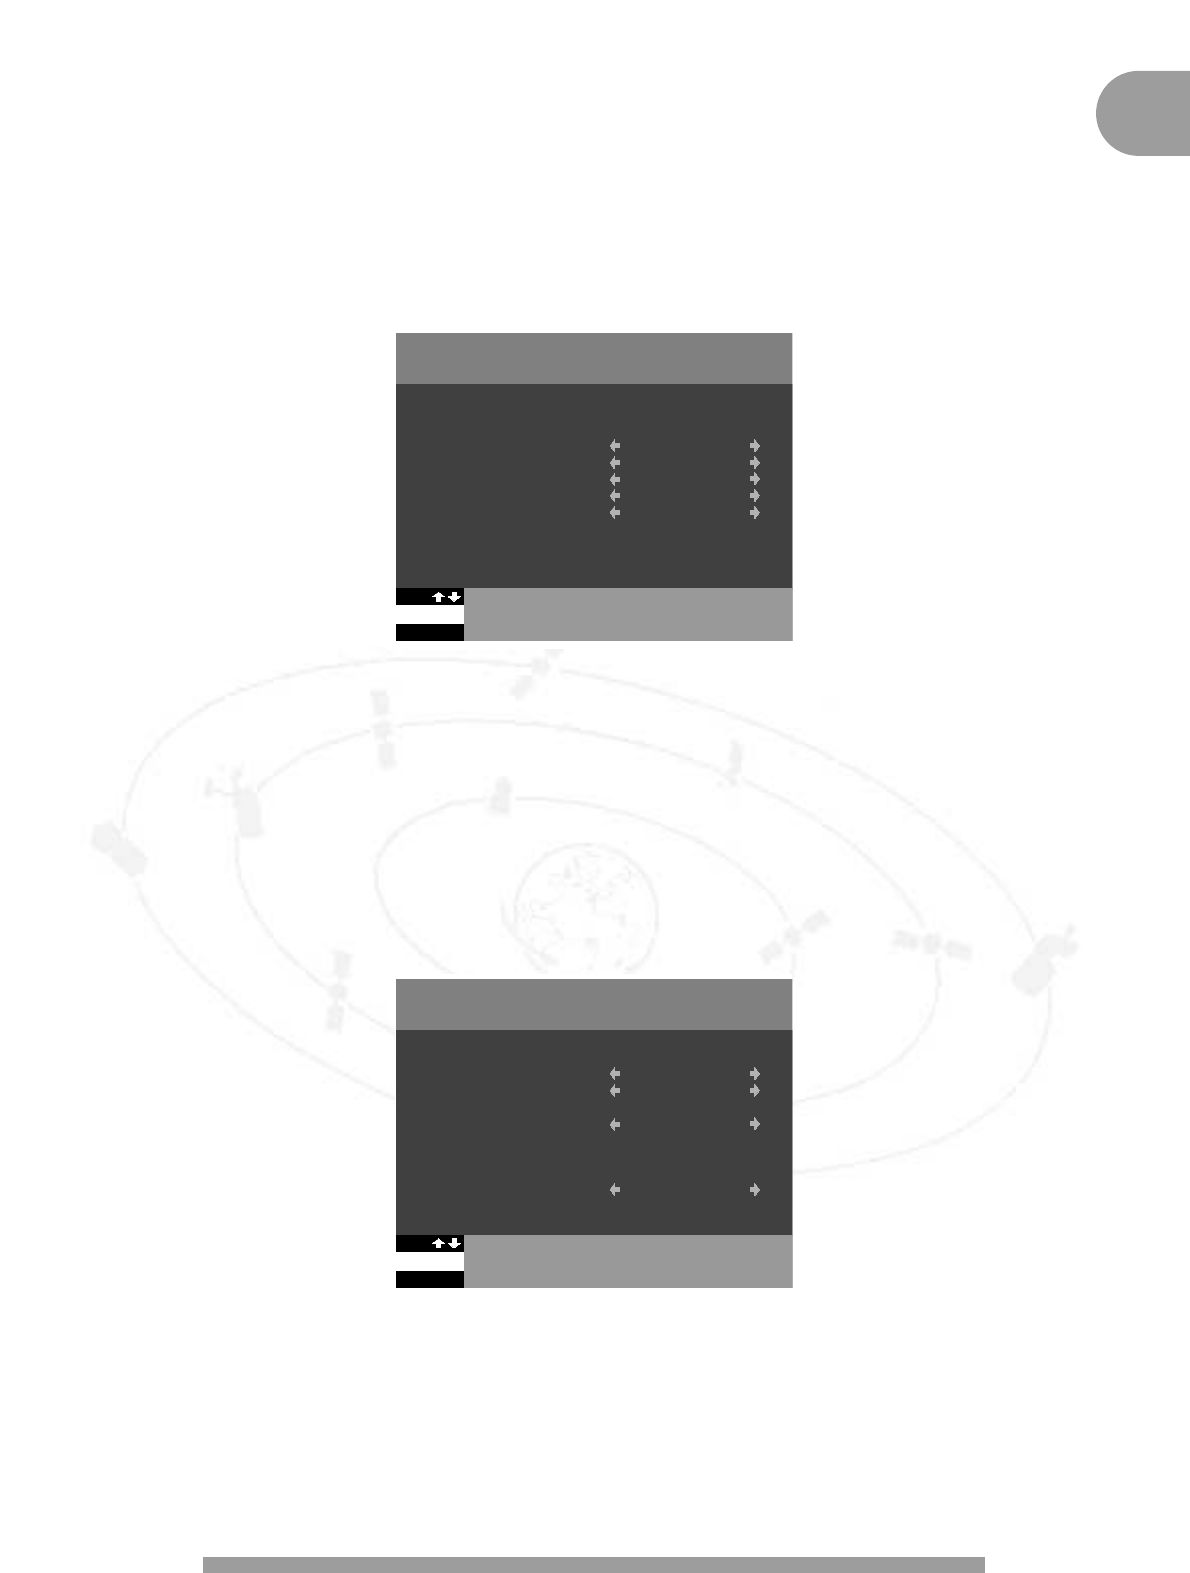
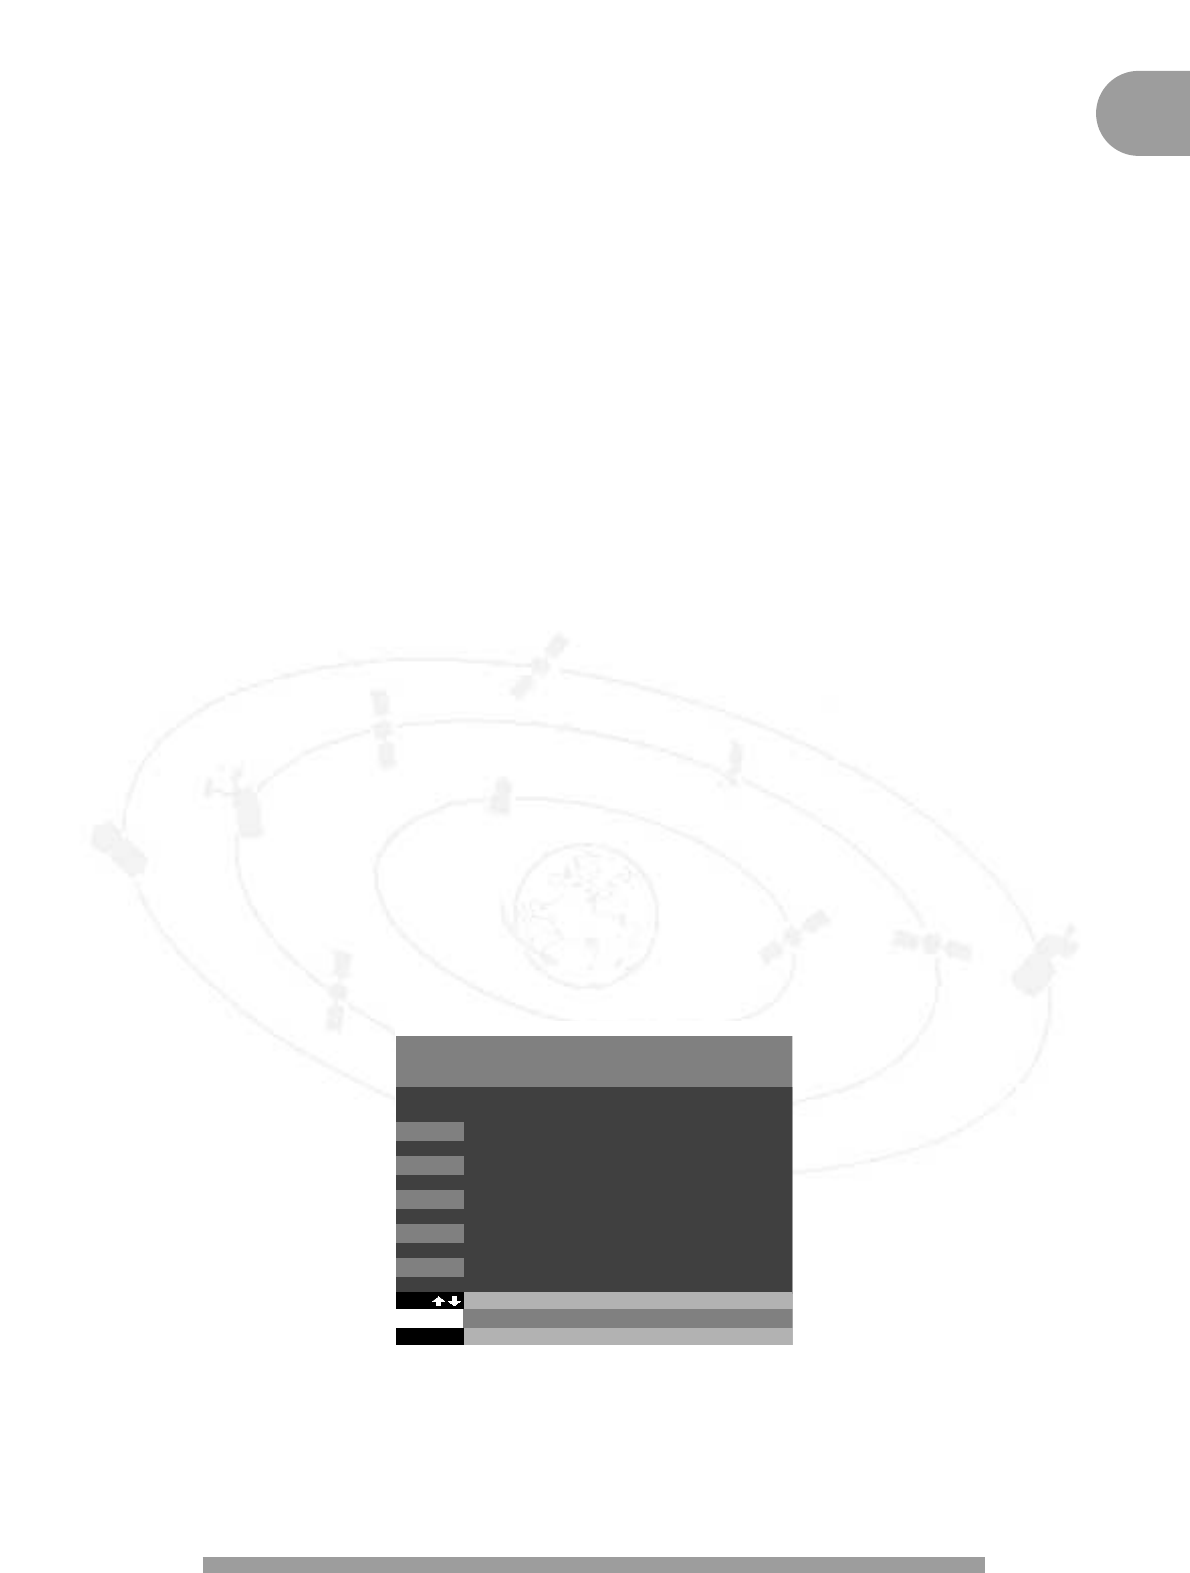
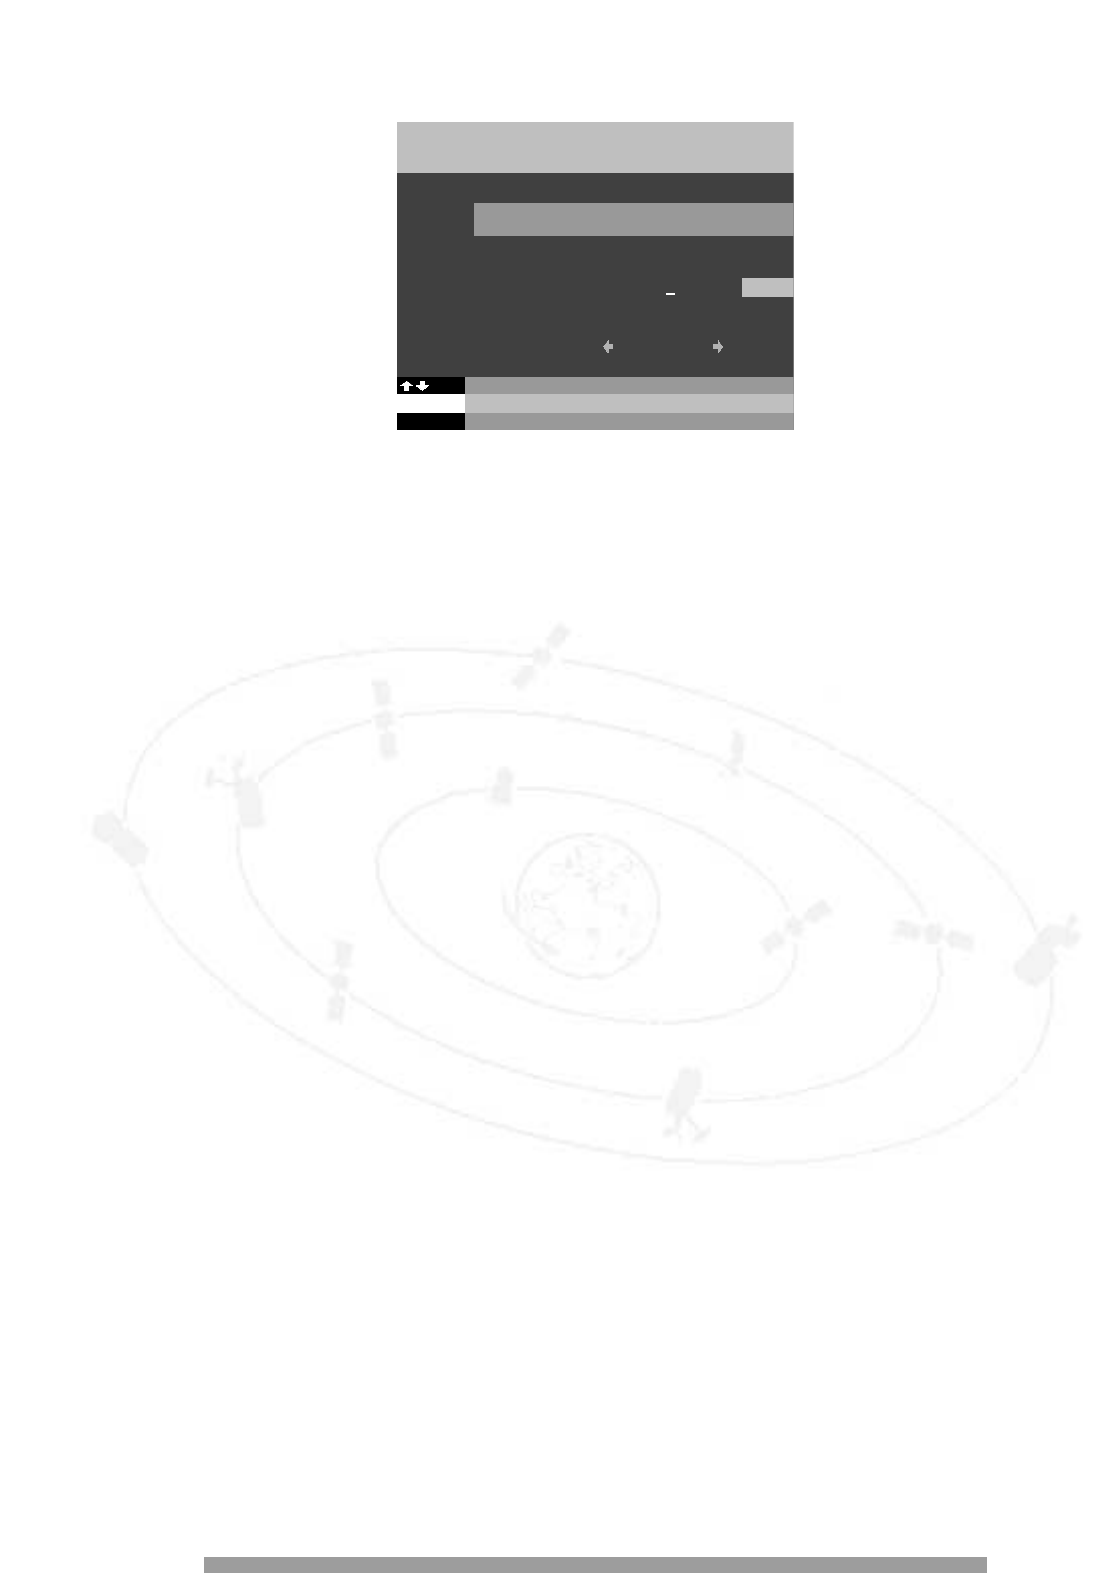
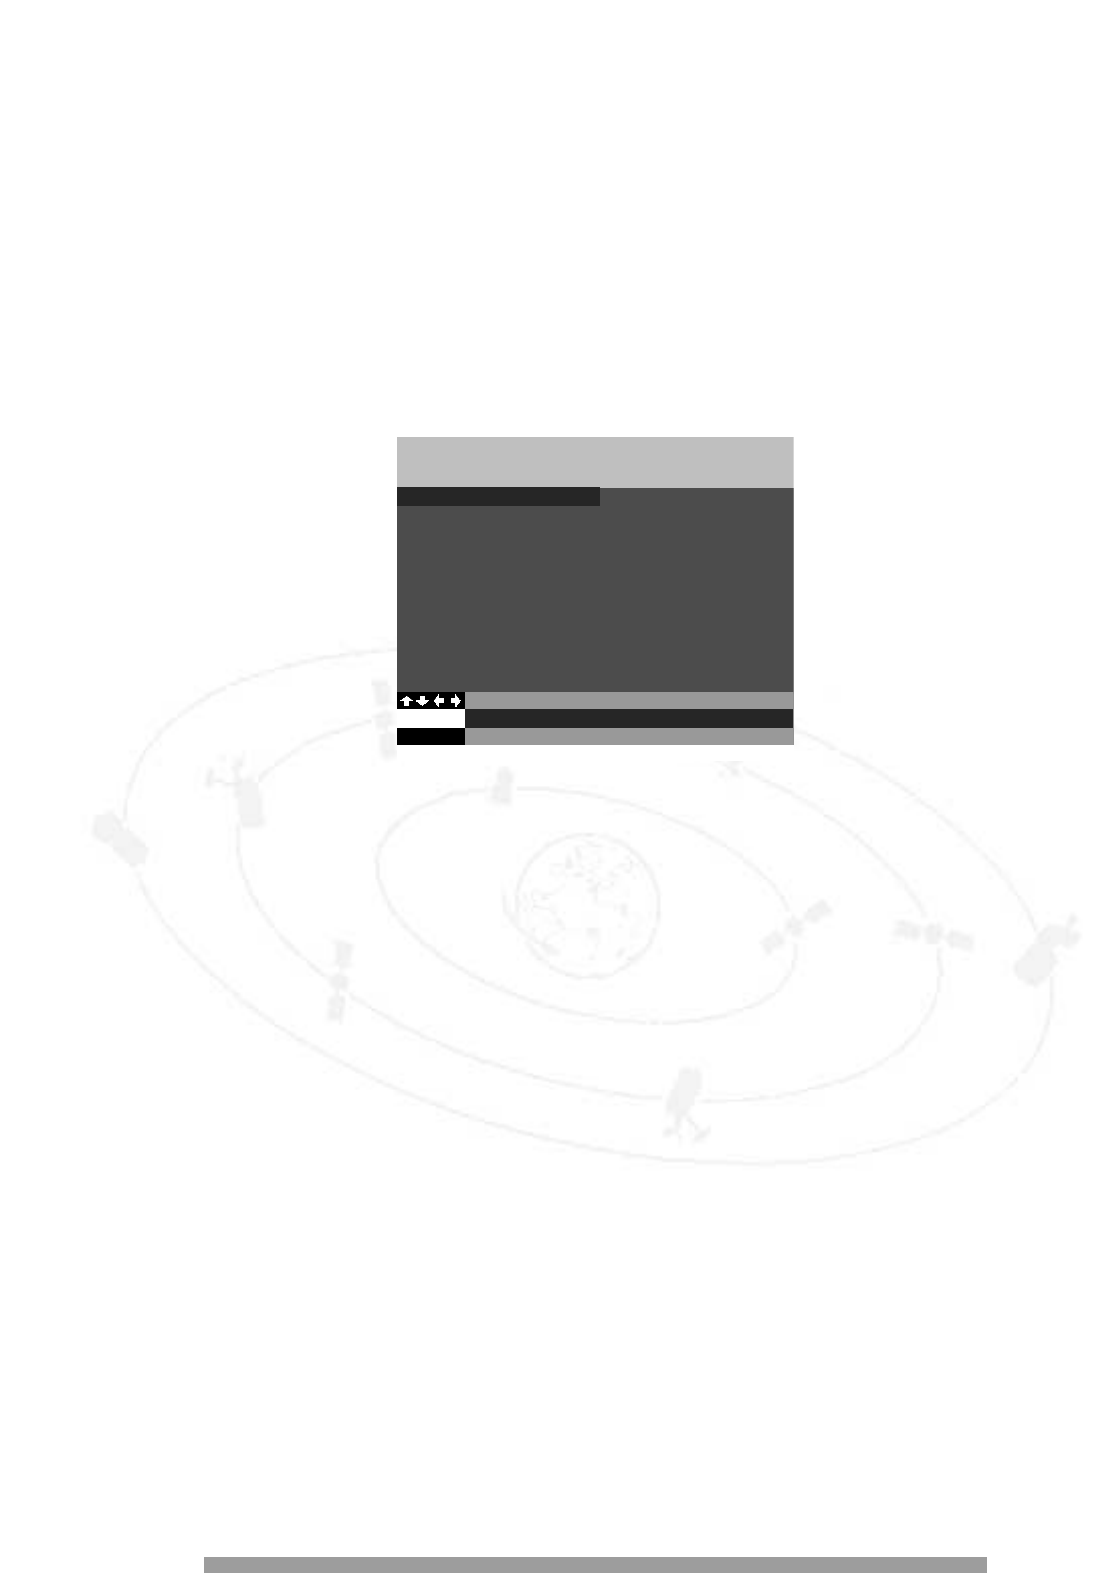
Philips 6073 jaartal 2001. Op blz 12 onder 4.2 van de handleiding staan op afbeelding 5 ( op mijn scherm staan er 6, dit is snel kanalen installeren) mogelijkheden om bepaalde handelingen uit te voeren. de nummers 2-3 en 4 lichten bij mij zwart op en werken niet als ik ze aanklik, 1-5 en 6 lichten wit op en werken wel met de afstandsbediening. Het betreft het hernummeren/kanalen toevoegen en verwijderen. Kan hier iets geblokkeerd staan en hoe moet ik dat deblokkeren. kan iemand mij advies geven.
Reageer op deze vraag Misbruik melden
alvast bedankt. martijn
Gesteld op 23-2-2011 om 10:51-
Wat wil je gaan doen als je alle cd kanalen hebt is het toch goed.
Waardeer dit antwoord Misbruik melden
gr
alex Geantwoord op 23-2-2011 om 13:03
-
-
Als u voordien de keuze 'snel kanalen installeren' (5.6) heeft gemaakt, kunt u niet meer zelf schuiven met kanalen of kanale toevoegen. Door in het menu 5.5. te kiezen en de kanalen te laten installeren, verdwijnt de blokkering vanzelf. Geantwoord op 9-5-2011 om 08:13
Waardeer dit antwoord Misbruik melden -
Ik gebruik nog steeds de Philips DSX 6073 van 2001 deze gebruikt de oude kaart, nu ben ik toe aan nieuwe TV 48cm .Is er nog een bepaalde soort TV die ik moet kopen. Ik neem aan zonder HD. Mijn Abonnement is TOP BOX voor de periode Maart tot november.
Reageer op deze vraag Misbruik melden
In afwachting . m.vr.gr. Gesteld op 3-2-2011 om 11:46-
Keuze TV is opgelost.
Waardeer dit antwoord Misbruik melden
Nu heb ik dat de zender CDS download op voorkeur kanaal 498 er niet in zit om de up-date software van Philips te downloaden, voor de regionale zenders.
Hoe krijg ik dat voor elkaar.
gr.bowie Geantwoord op 22-2-2011 om 15:36
-
-
Mijn satellietontvanger start op in de modus menu en ik moet op A drukken om verder te gaan. Hoe verander ik dit? Gesteld op 6-9-2010 om 20:01
Reageer op deze vraag Misbruik melden-
welk veld zie je precies? Geantwoord op 7-9-2010 om 08:50
Waardeer dit antwoord Misbruik melden
-
-
Ik heb hetzelfde probleem met twee ontvangers.
Waardeer dit antwoord Misbruik melden
Mijn vraag is:is dit een fout in de onvanger,
of zit het probleem canaldigital?
Is er een oplossing voor? Geantwoord op 7-2-2011 om 10:33 -
Ik heb dit probleem ook.Is gaar een oplossing voor?. Geantwoord op 21-8-2011 om 12:24
Waardeer dit antwoord Misbruik melden -
Ik wil ook grrag mijn decoder updaten ivm duo lnb,
Reageer op deze vraag Misbruik melden
mij lukt het ook niet via bvn, wat nu? Gesteld op 22-8-2010 om 09:32-
Je kunt het eens proberen op kanaal 498 DOWNLOAD CDS misschien lukt het CD maakt zich niet meer druk om de 6073 gebruikers ze willen je een nieuw contract met een nieuwe ontvanger aan smeren. Geantwoord op 23-8-2010 om 09:56
Waardeer dit antwoord Misbruik melden
-
-
Ik ben op zoek naar een afstandbediening voor dsx 6073
Reageer op deze vraag Misbruik melden
wie kan me helpen Gesteld op 11-8-2010 om 22:11-
IK heb er een voor je. Geantwoord op 18-8-2010 om 16:01
Waardeer dit antwoord Misbruik melden
-
-
Ik wil mijn decoder updaten (ivm dubbele lnb), volgens de instructie met de rode knop van de afstandsbediener met het programma op BVN. Bij het opnieuw inschakelen, springt hij gewoon weer op de zender. dit enkele malen geprobeert. is er een andere oplossing om de software te updaten. Gesteld op 29-7-2010 om 21:33
Reageer op deze vraag Misbruik melden-
Is het inmiddels al opgelost? Geantwoord op 18-8-2010 om 15:59
Waardeer dit antwoord Misbruik melden
-
-
Het beeld op mijn tv dat ik via DSX 6073 is te groot. Rechts en links vallen delen weg. Wat te doen. Gesteld op 13-4-2010 om 21:51
Reageer op deze vraag Misbruik melden-
ik heb de oplossing, indien nog nodig hoor ik het wel. Geantwoord op 18-8-2010 om 15:47
Waardeer dit antwoord (1) Misbruik melden
-
-
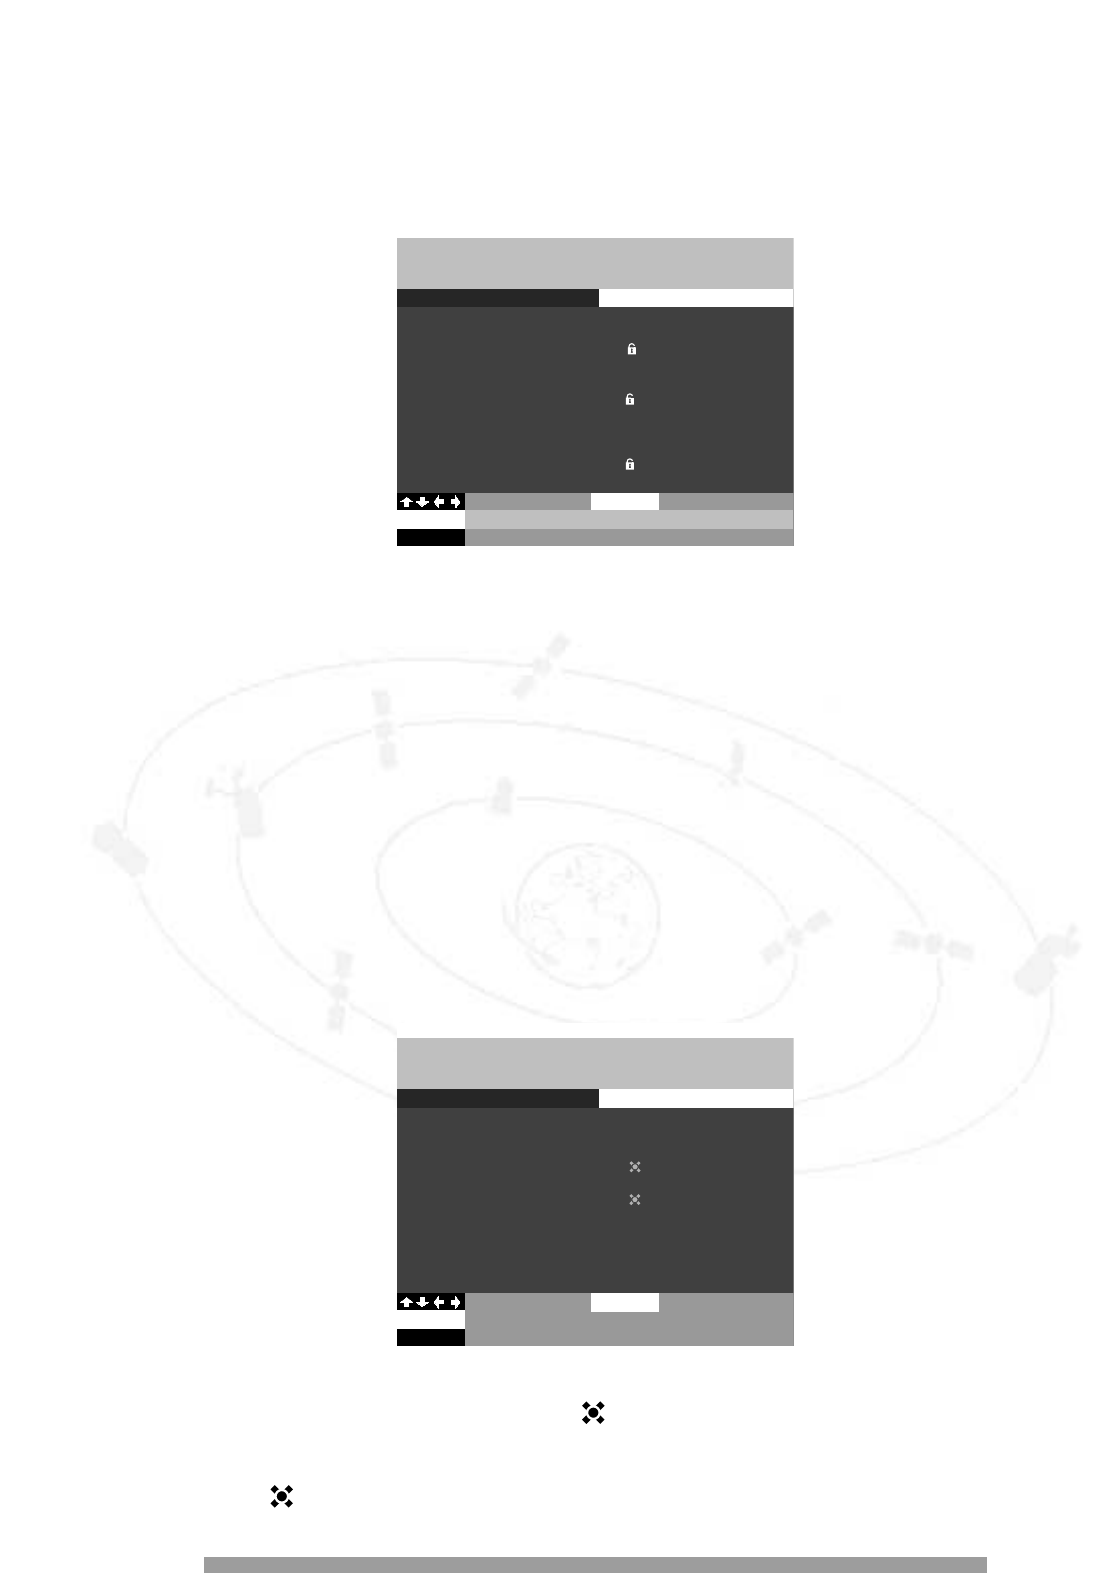
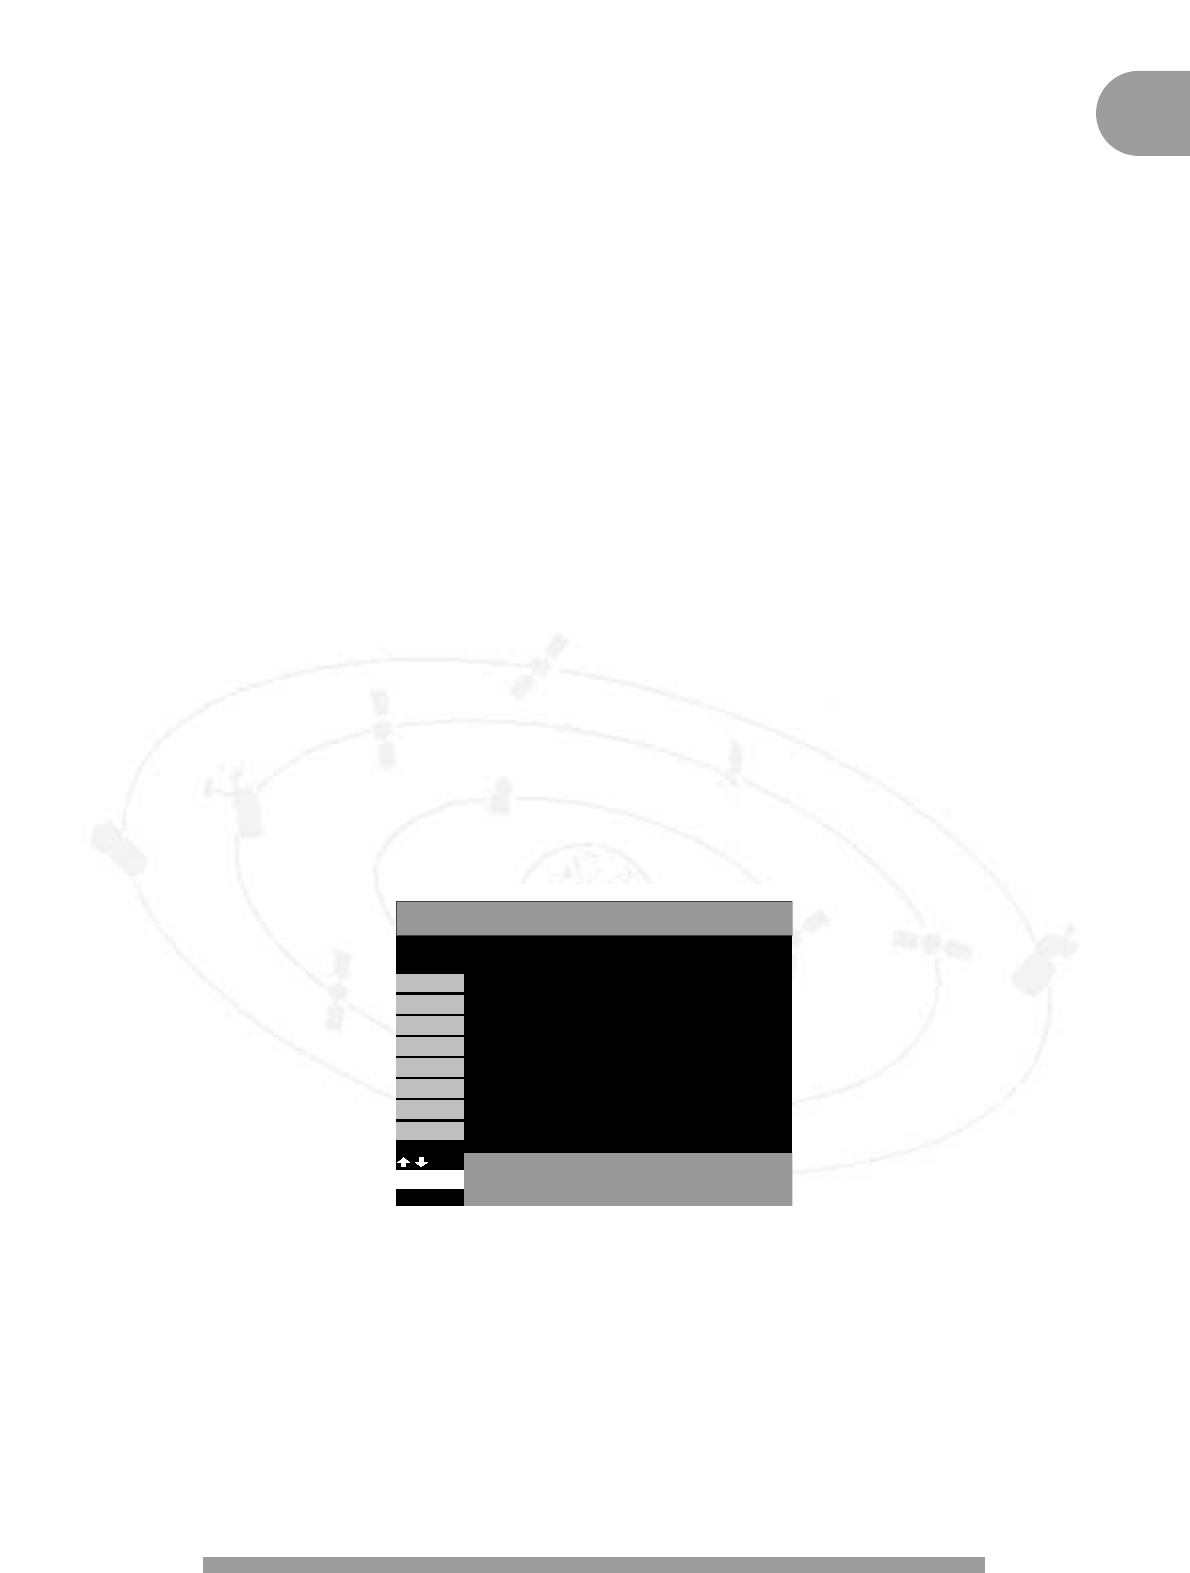
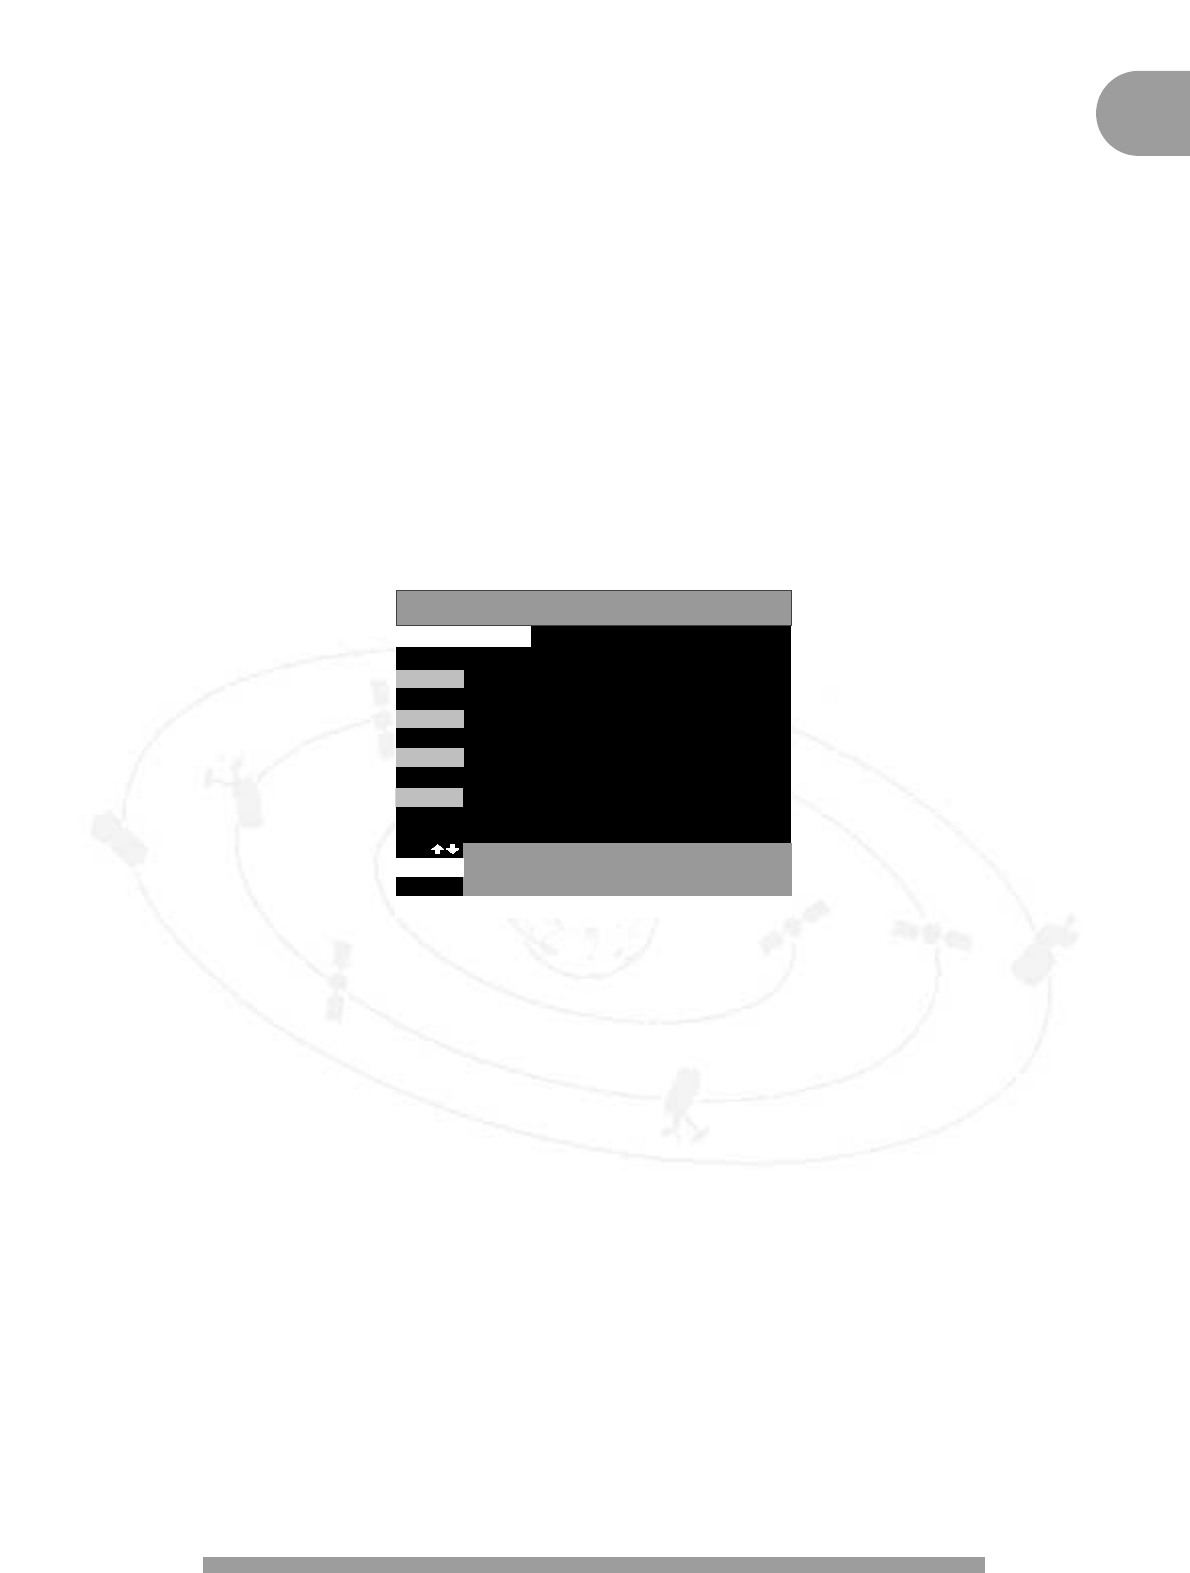
Als in het menu klik ik eerste op No 5 (kanalen installeren) er zijn 3 opties van de volgende menu kwijt zoals: N2 kanalen hernummeren, N3 kanalen toevoegen, N4 kanalen verwijderen. Ik had eerste allemaal en in een keer weg. Wat moet ik doen om terug te hebben?
Reageer op deze vraag Misbruik melden
Alvast bedankt
Ontvanger Philips dsx6073/03A Gesteld op 18-3-2010 om 00:04-
Heb je ondertussen al een oplossing gekregen. want ik kamp met hetzelfde probleem.( zie mijn vraag 23-02-2011
Waardeer dit antwoord Misbruik melden
gr martijn Geantwoord op 23-2-2011 om 10:56
-
-
HALLO MIJN BEELD IS TE GROOT,HOE KAN IK HEM TERUGSTELLEN ? ONTVANGER dsx6073 Gesteld op 15-3-2009 om 12:49
Reageer op deze vraag Misbruik melden-
is het al opgelost? Geantwoord op 18-8-2010 om 15:50
Waardeer dit antwoord Misbruik melden
-
