English
9
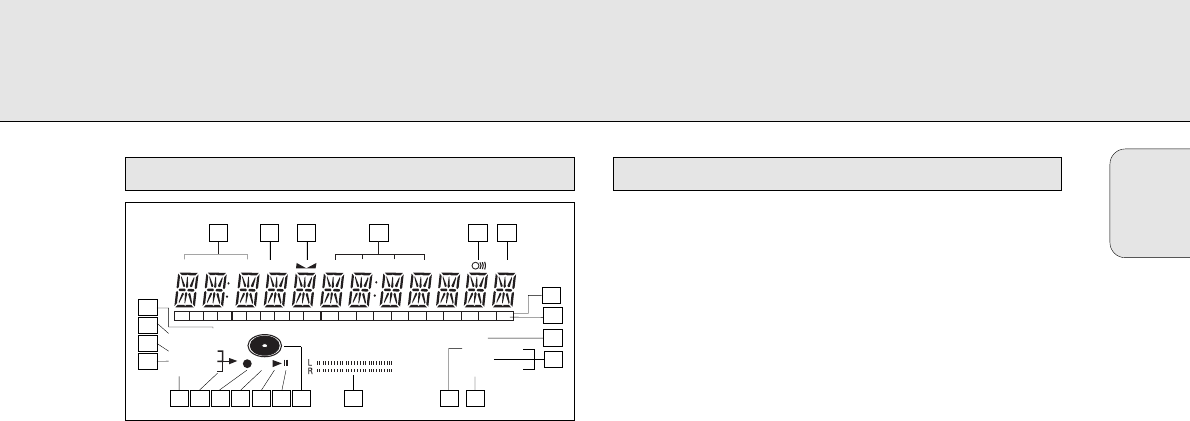
1 REM TIME ..................remaining time
2 TRACK ........................track number
3
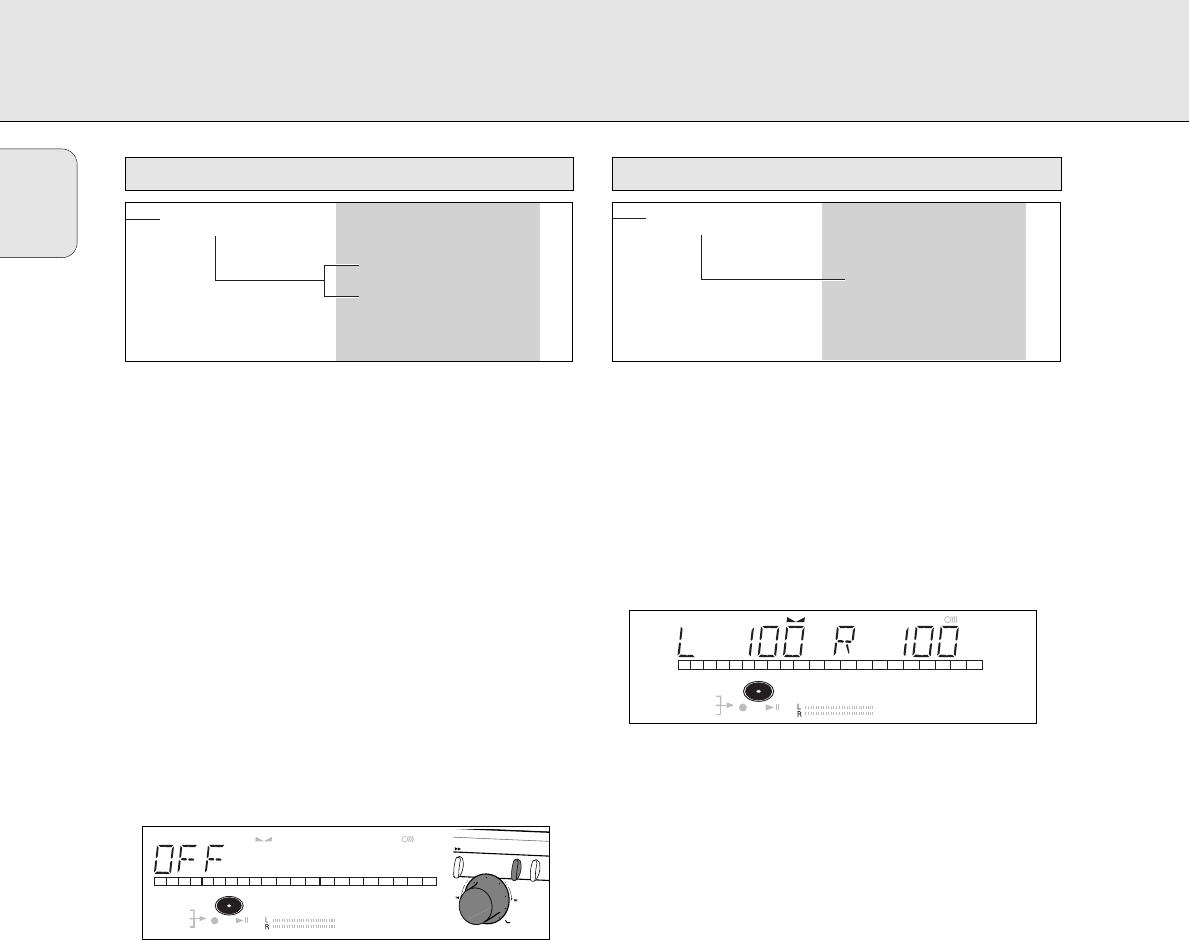
FE
..............................balance (lights during balance
adjustement)
4 TOTAL REM
TRACK TIME ..............total or remaining time of disc or
track
5
}}
................................remote control active
6 STEP ............................indicates the number of tracks in a
program
7 Track bar ....................indicates:
- tracks on a disc or in a program
- track in play
8 + 20 ..............................disc or program contains more
than 20 tracks
9 PROG(ram) ..................flashes during programming/ lights
in program mode
0 REPEAT TRACK/ALL..lights up when a track/ complete
disc (or program) is repeated
! SCAN ..........................lights up when the first 10
seconds of each track are played
@ SHUFFLE ALL..............plays tracks in random order
# L/R ; ; ........................Record/play level bar, indicates
the audio signal level
$ CD ................................CD inserted (a pre-recorded CD or
finalizsed CDR or CDRW disc)
% ;....................................pause function active
^ B ................................lights during play
& R(W) ............................unfinalised CD R(W) disc inserted
* 0 ..................................lights during recording
( d ................................lights during recording
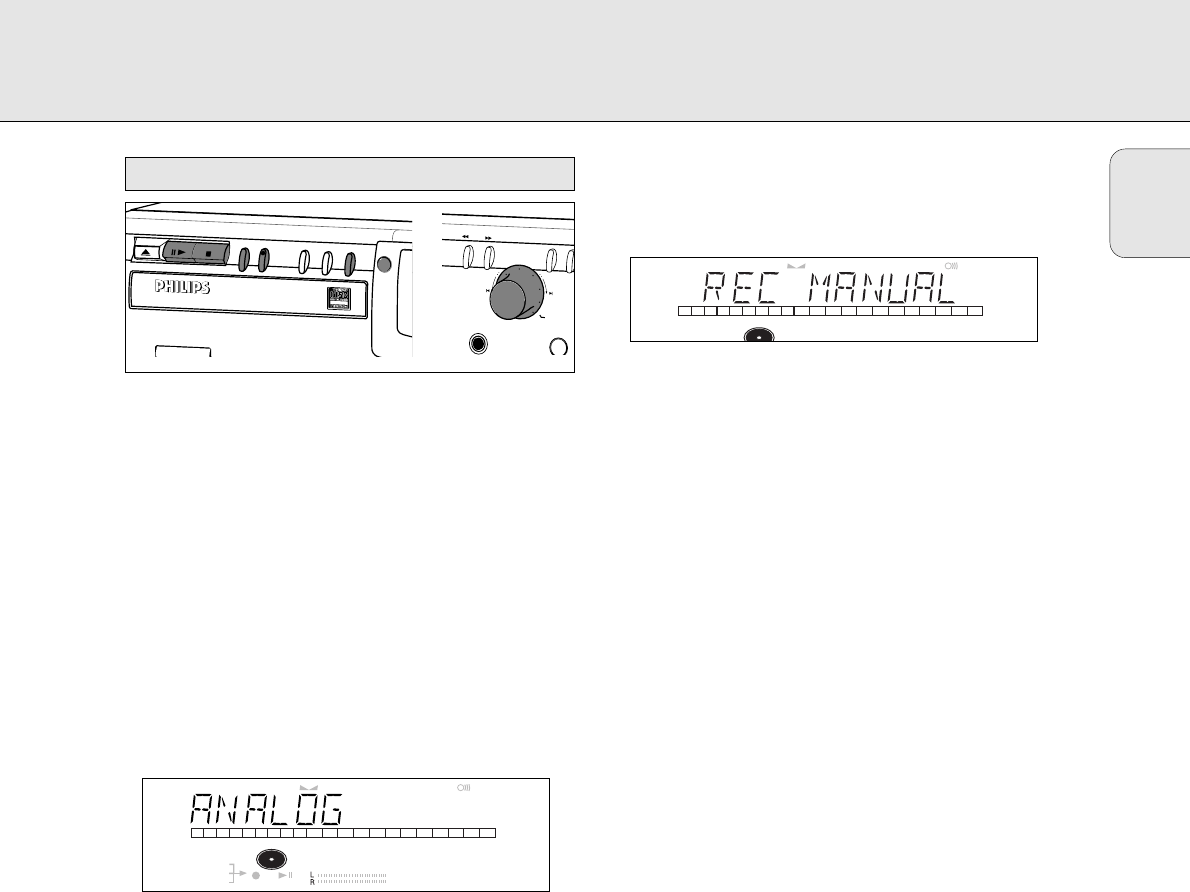
) ANALOG......................analog input selected
¡ OPTICAL I ..................optical input I selected for external
recording
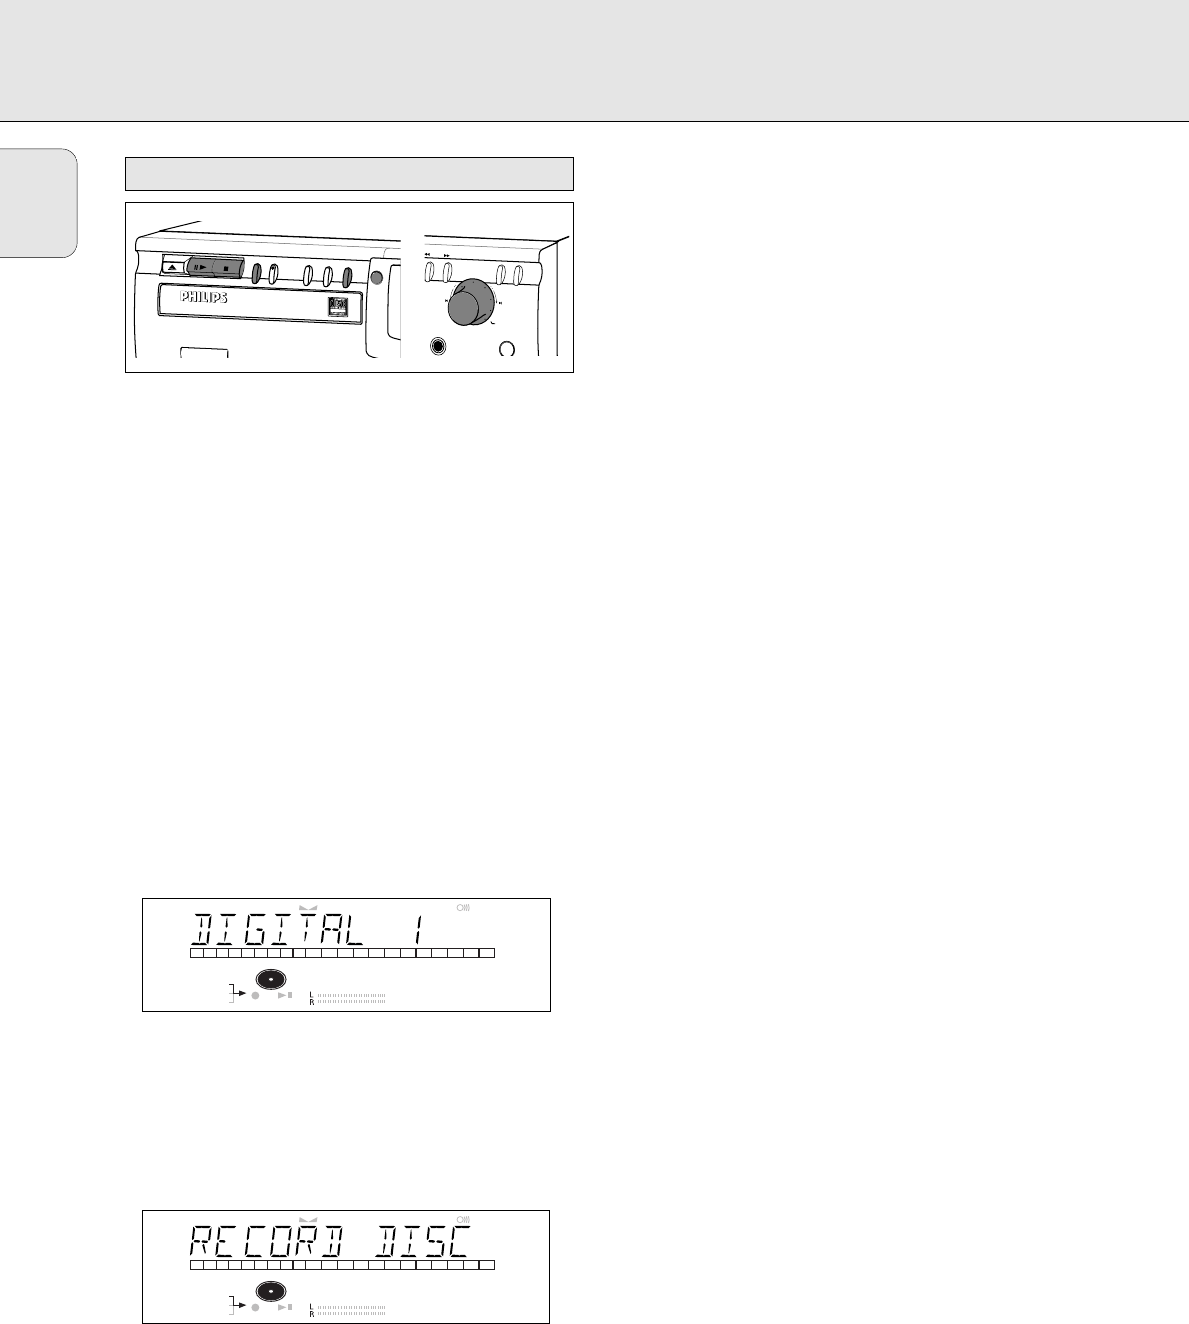
™ DIGITAL I ....................digital input selected for external
recording
£ SYNC ..........................synchronized recording active
≤ MANUAL ....................manual recording active
Messages, as listed and explained here, may appear on the
display for your guidance.
General
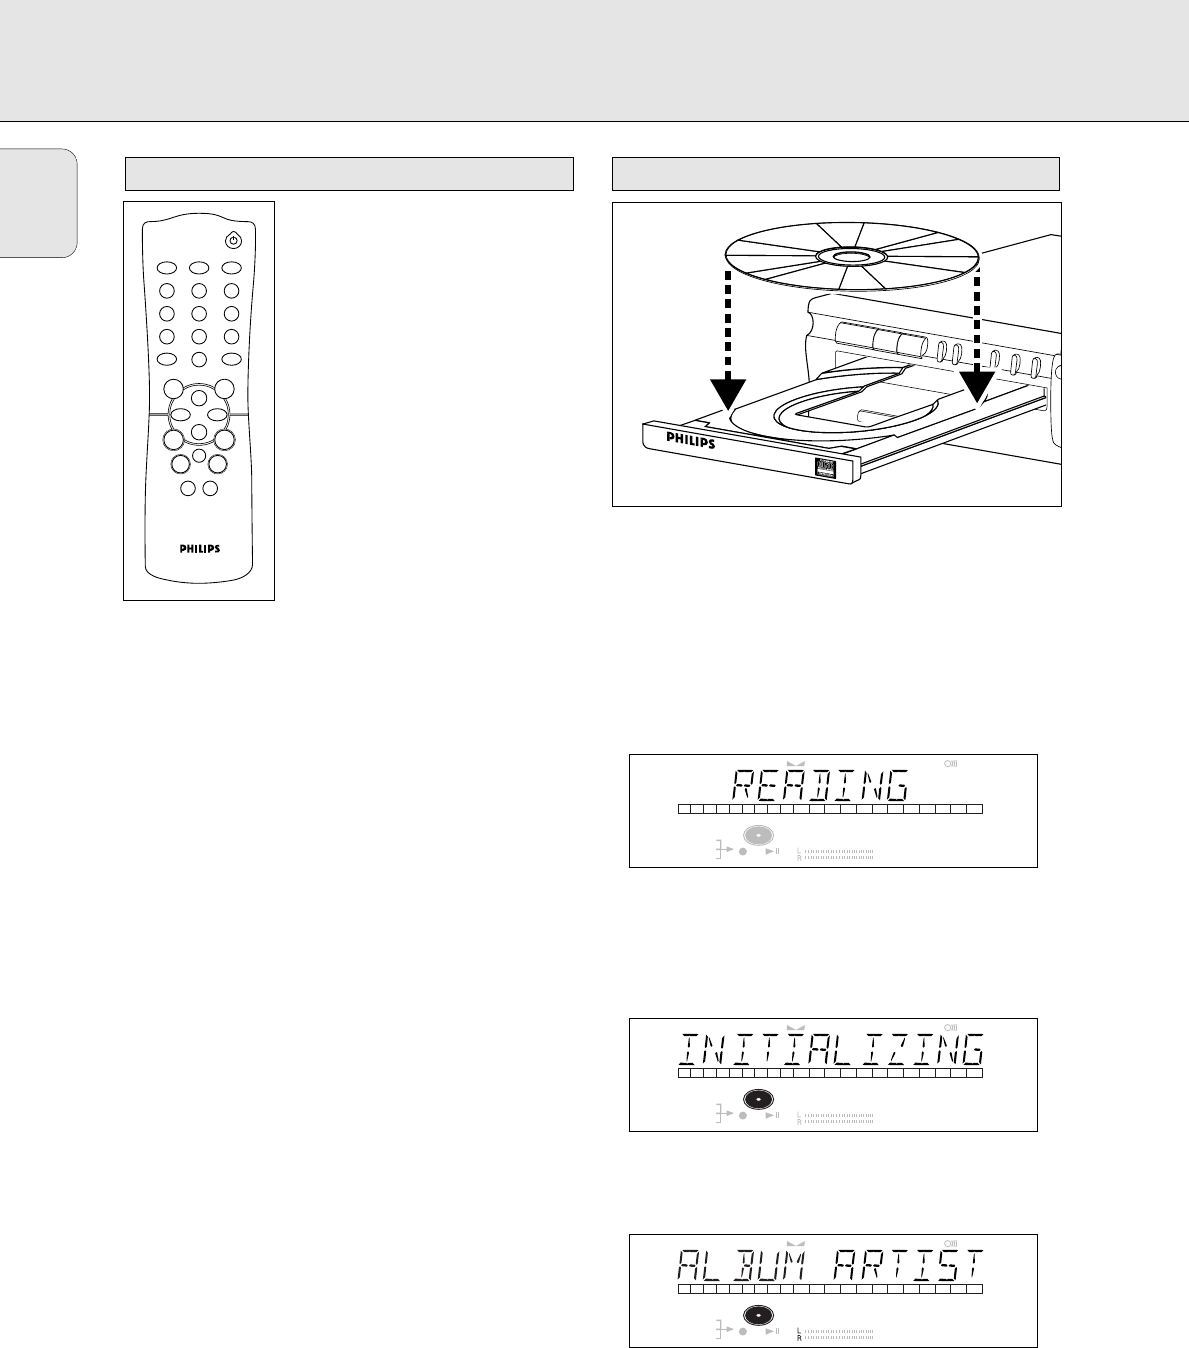
READING..........................reading disc information
OPEN..................................during tray opening
CLOSE ..............................during tray closing
NO DISC ..........................no disc inserted, disc unreadable
or disc inserted upside down
PROG FULL ....................program full
INSERT DISC ..............insert disc or insert disc in correct
way
WRONG DISC ..................inserted disc is no audio CD
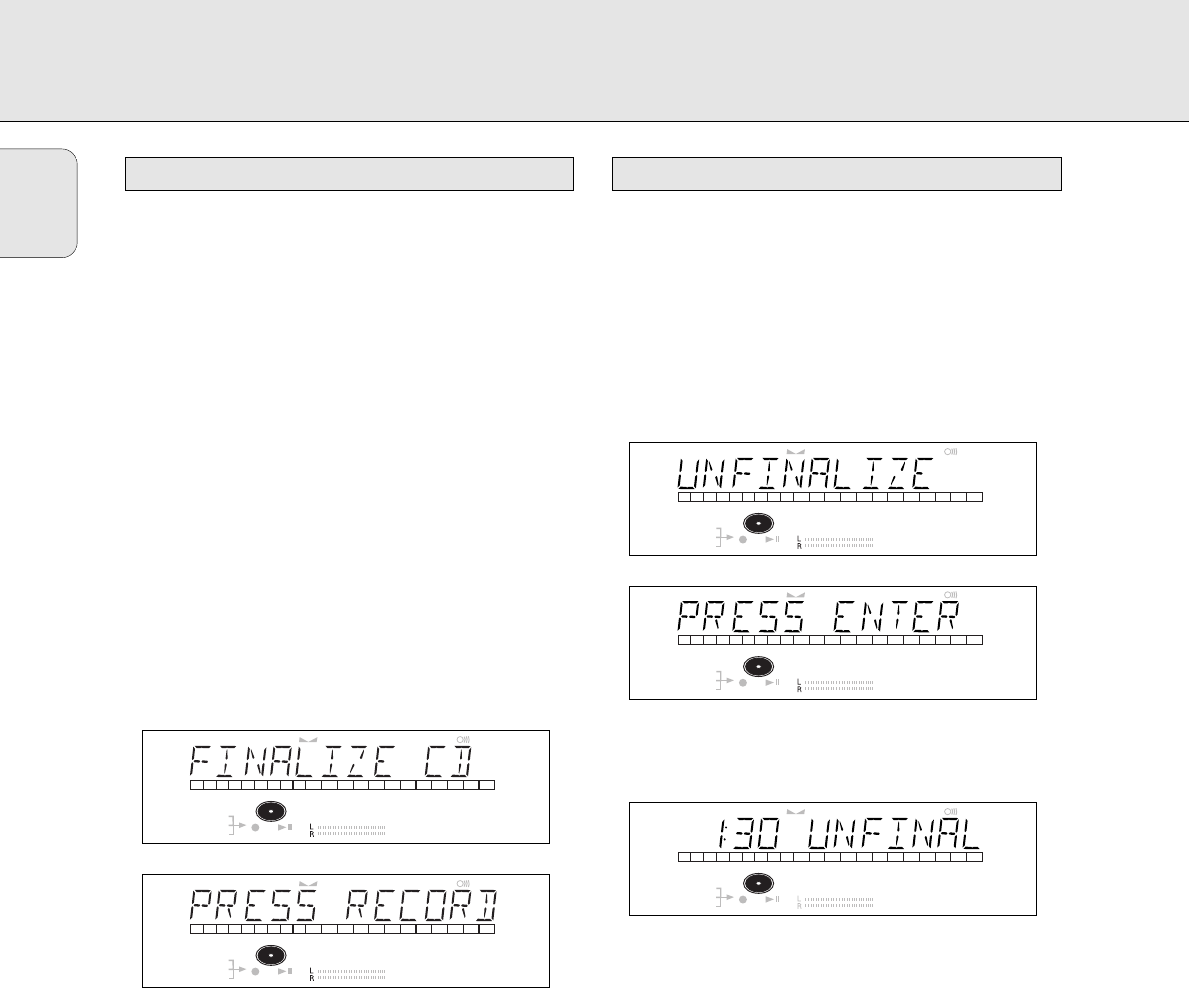
UNFINALIZED ..............unfinalized CDR(W) disc
MEMORY XXù ............indicates the amount of text
memory used for unfinalized discs
Recording
WAIT..................................- when STOP 9 is pressed during
recording
- when STOP 9 is pressed during
recording the first 4 seconds of a
track
UPDATE ..........................updating disc contents
DISC FULL ....................no more recording possible
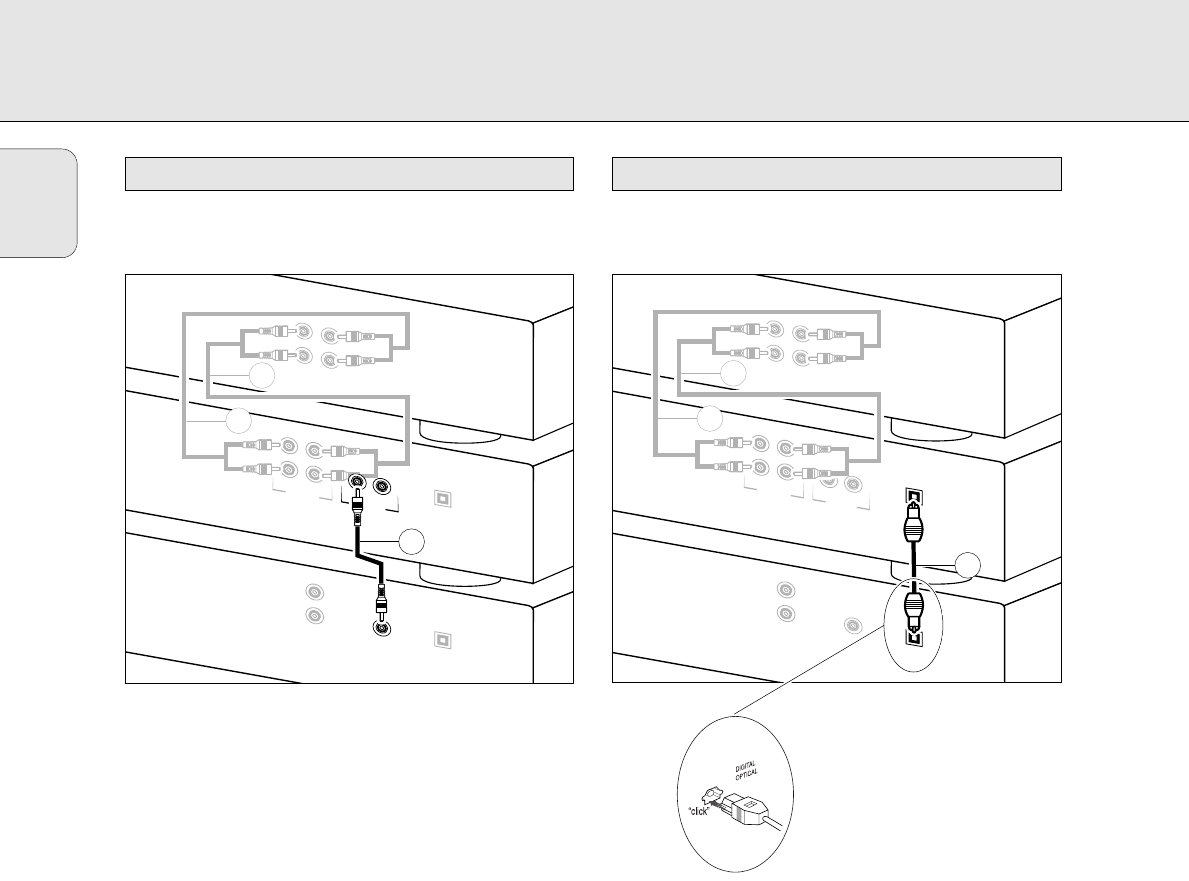
DIGITAL 1 ....................digital coaxial input 1 selected
OPTICAL ........................digital optical input selected
ANALOG ............................analog input selected
COPY PROTECT ............no digital recording can be made
of the connected source
NOTFINALIZED ............when opening the tray with an
unfinalized disc inserted
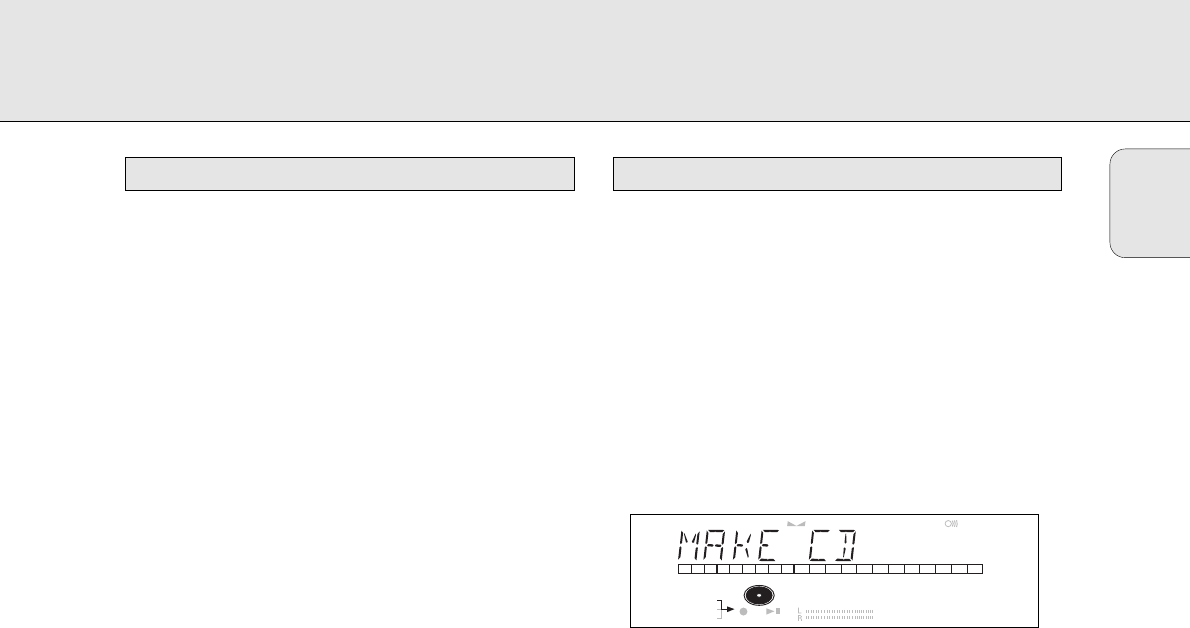
MAKE CD ..........................start of synchronized recording of
a complete disc and Auto Finalize
function selected
RECORD DISC ..............start of synchronized recording of
a complete disc
RECORD TRACK ............start of synchronized recording of
a single track
REC MANUAL ..................manual start of recording selected
_XX DB ............................level is being adjusted
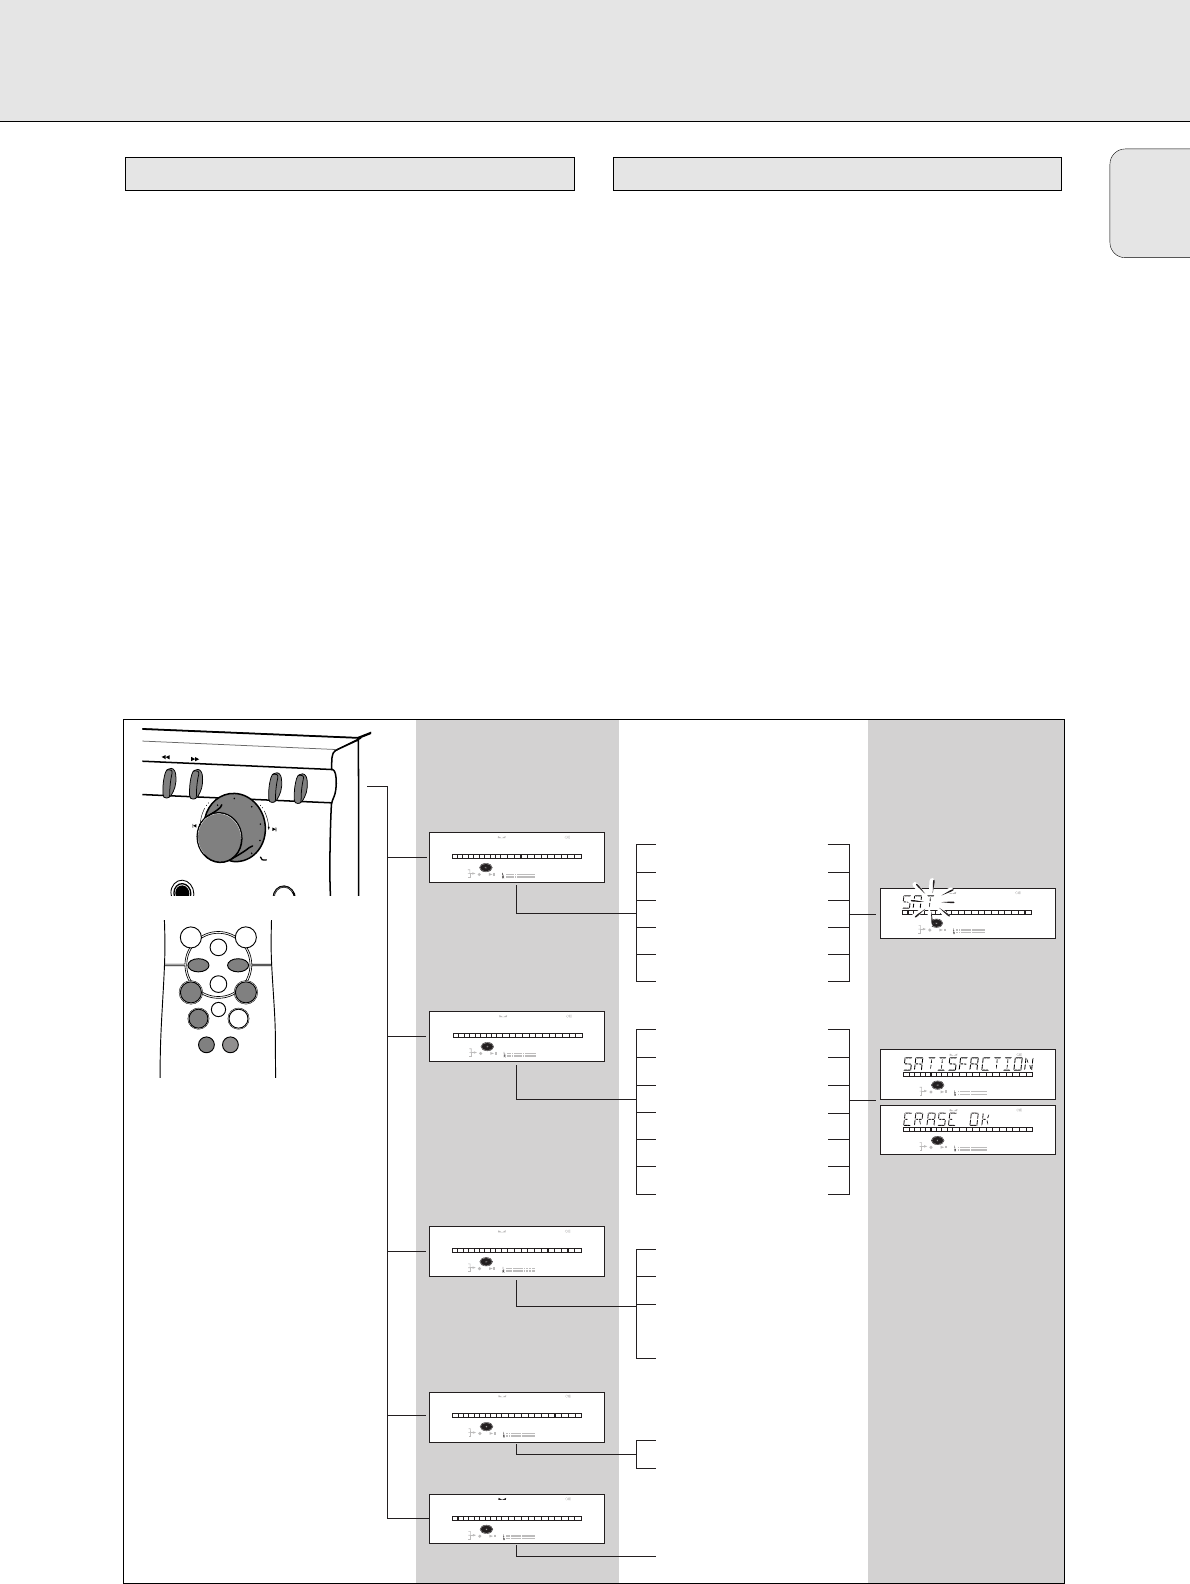
ERASE TRACK ..............when erasing one or more tracks
ERASE DISC ..................when erasing a disc
FINALIZE CD ..............when finalizing a disc
FINALIZED ....................when trying to finalize an already
finalized disc
CHECK INPUT ..............when RECORD is pressed while no
digital source is detected
XX XX ERASE................time countdown when erasing a
track or a disc
XX XX FINAL................time countdown when finalizing a
disc
PRESS RECORD ............to start manual recording,
finalizing or erasing
START SOURCE ............to start synchronised recording
from a source (e.g. CD player)
DISPLAY messages