41Glossary
100 Hz
100 Hertz provides a superior solution to
the problem of picture flicker which is
particularly noticeable with larger screen
sizes. In a conventional TV, the picture area is
scanned 50 times a second (50 Hertz) – a
frequency which is still detectable by the
human eye in the form of a flickering picture.
In 100 Hertz sets, the picture area is
scanned at a rate of 100 times per second
(100 Hertz).At this frequency, the eye
cannot detect flicker, resulting in a clearer
picture which is more relaxing to the eye.
Automatic Channel Installation (ACI)
Automatically installs all TV channels in the
same order as offered by your cable
company, provided of course that the data is
transmitted. It also automatically includes
programme number and programme name.
With ACI, channel installation is fully
automatic, simple and fast.
Child Lock
Feature to prevent unauthorised use of your
TV.
Digital Scan
If you look at a television screen you will see
small imperfections in the picture caused by
line vibration. Digital Scan (an internal
process) removes interline flicker.When
combined with 100 Hz, you will see a totally
stable image.
DNR
Digital Noise Reduction.
By encoding signals digitally in 100 Hz sets, it
is possible to clean up picture noise.This is
especially beneficial in poor signal areas and
when viewing poor quality video tapes.`
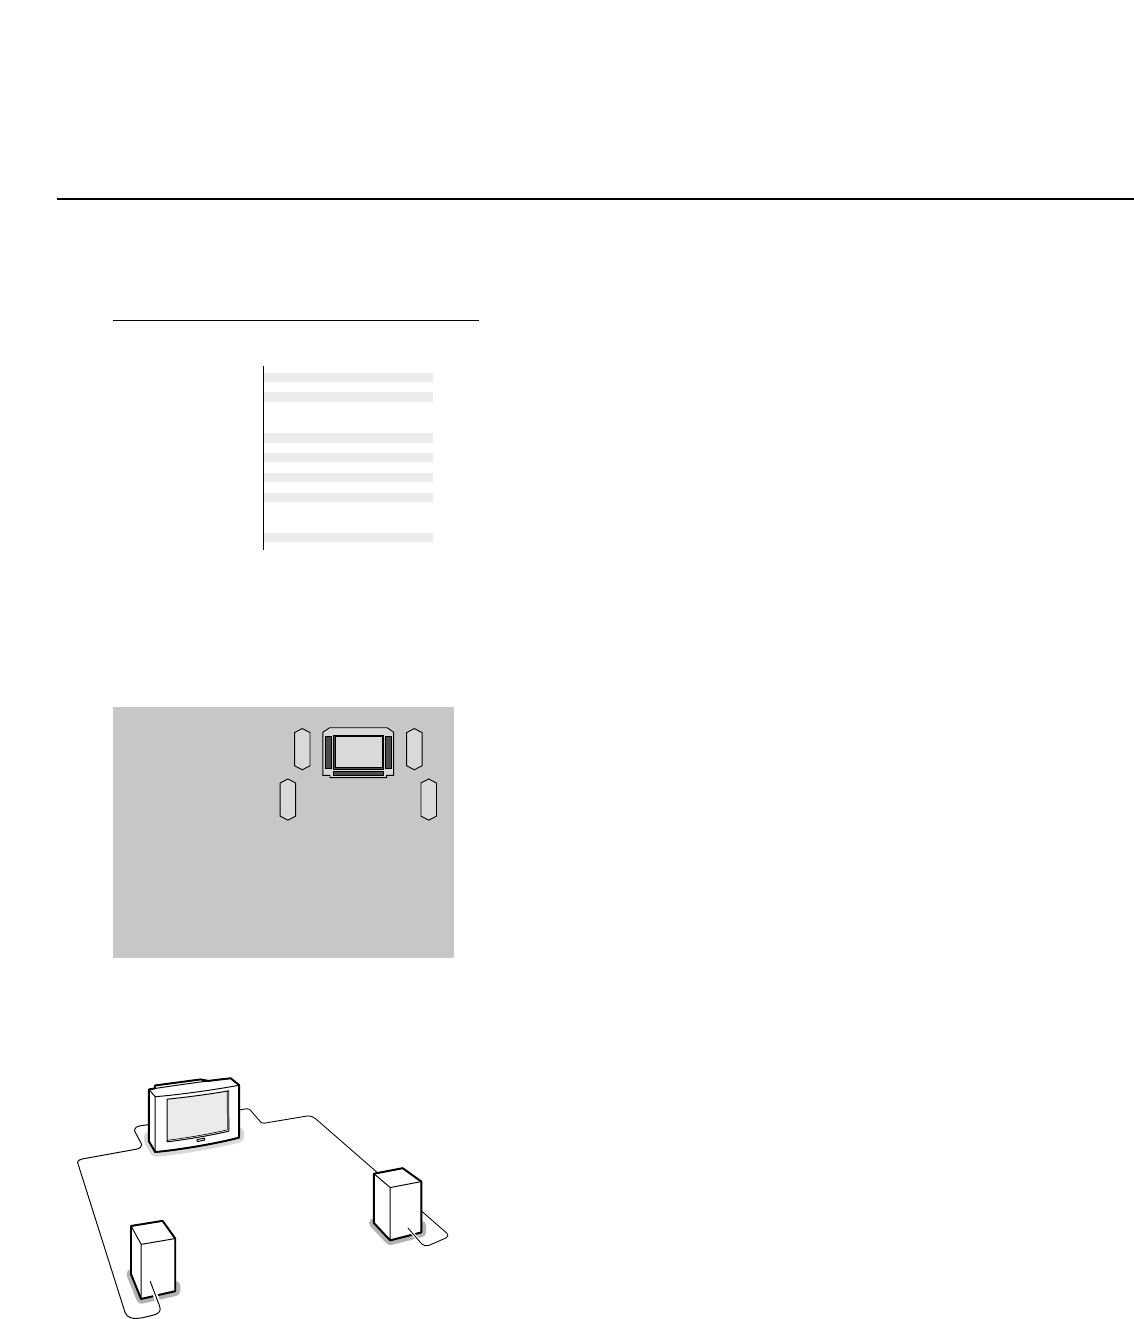
Dolby Surround Pro Logic
Literally wraps you in 4-channel sound. it
brings your favourite movies to life with all
the realism and impact of cinema sound as
though you are part of the action.
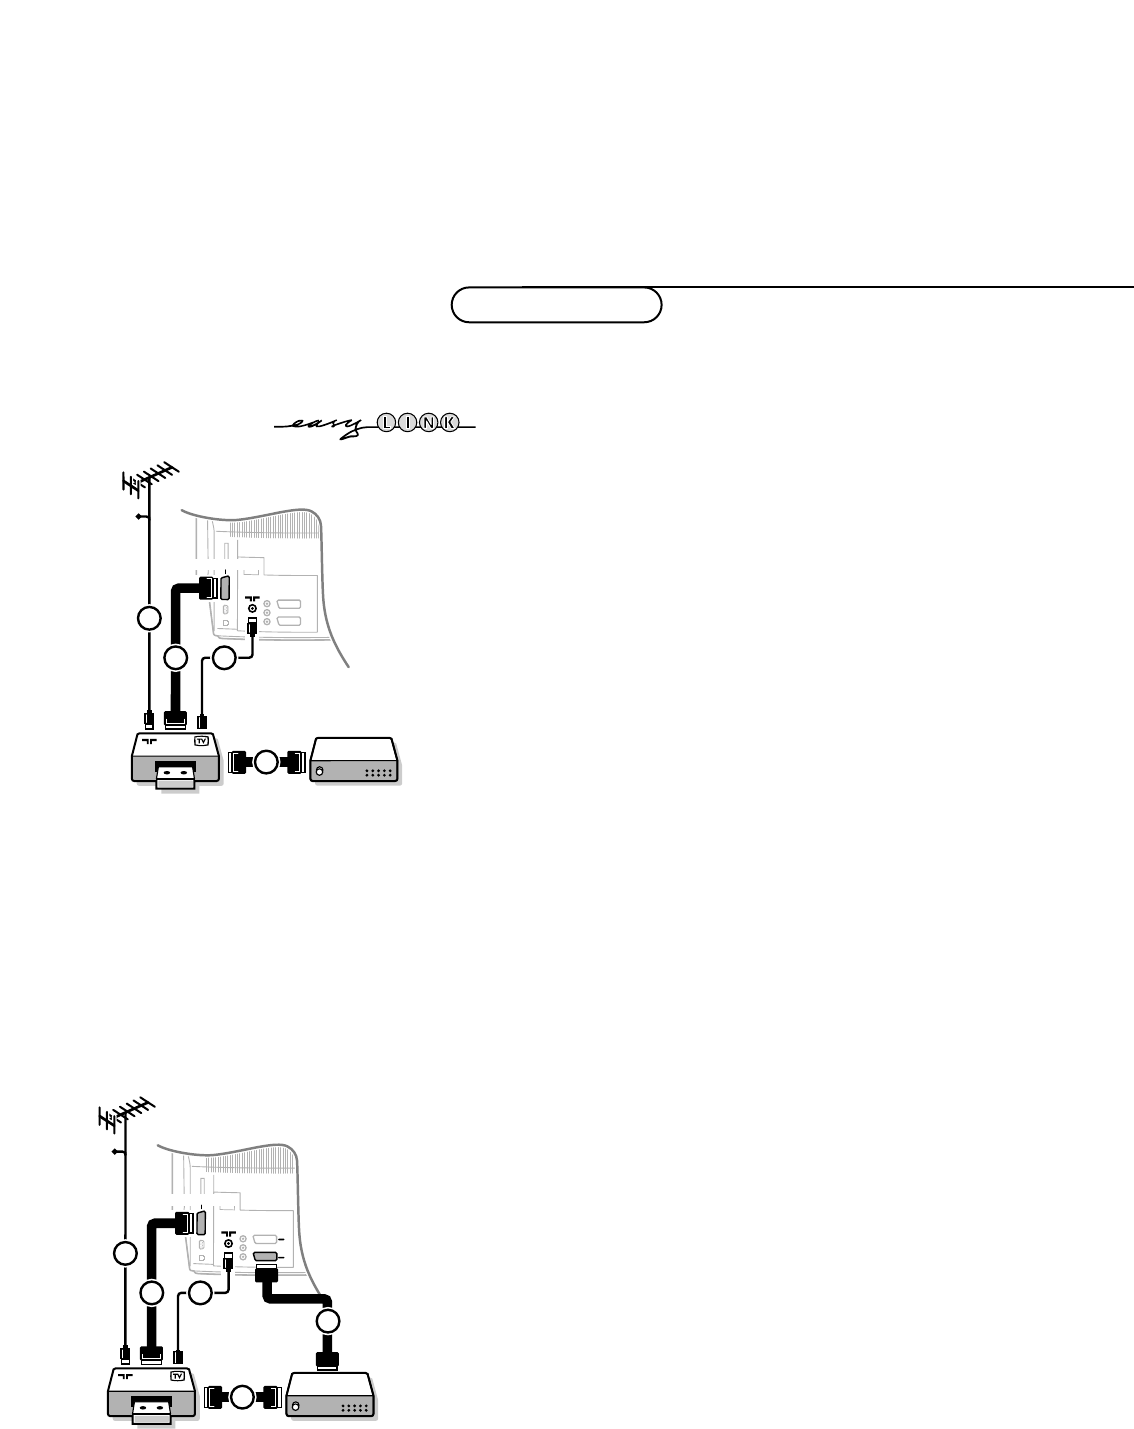
Easy Link
Digital ‘intelligent’ ESI bus-system between
TV and VCR (Scart connection required).
Turns source selection and control into a
one-button operation.
Easy Text
Teletext memory that automatically
memorises Teletext pages and gives you
instant access to them.
Euroconnector
A 21-pin connector system enabling you to
simply connect various types of audio/video
and computer equipment.
Menu
On-screen display of functions and facilities
in a well-organised survey, which you can
select using your remote control.
NEXTVIEW
NEXTVIEW is a new feature to assist the TV
and VCR user in selecting the programmes
she or he likes to watch from a television
programme guide on the screen. It enables
the user to see a description of every
programme, and mark interesting
programmes to be reminded (auto TV on) or
recorded (
NEXTVIEWLink video recorder
required).
NTSC
The broadcasting system used in the USA,
Japan and parts of South America and
Southeast-Asia.
Smart Picture and Sound Controls
Keys on the remote control to select
predefined picture and sound settings.
Sleeptimer
Function with which you can set a time
period after which the TV should switch
itself to standby.
Picture Freeze
TV mode which allows you to “freeze” a
certain image in order to study a specific
detail at ease, e.g. to make notes of certain
programme information like phone numbers.
Teletext
See also Easy Text
WST:World Standard Teletext.
FLOF: Full Level one Features. System applied
by the BBC, RVE.... that provides a fast
access to the teletext pages.
TOP:Table of (Teletext) Pages.German
system for an easy access to the teletext
pages.
Tint
TV-function to modify the general colour
balance between cool and warm and to
adjust it according to your personal
preference.
16:9
Refers to the ration between the length and
height of the screen.Wide screen televisions
have a ration of 16:9, conventional screen TV
sets have a ration of 4:3.
Digital receiver
The television is equipped with an integrated
digital tuner which enables you to receive a
digital transmission with a terrestrial
antenna.The tuner is able to receive Digital
Video Broadcast compliant with MPEG-2, up
to Main profile @ Main level.
Modem
Modulator-demodulator.
An electronic device built into TV to allow
communciation between the TV and your
service provider via the telephone line.
Fitted to the TV for future applications.
System
Television picture are not broadcast in the
same way in all countries.There are different
standards: BG, DK, I and L L’.The system
setting (p. xx) is used to select these
different standards.
This is not to be confused with PAS or
SECAM colour coding. PAL is used in the
majority of European countries, SECAM in
France, the CIS and the majority of African
countries.
The United States and Japan use a different
called NTSC.
Smart Card
A card, containing an integrated electronic
unit, which together with electronics in the
TV, allows you to access subscription digital
channels or special services from the
provider.
Glossary