523601
41
Verklein
Vergroot
Pagina terug
1/46
Pagina verder
User's Manual
version 5.3
© Aqurat sp. z o.o & Geosystems Polska sp z o.o.
1 Installation and registration
1.1 AutoMapa preinstalled on an SD card
1.2 Installer file downloaded from the Internet
1.4 Follow-up installation for the Installer and CD/DVD
1.4.1 Start installation
1.4.2 Selection of device
1.4.3 Selection of installation location
1.4.4 Selection of program components
1.4.5 Selecting the map for installation
1.4.6 Map registration
1.4.7 Selecting map area for installation
1.4.8 Copying files
1.5 Connecting the portable device to the PC
1.6 Possible installation problems
1.7 Upgrading the program and the maps
1.8 Uninstallation
1.9 Structure of the program and map installation
1.9.1 TPC/PC
1.9.2 PPC2003/WM5/WCE devices
1.9.3 Other directories
2 Basic functions of the AutoMapa system
2.1 AutoMapa start-up
2.2 Simplified and Expert menu
2.3 Main menu and map buttons
2.3.1 Map buttons
2.3.2 Main menu
2.4 Map
2.5 Selecting a point on the map
2.6 Context menu
2.7 Options menu
2.8 "Go to" menu and selecting destinations - searching for addresses and
objects...
2.8.1 Search address
2.8.2 Search POI
2.8.3 Search by postal codes
2.9 Map points
2.9.2 Home/Work
2.9.3 POI (Points of Interest)
2.10 Show position
2.10.1 System layout and operation in the show position mode
2.10.2 "Your menu" pop-up menu
2.10.3 On-board computer
2.10.4 POI Warnings
2.11 Navigation
2.11.1 Mapping the route
2.11.2 System layout and operation in navigation mode
2.11.3 "Your menu" pop-up menu in navigation mode
2.12 Block roads
2.12.1 Temporary section blocks
2.12.2 Blocked roads and route mapping
3 Advanced features and system settings
3.1 Route menu
3.1.1 Modify
3.1.2 Blocked sections
3.2 GPS menu
3.2.1 GPS tracks
3.2.2 Other GPS functions
3.3 Settings menu
3.3.1 Interface - Settings
3.3.2 Route - Settings
3.3.3 GPS - Settings
3.3.4 Voice messages - Settings
3.3.5 Buttons - settings
3.3.6 Others - Settings
3.4 POI menu
3.5 Miplo.pl website and POIs
4 GPS system
4.1 Introduction to GPS
4.2 Fixing GPS position
4.3 GPS receiver connection
5 Index
1 Installation and registration
The icon on the left shows installation stages specific for a portable device. Paragraphs which are not marked by
this symbol concern installation on both a PC/TPC (PC Tablet) and a portable device of PocketPC/Windows
Mobile/Windows CE type.
The process of AutoMapa installation and registration is subject to the type of carrier on which the program was supplied.
The program can be installed from the DVD supplied with AutoMapa or installer files downloaded from
www.AutoMapa.pl. The version published on the DVD may be older than the one available on the website, therefore we
recommend that users download and the install the newest version of the program from website at www.AutoMapa.pl.
1.1 AutoMapa preinstalled on an SD card
If your version of this software comes preinstalled on an SD/miniSD memory card, any further installation is
unnecessary; just put the SD/miniSD card in the PND and start navigating!
When an SD card (or its mini or micro version) is inserted in the portable device, the program and the maps are
installed automatically. When the installation is complete, AutoMapa starts and the start screen is displayed.
Note: the above applies only to devices with the Windows Mobile system. For devices with the CE.NET system, an
additional application integrating the system with AutoMapa software has to be installed. These applications can be
downloaded from our website or obtained from the hardware supplier.
If you want to update the software on the card which was included with the purchased PDA, put the card in the PC
card reader. Do not connect the PDA. On the computer, launch the installer downloaded from the Internet or from
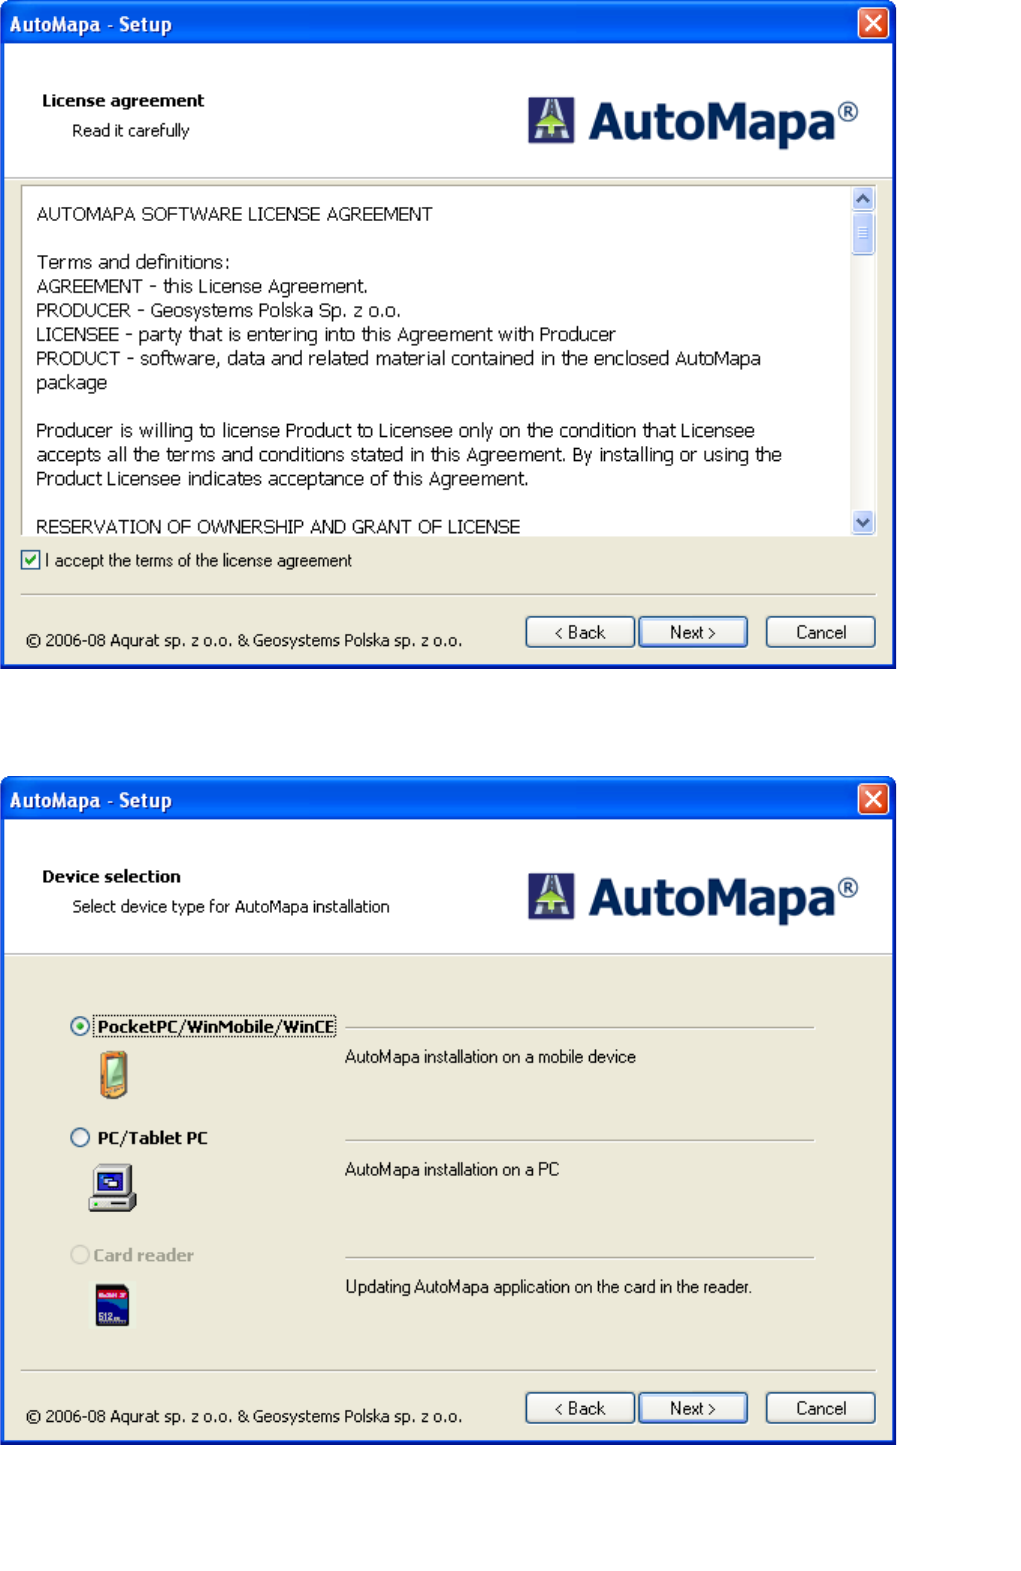
the DVD. In the installer, choose the option "PocketPC/WinMobile/WinCE". Note: on the card there must be a fully
operational AutoMapa version along with the map.
The same actions are necessary when installing on a clean memory card. It is required if the PDA cannot establish
connection using ActiveSync.
1.2 Installer file downloaded from the Internet
If the installer downloaded from the AutoMapa website is a single executable file, when launched, the archive is unzipped
to the TEMP directory on the PC.
Note: in the first message window, the installation program indicates the free drive space required for the installation to
be completed successfully.
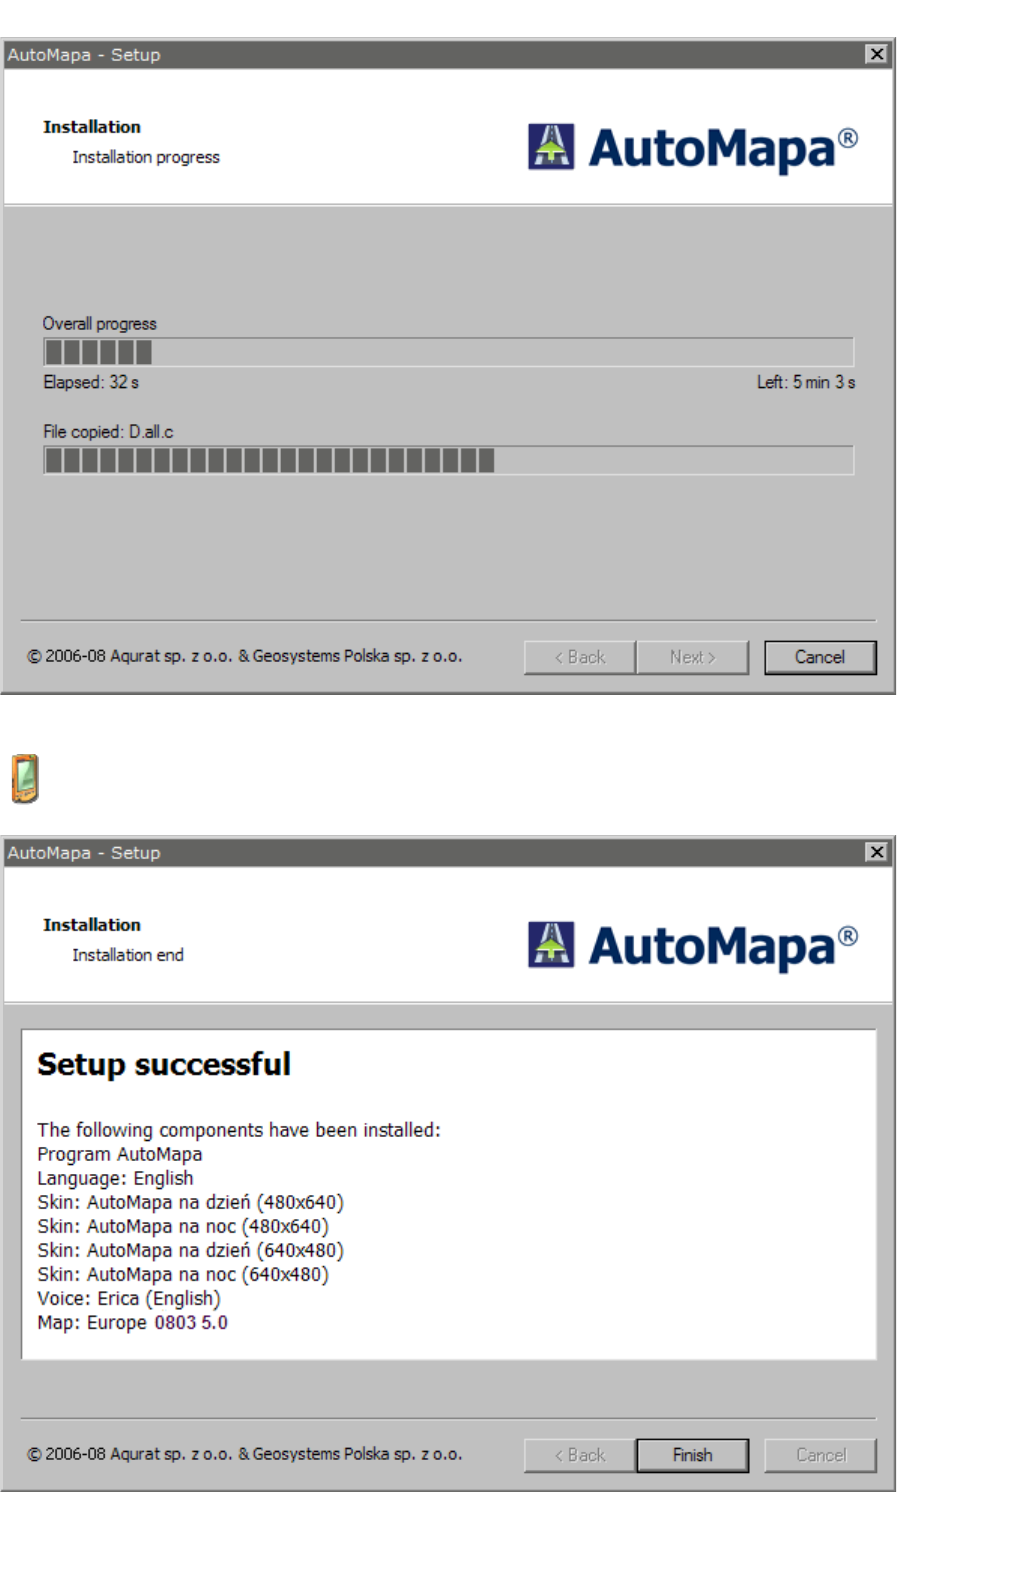
The installation program then starts automatically.
If the installer comprises several archive files, they have to be first unzipped into a selected directory on your PC.
Then find the program setup.exe file and run it.
The rest of the installation process is identical to that performed from an installation CD/DVD.
Installation CD/DVD
The installation process for AutoMapa and the maps should start automatically when the installation disc is inserted into
the PC's disc drive. If this is not the case, find the Setup.exe file on the installation disc and run it.
1.4 Follow-up installation for the Installer and CD/DVD
When installing AutoMapa on a Pocket PC device, first connect the device to your PC and use the Microsoft
ActiveSync connection tool (version 3.7 or later). Your PC should be connected to the Internet (at least during the
registration process).
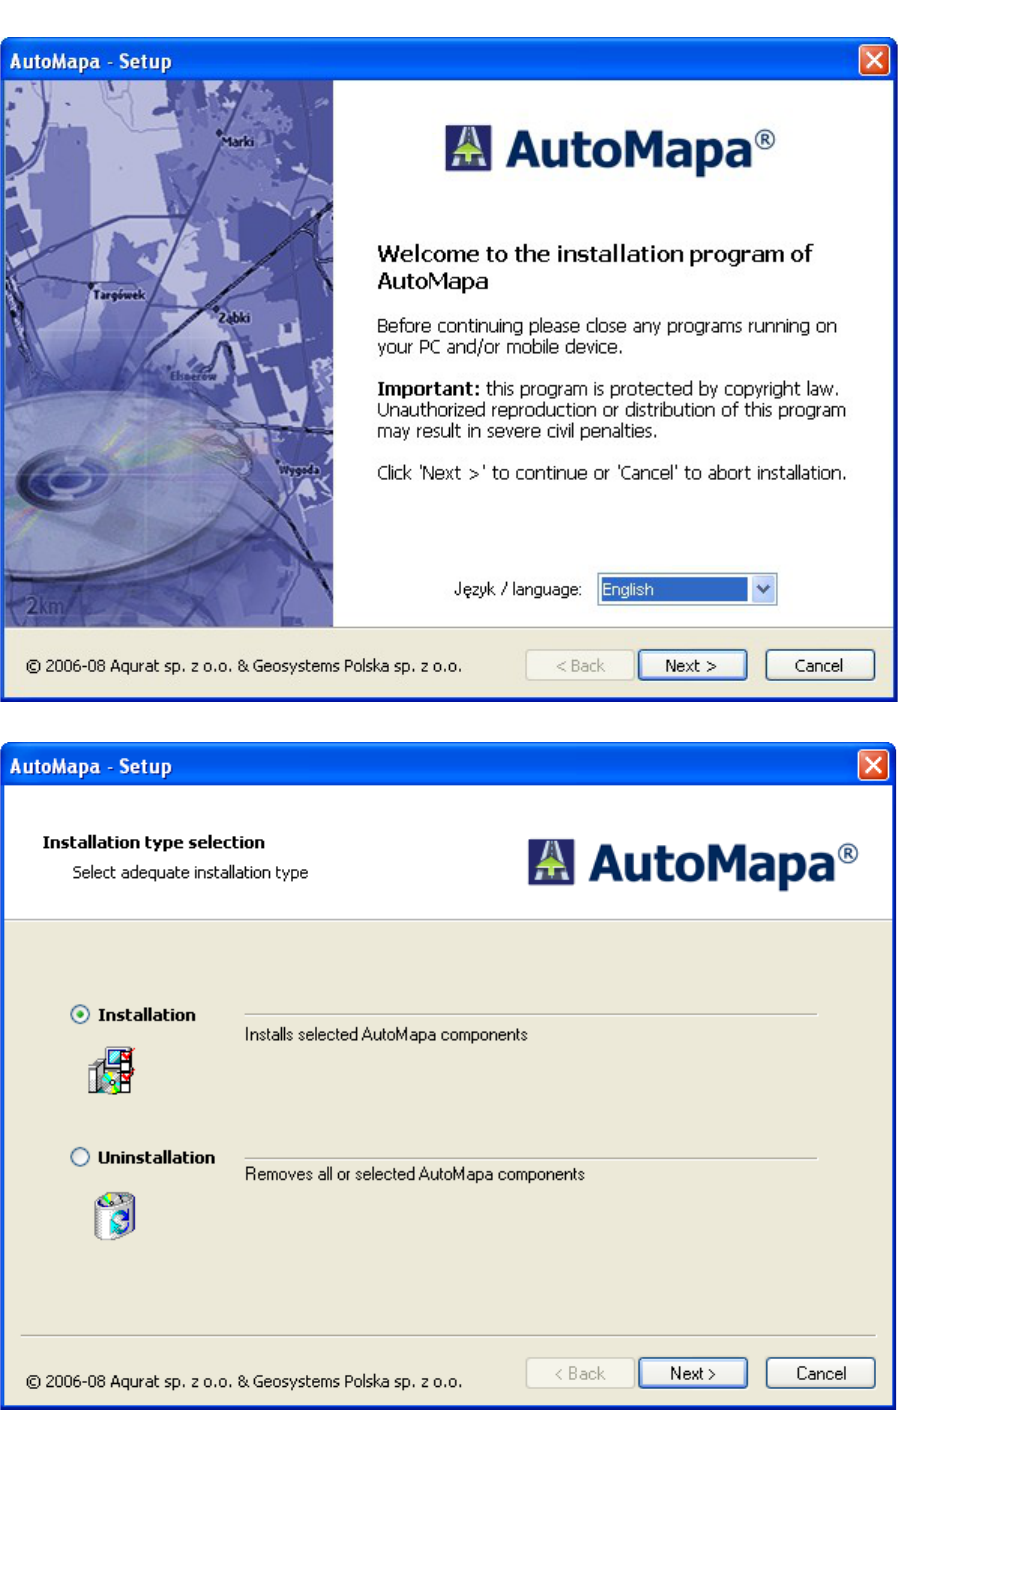
Run the installer downloaded from http://www.automapa.pl/ or place the AutoMapa CD/DVD in your
computer's DVD drive. The installer will start automatically. (Otherwise, double click the "My computer" icon, then
select the DVD drive icon and choose Setup.exe).
If the device cannot establish connection using ActiveSync, it is possible to install and register on a clean memory
card. For this option, use the card reader in the PC.
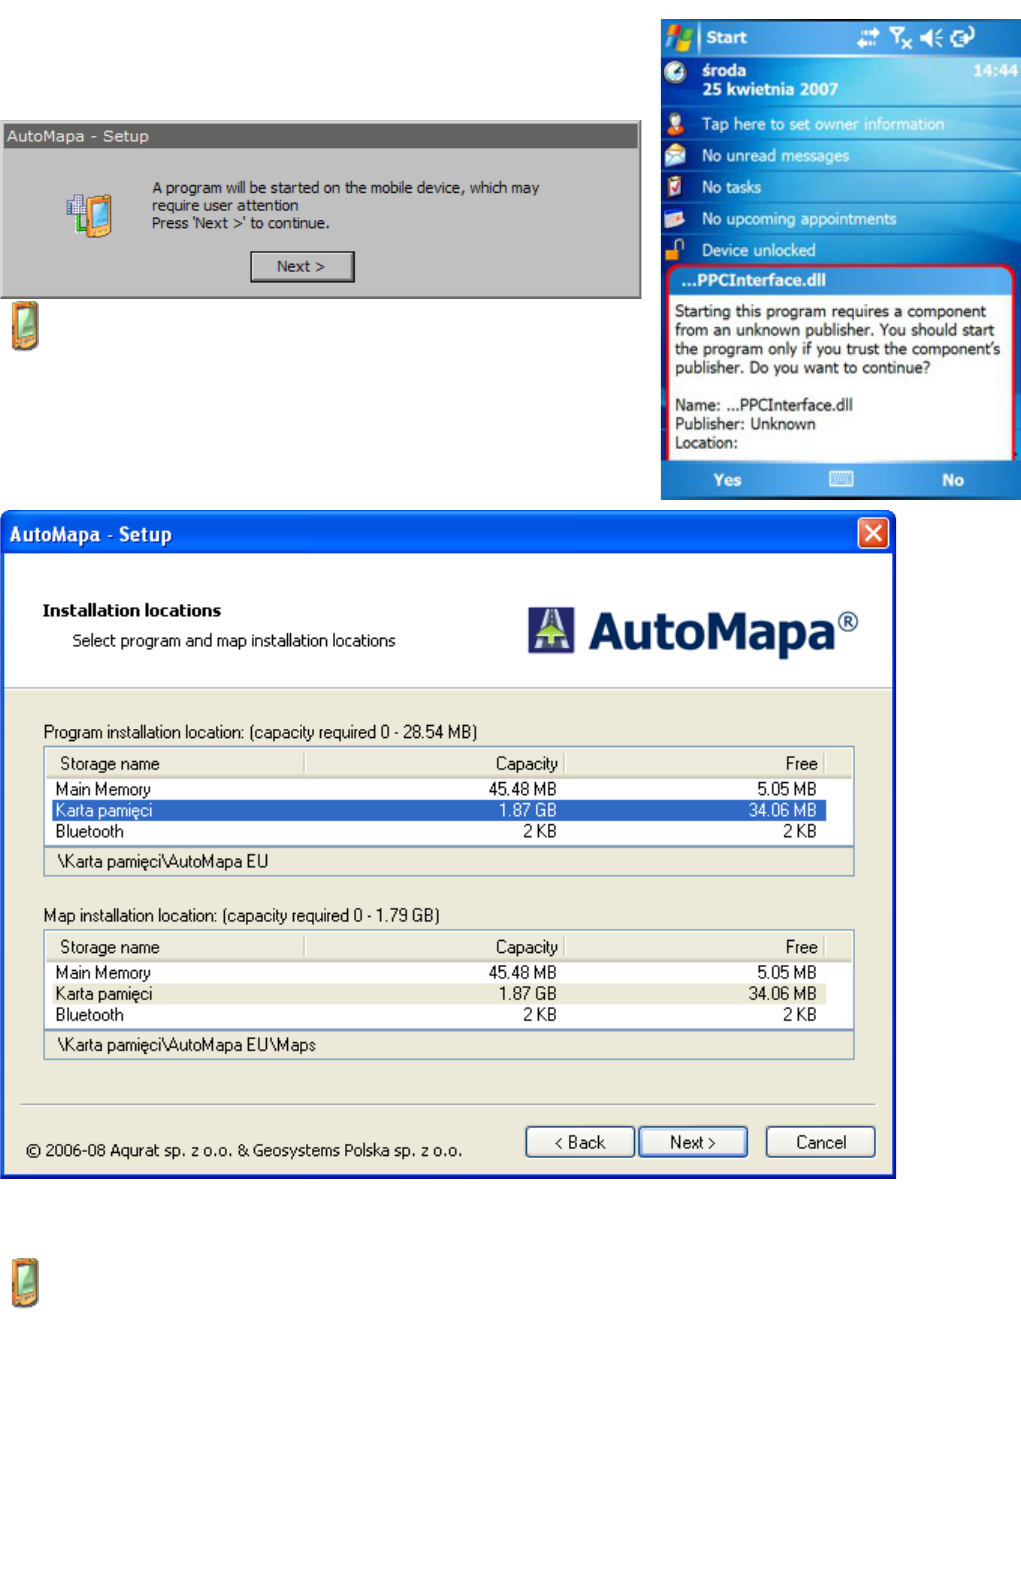
We recommend that the entire program is installed on an SD card in the following configuration: portable device
connected to the PC with a USB cable, the SD card inserted into the card reader in the PC.
Note: Many SD card readers available on the market do not support cards with memory greater than 1 GB (in
particular built-in readers, e.g. in laptops). Make sure that the card is compatible with the reader. Most cheap
external USB readers support 2 and 4 GB cards.
1.4.1 Start installation
The first installer message window allows the user to select the installation language. This choice will also determine other
language components and messages, which will be suggested by the installer by default.
In the next window, choose installation and continue the process.
Read the license agreement displayed on the screen and accept the terms of the agreement.
1.4.2 Selection of device
Choose the installation method for AutoMapa (choose the device where the program will be installed).
Choose the type of device where the AutoMapa program will be installed. The PocketPC/WinMobile/WinCE option
should be selected if the system is to be be installed on a portable device (including a memory card inserted into a card
reader on your PC).
The PC/Tablet PC option should be selected if you want to install AutoMapa on the computer where the installation
process has been initiated.
The Card reader option will update the version of AutoMapa installed on the
card placed in the reader.
Note: Under the license, the program may be installed on one computer only.
After the maps have been registered on a PC, you will be unable to activate
them again on a portable device – and vice versa
When a portable device has been selected (depending on the system
version), you may receive a warning message prompting the user to
check the connection with the portable device. After pressing the
"Next>" button, pay attention to any messages which require the user's
acceptance (they usually inform the user of attempts to start the
program).
1.4.3 Selection of installation location
In the next screen, the user is asked to select the location for installing the program and the maps. To install the program
and the map on a PC/TPC platform, select the drive and the directory to which those components will be installed.
If the program is installed on a portable device, this step involves the selection of portable device memory where
the program and the maps will be installed. By default, all components will be installed on the memory card. If the
memory card is inserted into the card reader of a PC, it will be suggested as the location for program installation
(during the installation process, the user will be asked to move the card to the portable device). If there are several
cards in the reader/readers of a PC, select one by clicking on the appropriate name displayed on the installer
screen.
Note: In case of the portable computer setup, we recommend installation on a memory card. By placing the
memory card in a card reader connected directly to a PC, you can speed up the installation process several-fold.
Note: PenDrive devices and USB memory keys may be recognized as memory cards, so make sure that the right
device is selected.
Note: Before installing AutoMapa, it is recommended that the memory card be formatted, after first backing up any
important files it holds in a secure location. By formatting the card before the installation, you may significantly
speed up the operation of the program.
Note: In case of devices which are not connected to a PC via ActiveSync (e.g. Nokia 500), the memory card should
NOT be formatted because it would erase the files necessary for the update and the reinstallation would require
contact with the device manufacturer's service.
1.4.4 Selection of program components
On the next screen, the user can select components to be installed or updated. Additional program languages, skins and
colours of program windows, message voices, additional icons and POI (Points of Interest) warning sounds can also be
selected at this stage.
The plugin on the "Today" screen installs a convenient desktop shortcut to AutoMapa.
The wake-up control plugin supports the process of waking up the device from stand-by mode when AutoMapa is
active. It should be installed every time.
SD AutoStart installs in the memory card a special directory, which recovers the AutoMapa system after the loss of
data from the device (e.g. after a hard reset).
Note: the system can be recovered only if the program is installed on the memory card and only in devices
operating with the Windows Mobile system.
NavRoad Autostart installs the application required to start AutoMapa on NavRoad devices.
Nokia330 Autostart installs the application required to start AutoMapa on Nokia 330 devices.
1.4.5 Selecting the map for installation
On the next screen, select the map for installation. The indicated map size means total size. At subsequent stages, you
will have the option of installing selected fragments of the map, which will substantially reduce the memory requirement.
The "Save files for future installation" option will copy the complete installation program to a directory in your PC to
ensure that subsequent installations (e.g. other map sections) do not require the repeated use of installation discs. A
shortcut to the installation program is also created in the Start|Programs menu of the PC.
Note: to use this option, the free disk space on your PC must be minimum the size of the entire installed map and all
program components.
1.4.7 Selecting map area for installation
When the map registration has been completed, the user can decide to install the entire map area or a section thereof.
With the area editor you can select an interesting map section and perform one of the actions below:
Upgrading the selected area.
If the map has already been installed, this option enables
the user to install the same fragment of the map, e.g. for
upgrading.
Installing the entire selected area.
This option installs the entire available map.
Installing a previously defined map fragment.
This option enables the user to read in a previously saved
mask (definition of a map fragment) and use the area
editor to modify the saved area.
Selecting and installing a new map fragment.
This function activates the area editor, which enables the
user to select the map fragment for installation with the
use of a mouse. The defined section can be saved as a
mask for future use. Map sections are selected as
rectangular areas on the map or by double clicking the
area of the given country.
1.4.8 Copying files
After the map areas have been selected, the file copying process is initiated.
The user may be asked to pay attention to the portable device to accept the displayed messages.
If the program is installed on a memory card in the PC reader, the user will be asked to move the card to the reader
in the portable device.
The final screen displays a list of installed program components and maps.
B
Blocks
Block, unblock a section
Main menu
Context menu
Block roads
Blocked sections
List of blocks
Blocked sections
Viewing blocks
Blocked sections
Buildings, display
Main menu and map buttons
C
Compass
Compass
Preferences
Components
Delete
Uninstallation
Install
Selection of program components
Installed list
Copying files
Upgrade
Upgrading the program and the maps
Contacts, address search
"Go to" menu and selecting destinations -
searching for addresses and objects...
Current position
System layout and operation in the show
position mode
Fixing GPS position
Main menu and map buttons
D
Destination, setting
Main menu
"Go to" menu and selecting destinations -
searching for addresses and objects...
Search address
AutoMapa start-up
Detour
Delete
Temporary section blocks
Delete detours
Set
Temporary section blocks
"Your menu" pop-up menu in navigation
mode
Delete, Copy, Move
Context menu
Display coordinates
Context menu
Display on map
Search address
POI display on the map
"Go to" menu and selecting destinations
- searching for addresses and objects...
Mark as Home or Work
Context menu
Select
Selecting a point on the map
Menu
Expert
Simplified and Expert menu
GPS
GPS menu
Main menu
Main
Main menu and map buttons
Main menu
Options
Options menu
POI
POI menu
Main menu
Popup
"Your menu" pop-up menu
"Your menu" pop-up menu in navigation
mode
Route
Route menu
Settings
Settings menu
Shortcut
Main menu and map buttons
Context menu
Simple
Simplified and Expert menu
Messages
About manoeuvres
Frequency
Other
Navigation
System layout and operation in
navigation mode
Options
Options
Preferences
Preferences
Settings
Voice messages - Settings
Voice selection
Selection of program components
Preferences
Volume
Volume
Meters
On-board computer
Miplo
Download POI
MiploSync application
Miplo.pl website and POIs
Use of downloaded POIs in AutoMapa
41

Hulp nodig? Stel uw vraag in het forum

Spelregels

Misbruik melden

Gebruikershandleiding.com neemt misbruik van zijn services uitermate serieus. U kunt hieronder aangeven waarom deze vraag ongepast is. Wij controleren de vraag en zonodig wordt deze verwijderd.

Product:

Bijvoorbeeld antisemitische inhoud, racistische inhoud, of materiaal dat gewelddadige fysieke handelingen tot gevolg kan hebben.

Bijvoorbeeld een creditcardnummer, een persoonlijk identificatienummer, of een geheim adres. E-mailadressen en volledige namen worden niet als privégegevens beschouwd.

Spelregels forum

Om tot zinvolle vragen te komen hanteren wij de volgende spelregels:

Belangrijk! Als er een antwoord wordt gegeven op uw vraag, dan is het voor de gever van het antwoord nuttig om te weten als u er wel (of niet) mee geholpen bent! Wij vragen u dus ook te reageren op een antwoord.

Belangrijk! Antwoorden worden ook per e-mail naar abonnees gestuurd. Laat uw emailadres achter op deze site, zodat u op de hoogte blijft. U krijgt dan ook andere vragen en antwoorden te zien.

Abonneren

Abonneer u voor het ontvangen van emails voor uw PENTAGRAM AutoMapa ver. 5.3 bij:


U ontvangt een email met instructies om u voor één of beide opties in te schrijven.


Ontvang uw handleiding per email

Vul uw emailadres in en ontvang de handleiding van PENTAGRAM AutoMapa ver. 5.3 in de taal/talen: Engels als bijlage per email.

De handleiding is 1,21 mb groot.


U ontvangt de handleiding per email binnen enkele minuten. Als u geen email heeft ontvangen, dan heeft u waarschijnlijk een verkeerd emailadres ingevuld of is uw mailbox te vol. Daarnaast kan het zijn dat uw internetprovider een maximum heeft aan de grootte per email. Omdat hier een handleiding wordt meegestuurd, kan het voorkomen dat de email groter is dan toegestaan bij uw provider.

Stel vragen via chat aan uw handleiding

Stel uw vraag over deze PDF

Uw handleiding is per email verstuurd. Controleer uw email

Als u niet binnen een kwartier uw email met handleiding ontvangen heeft, kan het zijn dat u een verkeerd emailadres heeft ingevuld of dat uw emailprovider een maximum grootte per email heeft ingesteld die kleiner is dan de grootte van de handleiding.

Er is een email naar u verstuurd om uw inschrijving definitief te maken.

Controleer uw email en volg de aanwijzingen op om uw inschrijving definitief te maken

U heeft geen emailadres opgegeven

Als u de handleiding per email wilt ontvangen, vul dan een geldig emailadres in.

Uw vraag is op deze pagina toegevoegd

Wilt u een email ontvangen bij een antwoord en/of nieuwe vragen? Vul dan hier uw emailadres in.


Info