


-
Ik gebruik al 4 jaar de olympia CM 912 maar nu zijn de cijfers op de z en x bon steeds slechter te lezen. Hoe kan dit?! En hoe kan ik dit oplossen.
Reageer op deze vraag Misbruik melden
M.vr gr Marjo Gesteld op 3-11-2020 om 15:56-
Brander kop met zachte doek schoon maken Geantwoord op 3-11-2020 om 19:40
Waardeer dit antwoord Misbruik melden
-
-
beste,
Reageer op deze vraag Misbruik melden
ik heb de kassa geprogrammeerd en wil hem nu eens uittesten en geraak er niet meer op
ik krijg steeds "manager pincode ongeldig" Gesteld op 19-2-2018 om 15:47-
Ik heb het zelfde probleem. Hebben jullie inmiddels een oplossing Geantwoord op 27-8-2018 om 18:48
Waardeer dit antwoord (2) Misbruik melden
-
-
Ik heb een nieuwe Olympia CM912 aangeschaft. Het programmeren gaat prima. Echter bij het selecteren van Z rapport 01.finan rapport of 02.fin.rapp.maand krijg ik error en deze worden in de Z-stand niet getoond of geprint. Wel in de X-stand. Hoe los ik dit op? Zelf na het wissen van alle programmering zodat de kassa weer in de fabrieksinstelleingen staat lukt het niet. Gesteld op 1-9-2017 om 12:14
Reageer op deze vraag Misbruik melden-
Beste, Hebt u al antwoord gekregen op uw vraag ivm de afdruk van de Z-lijsten. Ik krijg nl dezelfde foutmelding bij de afdruk van deze Z-lijsten Geantwoord op 2-11-2017 om 08:08
Waardeer dit antwoord Misbruik melden
-
-
Ook ik heb dit probleem en krijg het niet verholpen. Geantwoord op 27-11-2017 om 10:05
Waardeer dit antwoord (1) Misbruik melden -
Idem hier 2 keer lukt het om met Z de daginkomsten af te drukken en de derde dag ERROR en kan ik deze niet meer afdrukken graag een zeer snel antwoord. Geantwoord op 21-12-2019 om 19:09
Waardeer dit antwoord Misbruik melden -
Wij hebben 912 cm kassa overgenomen...vraagt telkens naar manager code....deze is ons niet bekent ....hoe kan je deze kassa resetten zonder deze manager code..... Gesteld op 17-4-2017 om 10:25
Reageer op deze vraag Misbruik melden-
wij hebben 3 van deze kassa's maar een managercode is mij niet bekend. wel een manager sleuteltje om de kassa in de Z of P stand te zetten.
Waardeer dit antwoord Misbruik melden
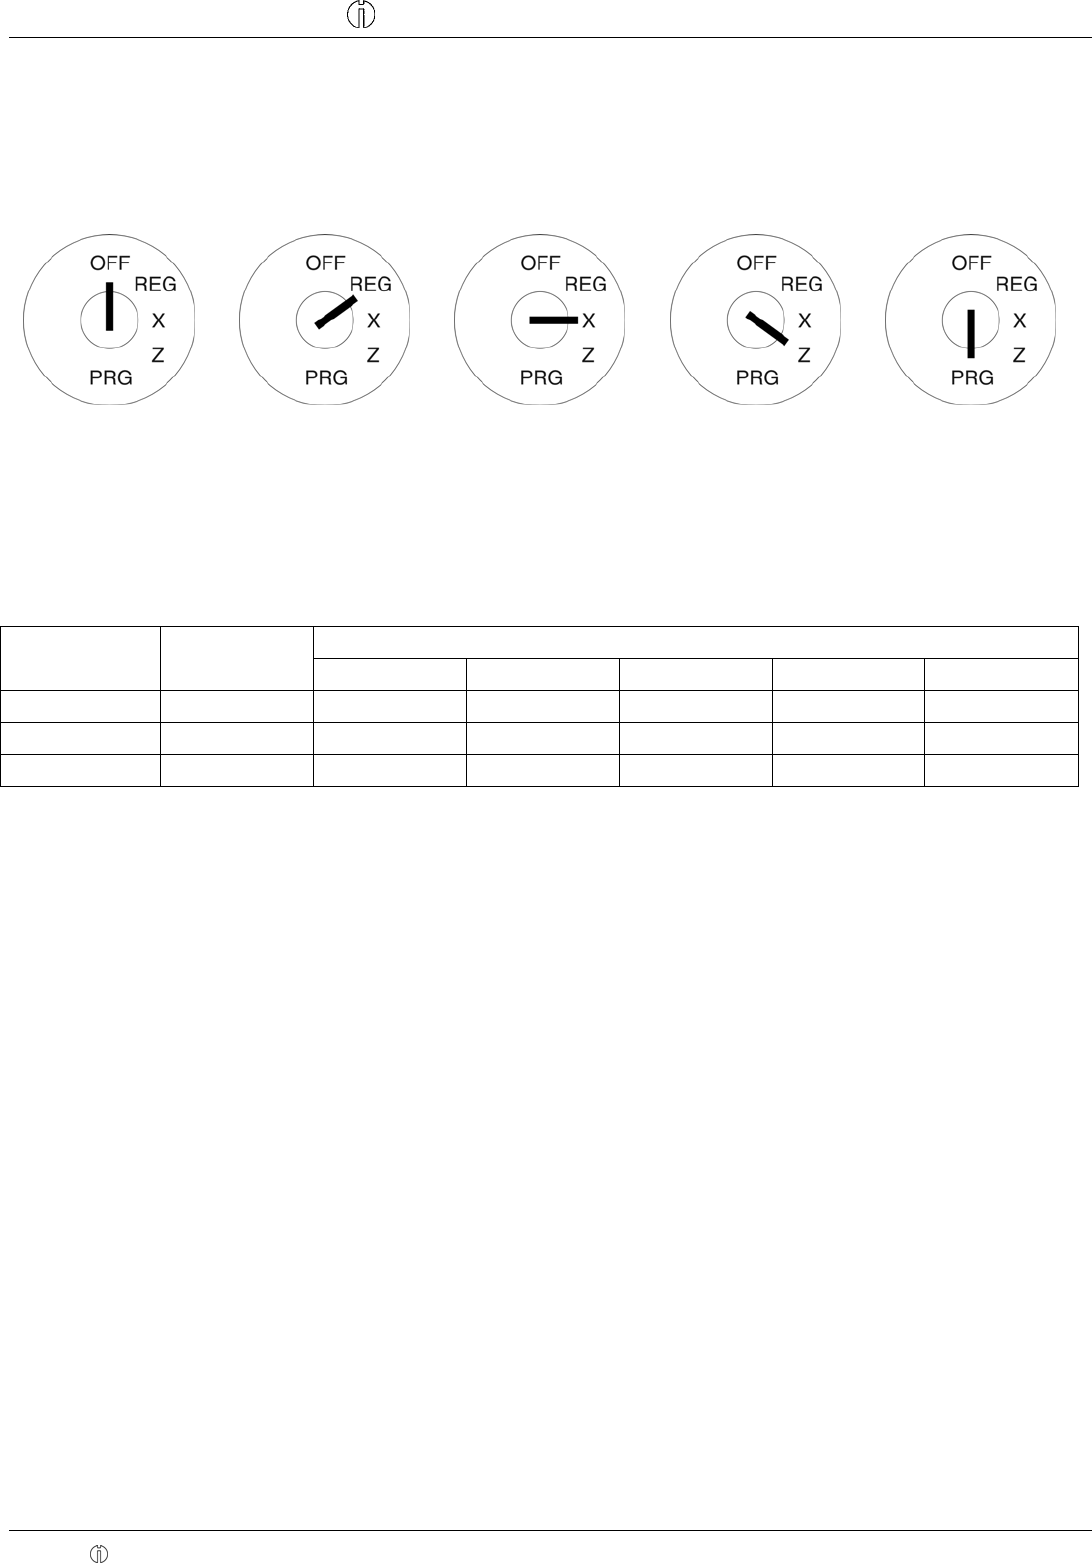
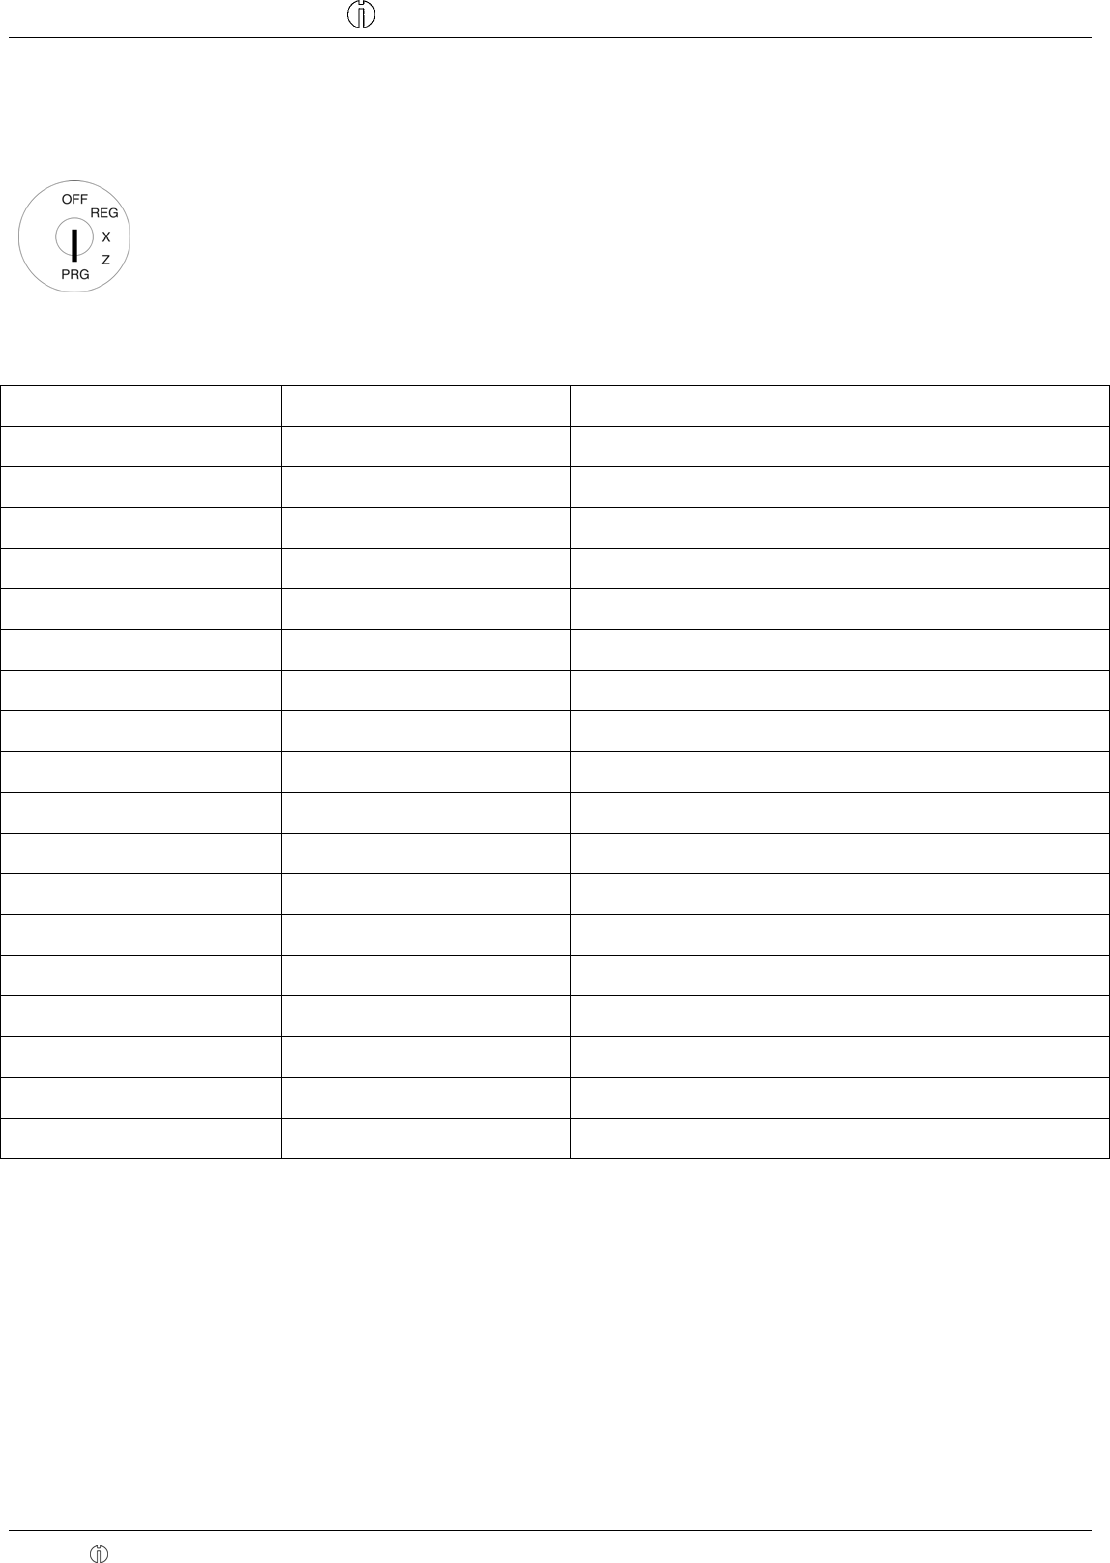
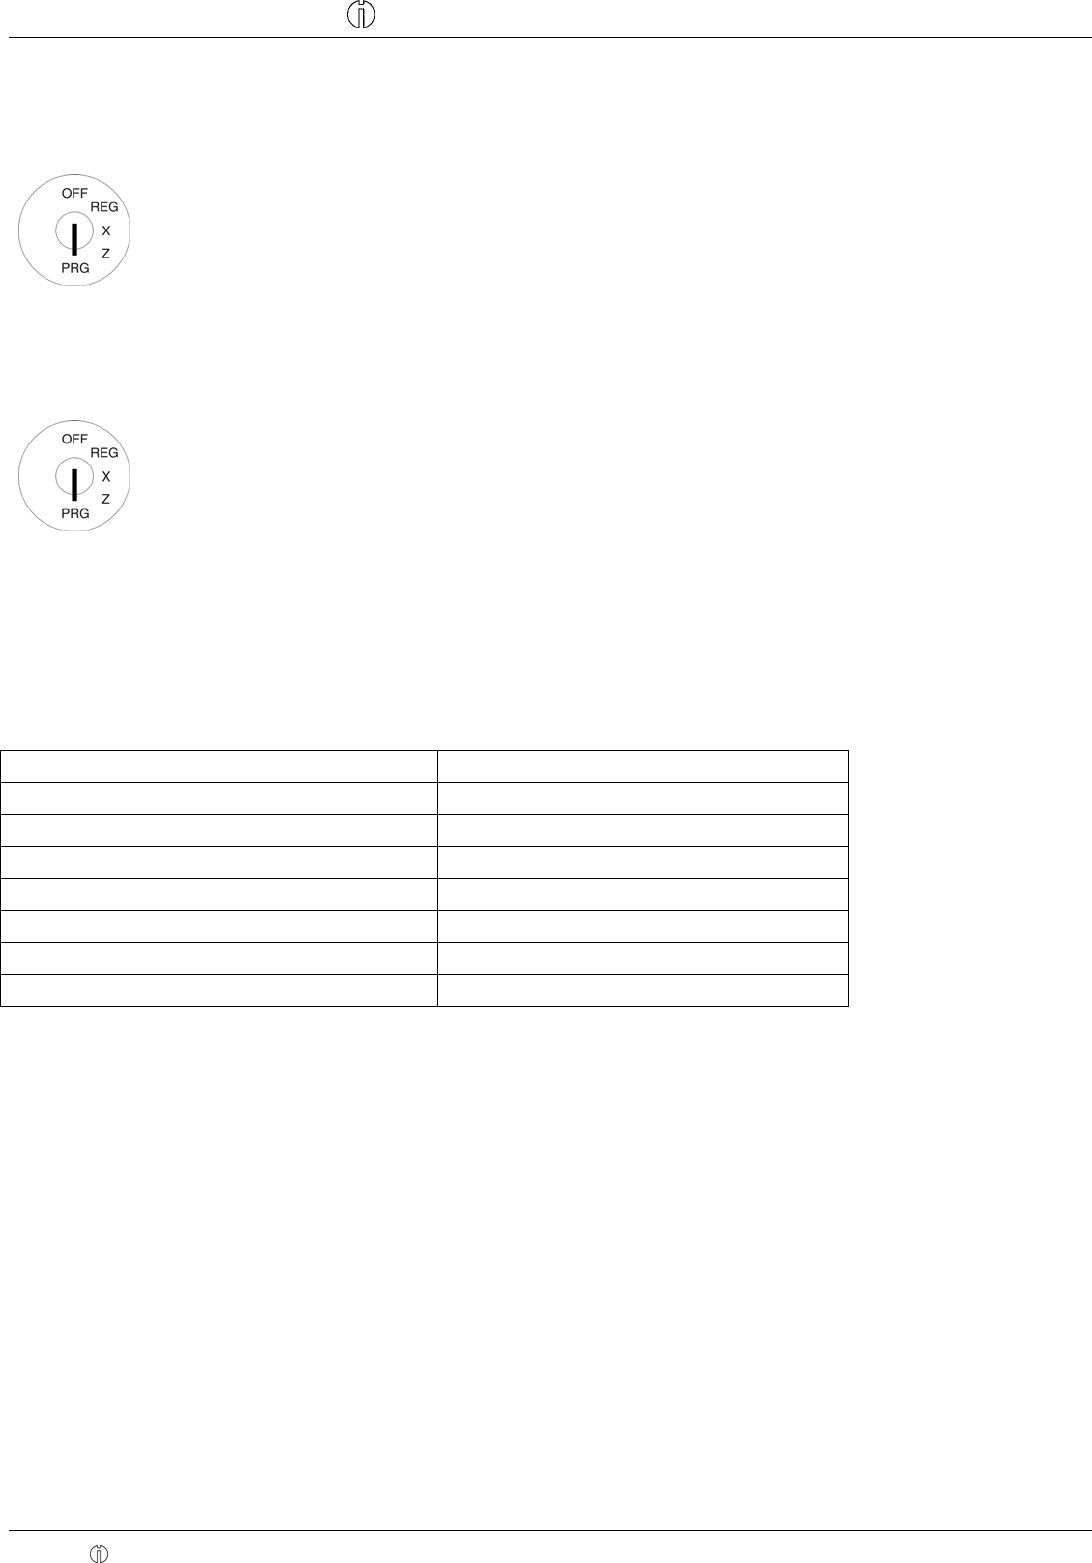
Zet de sleutel in de onderste stand en voer een complete reset van het geheugen uit. Geantwoord op 17-4-2017 om 10:30
-
-
Nog even nagezocht voor je:
Waardeer dit antwoord (1) Misbruik melden
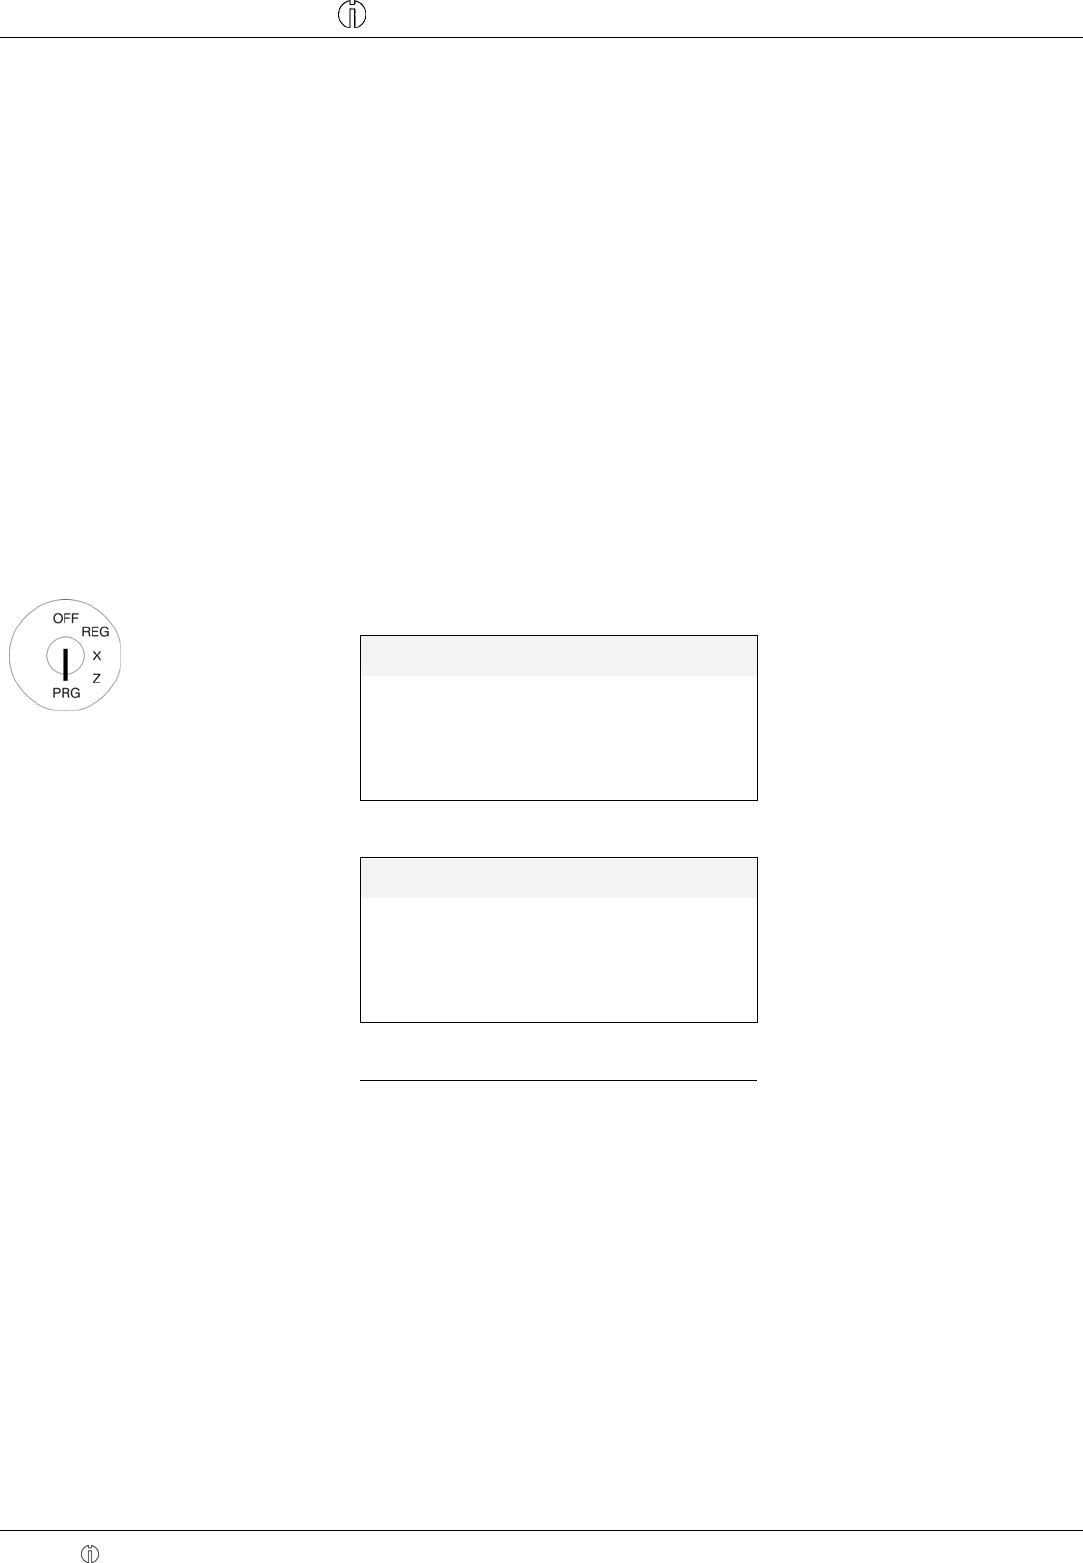
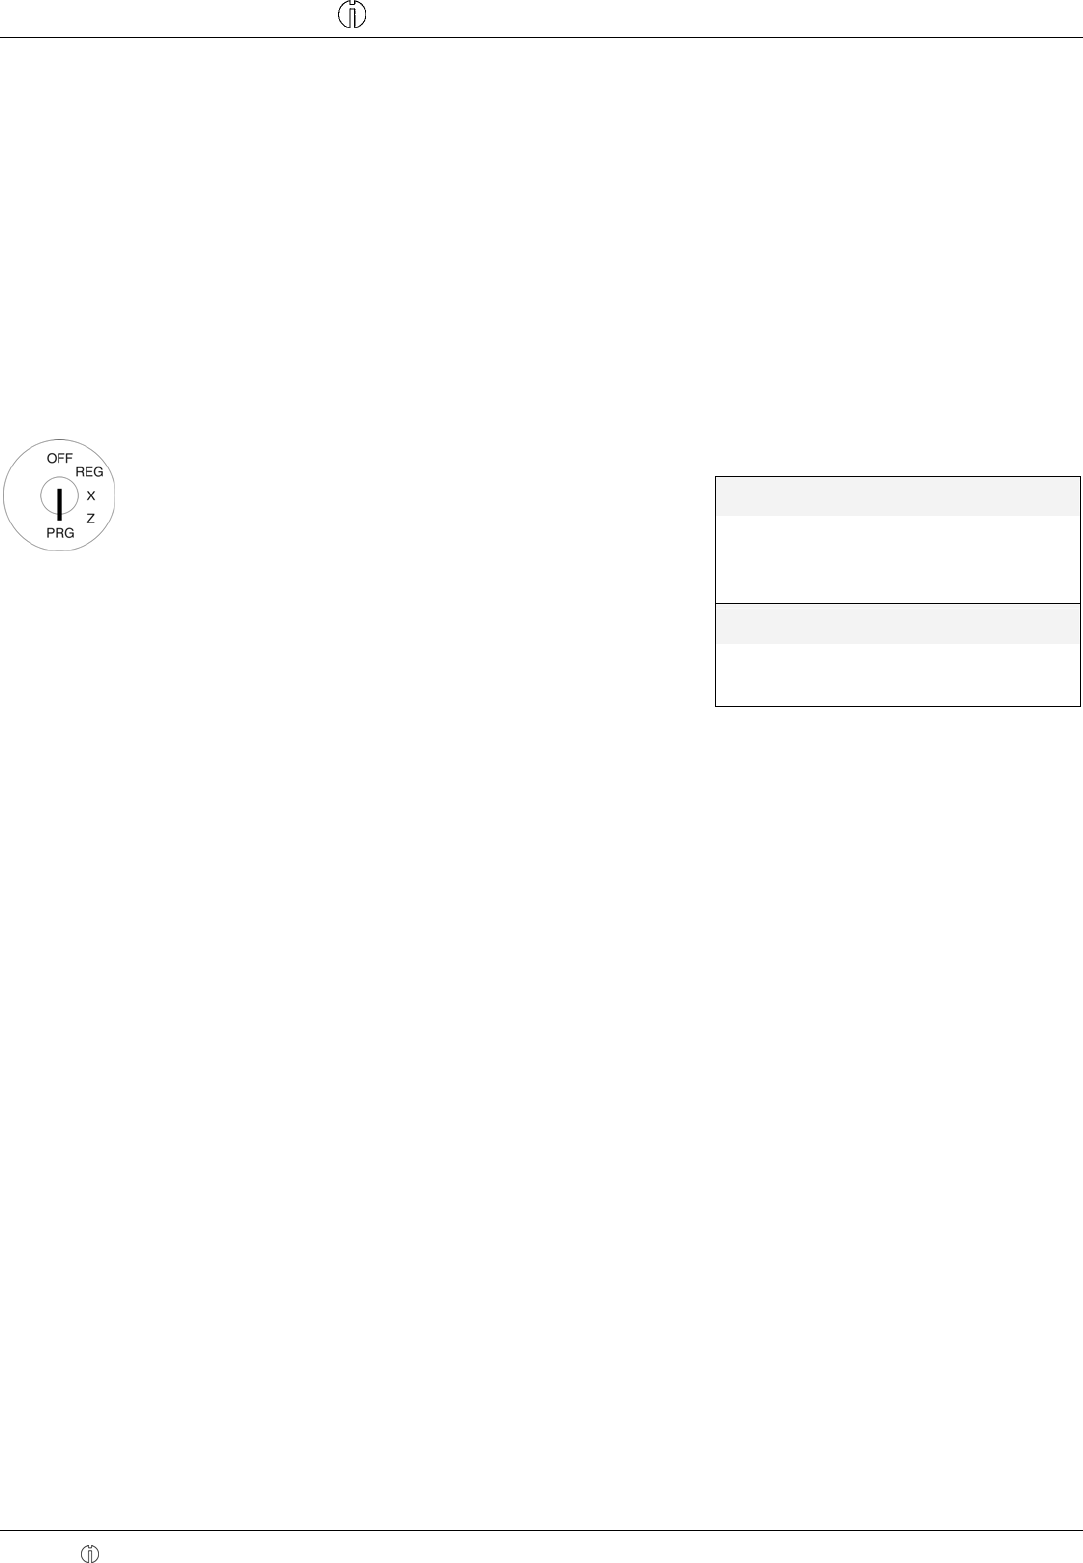
ga naar menu 80
Wis alle gebruikers
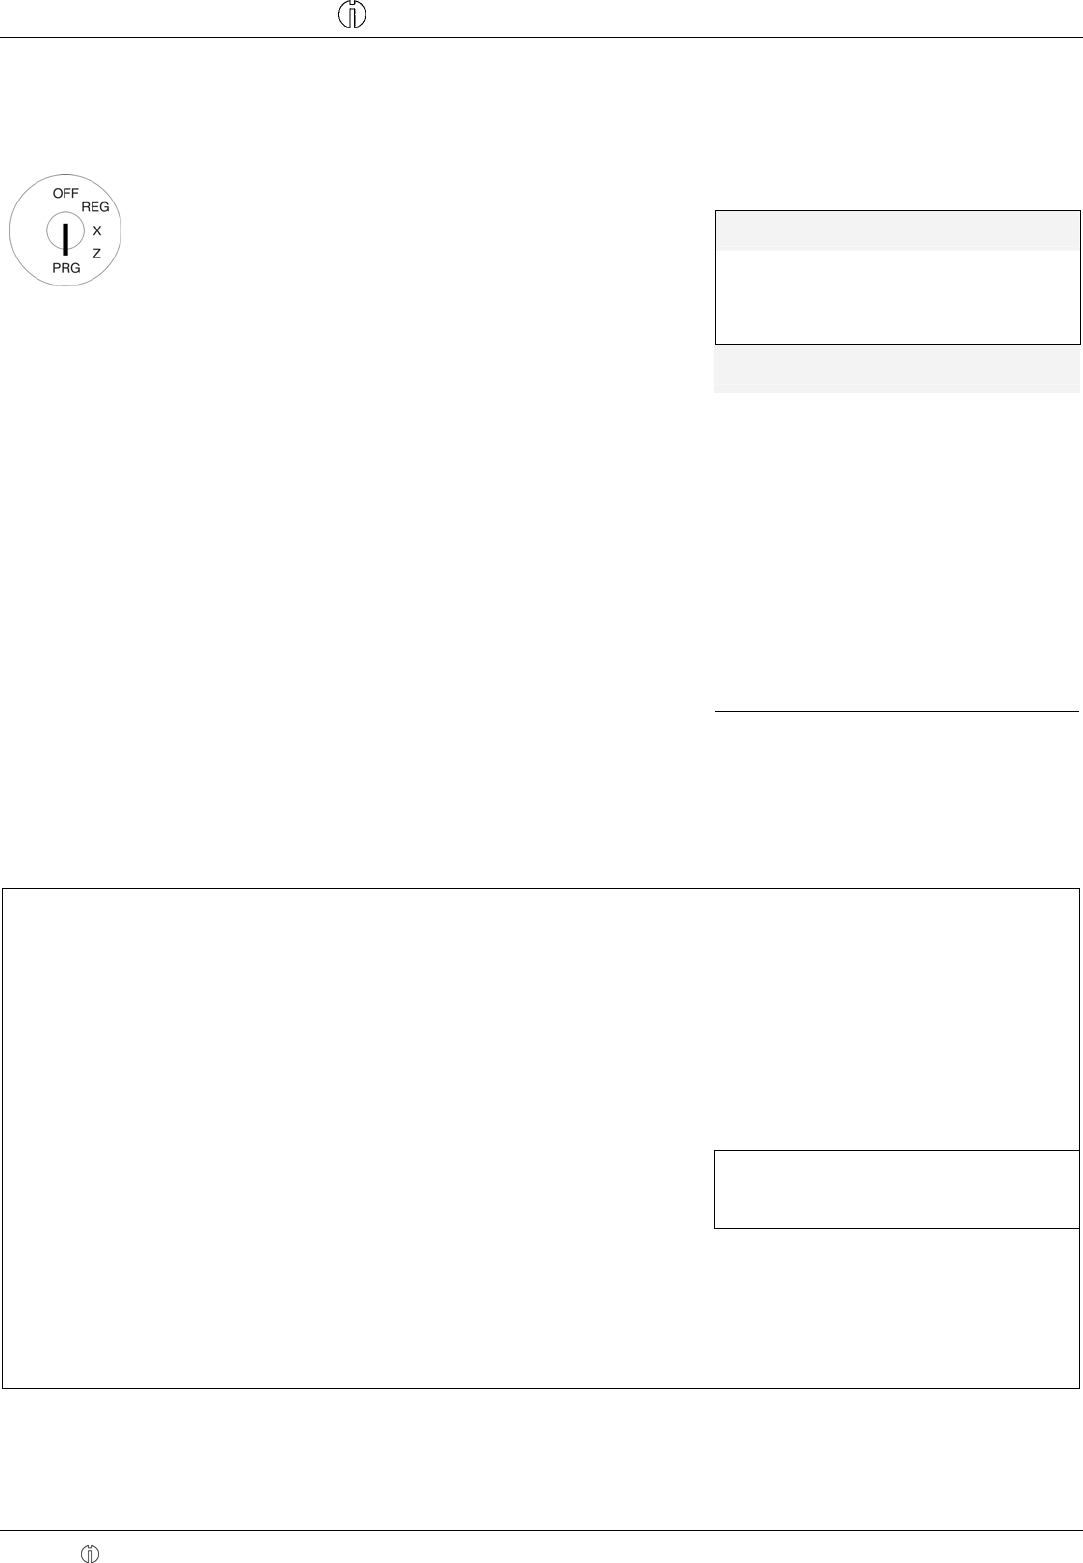
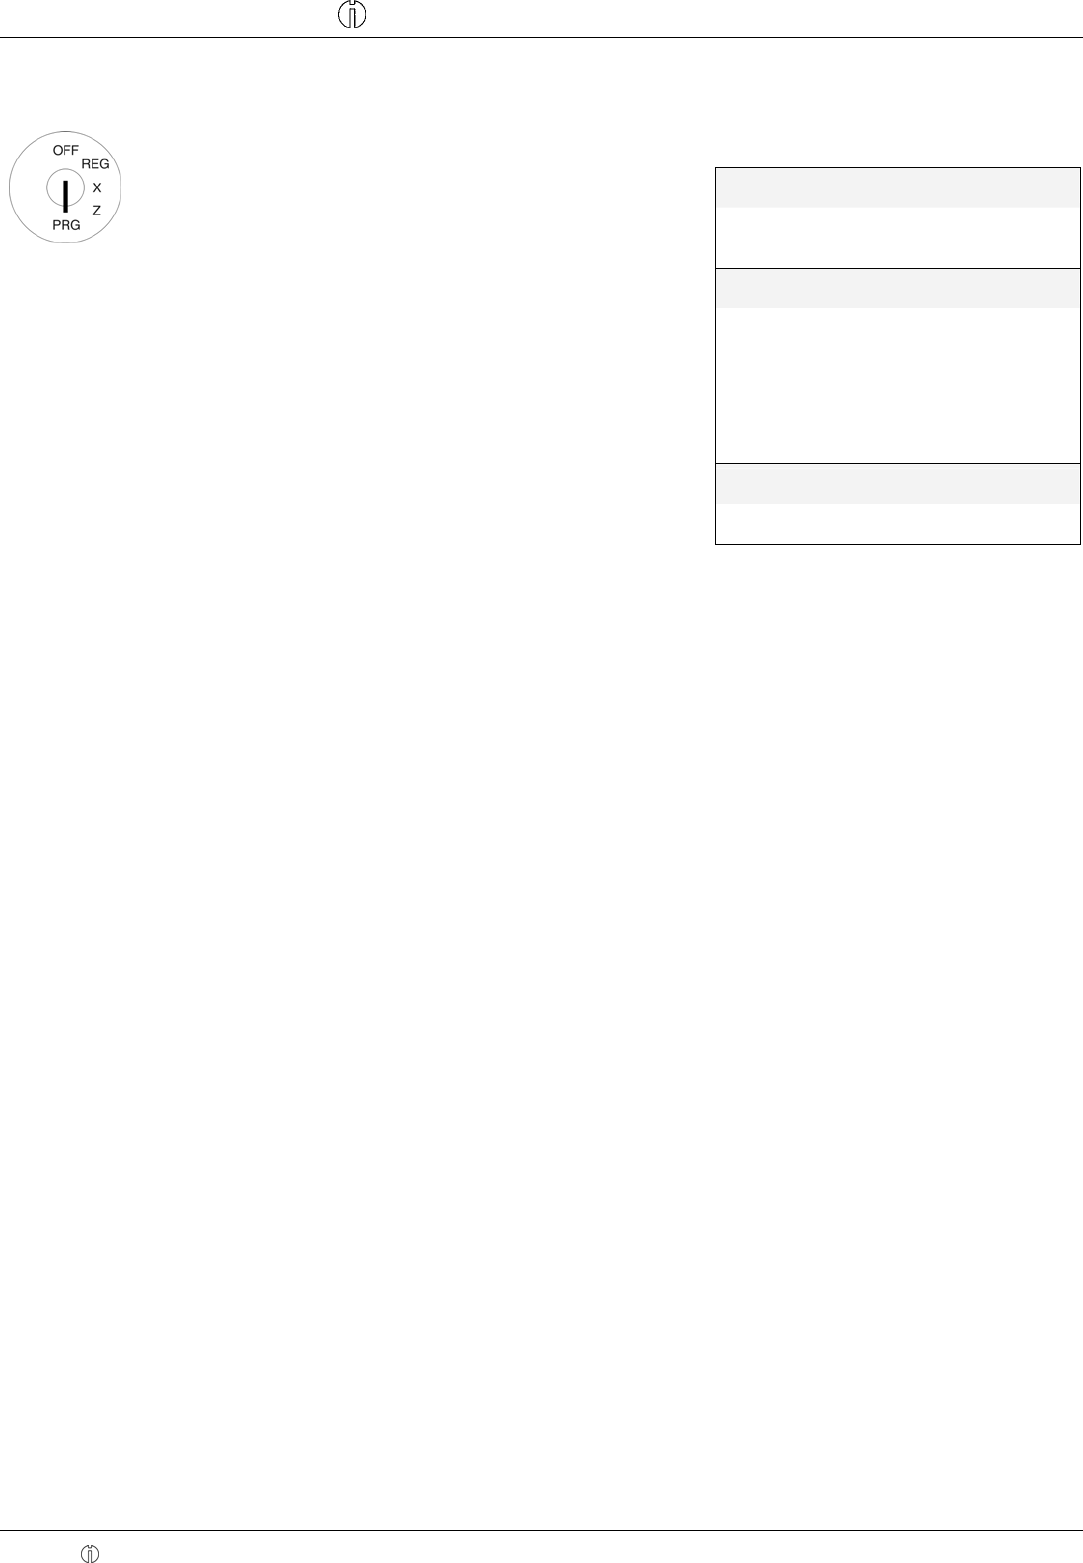
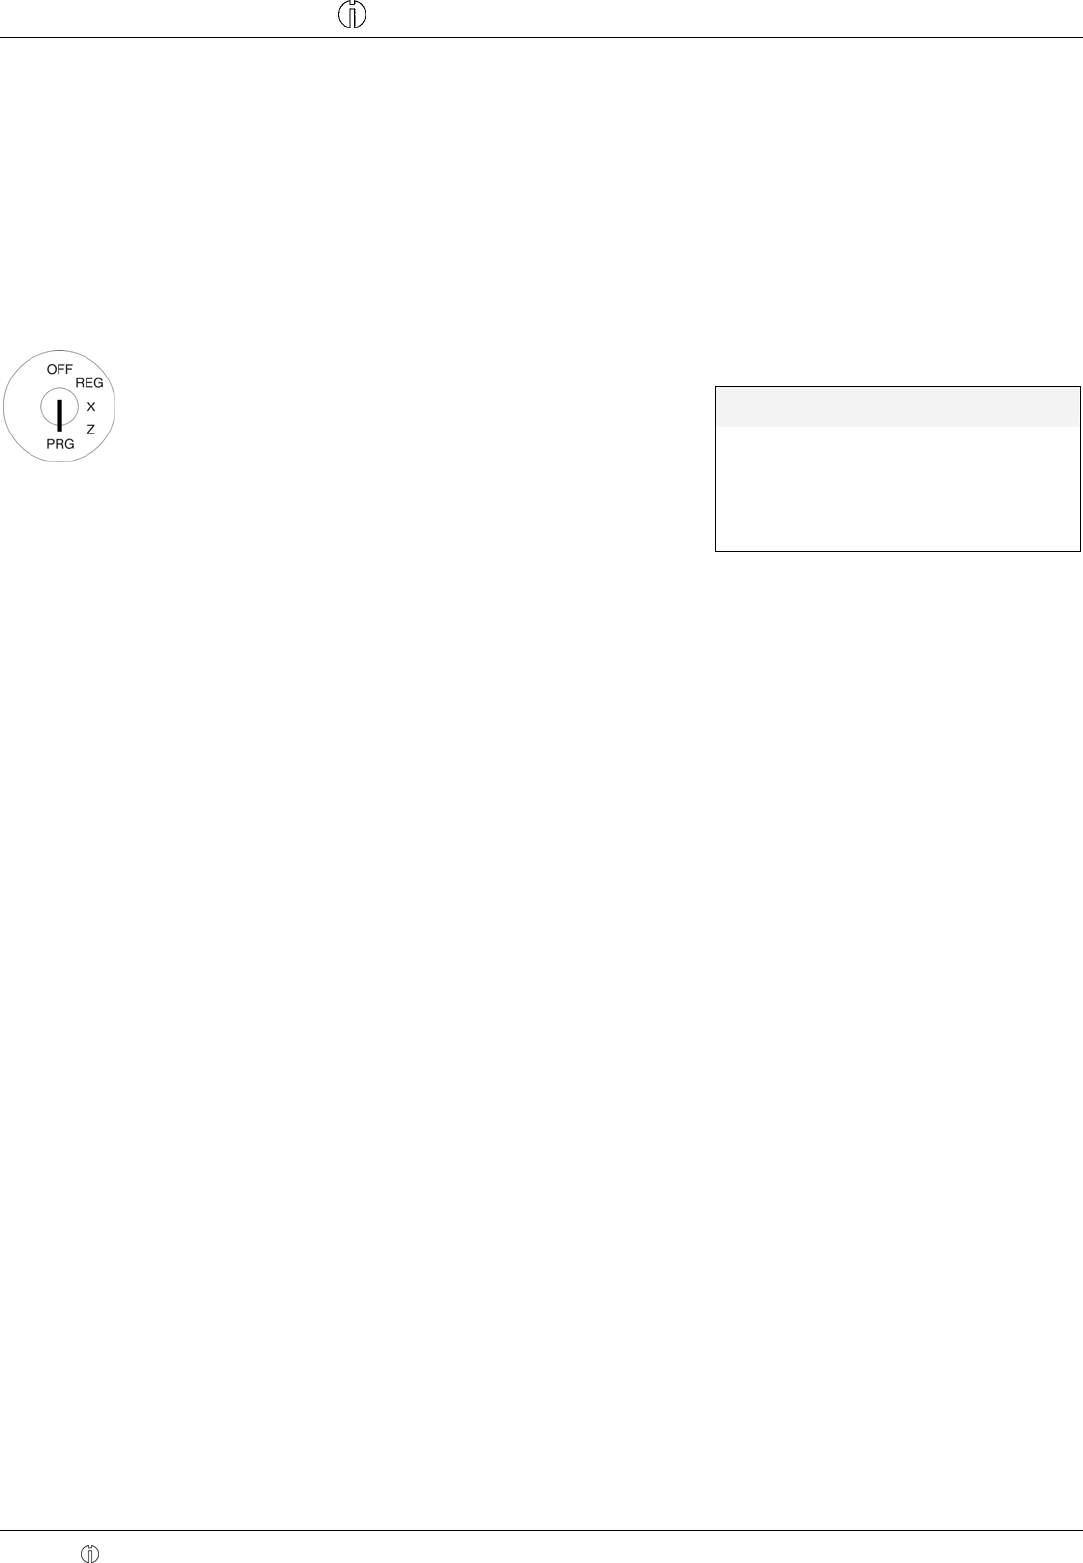
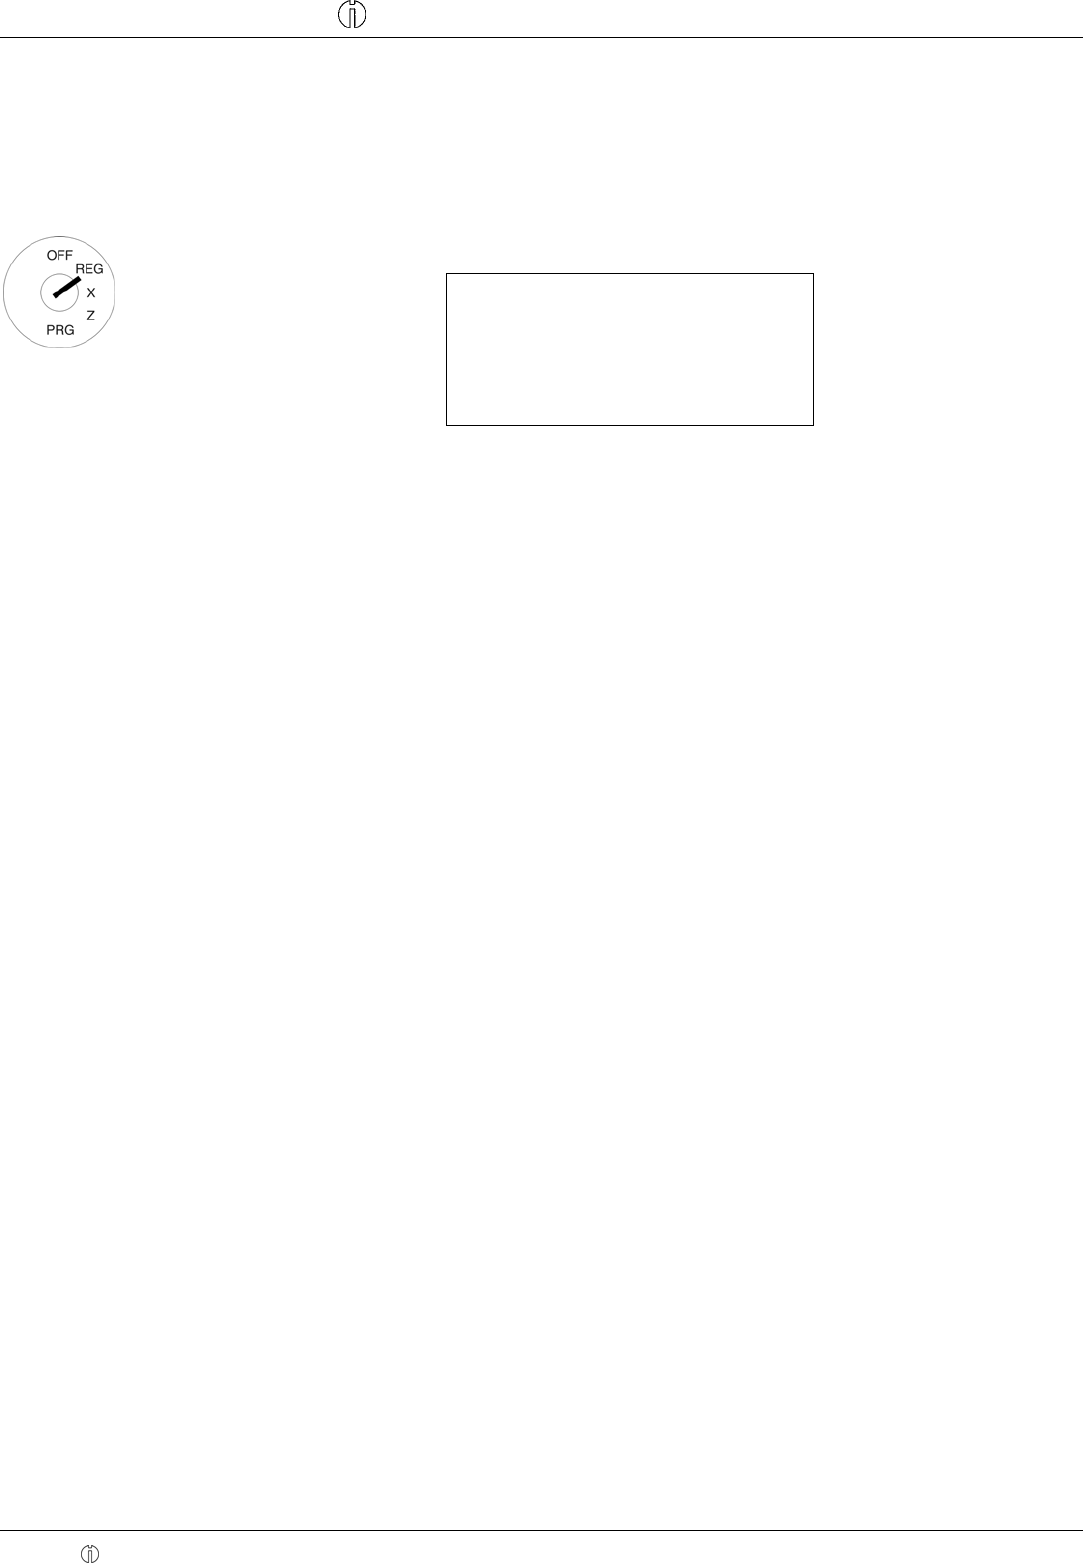
Sleutelschakelaar op PRG. ? Programmeernummer 80 selecteren (zie paragraaf 5.1.2). ? Bevestig met de toets ?CONTANT?. Op het display worden de te wissen gegevens weergegeven. ? Selecteer met de toetsen ??? en ??? het te wissen gebied. ? Bevestig met de toets ?CONTANT?. ??3$$??$$$3$PROGRAMMERING ALLE GEBRUIKERS ALLE OMZETGROEPEN ALLE PLU'S E-JOURNAAL ALLE RAPPORTEN ALLE SYSTEMEN ? Bevestig de vraag met de toets ?CONTANT?. 3$ ? Beëindig de programmering door drukken op de toets ?Subtotaal Geantwoord op 17-4-2017 om 10:34 -
ik heb ook dit probleem, maar als ik met men sleutel naar PRG ga kan ik geen programma selecteren, hij vraagt achter de manager pincode, weet iemand raad voor me ?? Geantwoord op 19-2-2018 om 16:31
Waardeer dit antwoord Misbruik melden -
Graag een installateur voor de kassa 912 te komen programmeren kan dat of weet iemand waar Gesteld op 18-8-2016 om 12:25
Reageer op deze vraag Misbruik melden-
Goedendag
Waardeer dit antwoord Misbruik melden
De kassa programmeren is afhankelijk van eisen veel of heel veel werk. Wij programmeren de Olympia kassa voor diverse kringloopwinkels. Als u alleen gebruik maakt van een 10-tal productgroepen, met eigen BTW, dan bent u circa 300 euro ex btw kwijt.
Uitbreidingen cq aanpassingen na oplevering worden op voorcalculatie gedaan met een minimum van 95 euro ex btw per aanpassing.
Wilt u met de barcode scanner gaan werken dan kunt u max 1000 unieke code/prijs-combinaties kwijt. De kosten daarvoor lopen flink op daar alles handmatig moet worden geprogrammeerd. De uurkosten bedragen 95 euro ex btw.
Het beste is om zelf de handleiding door te worstelen en eerst zelf te experimenteren.
De olympia wordt bij ons op kantoor geprogrammeerd.
De geheugenkaart voor de olympia is helaas niet meer te krijgen. Houdt u rekening met herprogrammering op het moment dat u het geheugen van de olympia wist.
mvg
Stefan
Mercari Ventures BV
Heerhugowaard
Geantwoord op 18-8-2016 om 13:29
-
-
Waar kan ik een installateur vinden voor mijn kassa olympia cm 912 aan het leuvense Gesteld op 3-8-2016 om 12:07
Reageer op deze vraag Misbruik melden-
Is uw kassa kapot? Dan terug naar de leverancier. Moet de kassa geprogrammeerd worden: lees dan de handleiding Geantwoord op 3-8-2016 om 12:30
Waardeer dit antwoord Misbruik melden
-
-
Heb je iemand gevonden voor de kassa Geantwoord op 18-8-2016 om 13:17
Waardeer dit antwoord Misbruik melden -
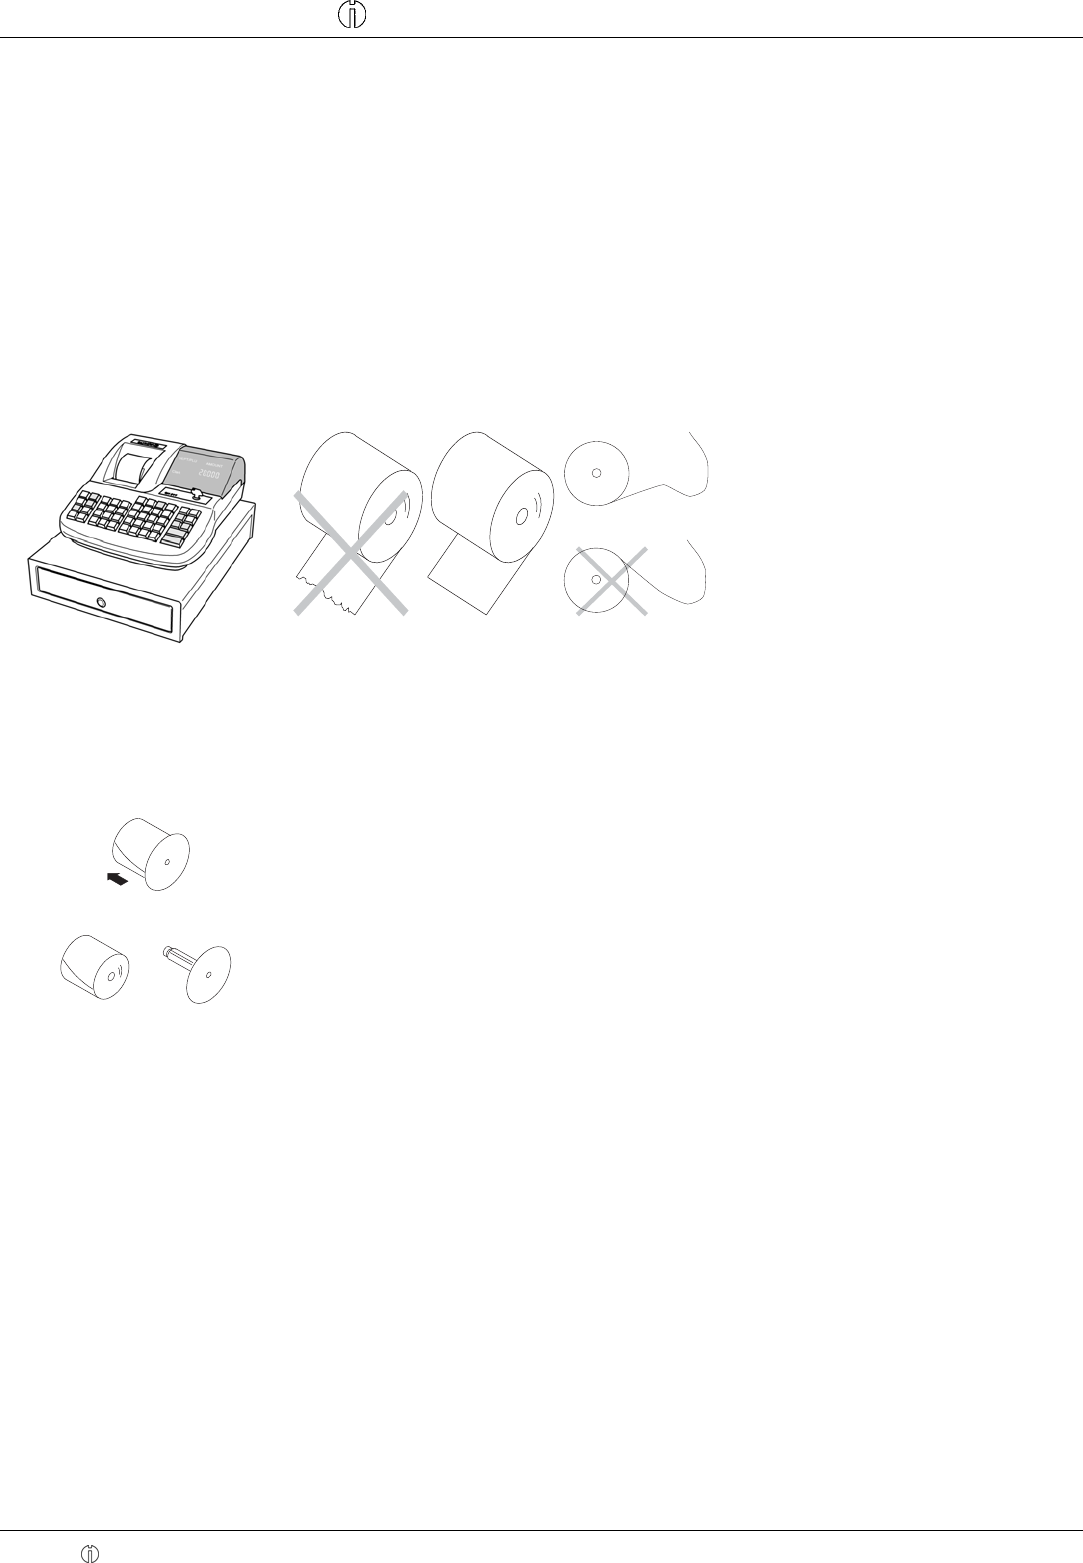
De kassa drukt geen bon af. Ik kan nergens vinden waar een cartridge in kan.
Reageer op deze vraag Misbruik melden
Kan iemand mij alstublieft helpen? Gesteld op 18-7-2016 om 12:19-
Cartridge? Deze kassa heeft een thermische printer. Heeft u wel thermisch papier erin gedaan? Geantwoord op 18-7-2016 om 13:27
Waardeer dit antwoord Misbruik melden
-
-
is het mogelijk om btw totaal niet te printen op het tiket Gesteld op 23-3-2013 om 17:49
Reageer op deze vraag Misbruik melden-
Lees handleiding goed door ;) Geantwoord op 2-9-2014 om 17:31
Waardeer dit antwoord Misbruik melden
-
