11.. GGEENNEERRAALL IINNSSTTRRUUCCTTIIOONN
• The heaters mentioned in this manual must only be used outdoors
or in well ventilated surroundings.
• For every kW it is necessary to have permanent ventilation of 25
cm
2
, equally distributed between the floor and high level, with a
minimum outlet of 250 cm
2
.
• Gas cylinders must be used and kept in accordance with current
regulations.
• Never direct the hot air flow towards the cylinder.
• Use only the supplied pressure regulator.
• Never use the heater without its cover.
• Do not exceed 100 W/m
3
of free room. The minimum volume of the
room must be greater than 100 m
3
.
• Do not obstruct the inlet or outlet sections of the heater.
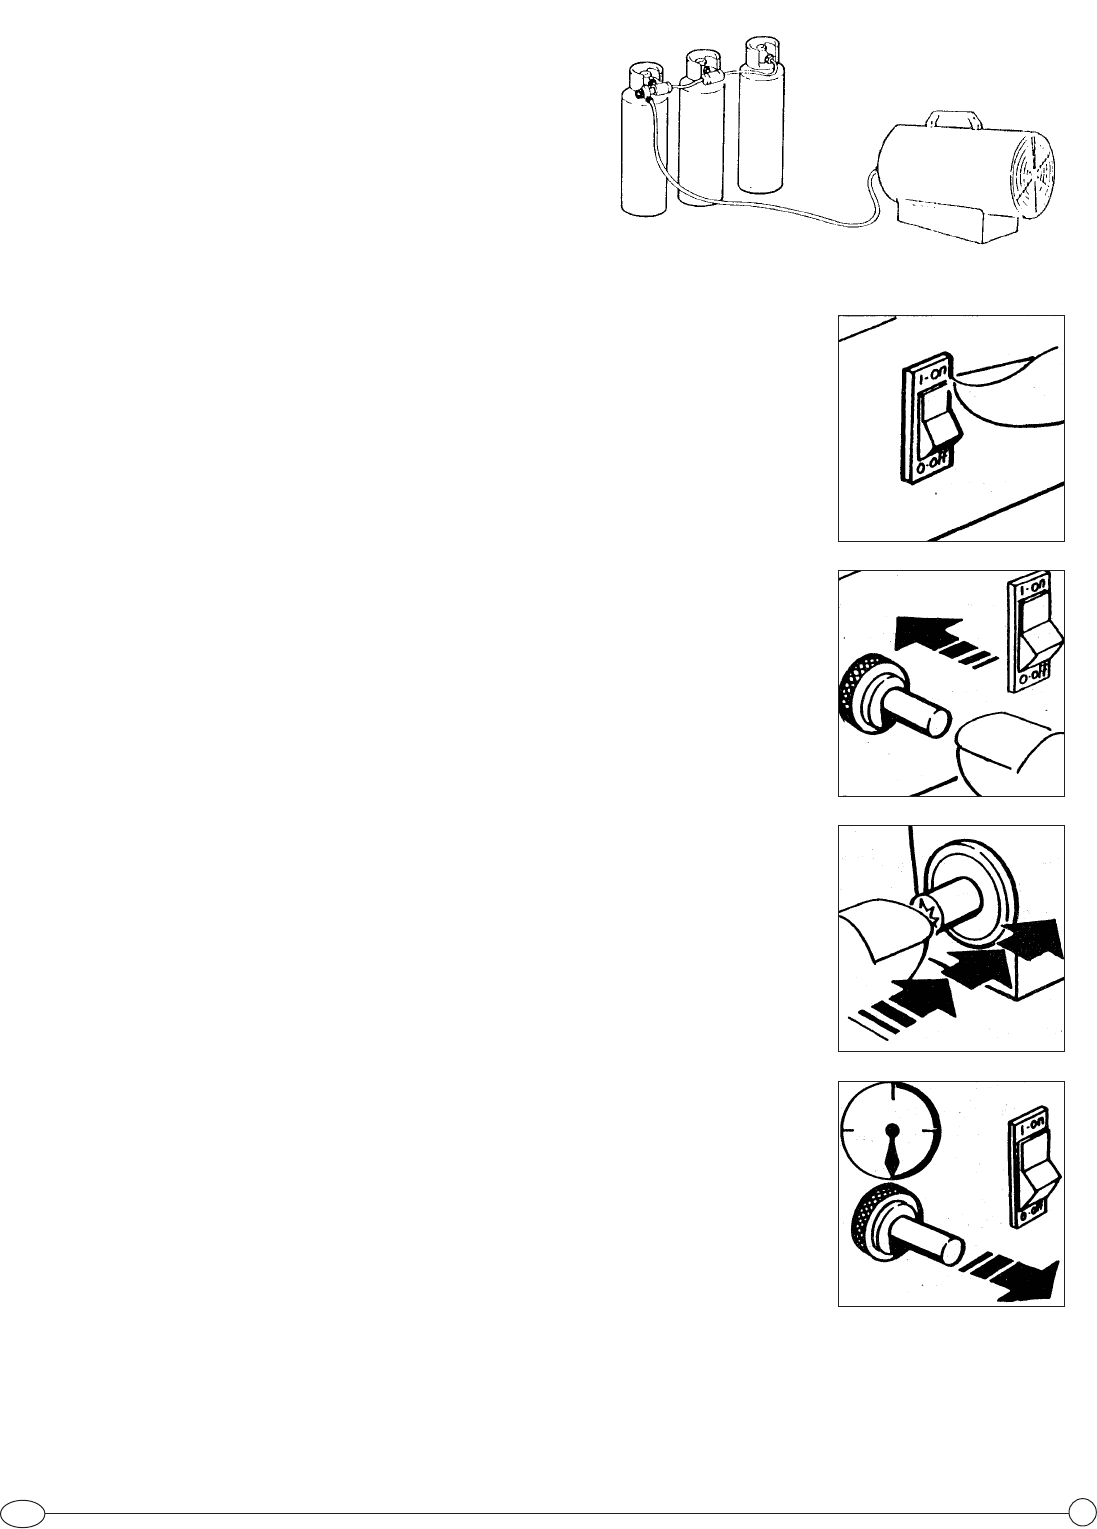
• If the heater has to work for a long period at its maximum capacity, it is possible that ice will
form on the cylinder. This is due to excessive vapour withdrawal. Not for this reason, or for any
other, should the cylinder be heated. To avoid this effect, or at least to reduce it, use a large
cylinder or two cylinders linked together (Fig.1).
• Do not use the heater in cellars, basements or in any room below the ground level.
• In case of malfunction, please contact the technical assistance service.
• After use, turn the gas cylinder tap off.
• The gas bottle must always be replaced following safety rules away from any possible source of
ignition.
• The gas hose must not be twisted or bent.
• The heater must be placed where there is no risk of fire, the hot air outlet must be at least 3 m
from any flamable wall or ceiling and must never be directed towards the gas bottle.
• Only use original gas hose and spare parts.
• Heaters described in this leaflet are not intended for domestic use.
• In the case that a gas leak is found or suspected, immediately close the gas cylinder, switch the
heater off and do not use it again until it has been checked by a qualified service centre. If the
heater is installed indoors, provide a good ventilation by opening door and windows completely.
Do not produce sparks or free flames.
• If in any doubt contact your supplier.
22.. IINNSSTTAALLLLAATTIIOONN
• Connect the heater to a suitable electric socket (230 V ~ 50 Hz or 110 V ~ 50 Hz for dual volta-
ge U.K. units).
• Make sure that the machine is properly earthed.
• Connect the gas supply hose to the pressure regulator and connect the regulator to a suitable
LPG cylinder.
• Open the tap of the cylinder and check the supply hose and fittings for gas leaks. For this ope-
ration it is recommended to use an approved leak detector.
• NEVER USE NAKED FLAMES.
• For automatic appliances, connect the room thermostat to the socket on the appliance and
adjust it to the required temperature.
33.. IINNSSTTRRUUCCTTIIOONNSS FFOORR UUSSEE
33..11 IIGGNNIITTIIOONN
MMaannuuaall iiggnniittiioonn
• Turn the fan switch to position I and check that the fan starts running correctly. (Fig. 2)
• Push the gas valve button and push repeatedly the piezoelectric lighter until the flame lights up.
(Fig. 3-4)
• As the flame lights up, keep the valve button pushed for 10 seconds approx. (Fig.5). Should the
heater stop when the valve button has been released, wait one minute and repeat the starting
operation keeping the valve button pushed for a longer time.
• Regulate the gas flow pressure according to the desired heat output, by turning the wheel of the
pressure reducer anticlockwise to increase the pressure or clockwise to decrease.
DDuuaall vvoollttaaggee mmooddeellss
• Ckeck voltage at mains (110 or 230V ~ 50Hz)
• To change voltage remove two fixing screws, move selector to desired voltage, reverse switch
plate and screw back.
AAuuttoommaattiicc iiggnniittiioonn mmooddeellss
• Turn the fan switch to position II (for heating) and make sure that the fan is turning. After a brief preventilation the flame igni-
tes.
• Regulate the gas flow pressure according to the thermal power desired, by turning the wheel of the pressure reducer anti-
clockwise to increase the pressure or clockwise to decrease.
• If the flame ignites but after few seconds the heater locks, the RESET control lamp lights up. In this case check that all the pre-
scriptions of the previous paragraph about installation have been observed. Wait one minute , then unlock the heater by pres-
1
GB
Fig. 1
Fig. 2
Fig. 3
Fig. 4
Fig. 5