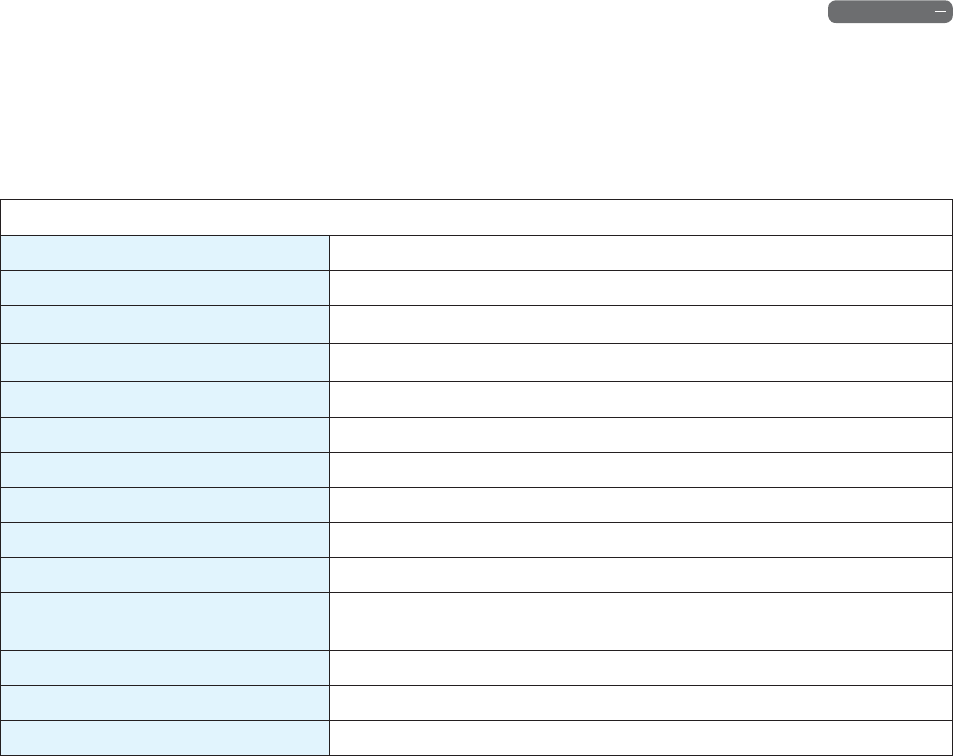
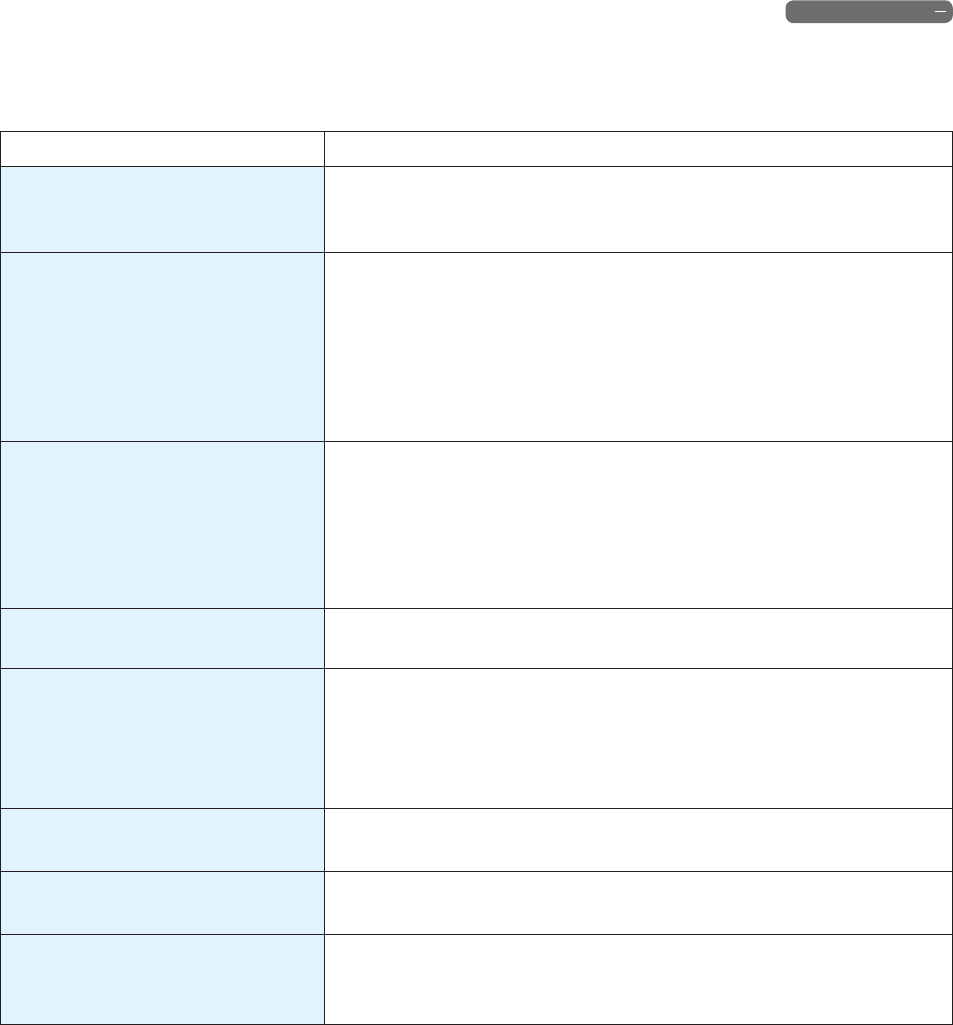
BatteryLithium iron phosphate (LiFePO4) 12.8 V DC (2800 mA)
Dust bin capacity20 oz (600 ml)
Charging time Max. 120 minutes
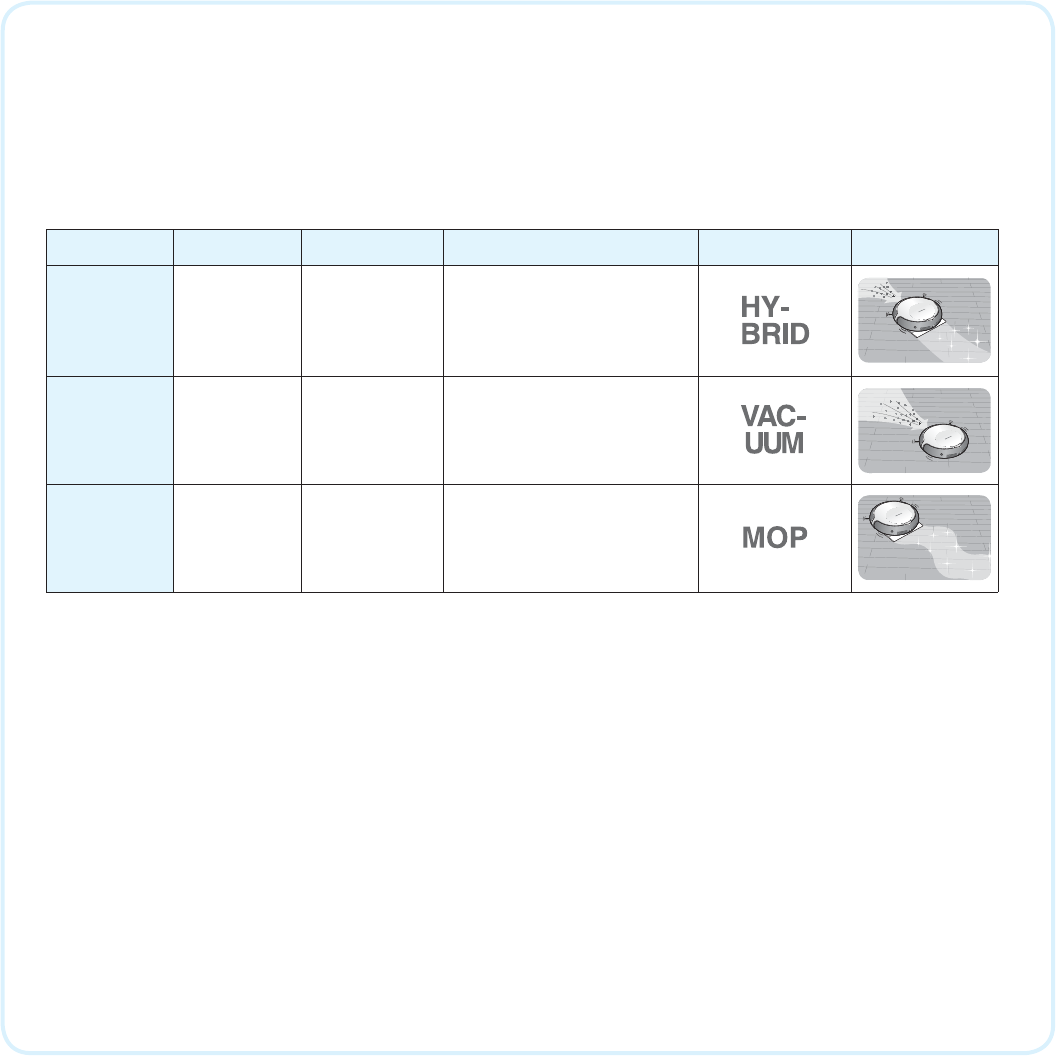
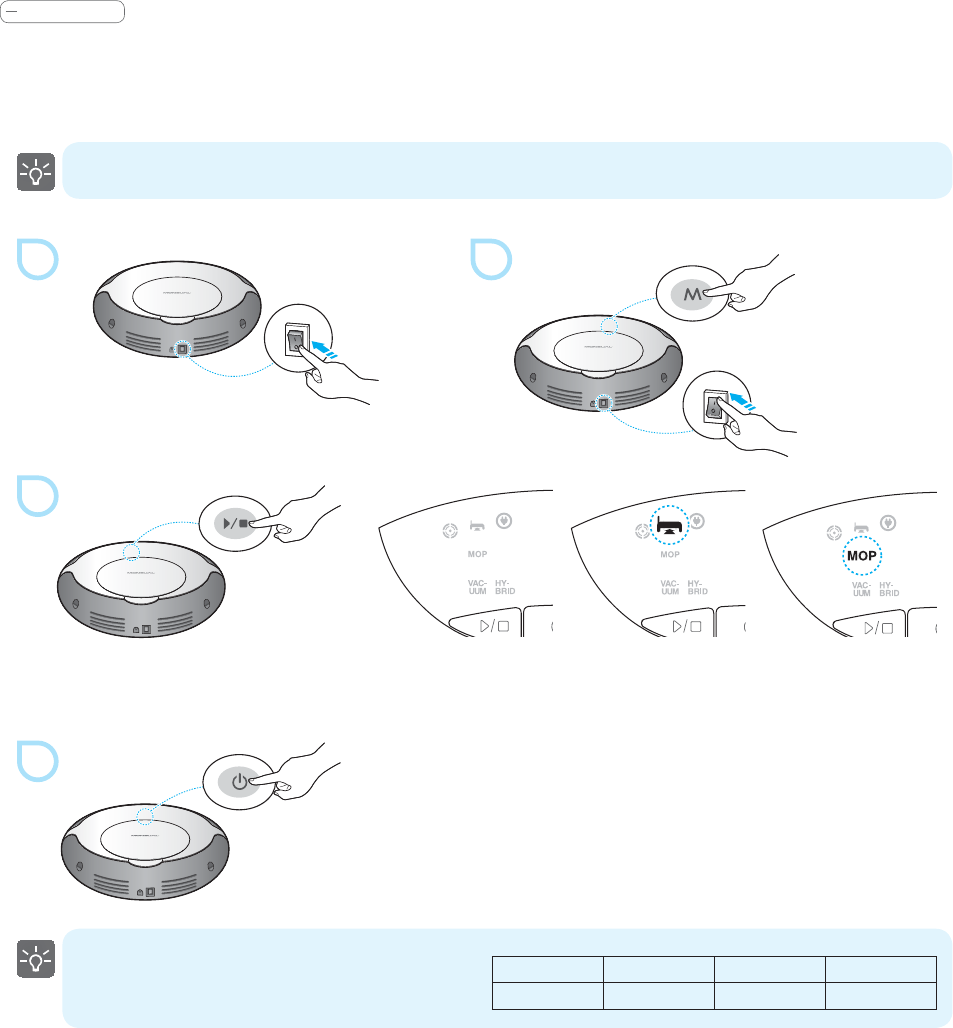
Operating time - About 120 minutes
- About 80 minutes (Turbo Cleaning)
- About 3 hours with wet mop and 5 hours with dry mop (Mop Cleaning)
Specications
RYDIS H67 Pro
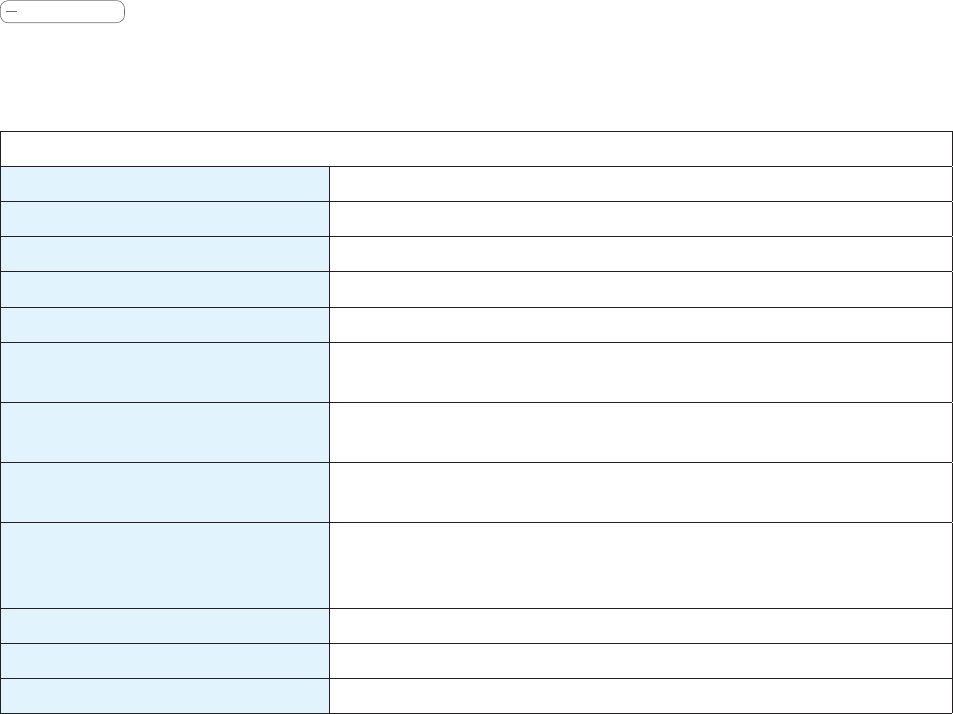
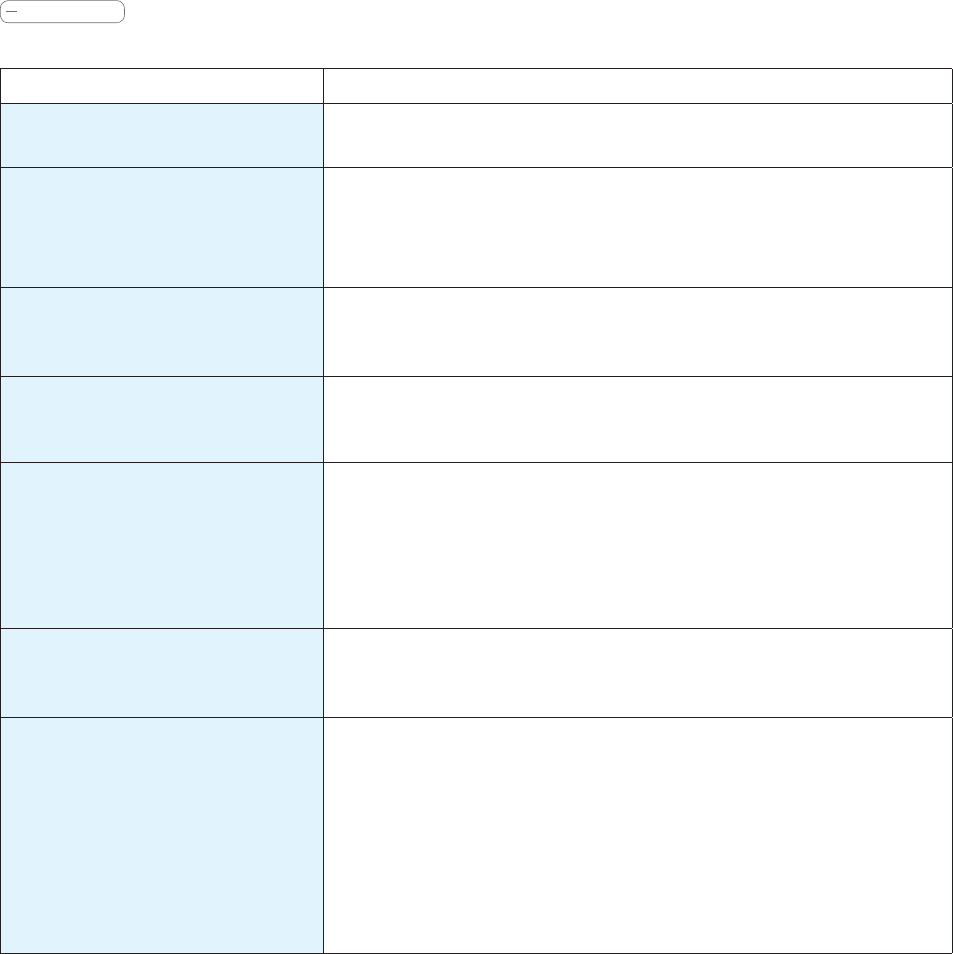
Charging Station
ModelMRD6500
Dimensions10.4 inches (26.4 cm) (W) x 7 inches (17.8 cm) (H) x 5.3 inches (13.5 cm) (D)
Weight1.3 lbs (606 g)
Input Power18 V DC
Output Power18 V DC
Signal Transmission Distance (IR)16.4 ft (5 m) / 26.2 ft (8 m)
ModelMRC6500
Dimensions5.5 inches (14 cm) (W) x 0.9 inch (2.3 cm) (H) x 2 inches (5.1 cm) (D)
Weight0.15 lbs (66 g)
BatteryAAA Size x 2
Signal Transmission Distance (IR)16.4 ft (5 m)
Remote Control
55
Moneual Robot Vacuum Cleaner Limited Warranty
A. Limited Warranty
Moneual, Inc. (ˈMoneualˉ) warrants the product line of Moneual Robot Vacuum Cleaner (ˈThe Productˉ) you have purchased, from Moneual or from a
Moneual Authorized Reseller, is to be free from defects in materials and workmanship under normal use during the period specied below.
The warranty period begins on the date of purchase. Your original purchase invoice (sales receipt), is your proof of the date of purchase. If you cannot
provide the original purchase invoice (sales receipt), the warranty period will be based on the manufacture date-code shown on the Product.
A Product that has been exchanged is warranted starting at the original date of purchase.
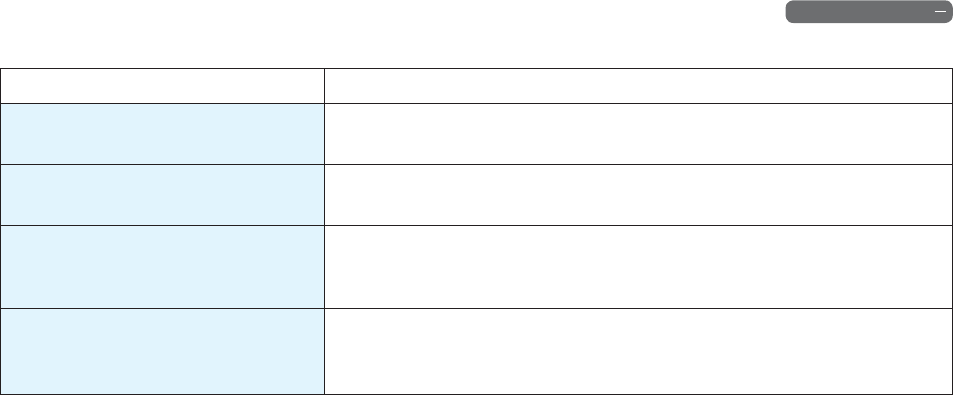
The Warranty period for the product line is as follows:
Parts One (1) Year
Labor One (1) Year
This warranty extends only to you, the original purchaser. It is not transferable to anyone who subsequently purchases, leases, or otherwise obtains the
Product from you. It excludes expendable parts. During the warranty period, Moneual will repair or replace defective hardware with factory refurbished
parts and products. All exchanged parts and Products replaced under this warranty will become the property of Moneual. During the warranty period,
there will be no charge for labor or parts. If, after repeated eorts, Moneual is unable to repair the Product to good working order, you may get a
replacement unit from Moneual, please note the replacement model may not be the exact same model, Moneual will always replace with equal or
better spec Product.
To ensure timely response to a service request, please be sure to register your Product at http://www.moneualusa.com. Within ten (10) calendar days
from the time you purchase the Product, be sure to put in the purchase date, location, and serial number associated with the Product purchase, technical
support will ask for sales receipt or other proof of purchase to determine warranty coverage.
B. Warranty Limitation; Exclusion; Exclusive Remedies
This Limited Warranty does not extend to any Product that has been damaged
1. during or as a result of use other than for its normal intended purpose, failure to use the Product in accordance with the User’s Manual which a
ccompanies it, misuse, abuse, or negligence;
2. by the use of parts not manufactured or sold by Moneual;
3. by modications of the Product;
4. as a result of services by anyone other than Moneual Service Center;
5. improper transportation or packing when returning the Product to Moneual Service Center;
6. unusual physical or electrical stress or interference, failure or uctuation of electrical power, lighting, static electricity, re, natural disasters, or acts of
God.
Some states or provinces do not allow the exclusion or limitation of incidental or consequential damages for consumer products, and some states or
provinces do not allow limitation on how long an implied warranty lasts. In such states and provinces, the exclusion or limitation of this limited warranty
may not apply to you.
This Limited Warranty gives you specic legal rights. You may also have other rights that vary from state to state. You are advised to consult applicable
state or provincial laws for full determination of your rights.
C. Obtaining Carry-In or Mail-In Warranty Services
Subject to the following terms and conditions, you are entitled to mail-in repair service during the applicable warranty period.
1. Prior to obtaining service you must contact the Moneual Customer Service Center at 1-866-399-0600. Please have the model number, serial number,
place of purchase, and date of purchase with the receipt of purchase, please have it ready when you call. The serial number (S/N) and model number
are located on the back/ bottom of the Product.
56
2. Moneual Technical Support will attempt to help you resolve your problem over the telephone. During problem resolution, Moneual will require your
assistance in performing routine diagnostic procedures. If appropriate, Moneual will then issue you a Return Merchandise Authorizations (RMA)
number to be used as a means of identifying the Product.
3. After calling 1-866-399-0600 to obtain a Return Merchandise Authorization number. Mail-In Repair service is available for Products purchased and
located in the continental United States, you are responsible for the shipping charge to ship the Product to the Service Center, Moneual will pay for the
shipping to ship the Product back to you. Product purchased in Canada, Alaska, Hawaii and Puerto Rico, you are responsible for the shipping charges
to and back from the Moneual Service Center.
4. All Mail-In service must take place by returning the Product to the Moneual Service Center. You must prepay any shipping charges, export taxes,
custom duties and taxes or any other charges associated with transporting of the Product to the Moneual Service Center. In addition, you are
responsible for insuring the Product during shipment. You assume the risk of loss during shipment. Moneual is not responsible for loss or damage
during shipping to the Moneual Service Center.
5. Use the original shipping and packing materials and include a description of the symptoms of the problem. If the original shipping and packing
materials and boxes are not available, please make sure the Product is properly packaged and secured inside a shipping container. The Return
Merchandise Authorization (RMA) number must be placed on the exterior of the shipping container. Physical damage that occurred during shipping is
not warranted and not covered by the limited warranty.
6. Include your name and address, proof of the place and date of purchase (from original Sales Receipt), and the serial number and model number of the
Product. The serial number and the model number are located on the back of the Product.
7. Moneual is not responsible for a Product shipped to the Moneual Service Center that is scratched or dented, including but not limited to, scratches,
dents, or is not from normal wear and tear use on the Product, the Product will be repaired or replaced with a similar refurbished Product in similar
condition as the original Product that was returned. Products shipped to the Moneual Service Center with missing parts will be replaced without those
parts. Products that are beyond repair will be replaced with refurbished Products in equal or better spec as the original Product that was returned
should the same model not be available.
8. Cross-shipping. For customers that need the replacement Product as soon as possible to reduce down time and loss productivity, cross-shipping can
be arranged with a Credit Card on le as collateral. The value of the Product will be authorized on the customer’s credit card and held as collateral
upon the shipment of the replacement Product from Moneual Service Center, the amount authorized will be cancelled upon receipt of the defective
Product back from the customer. The same terms and conditions applied to this paragraph (#8) as are stated in paragraph #4-#7. Please see above.
The authorization is valid for 30 days, and will be processed for payment if the defective Product is not received. (Caution for Debit Cards, upon
authorization, the amount may be deducted from your balance, so the use of credit card is strongly suggested).
Additional Information
You may request additional information on how to obtain warranty Services by contacting Moneual or any Moneual Service Center. You may also
request information on how to obtain warranty service or the location of the Moneual Service Provider by calling or contacting:
Moneual Customer Service Center (On Monday – Friday, 9AM – 5PM PST)
Tel: 1-866-399-0600
Outside of USA: (909) 334-7500
e-mail: support@moneual.com
13825 Norton Ave
Chino, CA 91710
Please note:
Warranty is only valid for the Original Owner purchased from an authorized reseller. Second owners or eBay purchase carry no warranty.
All returns, exchanges, refunds, or repairs should be referred back to the origin of purchase.
Proof of purchase (Receipt) will be required for warranty services.
Gebruikershandleiding.com neemt misbruik van zijn services uitermate serieus. U kunt hieronder aangeven waarom deze vraag ongepast is. Wij controleren de vraag en zonodig wordt deze verwijderd.
Product:
Spelregels forum
Om tot zinvolle vragen te komen hanteren wij de volgende spelregels:
lees eerst de handleiding door;
controleer of uw vraag al eerder door iemand anders is gesteld;
probeer uw vraag zo duidelijk mogelijk te stellen;
heeft u een probleem en al geprobeerd om dit op te lossen, vermeld dit erbij aub;
heeft u een oplossing gekregen van een bezoeker dan horen wij dat graag in dit forum;
wilt u een reactie geven op een vraag of antwoord, gebruik dan niet dit formulier maar klik op de knop 'reageer op deze vraag';
uw vraag wordt direct op de website gezet; vermijd daarom persoonlijke gegevens in te vullen;
Belangrijk! Als er een antwoord wordt gegeven op uw vraag, dan is het voor de gever van het antwoord nuttig om te weten als u er wel (of niet) mee geholpen bent! Wij vragen u dus ook te reageren op een antwoord.
Belangrijk! Antwoorden worden ook per e-mail naar abonnees gestuurd. Laat uw emailadres achter op deze site, zodat u op de hoogte blijft. U krijgt dan ook andere vragen en antwoorden te zien.
Abonneren
Abonneer u voor het ontvangen van emails voor uw Moneual RYDIS Hybrid H67 Pro bij:
nieuwe vragen en antwoorden
nieuwe handleidingen
U ontvangt een email met instructies om u voor één of beide opties in te schrijven.
Ontvang uw handleiding per email
Vul uw emailadres in en ontvang de handleiding van Moneual RYDIS Hybrid H67 Pro in de taal/talen: Engels als bijlage per email.
De handleiding is 5,81 mb groot.
U ontvangt de handleiding per email binnen enkele minuten. Als u geen email heeft ontvangen, dan heeft u waarschijnlijk een verkeerd emailadres ingevuld of is uw mailbox te vol. Daarnaast kan het zijn dat uw internetprovider een maximum heeft aan de grootte per email. Omdat hier een handleiding wordt meegestuurd, kan het voorkomen dat de email groter is dan toegestaan bij uw provider.
Stel vragen via chat aan uw handleiding
Stel uw vraag over deze PDF
Uw handleiding is per email verstuurd. Controleer uw email
Als u niet binnen een kwartier uw email met handleiding ontvangen heeft, kan het zijn dat u een verkeerd emailadres heeft ingevuld of dat uw emailprovider een maximum grootte per email heeft ingesteld die kleiner is dan de grootte van de handleiding.
Er is een email naar u verstuurd om uw inschrijving definitief te maken.
Controleer uw email en volg de aanwijzingen op om uw inschrijving definitief te maken
U heeft geen emailadres opgegeven
Als u de handleiding per email wilt ontvangen, vul dan een geldig emailadres in.
Uw vraag is op deze pagina toegevoegd
Wilt u een email ontvangen bij een antwoord en/of nieuwe vragen? Vul dan hier uw emailadres in.