21
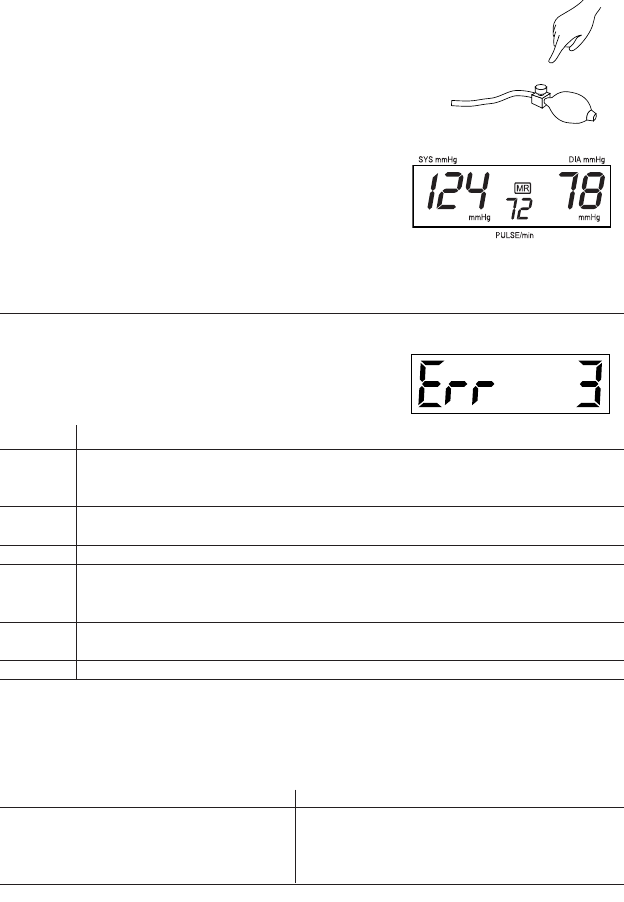
Dysfonctionnement Mesure correctrice
Rien ne s’affiche alors que l’appareil a été mis
en marche et que les piles sont en place.
La pression du brassard n’augmente pas,
bien que la pompe fonctionne.
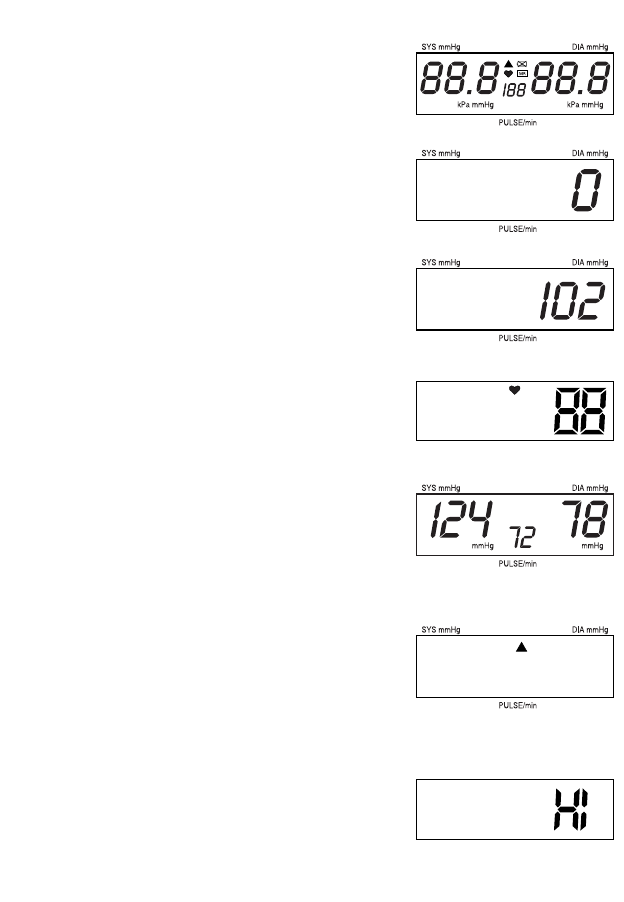
Le tensiomètre ne parvient pas à mesurer la
pression artérielle ou les valeurs mesurées
sont trop basses (ou trop élevées).
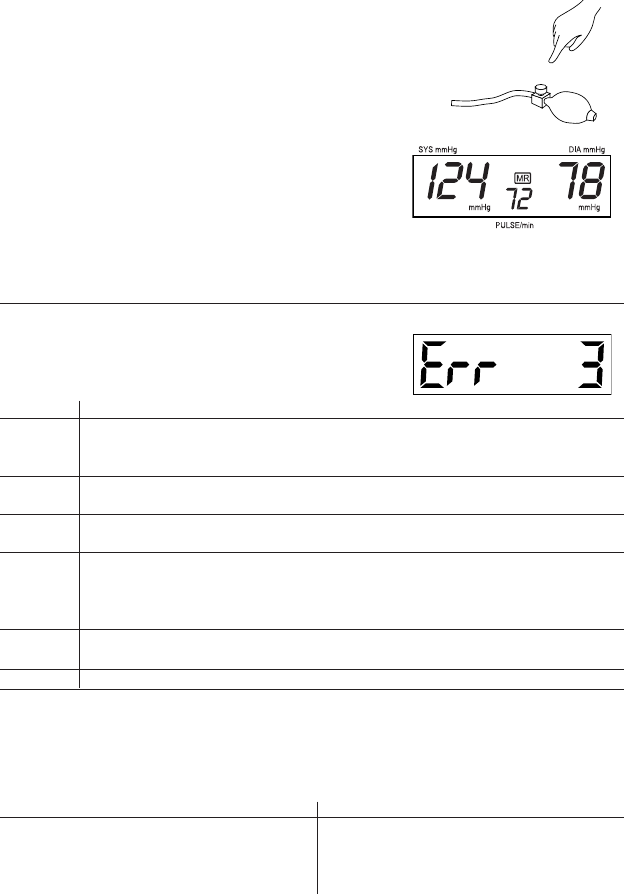
Tous les résultats des mesures sont différents
bien que l’appareil fonctionne normalement et
que les valeurs s’affichent normalement.
Les valeurs de tension mesurées diffèrent de
celles mesurées par le médecin.
☞ Renseignements complémentaires:
Le niveau de la tension est soumis à des variations même chez une personne en bonne santé. Il est donc
important pour pouvoir comparer les mesures qu’elles soient prises dans les mêmes conditions
(au calme)! Si vous avez des problèmes techniques avec le tensiomètre, adressez-vous à votre fournisseur
ou à votre pharmacien. N’essayez jamais de réparer vous-même l’appareil! Si l’appareil est ouvert
sans autorisation, vous perdez tout droit à garantie!
7. Entretien et réétalonnage
a) N’exposez l’appareil ni à des températures extrêmes, ni à l’humidité, ni à la poussière, ni directement
à la lumière du soleil.
b) Le brassard contient une poche hermétique sensible. Manipulez-le avec précaution et évitez de le
déformer de quelque façon que ce soit en le tordant ou en le pliant.
c) Nettoyez l’appareil avec un chiffon sec et doux. N’utilisez ni essence, ni diluants, ni solvants. Les
taches sur le brassard peuvent être enlevées avec précaution à l’aide d’un chiffon humide et de l’eau
savonneuse. Ne pas laver le brassard!
d) Manipulez le tuyau du brassard avec soin. Ne tirez pas dessus. Ne le nouez pas et ne le placez pas sur
des bords coupants.
e) Ne laissez pas tomber l’appareil et épargnez lui les autres types de choc. Evitez les fortes secousses.
f) Ne jamais ouvrir l’appareil! Cela rendrait sans valeur l’étalonnage effectué par le fabricant.
Réétalonnage périodique
La précision des appareils de mesure sensibles doit être vérifiée de temps en temps. Nous recommandons
donc de faire une vérification périodique de l’affichage de la tension statique tous les 2 ans.
Votre fournisseur spécialisé vous donnera volontiers plus d’informations à ce sujet.
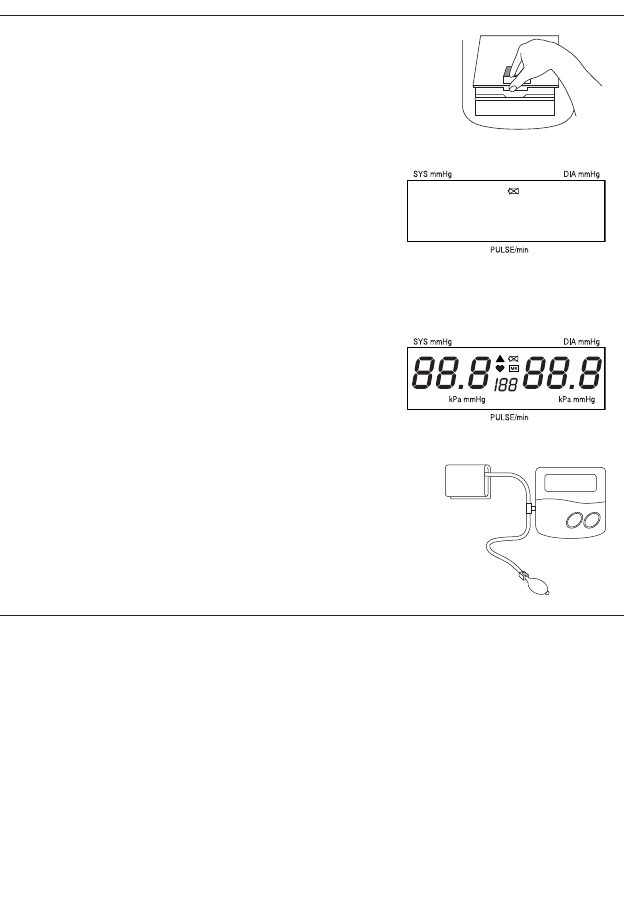
1. Vérifiez la bonne polarité des piles et
replacezles correctement si nécessaire.
2. Si l’affichage est anormal, réinsérez les piles ou
changez-les.
• Vérifiez la connexion du tuyau du brassard et
branchez correctement celui-ci si nécessaire.
1. Installez correctement le brassard sur le bras.
2. Avant de commencer la mesure, assurez-vous
que le brassard n’est pas trop serré et qu’il n’y a
pas de manche roulée exerçant une pression sur
le bras au-dessus de l’emplacement de mesure.
Enlevez le vêtement concerné si nécessaire.
3. Procédez à une nouvelle mesure de la tension
en situation de repos total.
• Veuillez prêter attention à l’information cidessous
et aux points énumérés au chapitre «Sources
d’erreur fréquentes» et répéter la mesure.
• Notez l’évolution quotidienne des valeurs et
consultez votre médecin à ce sujet.