Parts Listing
Getting the telescope ready for first observations requires only a few minutes. When
first opening the packing box, note carefully the following parts:
LX200-ACF Telescope with fork mount system
AutoStar II handbox and interface coil cord; handbox holder
8 x 50mm viewfinder assembly
Eyepiece holder and 1.25" diagonal prism
Series 4000 26mm Super
Plössl
eyepiece, in a plastic storage container
Variable height tripod and mounting base (12" and 14" models only: Giant
variable tripod)
Set of hex keys
Note: The LX200 ACF 8", 10", 12" and 14" models are equipped with Series 4000
26mm Super Plössl eyepiece and a 1.25" Diagonal. The LX200 ACF 16" model
is equipped with Series 5000 26mm 5-element Super Plössl eyepiece, 2"
Diagonal and the Zero Image-Shift Microfocuser.
How to Assemble Your Telescope
Assembly of the LX200-ACF telescope requires eight C-cell (user-supplied) batteries or
the optional #547 Power Adapter with Cable connected to a standard 115v home outlet
or to an optional #607 Cigarette Lighter Adapter (see
OPTIONAL ACCESSORIES, page
44). Plug an adapter into the 12vDC In port of the computer control panel (Fig. 1, 13B).
1. Position the telescope: Start by turning the Dec. lock (Pg. 7, Fig. 1, 17)
counterclockwise to unlock the the optical tube (Fig. 1, 19). Next, move the optical
tube through the fork arms to the position depicted in Fig. 1 and turn the Dec. lock
clockwise to a firm feel to relock the position of the optical tube.
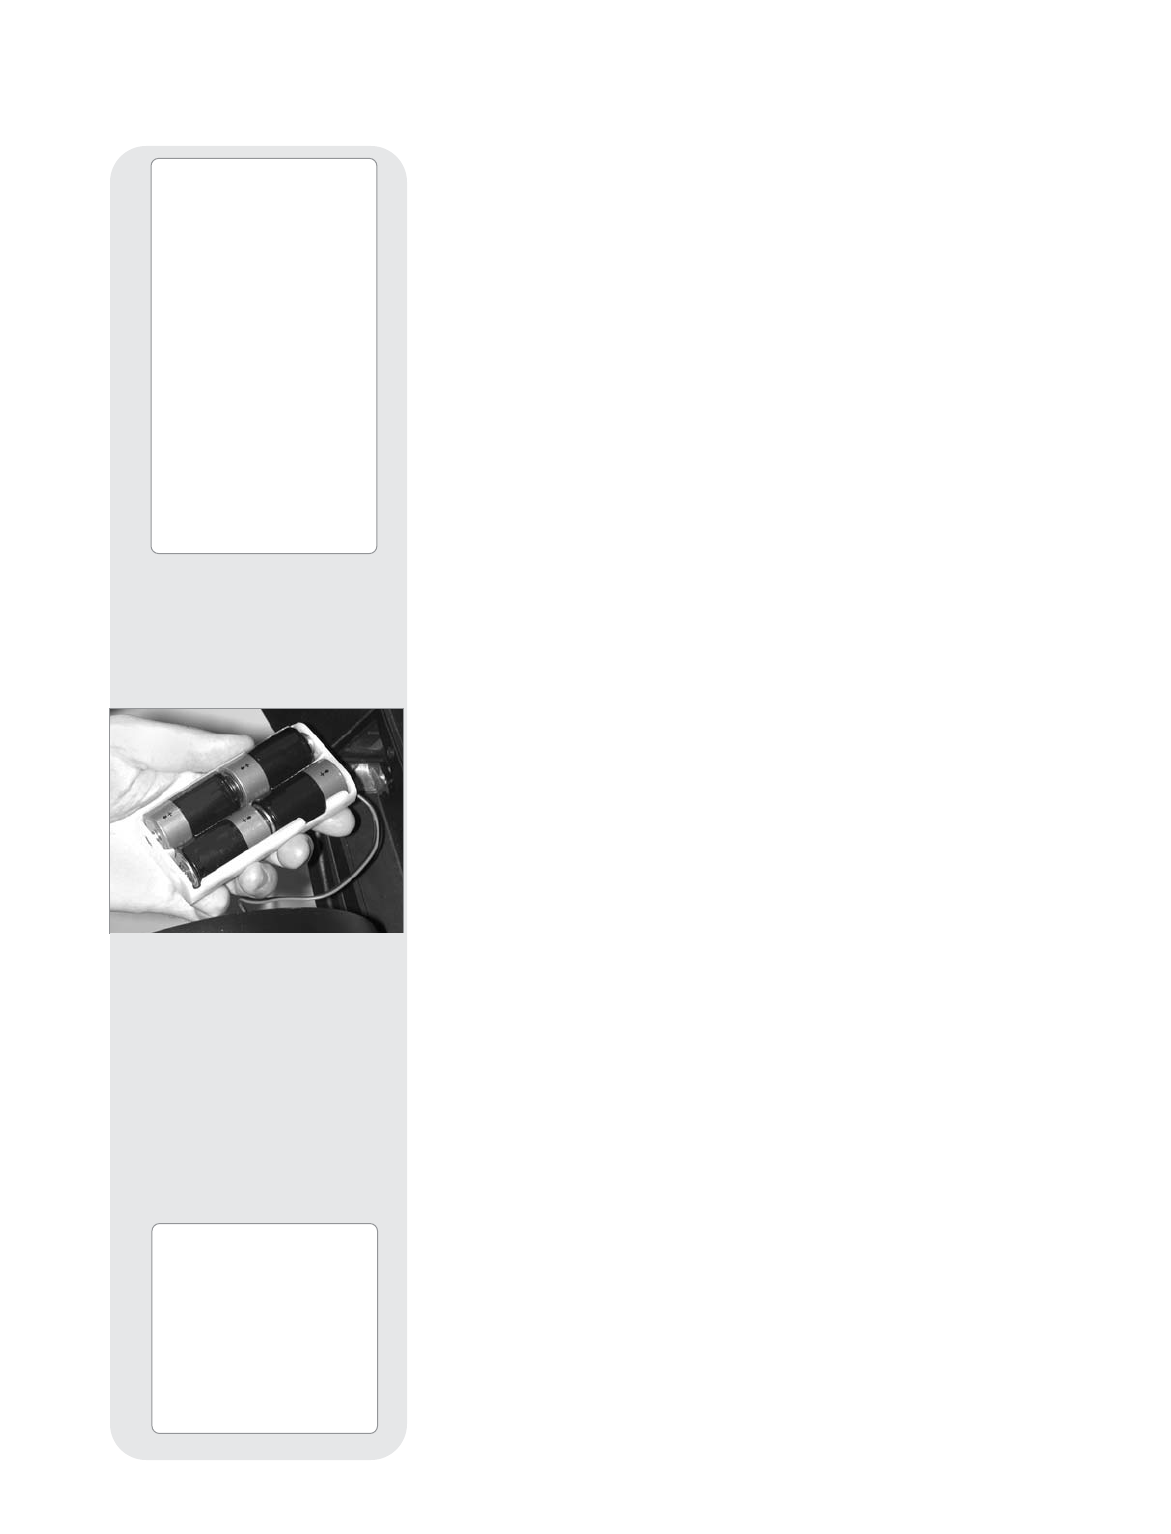
2. Install batteries: Remove the battery compartment covers (Fig. 1, 8) and
carefully remove the battery holders, being mindful of the connector wires. Insert
four user-supplied C-cell batteries into each battery holder, oriented as shown on
the diagram on the battery slots inside the battery holder. Return the battery
holders to their respective compartments and replace the covers. (See
Fig. 5, pg. 14)
3. Plug in the AutoStar II handbox: Be certain that the power switch on the
computer control panel (Fig. 1, 13A) is in the OFF position. Plug the coil cord of
the AutoStar II handbox into the HBX port (Fig. 1, 13F
).
Note: The AutoStar II handbox and the microfocuser do not require
batteries; the telescope supplies their power.
4. Remove the dust cap from the rear cell of the telescope. Thread the eyepiece
holder into the rear cell thread. Slide the diagonal prism into the eyepiece holder
and lock in place by turning the thumbscrew to a firm feel.
5. Remove the Super Plössl 26mm eyepiece: (Fig. 1, 1) from its container and
place it in the diagonal prism (Fig. 1, 3). Tighten the thumbscrew (Fig. 1, 2) to a
firm feel only.
LX200ACF 16" Models Only:
4a. Attach microfocuser: Remove the dust cap from the rear cell port (Fig. 1, 5) of
the telescope. Thread the microfocuser adapter (Pg. 14, Fig. 8, B) onto the rear
cell port thread. Slide the microfocuser (Fig. 8, C) over the microfocuser adapter
and tighten the 3 hex screws (Fig. 8, K) using the provided hex key.
5a. Attach Diagonal (or accessories)
1.25" Diagonal Prism Users: If using the 1.25" diagonal prism (Fig. 8, G),
slide the 1.25" adapter (Fig. 8, D) into the microfocuser. Line up the
thumbscrew into the groove in the microfocuser (Pg. 14, Fig. 5a and 5b).
Tighten the microfocuser thumbscrews (Fig. 8, I) to a firm feel only. Slide the
1.25" diagonal prism into the adapter (Fig. 8, D). Tighten the accessory adapter
thumbscrew (Fig. 8, H) to a firm feel only.
GETTING STARTED
Caution:
Use care to install batteries
as indicated by the battery
compartment. Follow
battery manufacturer’s
precautions. Do not install
batteries backwards or mix
new and used batteries. Do
not mix battery types. If
these precautions are not
followed, batteries may
explode, catch fire, or leak.
Improperly installed
batteries void your Meade
warranty. Always remove
the batteries if they are not
to be used for a long
period of time.
Fig. 3: Battery installation.
Tip:
Although you can set up
the telescope to face any
direction to perform
Automatic Alignment, you
will achieve optimal
performance when the
computer control panel
faces South.
- 13 -