Contents
Pause.....................11
Stop. . . . . . . . . . . . . . . . . . . . . . 11
/ 11
11
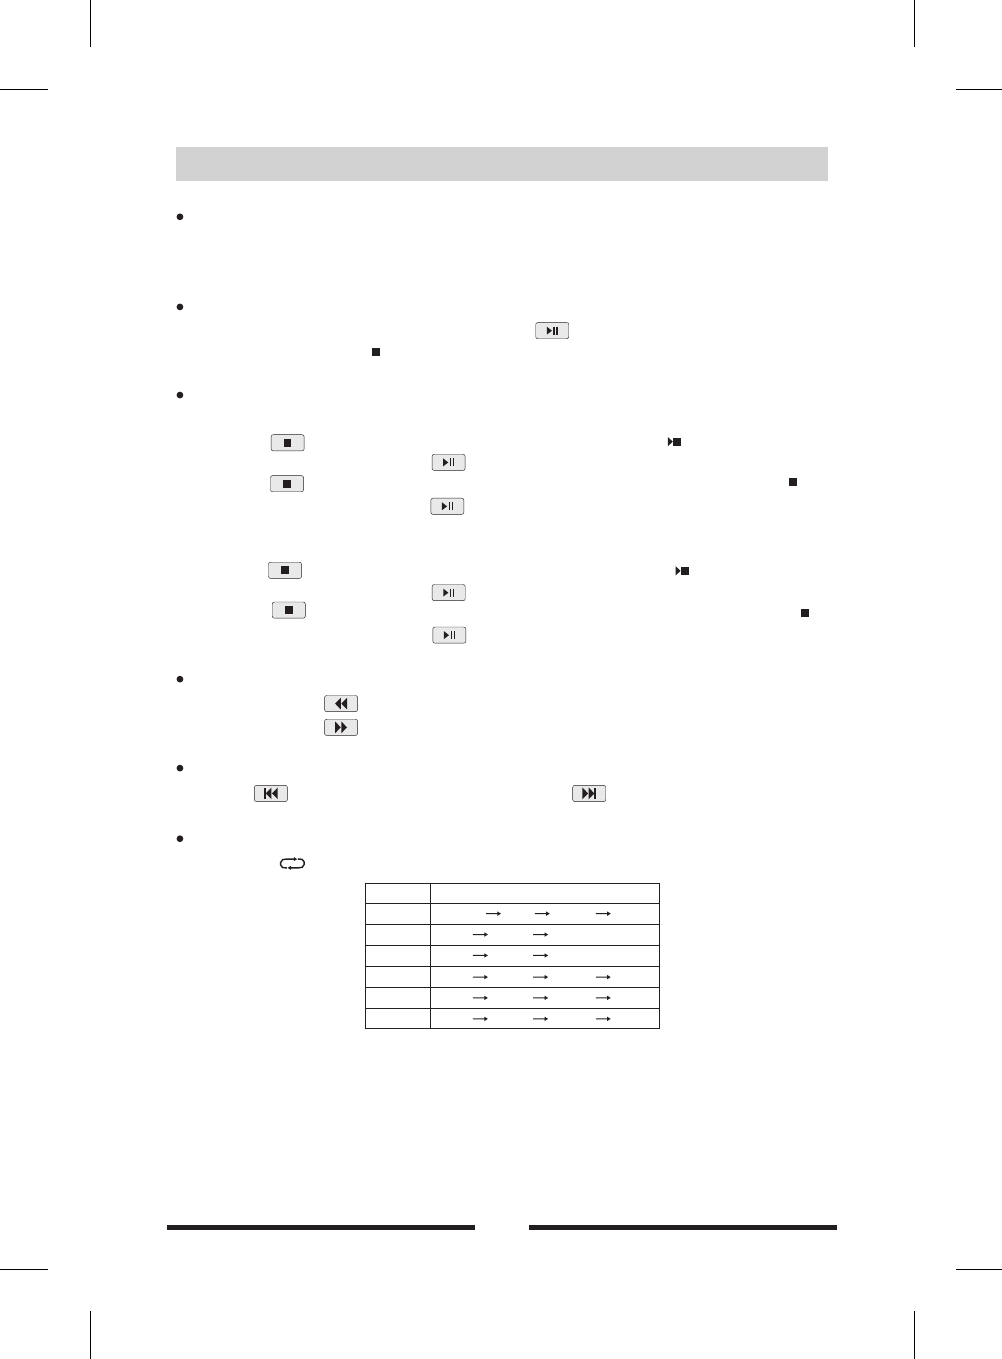
Repeat playback 11
Repeat A-B 12
Random playback 12
DVD menu/title............. 12
Select audio channel........ 12
Select subtitle language...... 12
PBC function. . . . . . . . . . . . . . 12
Select a particular file. . . . . . . . 13
Playback information. . . . . . . . .14
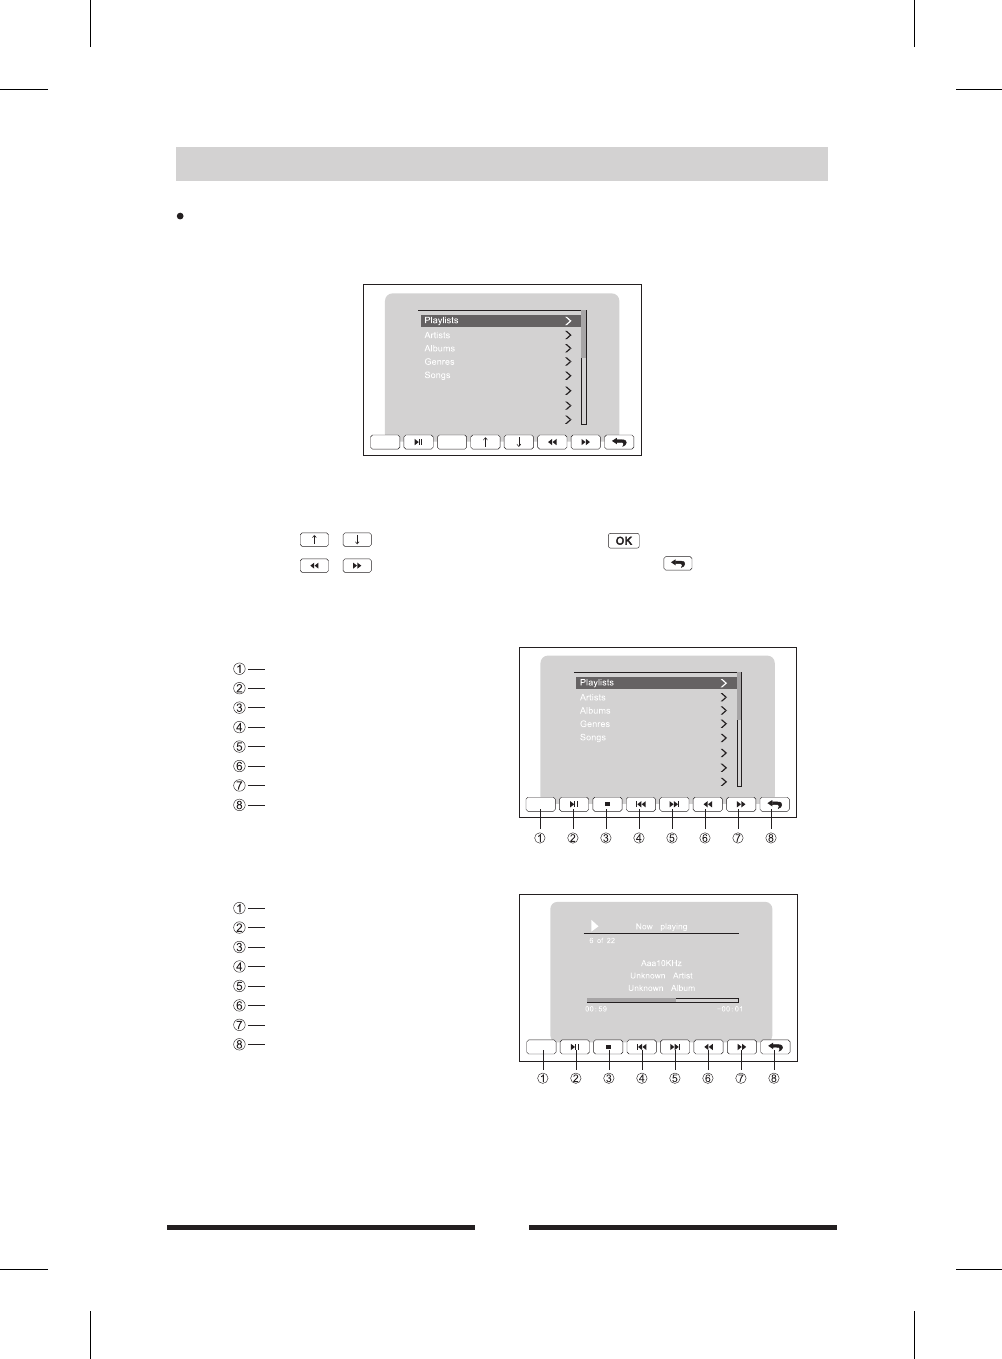
USB mode
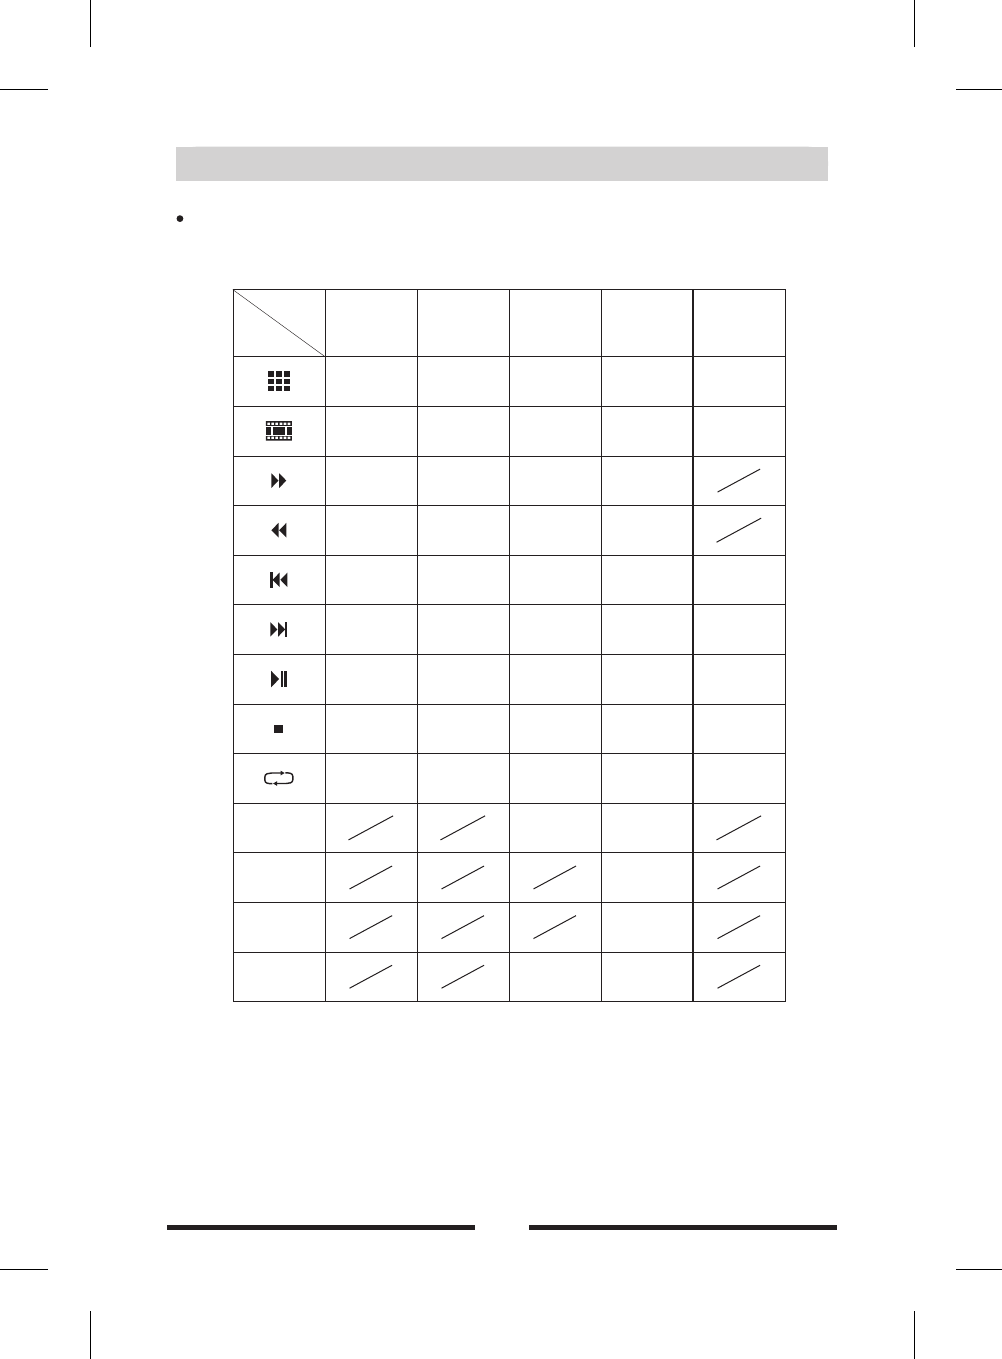
Onscreen control icons. . . . . . .15
Pause.....................15
Stop. . . . . . . . . . . . . . . . . . . . . . 15
Fast forward/reverse. . . . . . . . . 15
... 15
Repeat playback............ 15
Random playback........ . . . 15
Zoom in/out................ 15
Playback information display.. 16
Rotate picture.............. 16
Search for p articular file...... 16
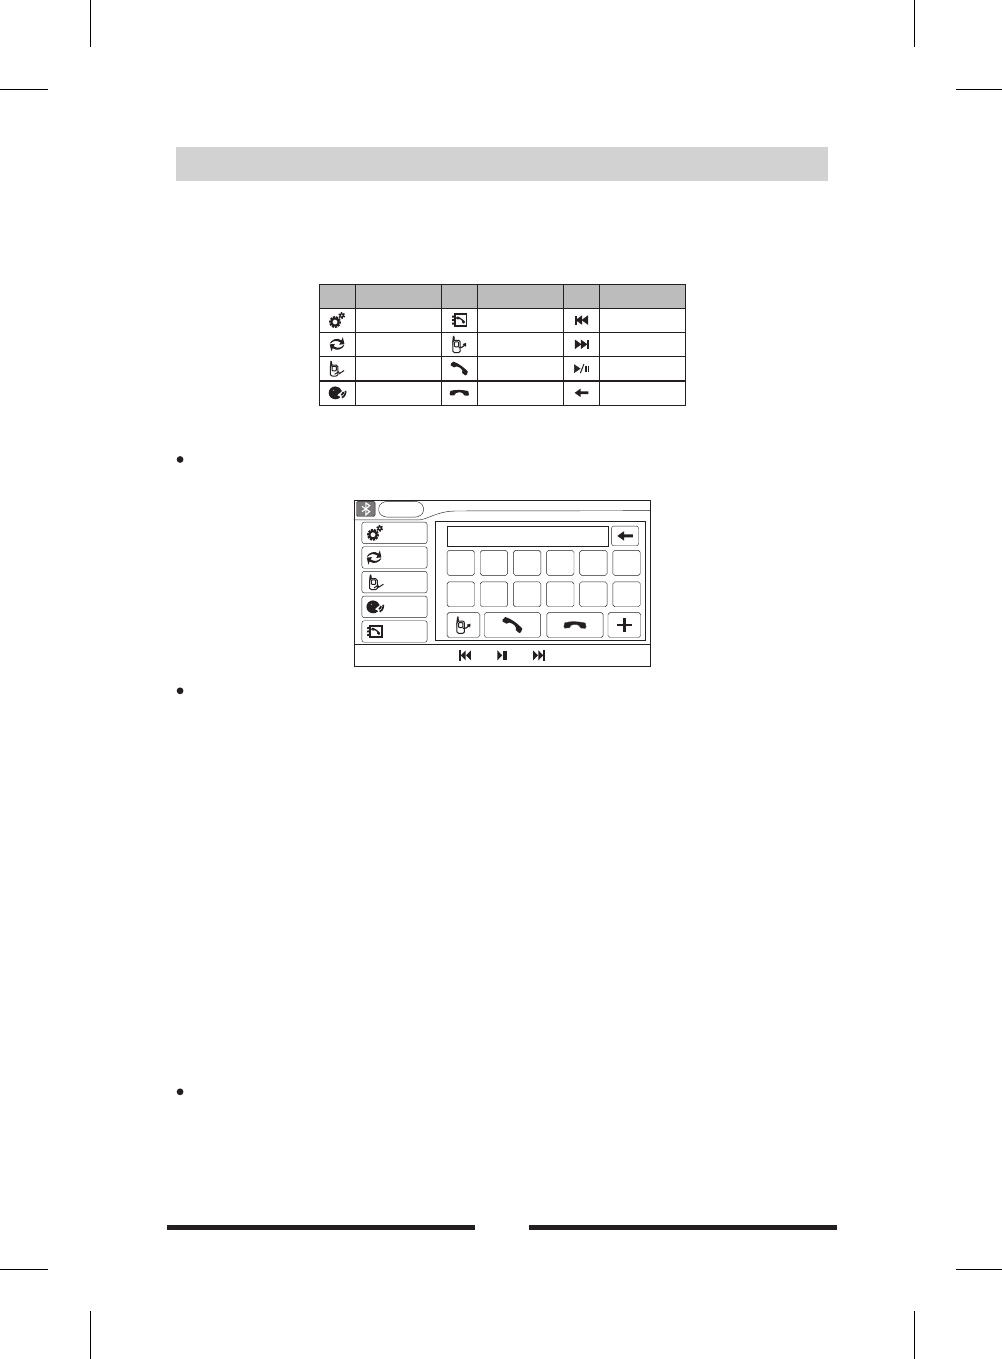
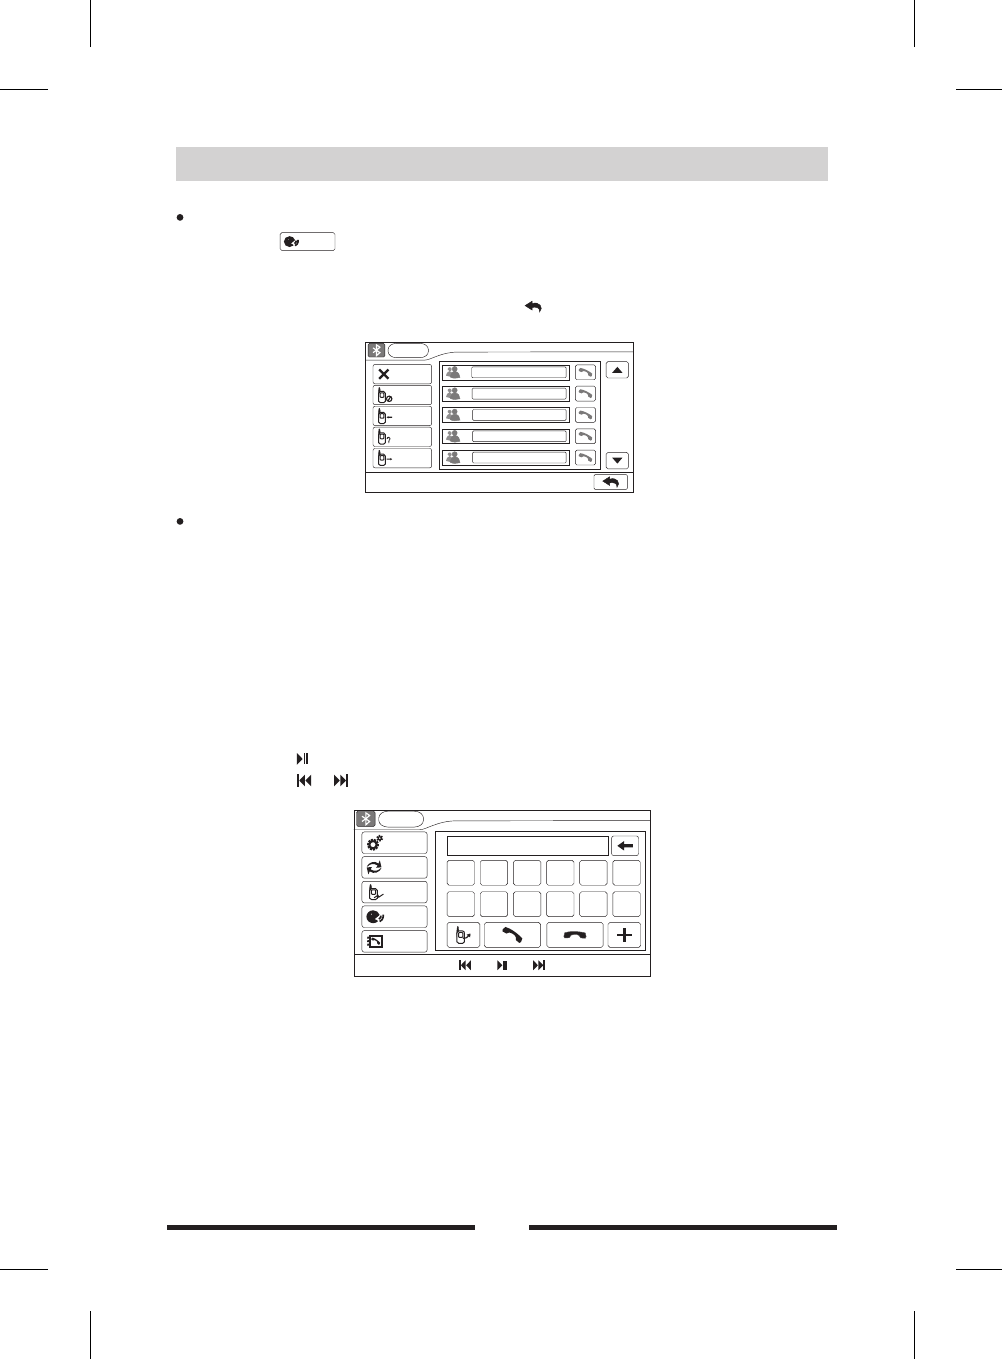
Bluetooth mode
Select Bluetooth mode........17
Pairing. . . . . . . . . . . . . . . . . . . . 17
Searching................. 17
Auto answer............... 18
................ 18
Fast rewind Fast forward. . . . .
Play the next or previous file...
............
................
..........
Play the next or previous file
Make a call
Before using
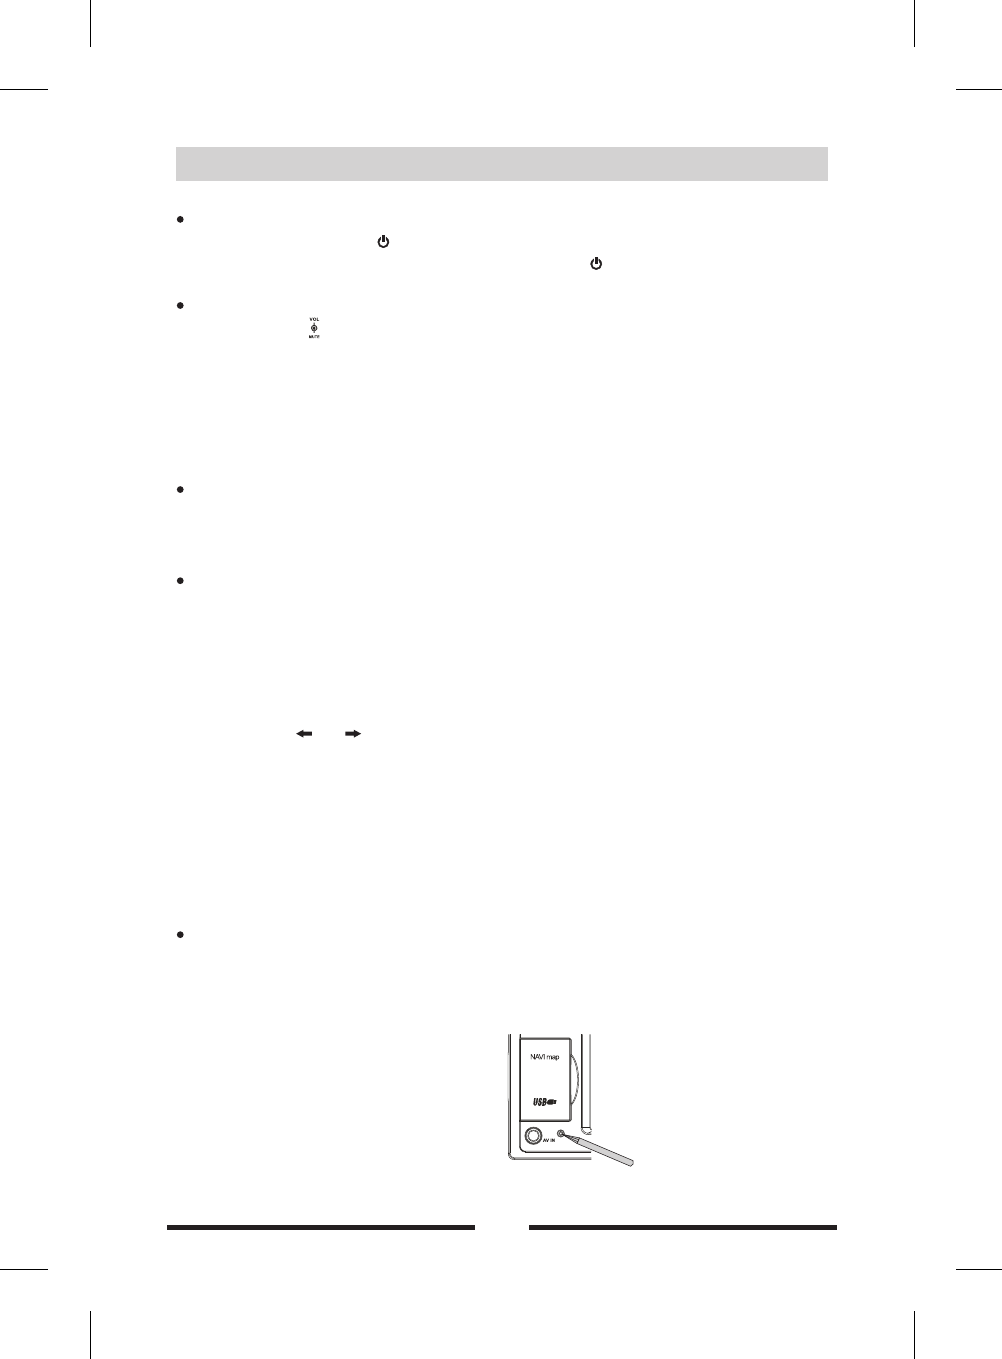
Front panel 01
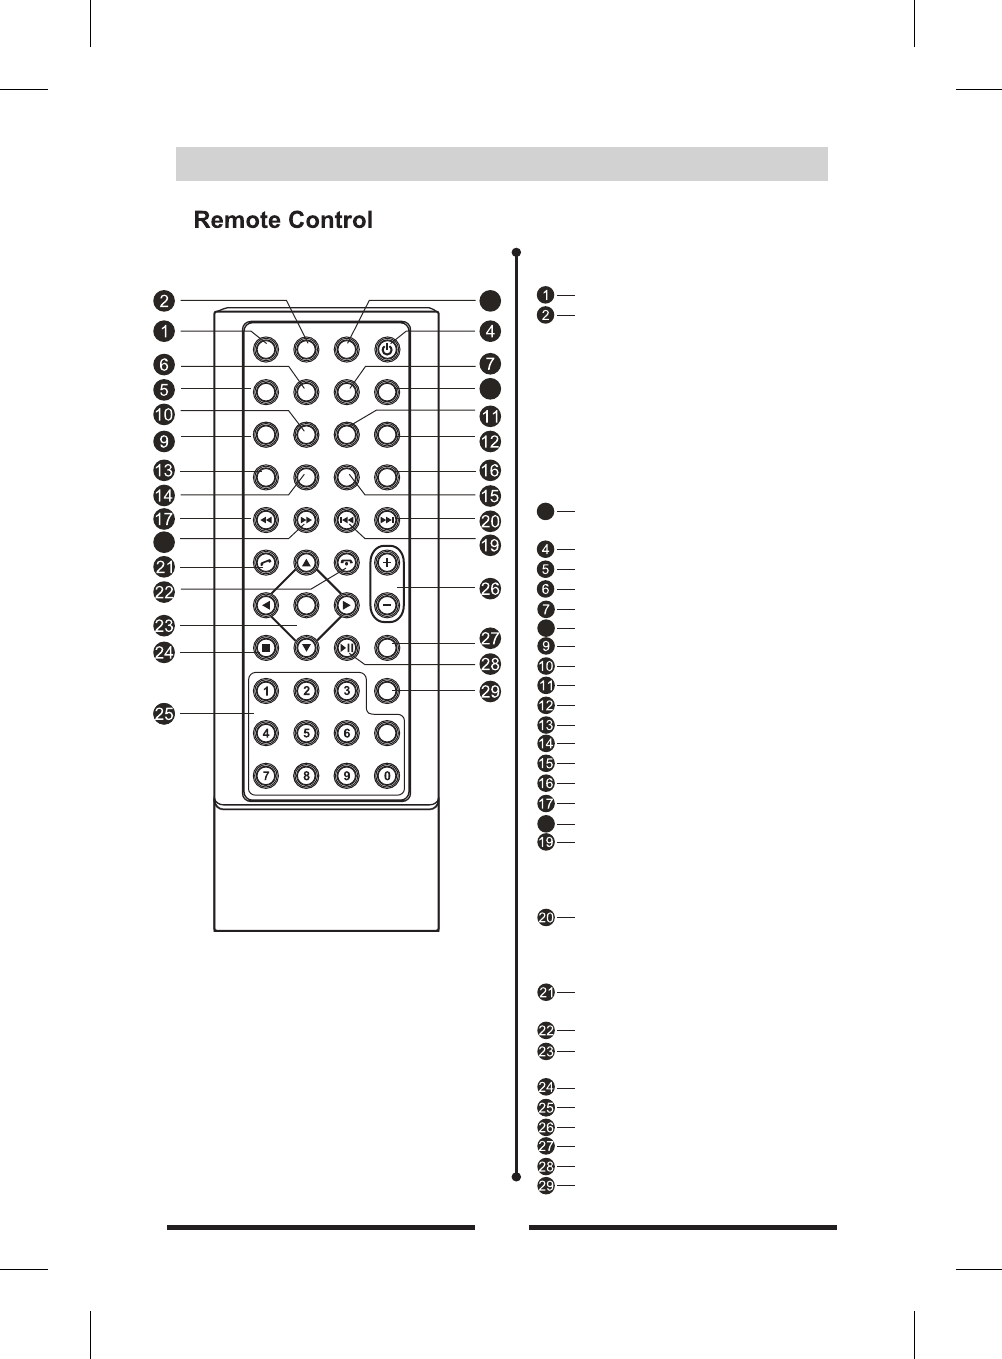
Remote control............. 02
Basic operations
Power on/off................04
MUTE. . . . . . . . . . . . . . . . . . . . .04
Adjust the volume...........04
Main menu/Source menu
and selection...............04
Reset the unit. . . . . . . . . . . . . . .04
Radio mode
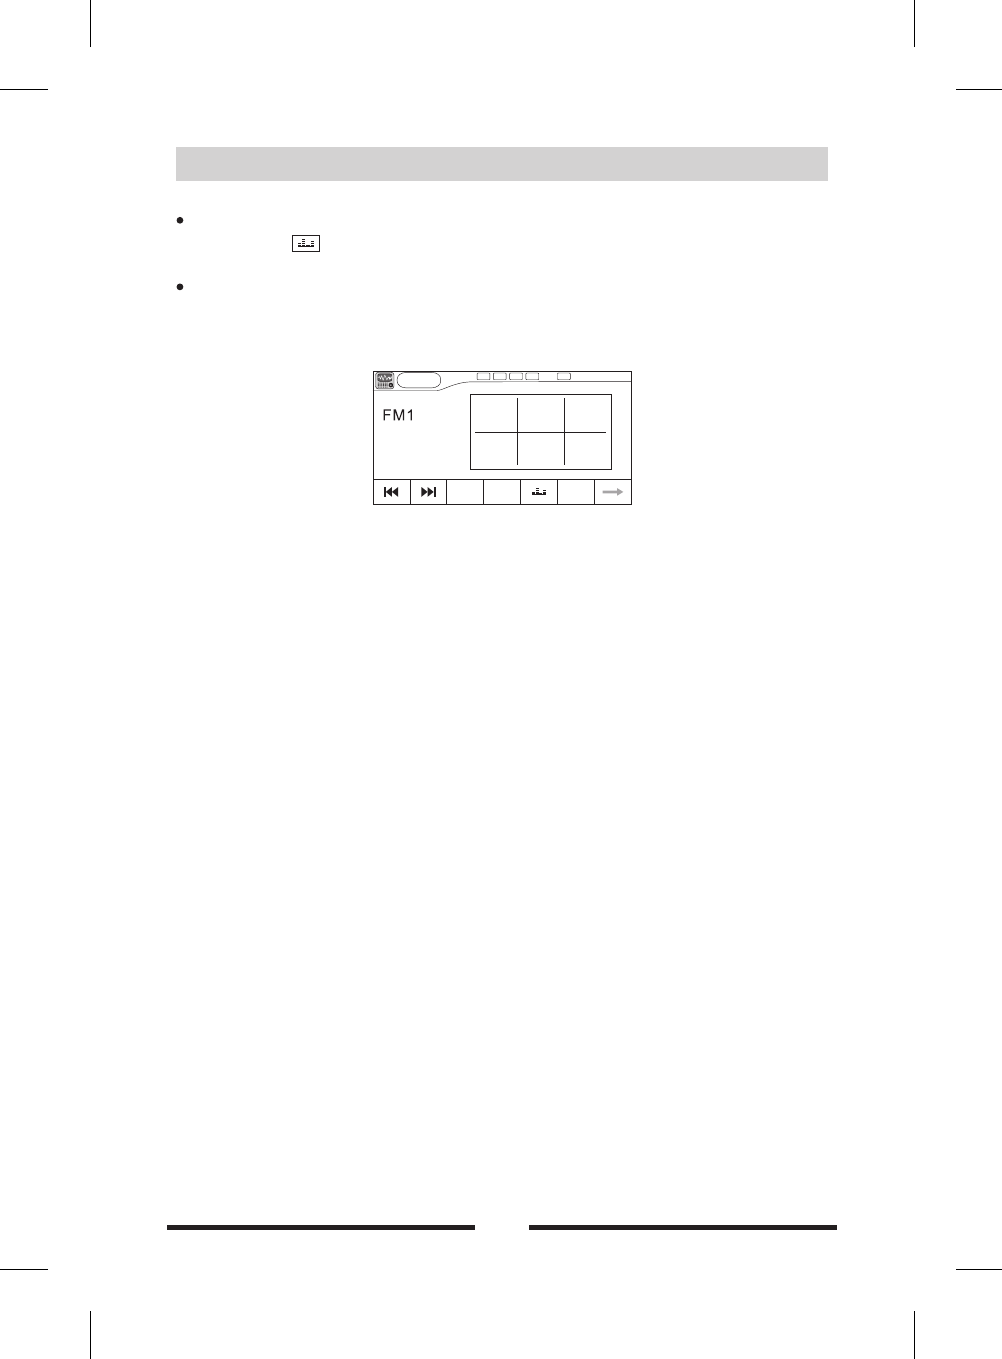
Select radio mode........... 05
Select band................ 05
Auto tuning.................05
Manual tuning.............. 05
Auto save. . . . . . . . . . . . . . . . . 05
Manual save............... 05
Local seeking...............05
EQ selection. . . . . . . . . . . . . . . .06
Recall the preset stations..... 06
mode
................
.................
...............
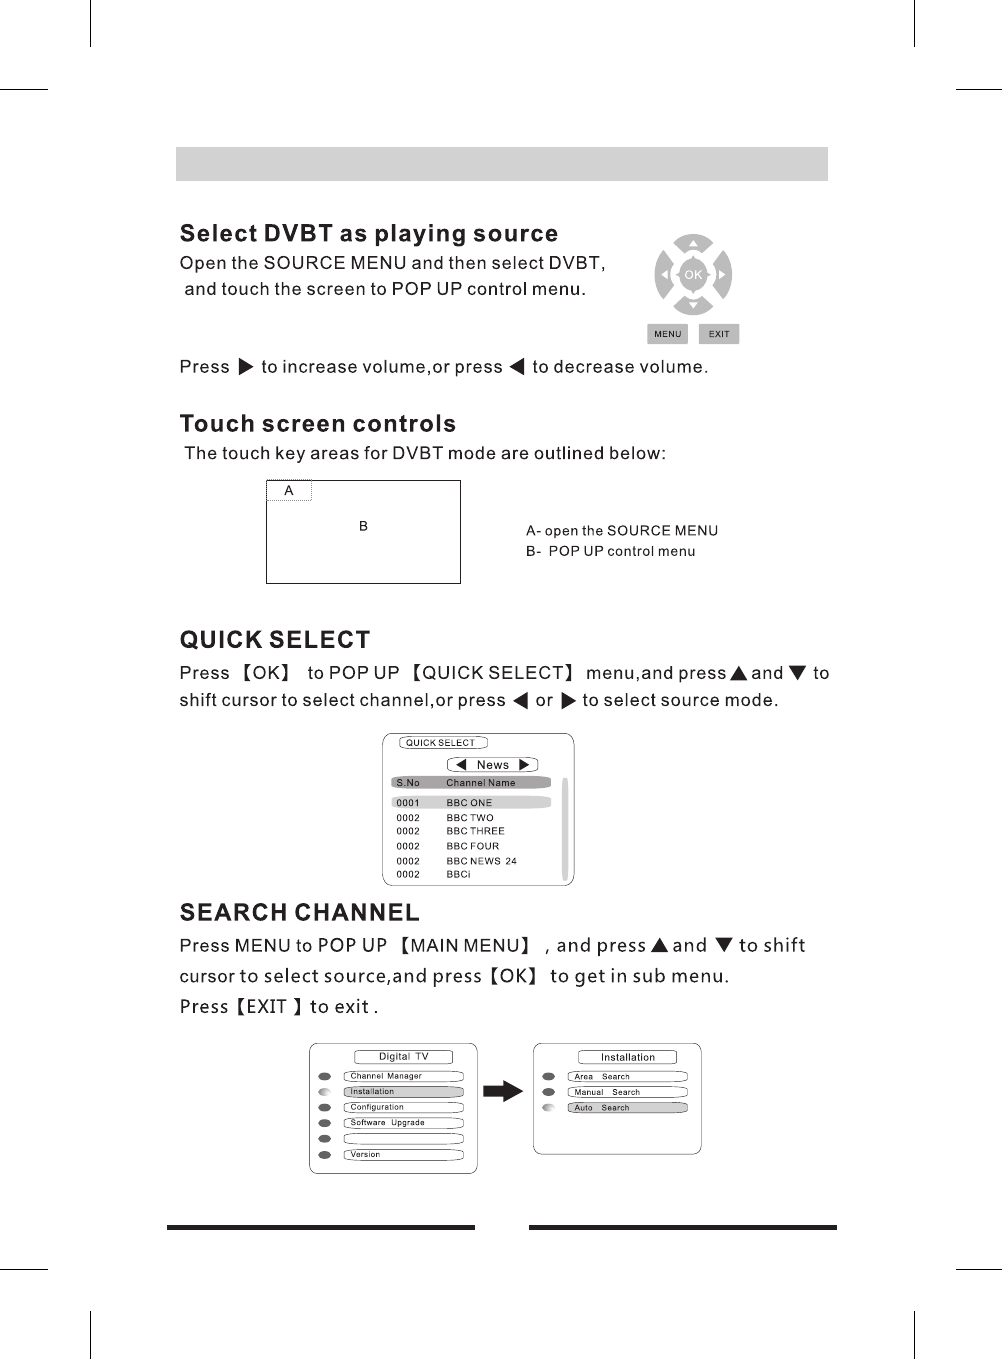
Disc Mode
Insert a disc................ 08
Eject the disc... . . . . . . . . . . . . 08
Touch screen controls....... 08
Onscreen control icons.. . . . . . 09
Play. . . . . . . . . . . . . . . . . . . . . . 11
................
RDS
AF function 07
TA function 07
PTY function 07