


-
ik kan de klank niet meer aanzetten, wat kan ik doen Gesteld op 1-6-2024 om 21:25
Reageer op deze vraag Misbruik melden -
Kan mijn pc niet meer verbinden met mijn tv niettegenstaande deze is verbonden met een nieuwe kabel Gesteld op 30-12-2021 om 12:47
Reageer op deze vraag Misbruik melden -
Kan geen verbinding krijgen tussen mijn pc en tv die is aangesloten met een kabel Gesteld op 30-12-2021 om 12:36
Reageer op deze vraag Misbruik melden -
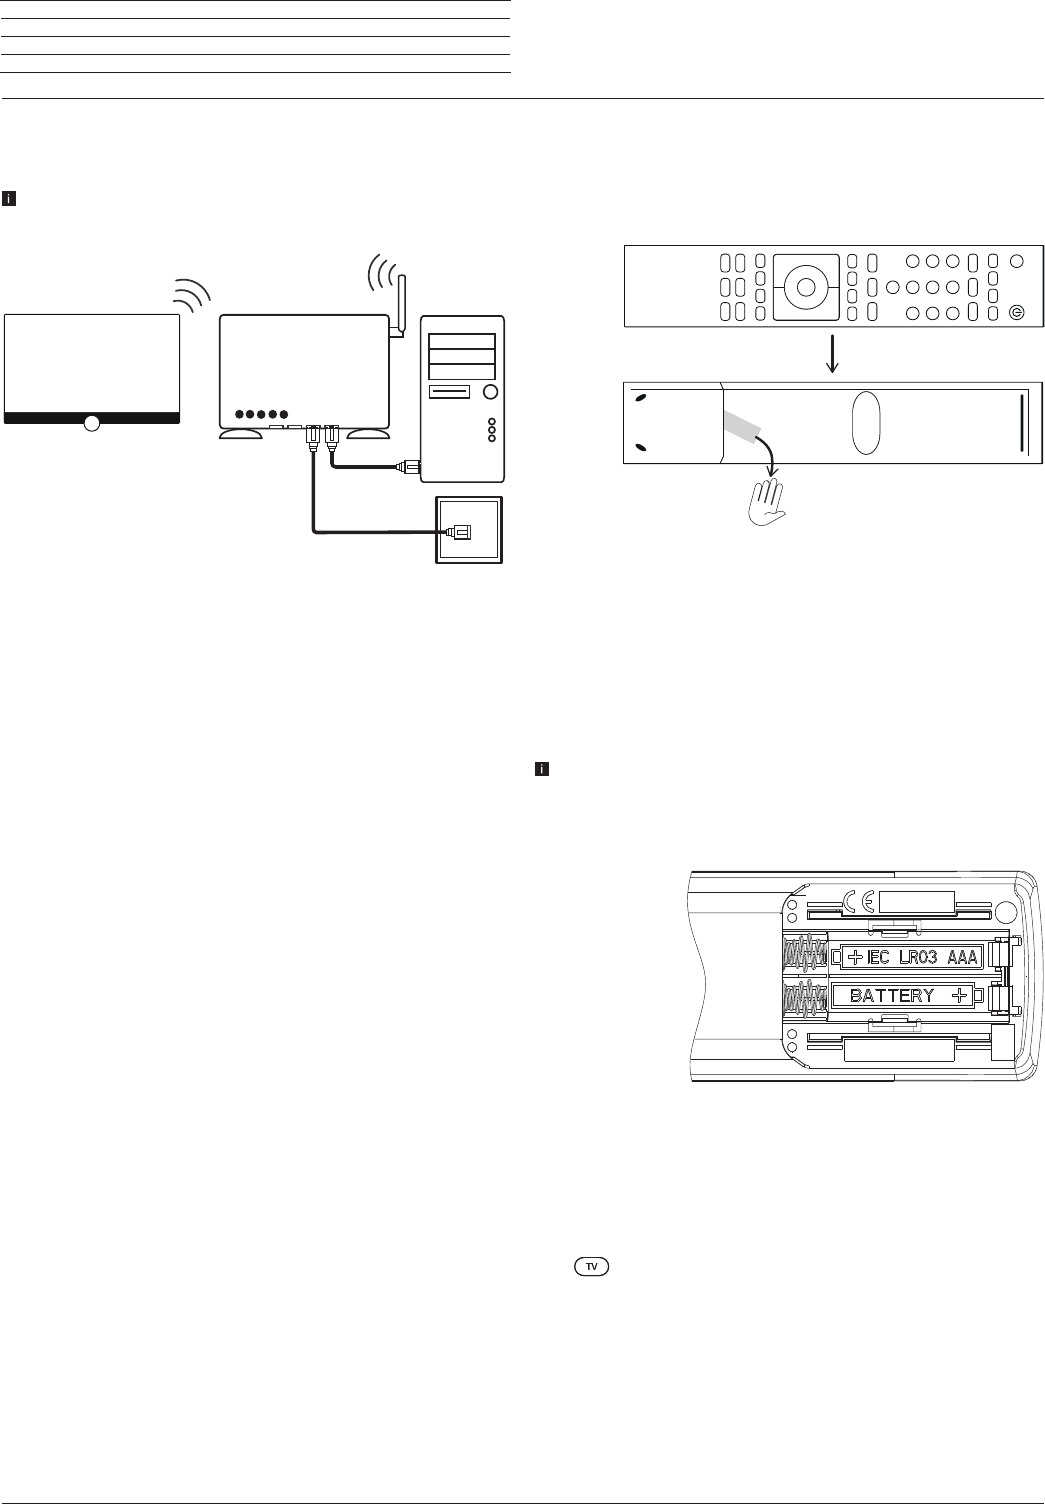
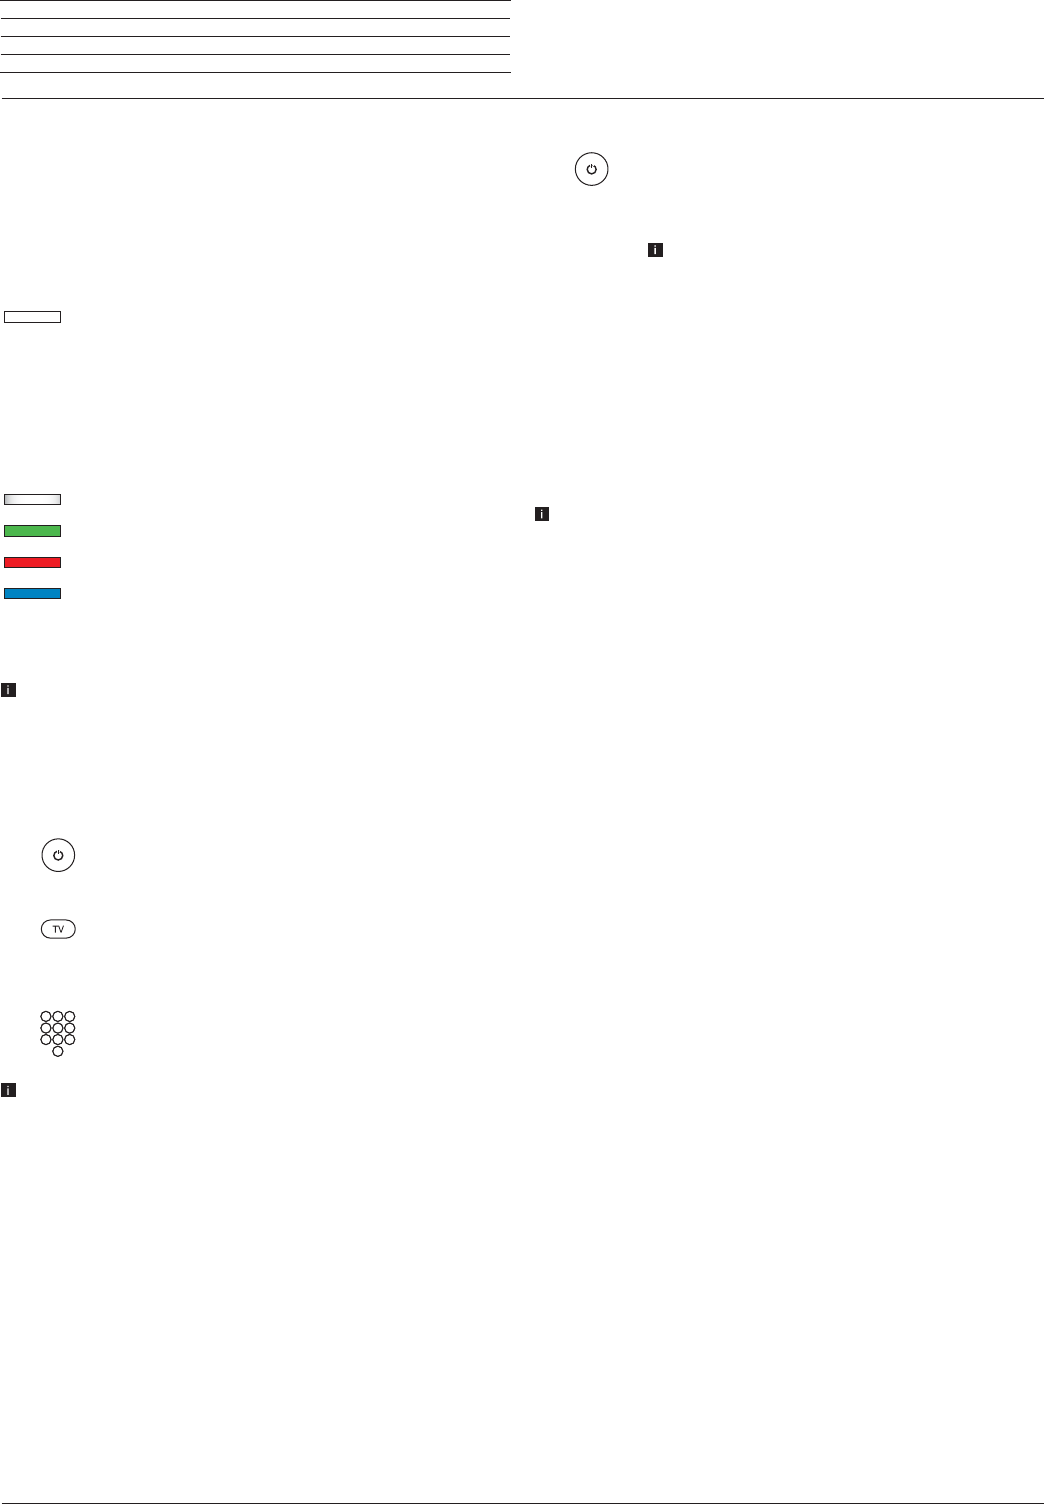
Met de afstandsbediening krijg ik geen contact met t.v. lampje van afstandsbediening knippert wel als ik op een zender druk. batterijen al vervangen. stekker uit de stopcontact gehaald, aan en uit knop boven ook geprobeerd.
Reageer op deze vraag Misbruik melden
Soms denk je even dat de t.v. het signaal oppakt, dan blijft het witte knipperlichtje hangen, maar begint daarna weer vrolijk verder te knipperen. Gesteld op 30-8-2021 om 19:50 -
Als de tv wordt ingeschakeld op kanaal 1 kan niet worden doorgeschakeld naar een andere zender zonder de tv uit te zetten en helemaal opnieuw op te starten Gesteld op 15-8-2021 om 21:45
Reageer op deze vraag Misbruik melden -
aan en uit knoop knippert kan tv niet aanzetten wat is de reden hiervan Gesteld op 13-2-2021 om 09:19
Reageer op deze vraag Misbruik melden
-
Ik heb nu een andere Wifi modum. Hoe kan ik dit veranderen nu staat er Asus. Ik kan dit nergens weghalen en Ziggo invullen? Gesteld op 11-2-2021 om 17:46
Reageer op deze vraag Misbruik melden -
mijn TV toestel een Loewe bild 3 is na vier uur automatisch uitgeschakeld
Reageer op deze vraag Misbruik melden
hoe krijg mijn toestel weer ingeschakeld ?? Gesteld op 2-2-2021 om 22:04 -
Hoe kan ik de ondertiteling tijdens een programma aan zetten? Gesteld op 31-1-2021 om 20:16
Reageer op deze vraag Misbruik melden -
Groen licht brandt nadat ik hem gisteren nochtans uit gedaan heb Gesteld op 25-1-2021 om 10:40
Reageer op deze vraag Misbruik melden -
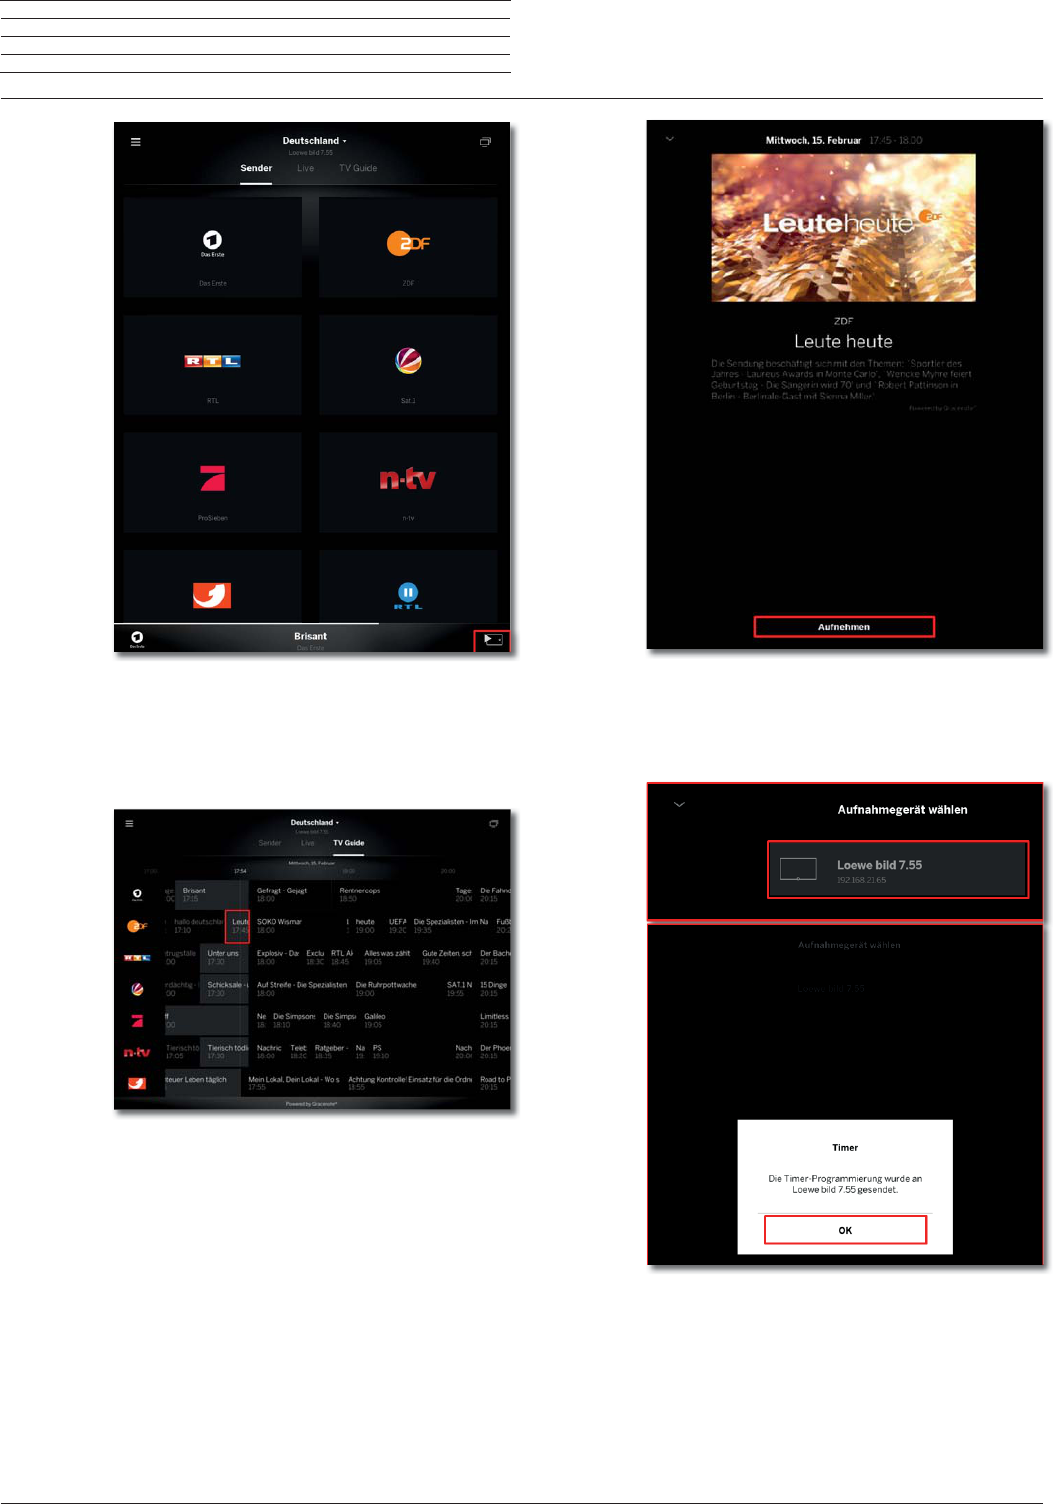
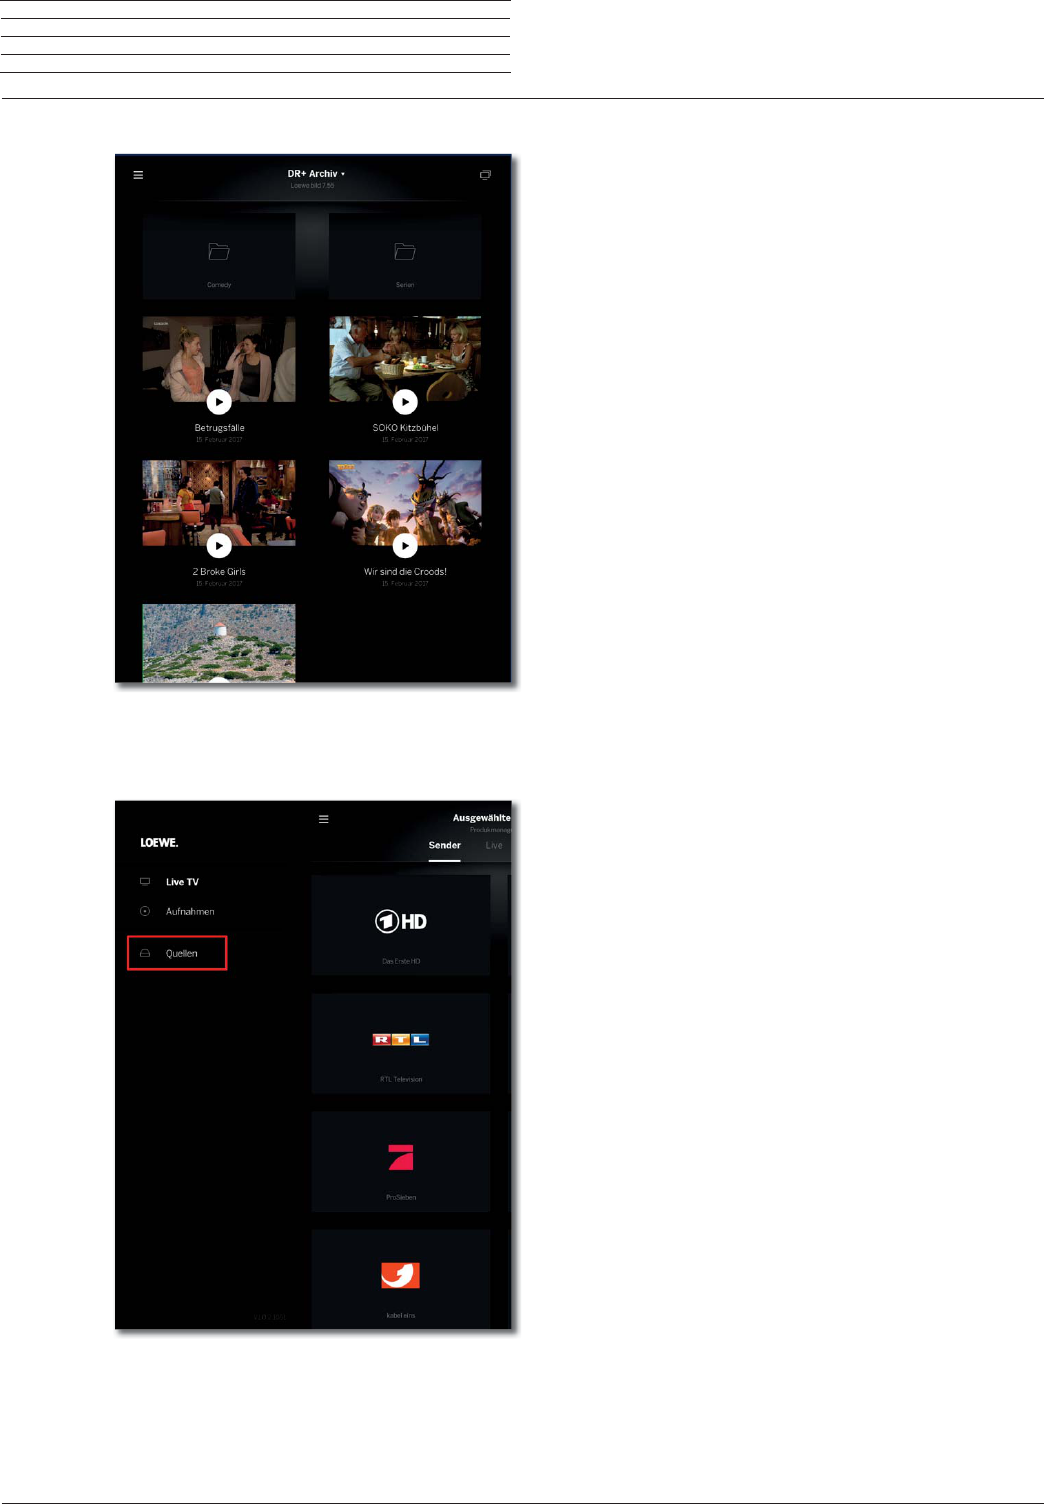
kun je een programma opnemen of moet je dan een app erbij hebben? Gesteld op 8-1-2021 om 14:36
Reageer op deze vraag Misbruik melden -
22/08/2020 bij aankoop TV. Electromic-Helsen in Herentals was geen gebruikershandboek downloaden dat de enz;van mijn loewetoestel beschrijf.Hopelijk komt dat in orde Gesteld op 27-12-2020 om 13:09
Reageer op deze vraag Misbruik melden
-
ik ben in het bezit van een nieuwe TV. zonder handeiding normaal moet die er bij zijn voor het gebruik van
Reageer op deze vraag Misbruik melden
de TV;
Gesteld op 27-12-2020 om 12:46 -
ik kan nadat ik een programma geen ander programma aanzetten zonder de tv uit te zetten en weer helemaal opnieuw te starten.
Reageer op deze vraag Misbruik melden
Gesteld op 1-10-2020 om 19:06 -
Uitschakelen van de functie,na 4 uur het beeldscherm uitschakelen(energieeffiecientiemodus. Gesteld op 22-4-2020 om 08:35
Reageer op deze vraag Misbruik melden-
Ik krijg van de dealer geen bevredigend antwoord. Geantwoord op 22-4-2020 om 08:40
Waardeer dit antwoord Misbruik melden
-
-
Hoe kan ik het geluid aanpassen (lees: de bass toon verminderen)? Gesteld op 7-2-2020 om 15:51
Reageer op deze vraag Misbruik melden -
Uitzending gemist kijken lukt niet. Hij geeft dan aan. De opgevraagde aflevering is niet beschikbaar. Voorheen konden ze wel bekijken.
Reageer op deze vraag Misbruik melden
Wat is de oorzaak Gesteld op 5-3-2019 om 14:01-
Wij kunnen ook sinds begin maart geen uitzending gemist meer bekijken. Wij krijgen dezelfde melding dat de opgevraagde aflevering niet beschikbaar is. Geantwoord op 9-3-2019 om 16:29
Waardeer dit antwoord (5) Misbruik melden
-
