i
Contents
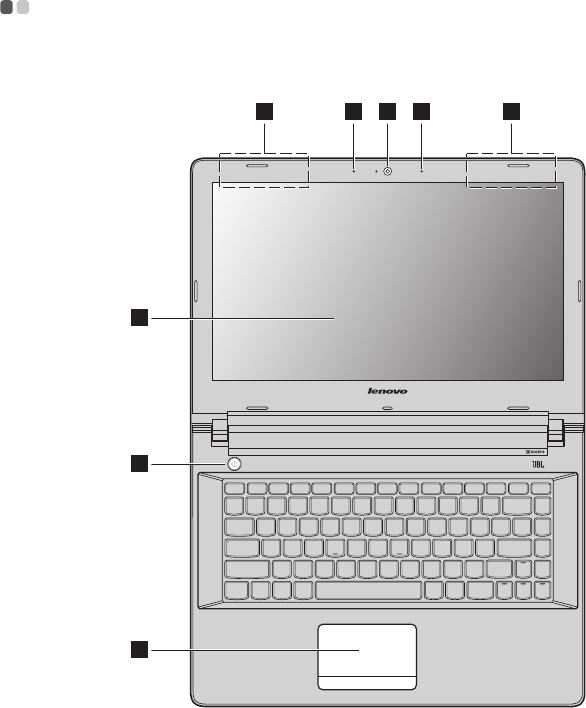
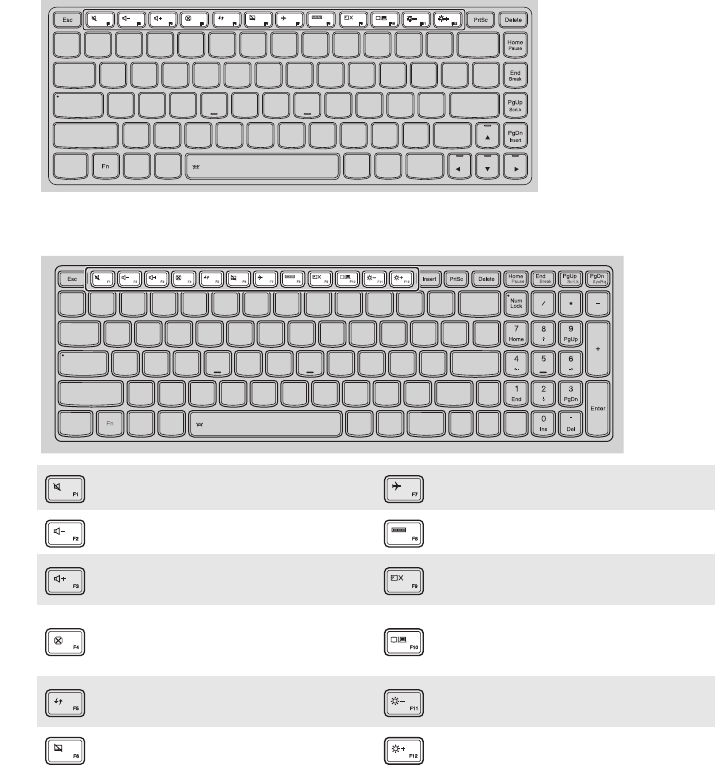
Chapter 1. Getting to know your computer..................................................................................... 1
Top view
......................................................................................................................................................... 1
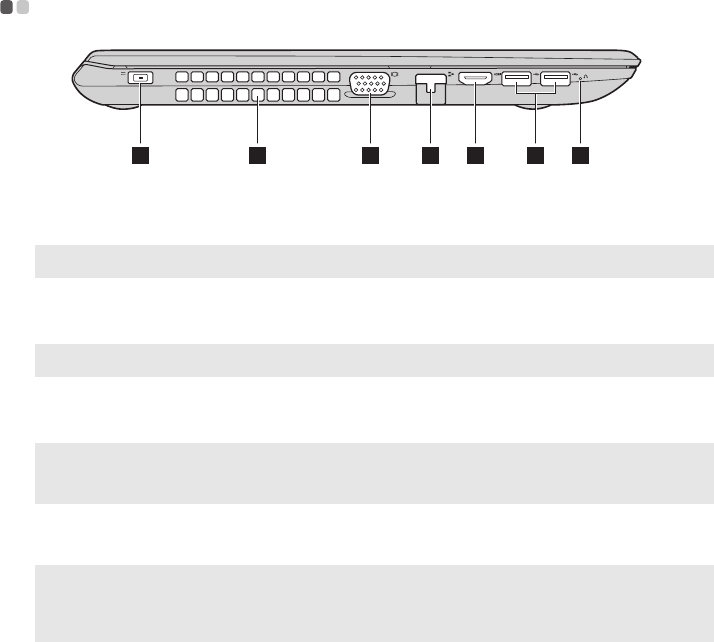
Left-side view
................................................................................................................................................ 9
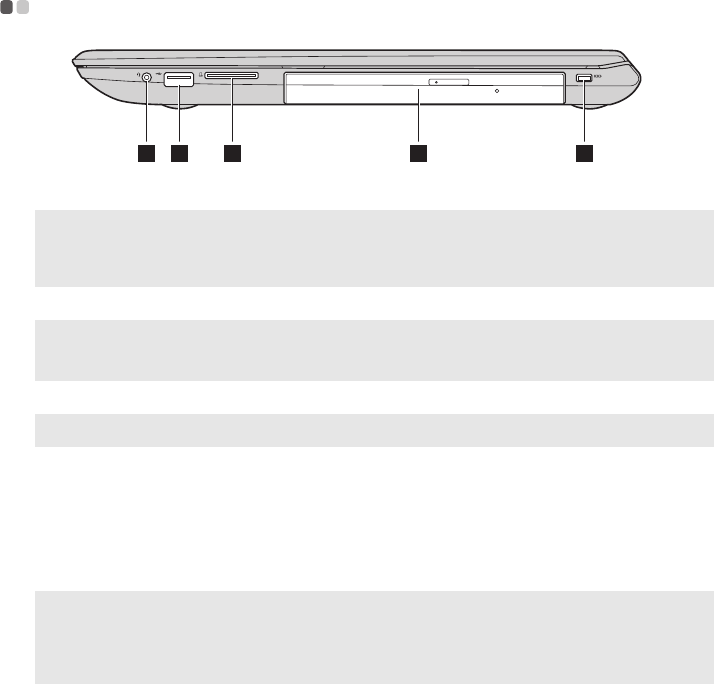
Right-side view
............................................................................................................................................ 12
Front view
.................................................................................................................................................... 14
Bottom view
................................................................................................................................................. 15
Chapter 2. Starting to use Windows 8.1........................................................................................ 17
Configuring the operating system for the first time
.............................................................................. 17
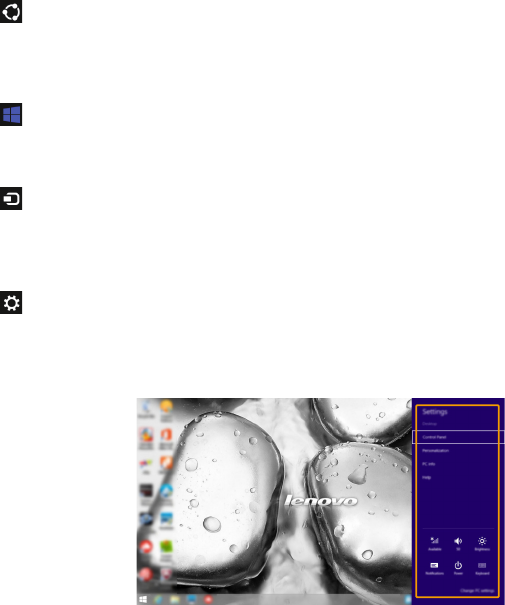
Operating system interfaces
...................................................................................................................... 17
The charms
................................................................................................................................................... 18
Putting the computer to sleep or shutting it down
................................................................................ 20
Connecting to a wireless network
............................................................................................................ 21
Help and support
........................................................................................................................................ 22
Chapter 3. Lenovo OneKey Recovery System.............................................................................. 23
Chapter 4. Troubleshooting............................................................................................................ 24
Frequently asked questions
....................................................................................................................... 24
Troubleshooting
.......................................................................................................................................... 26
Appendix A. CRU instructions ....................................................................................................... 30
Removing the keyboard
............................................................................................................................. 30
Removing the optical drive
....................................................................................................................... 34
Trademarks ...................................................................................................................................... 37