Control panel.....................................................................................................................................................................2
Home Center Software ..................................................................................................................................................3
Connecting to a wireless network...............................................................................................................................5
Before you connect...................................................................................................................................................5
Connecting to a wireless network using the WiFi Setup Wizard..................................................................5
Setting up an IP address...........................................................................................................................................9
Verifying the network configuration...................................................................................................................10
Printing the network configuration.....................................................................................................................10
Installing your printer on additional computers on the network.................................................................10
Connecting to another KODAK All-in-One Printer........................................................................................10
Adding a network connection to a USB-connected computer...........................................................................11
Changing from USB to wireless connection......................................................................................................11
Changing from USB to Ethernet connection.....................................................................................................12
3 Handling Paper
Paper types......................................................................................................................................................................14
Paper sizes.......................................................................................................................................................................14
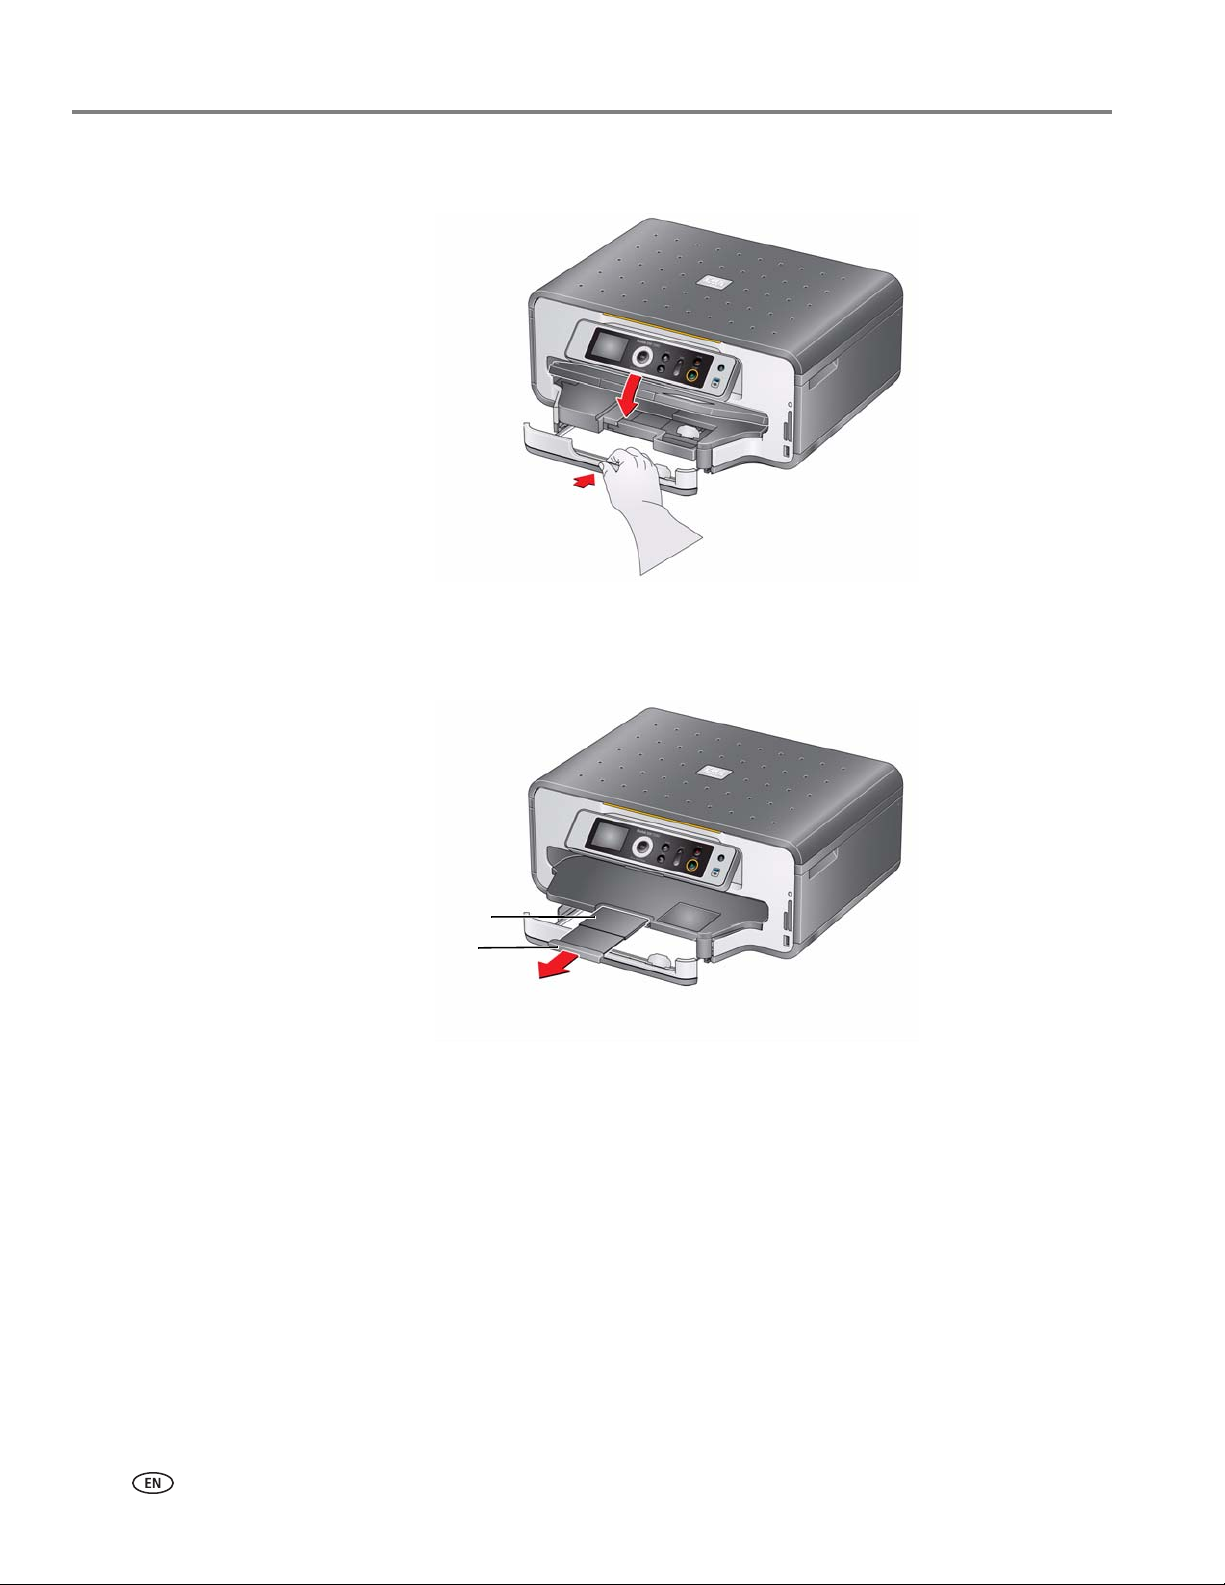
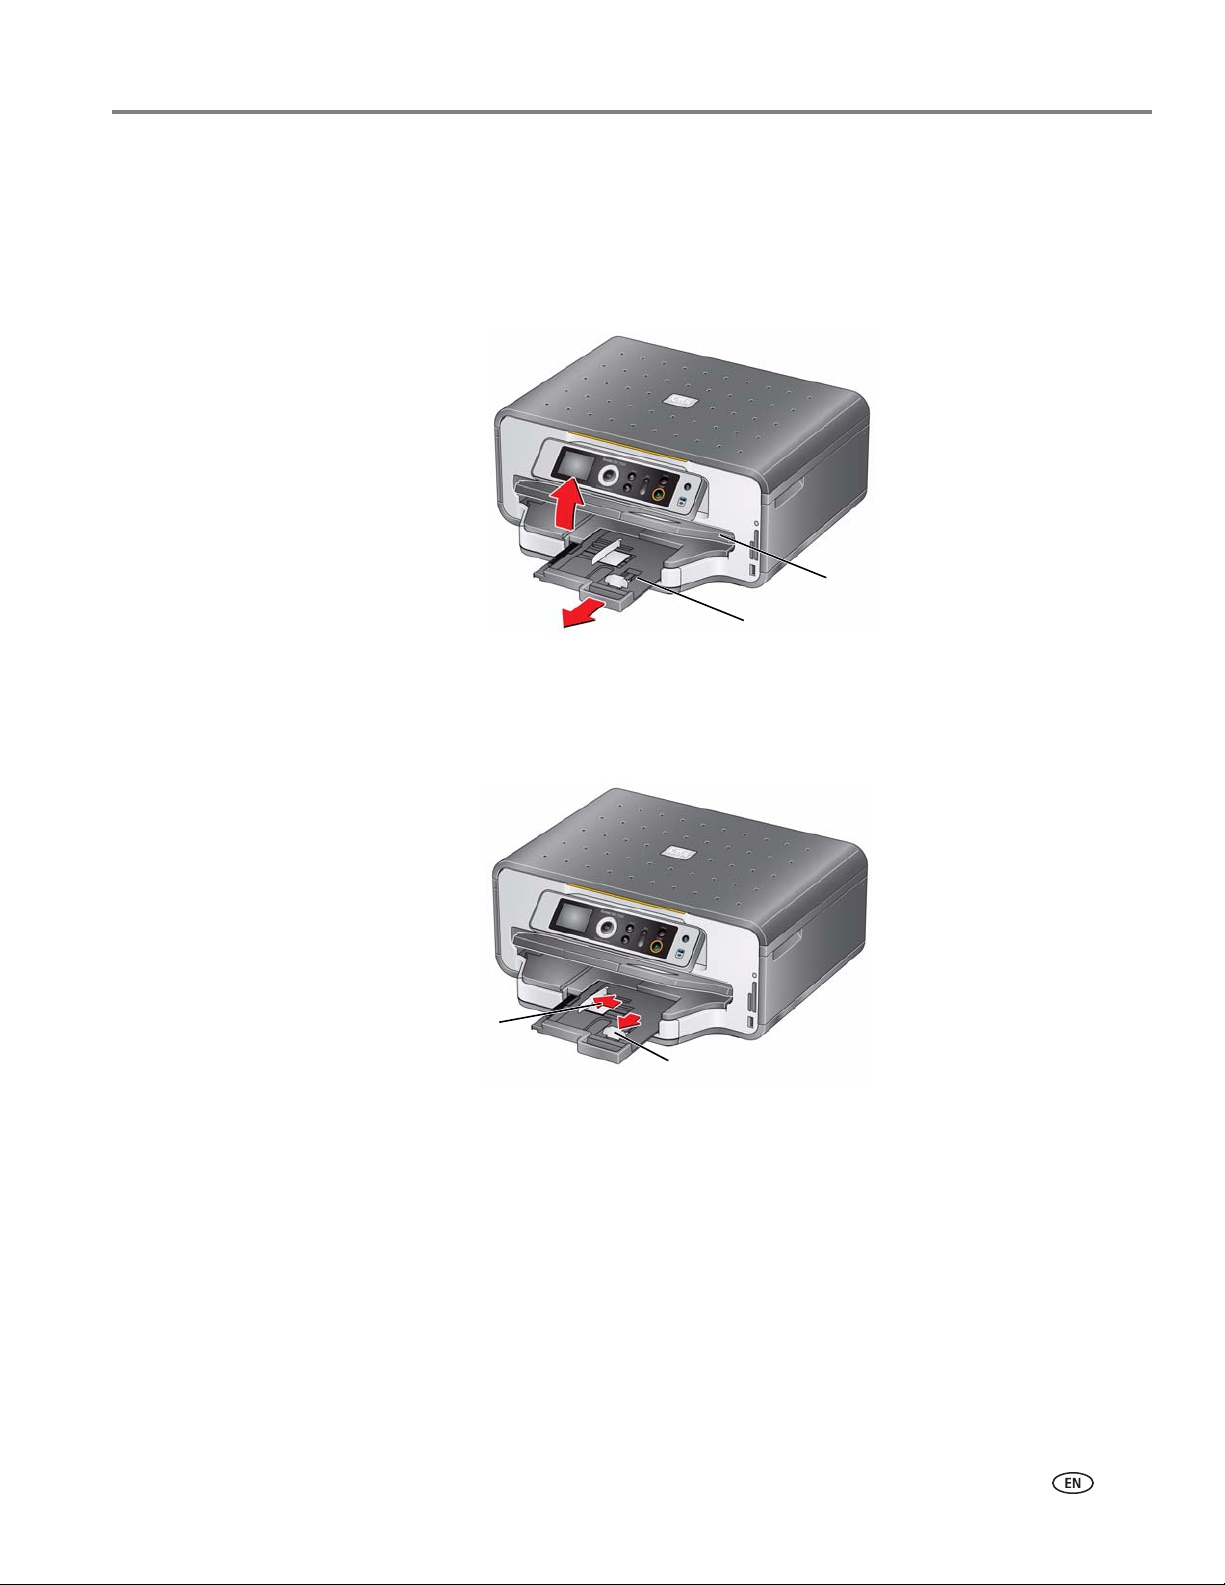
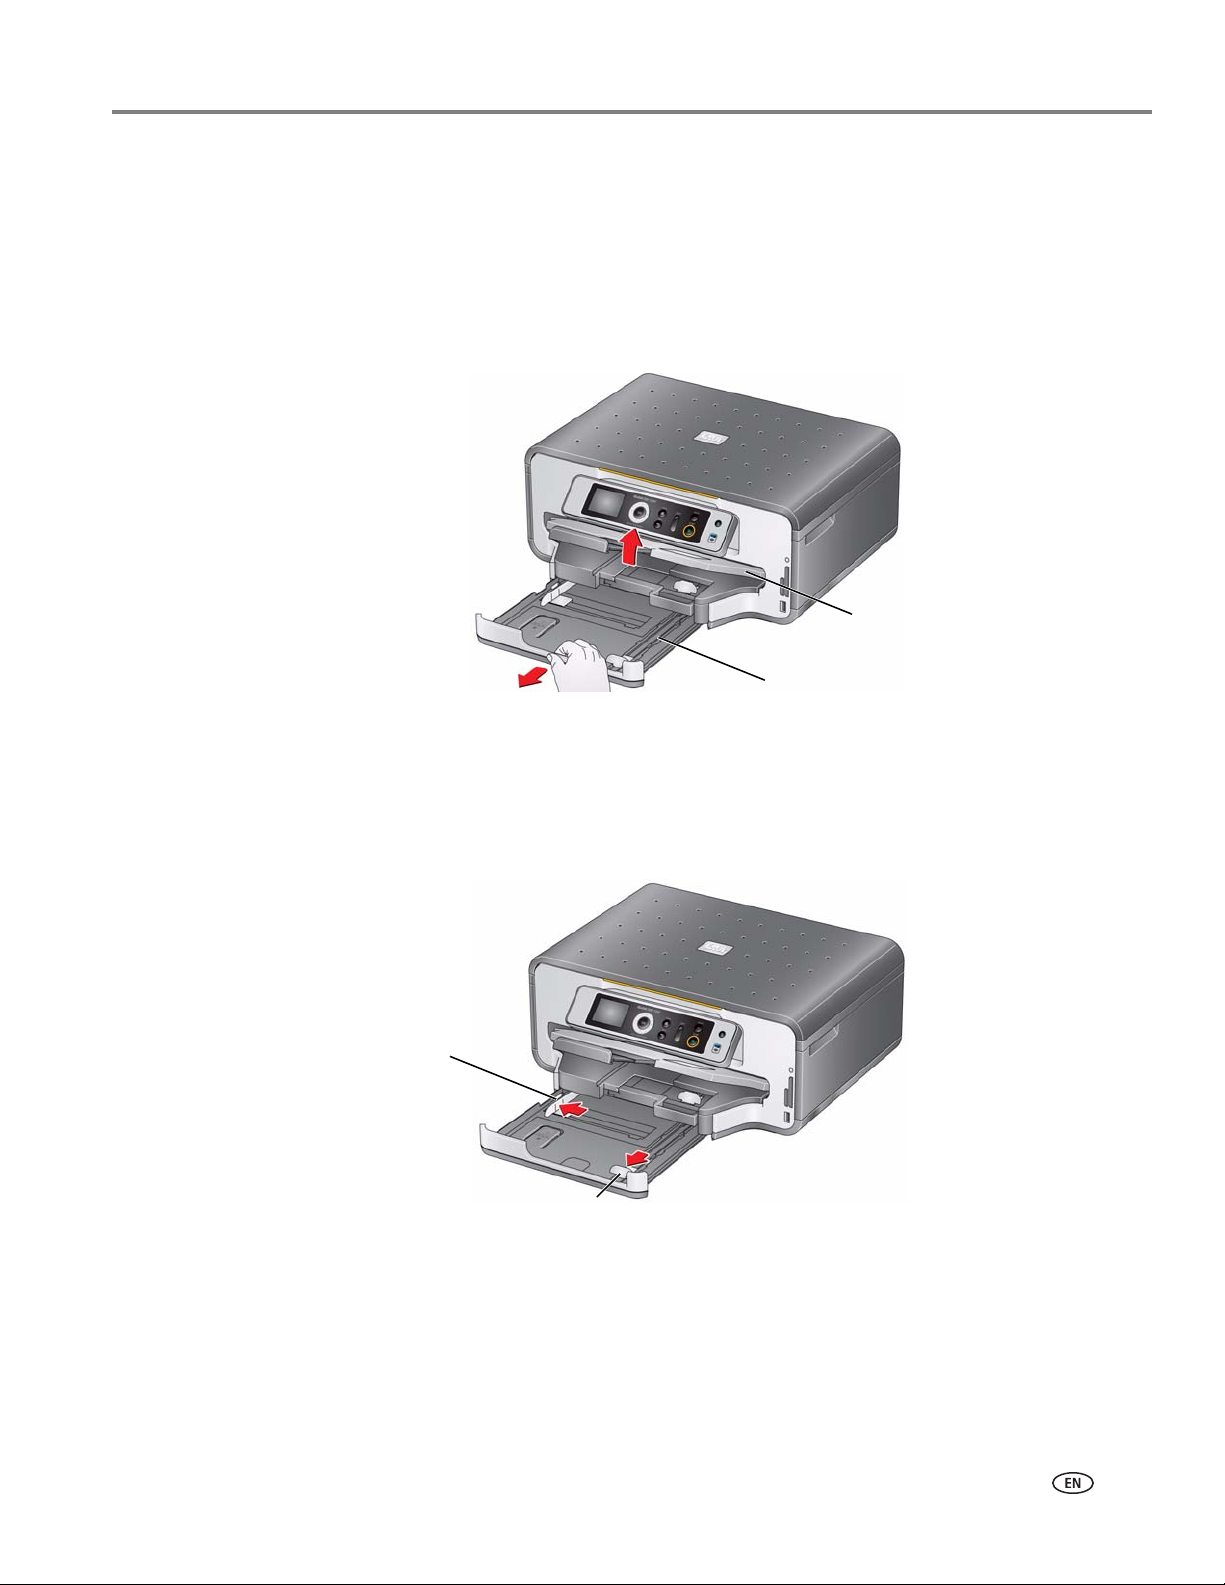
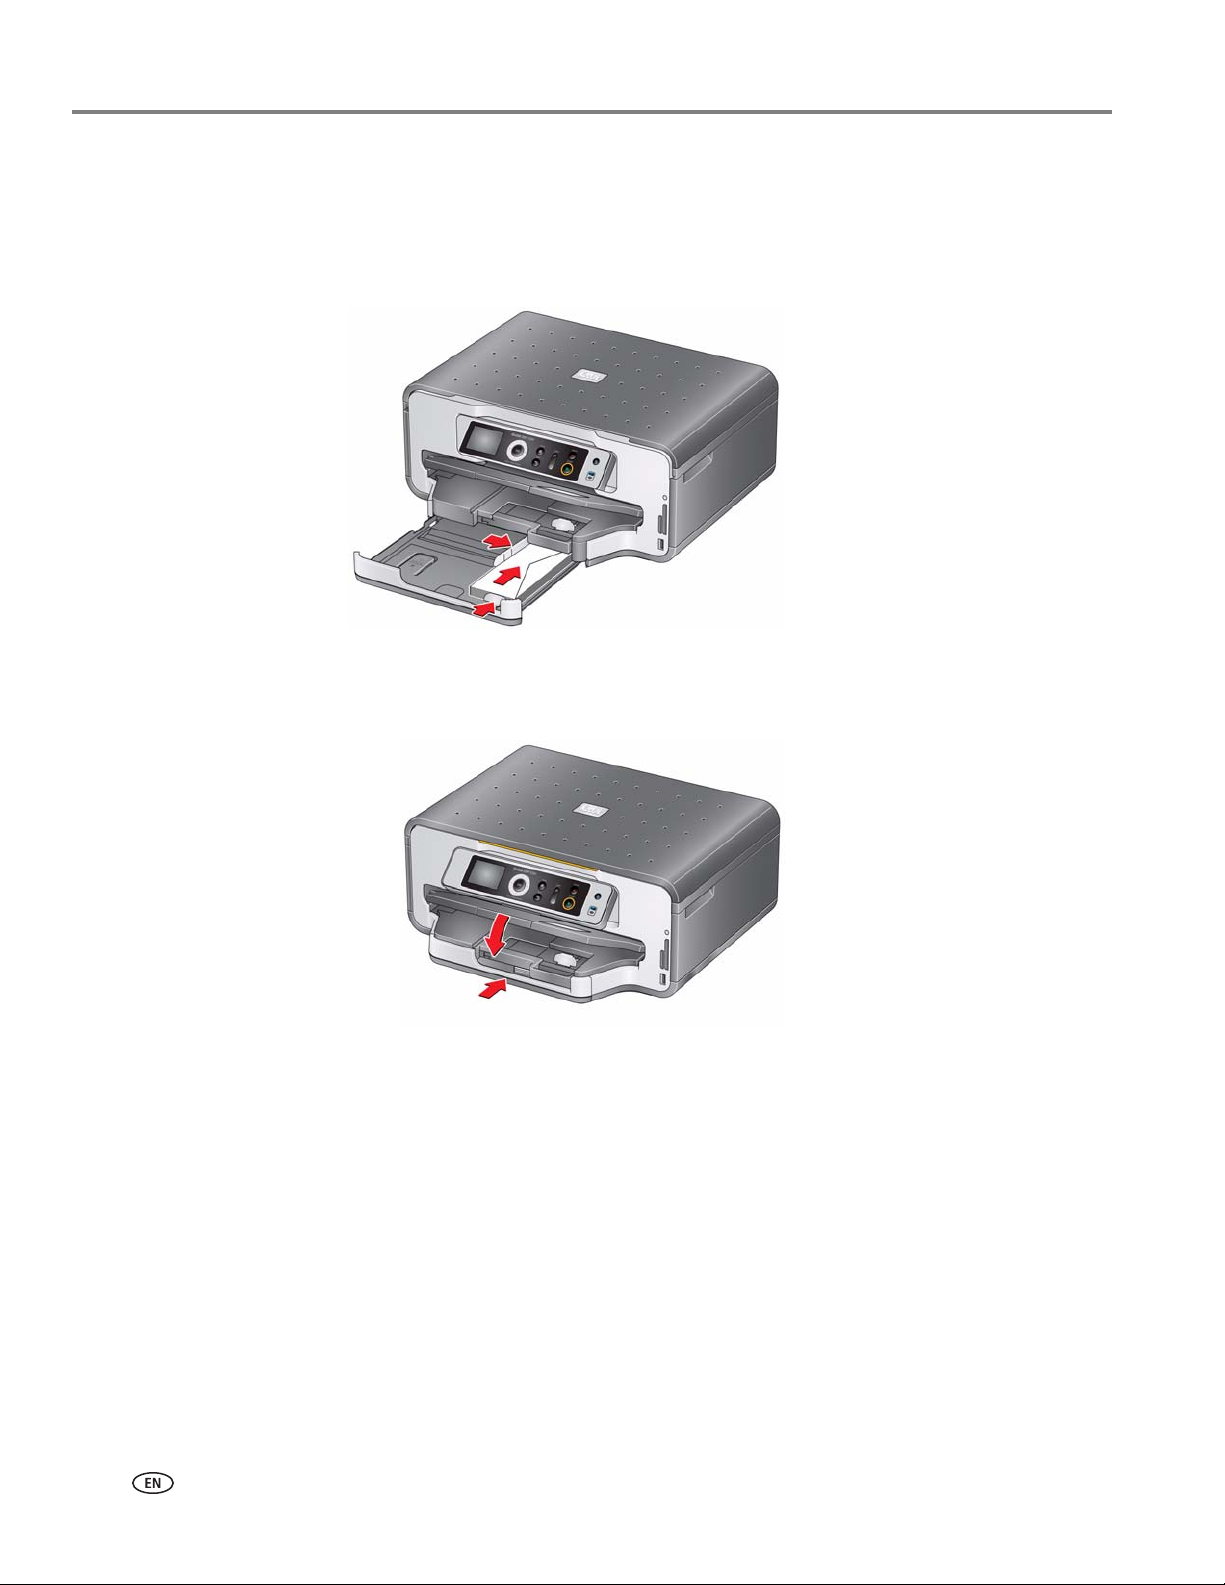
Loading paper in the main paper tray.................................................................................................................16
Loading legal-size paper in the main paper tray..............................................................................................18
Loading the photo paper tray...............................................................................................................................21
Switching paper trays..................................................................................................................................................25
Printing from a memory card or USB-connected device..............................................................................29
Printing from a BLUETOOTH Technology enabled device...........................................................................35
Printing pictures or documents from a wireless device.......................................................................................35
Transferring pictures to a computer........................................................................................................................36
Transferring pictures to a WINDOWS OS-based computer......................................................................36
Transferring pictures to a MACINTOSH Computer.....................................................................................36
5 Copying
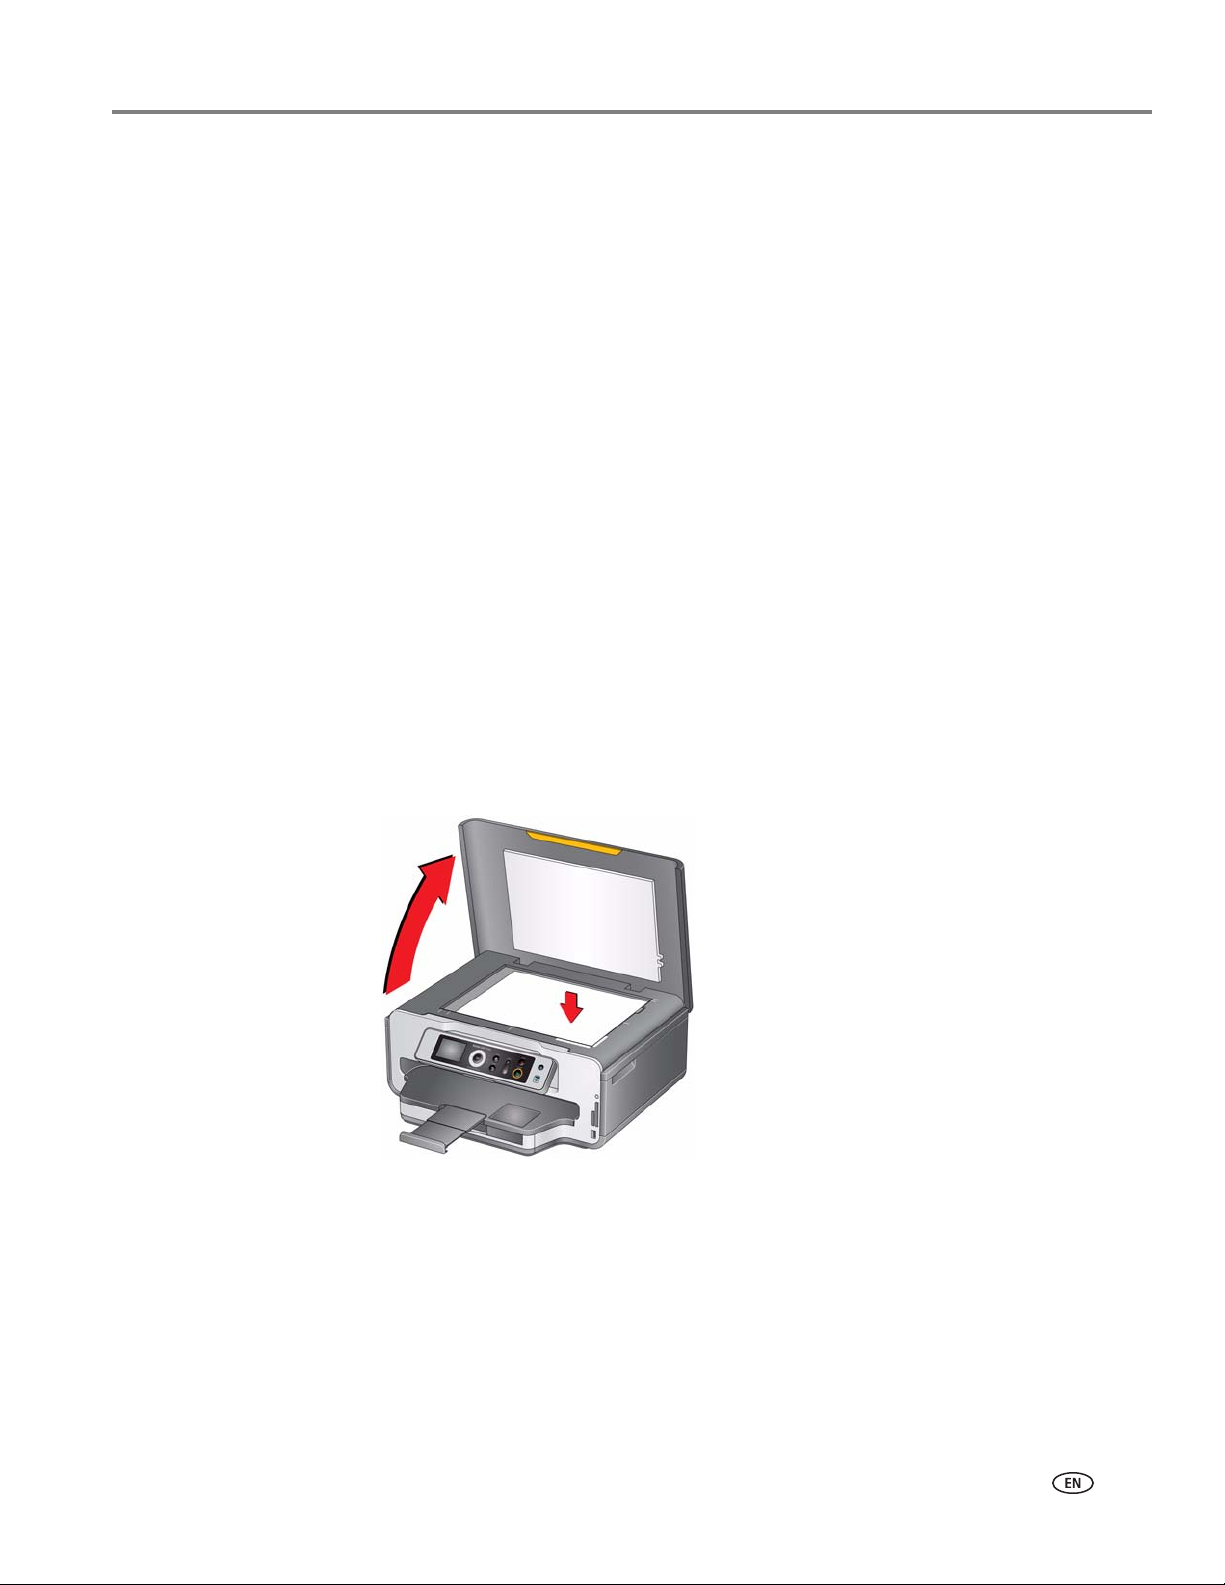
Copying a document.....................................................................................................................................................37
Using the default settings to copy a document...............................................................................................37
Adjusting the settings and copying a document............................................................................................38
Table of contents
iiwww.kodak.com/go/aiosupport
Changing the number of copies of a document..............................................................................................39
Enlarging or reducing a document.....................................................................................................................40
Darkening or lightening a copy............................................................................................................................41
Copying a photograph.................................................................................................................................................42
Using the default settings to copy a photograph...........................................................................................42
Adjusting the settings and copying a photograph.........................................................................................43
Changing the number of copies of a photograph...........................................................................................45
Enlarging or reducing a photograph..................................................................................................................46
Darkening or lightening a copy of a photograph............................................................................................47
6 Scanning
Before you begin scanning.........................................................................................................................................48
Changing the scan settings for scanning from the control panel..............................................................48
Scanning from the computer.....................................................................................................................................49
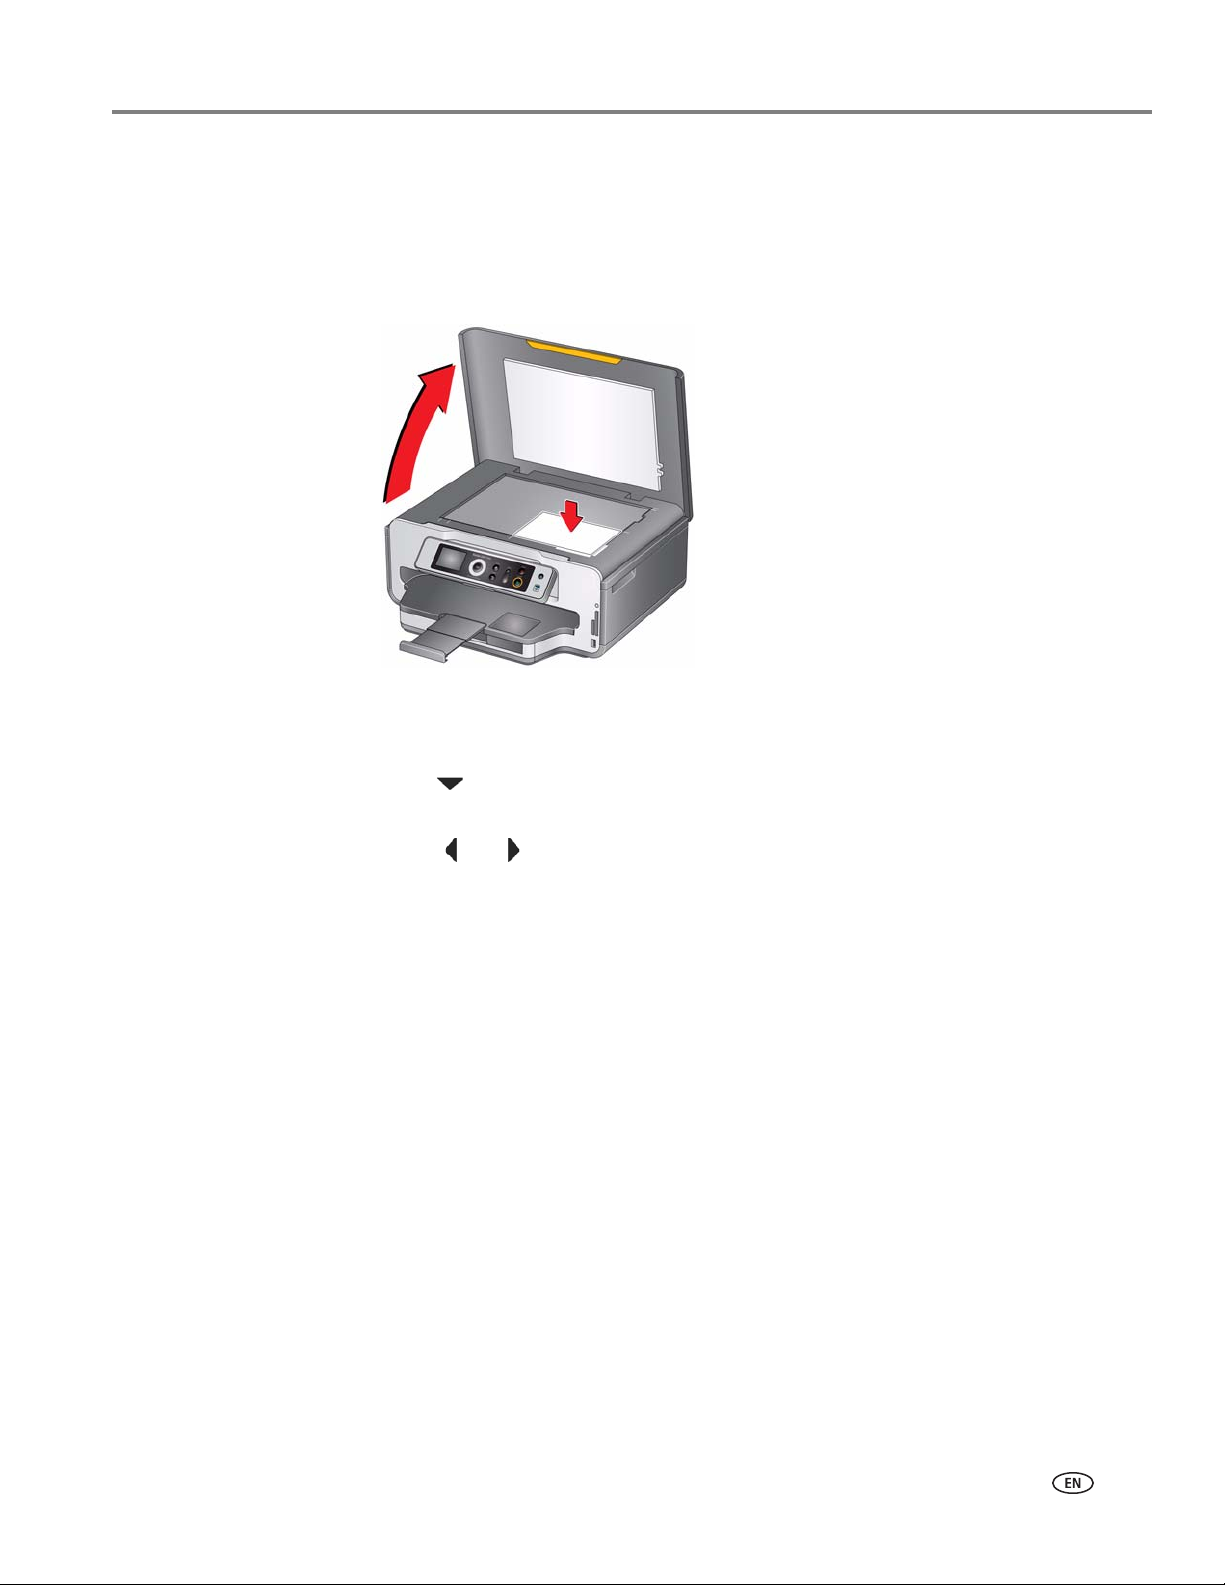
Scanning from the control panel.................................................................................................................................51
7 Maintaining Your Printer
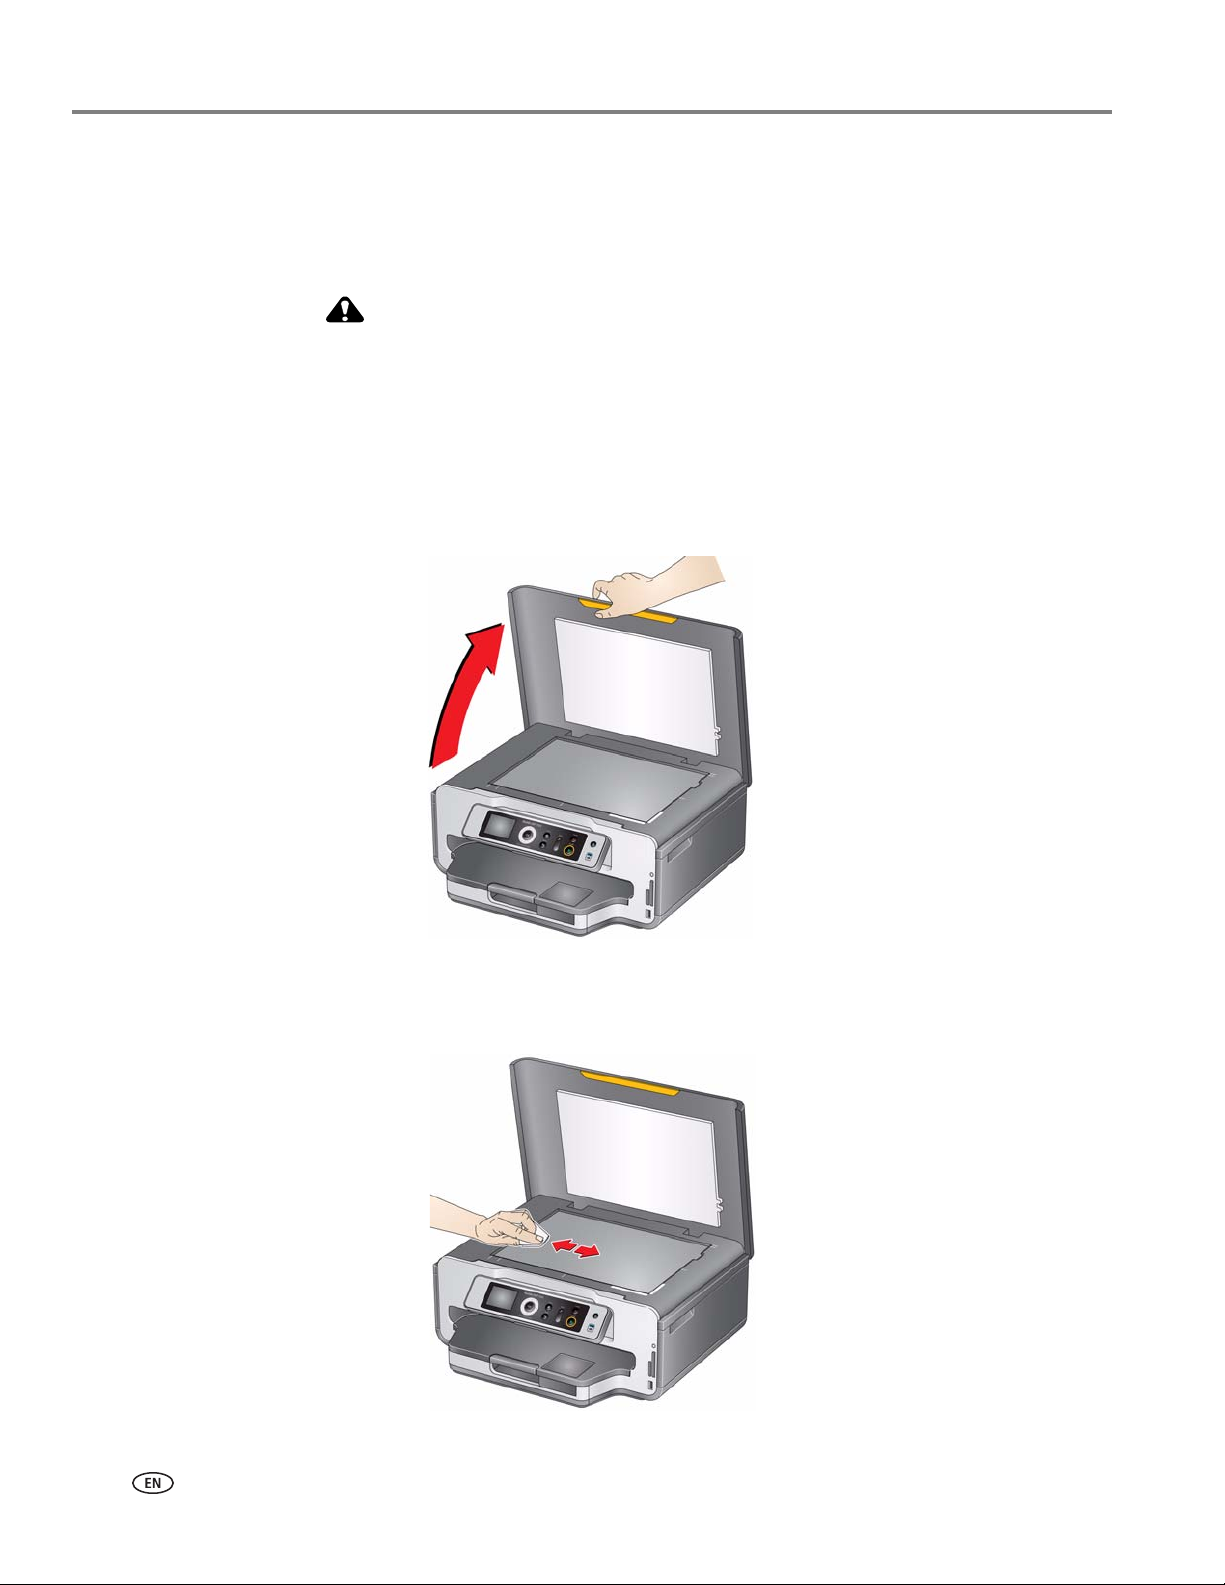
General care and cleaning...........................................................................................................................................53
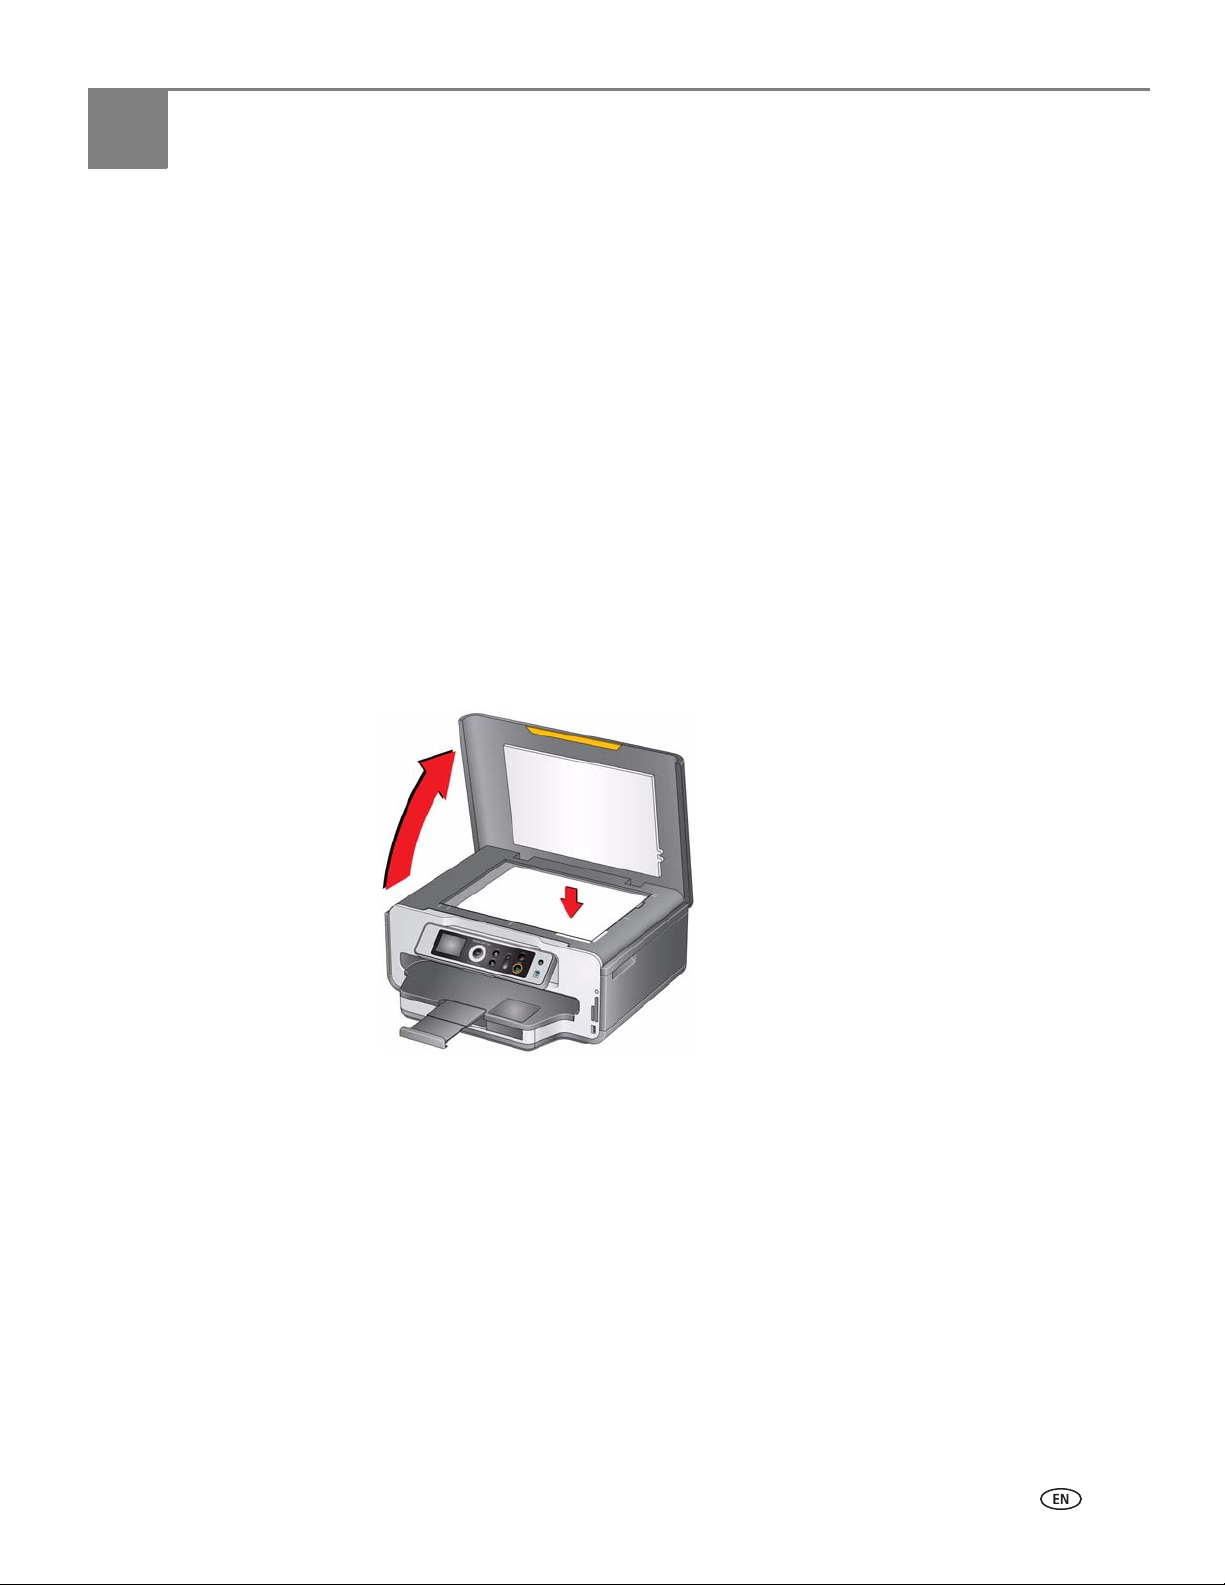
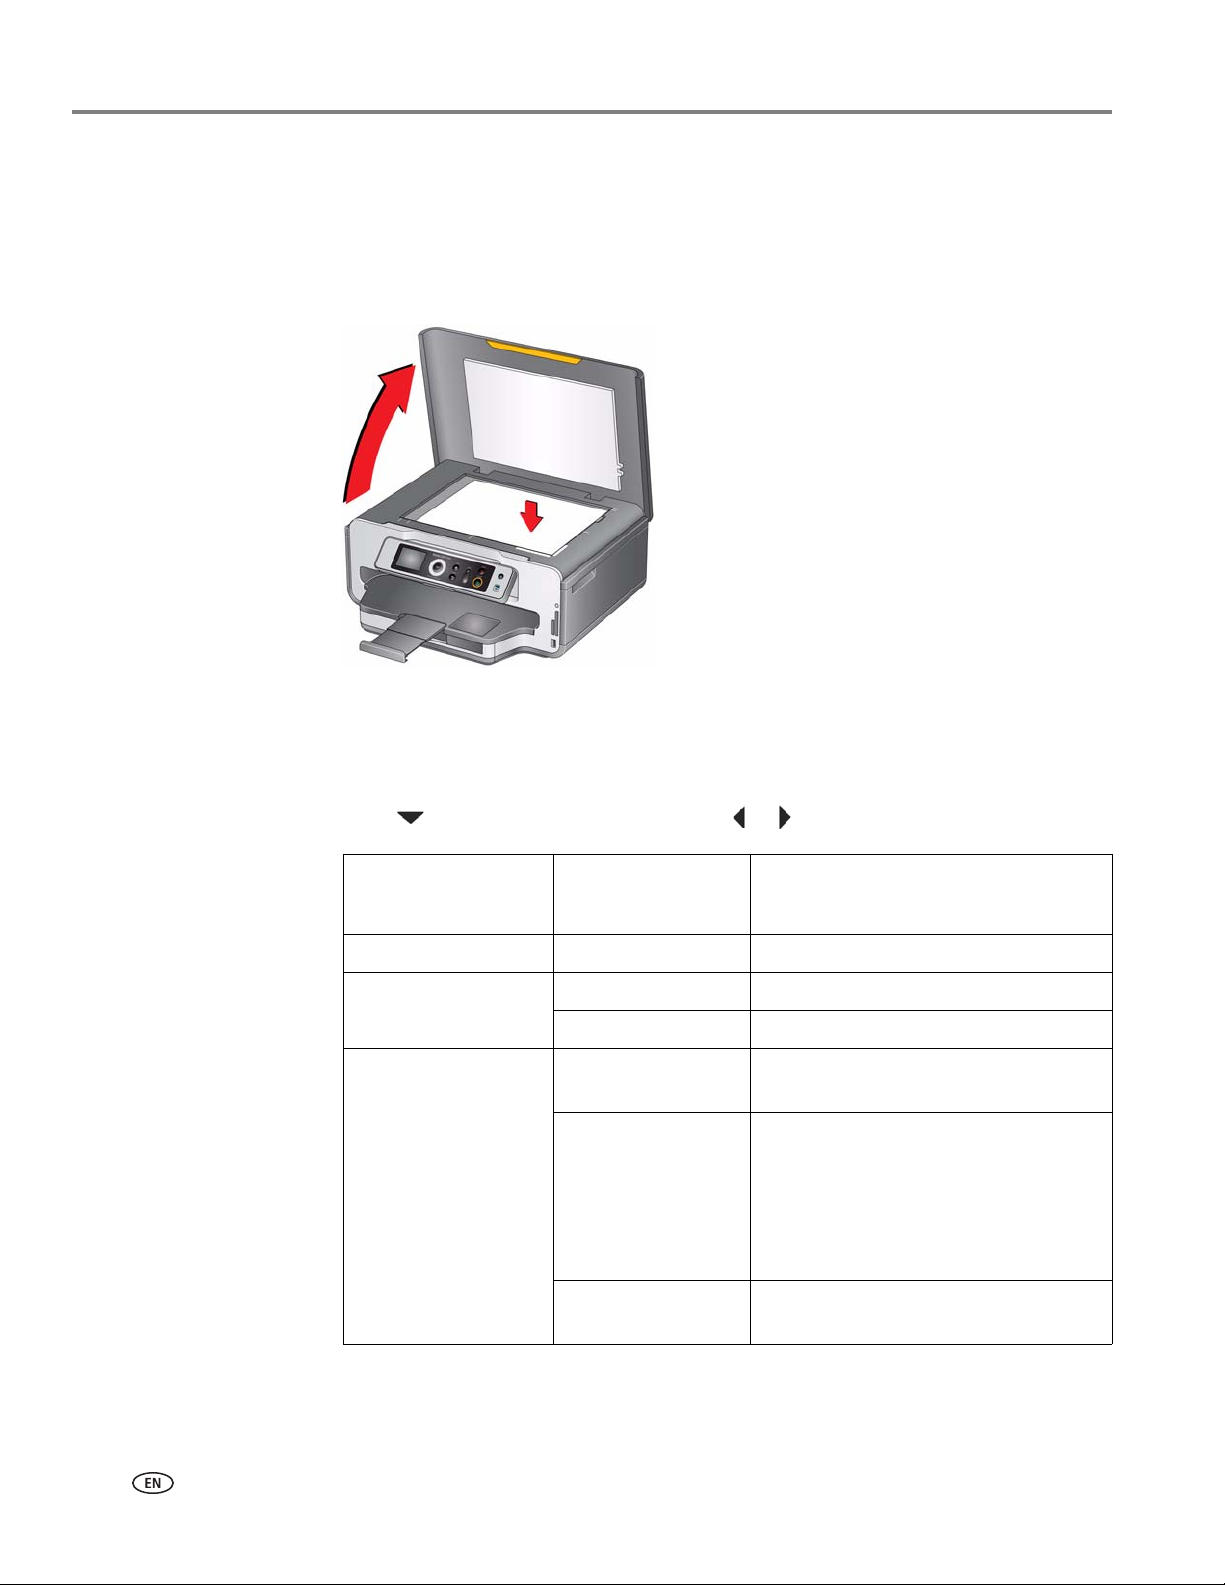
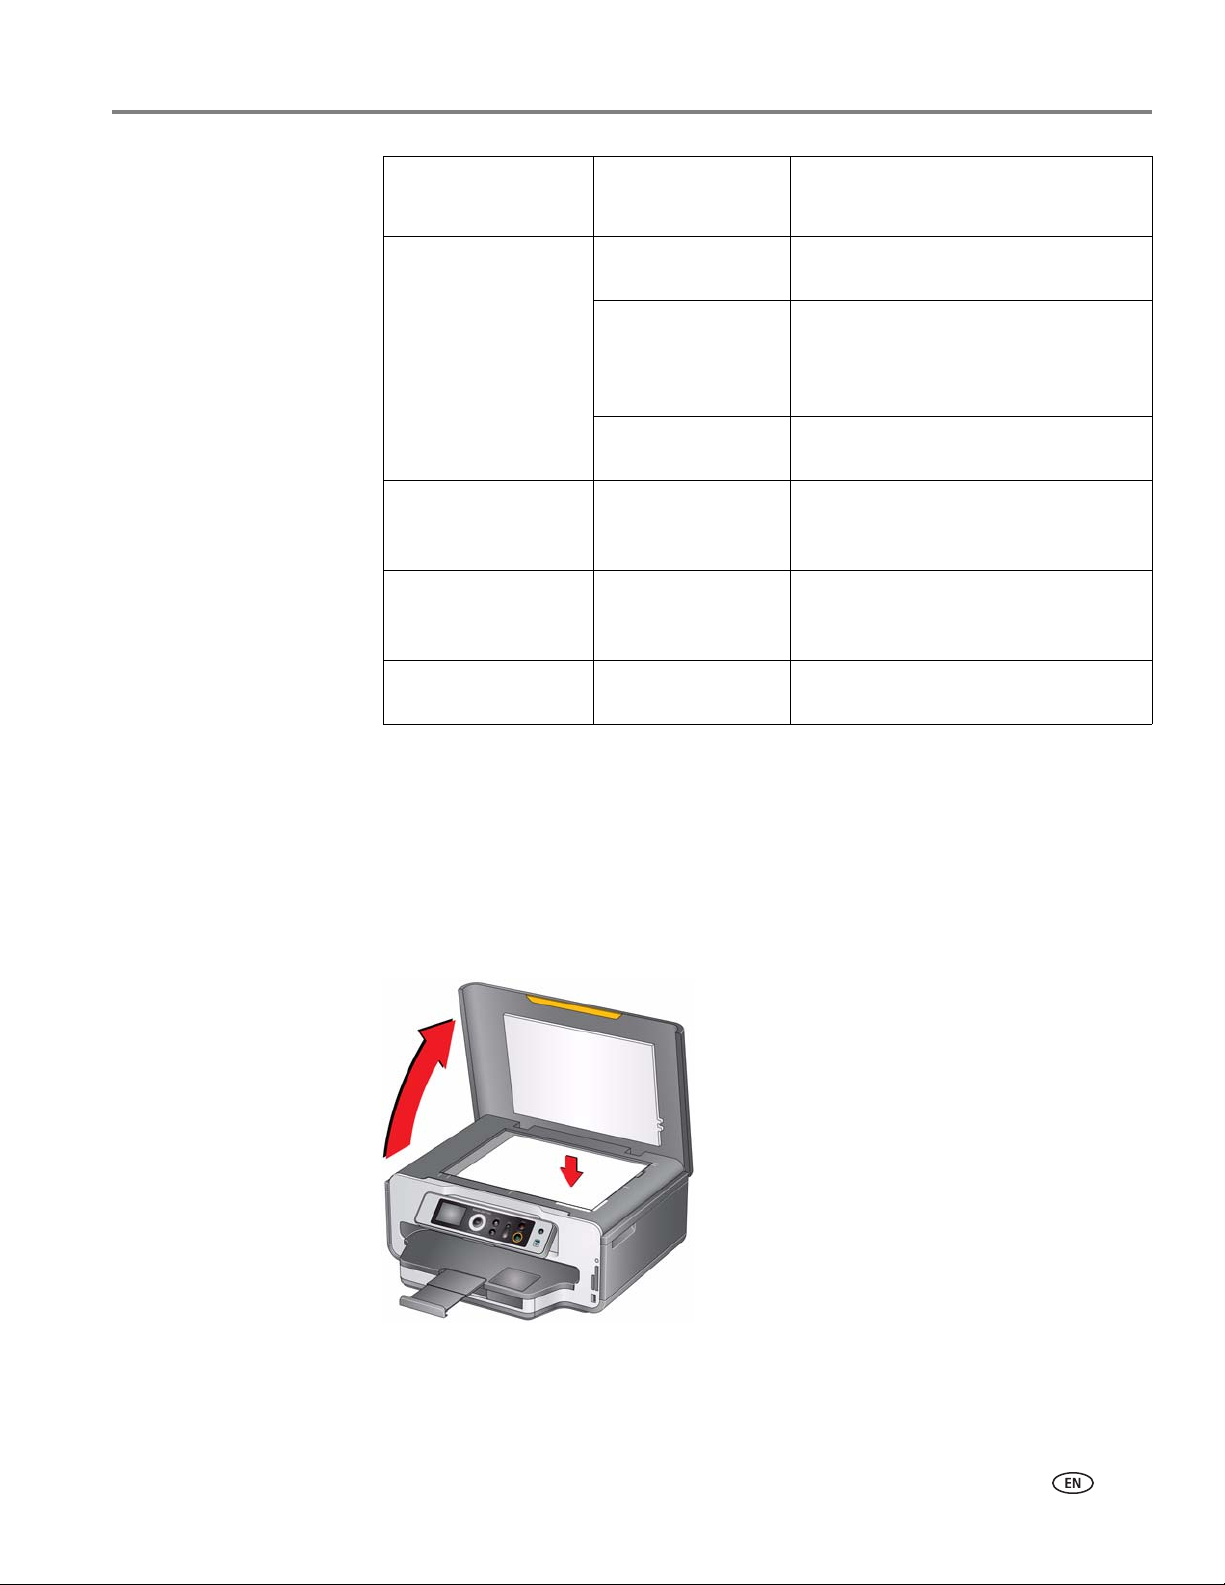
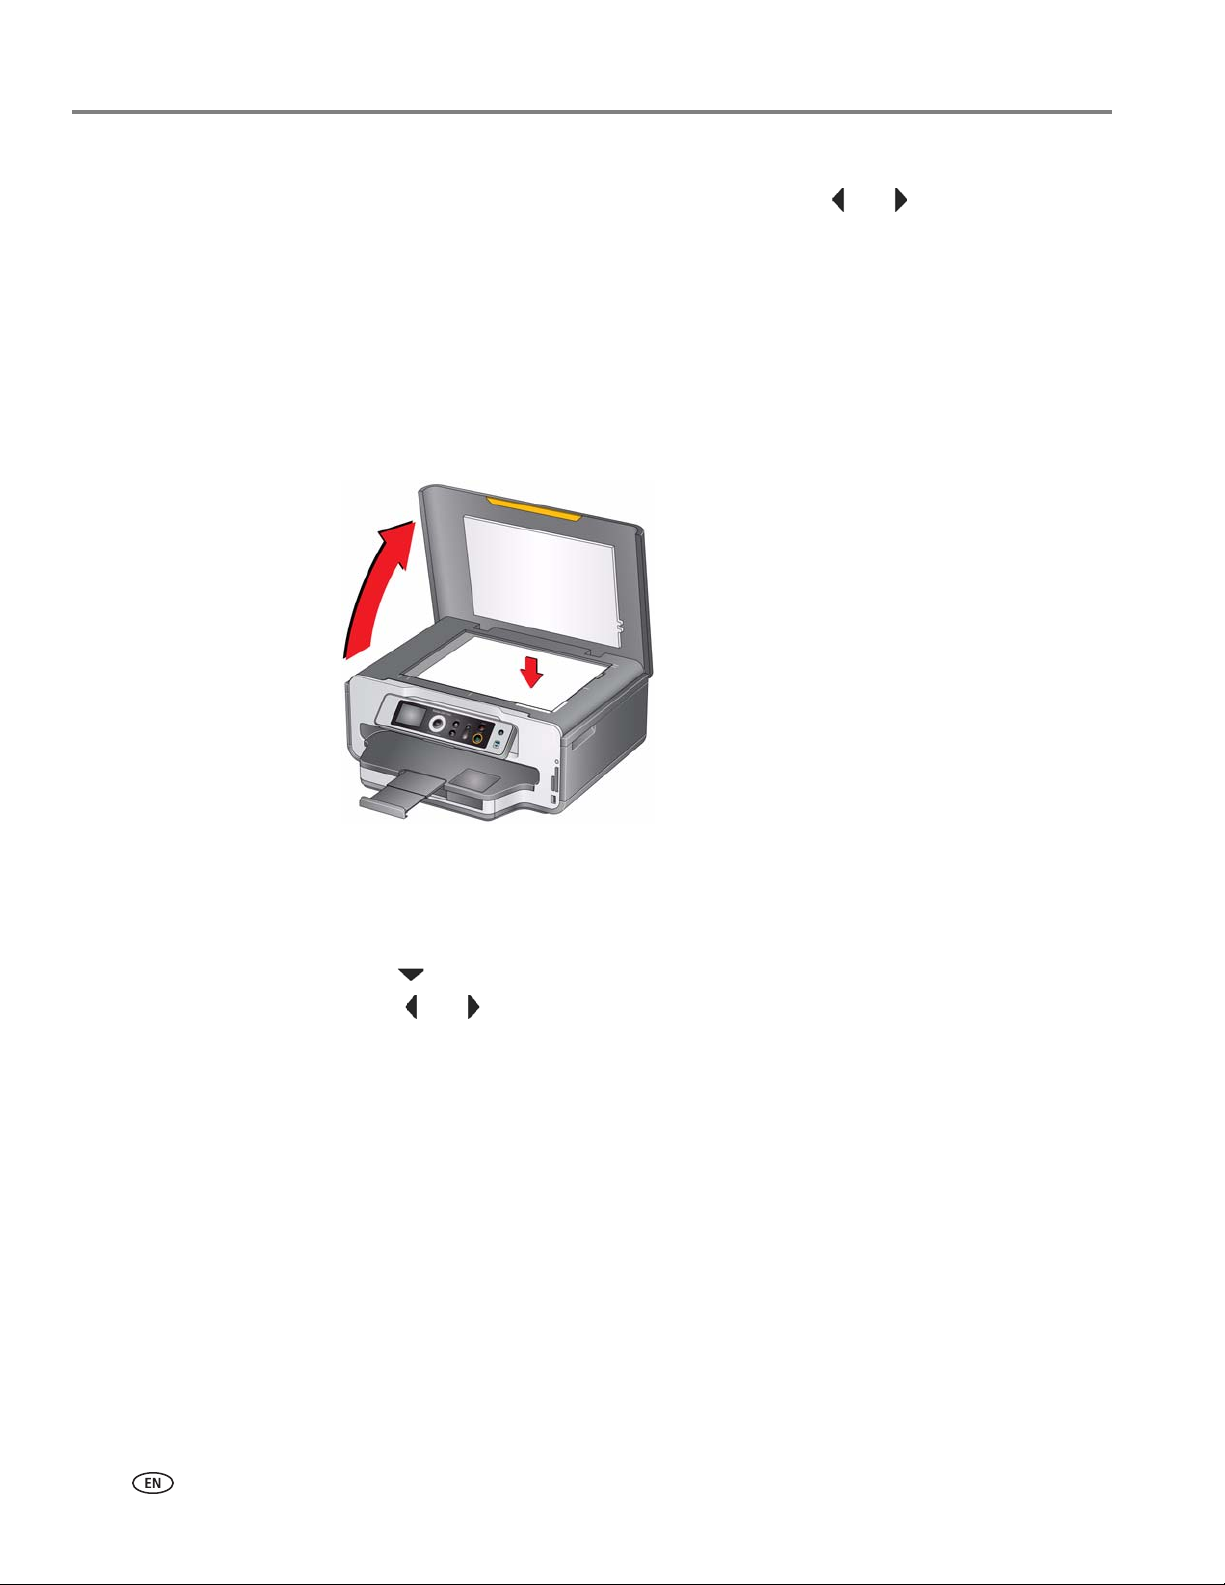
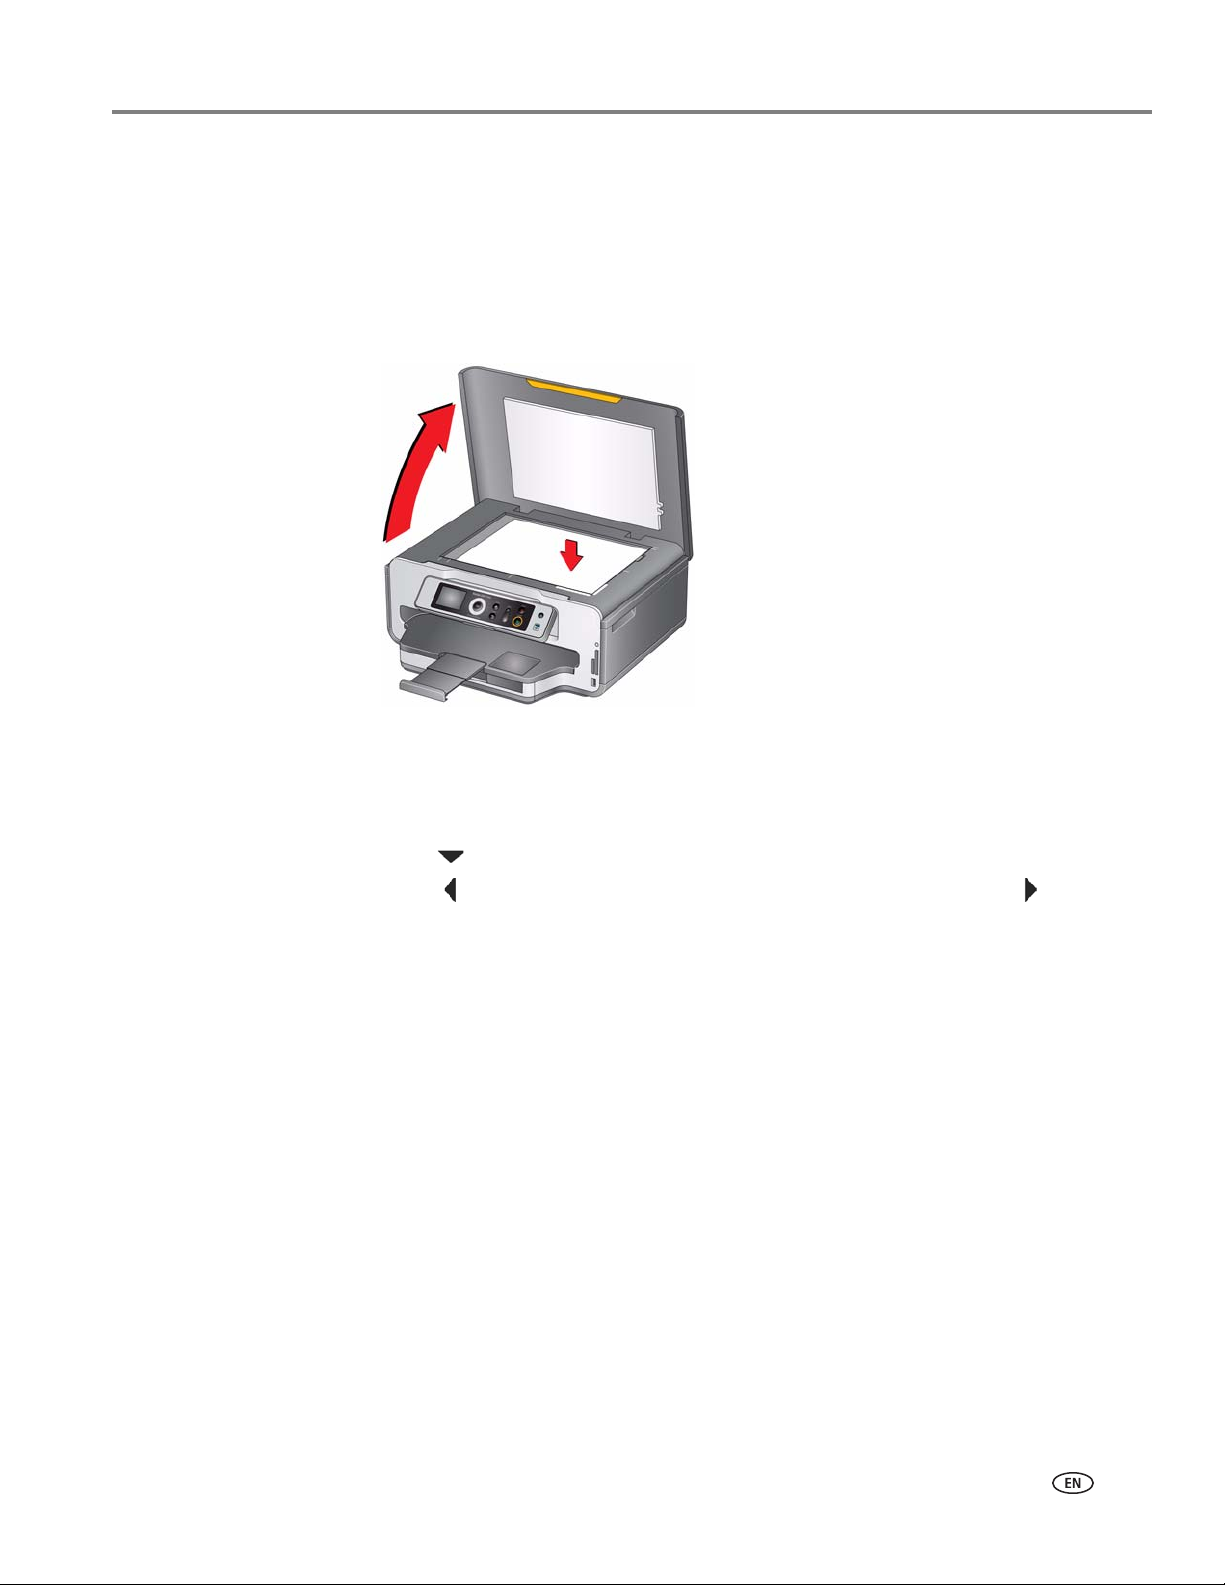
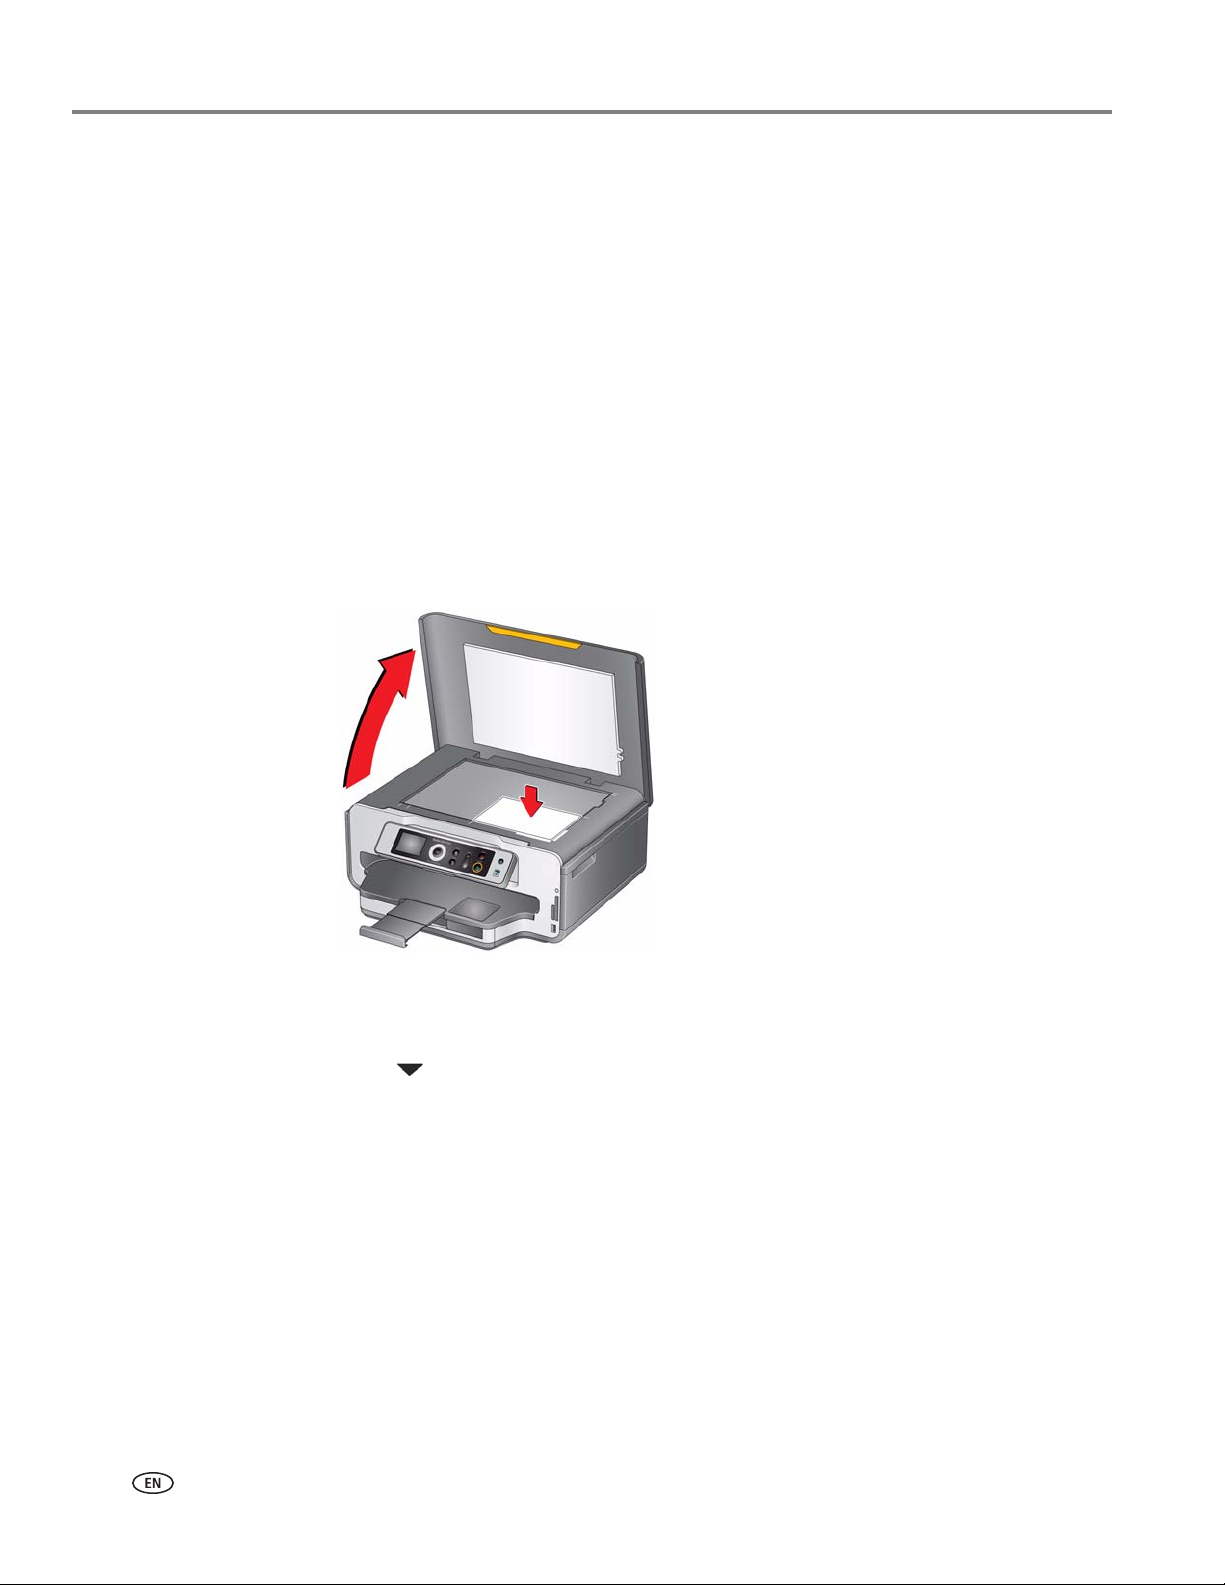
Cleaning the scanner glass and document backing......................................................................................54
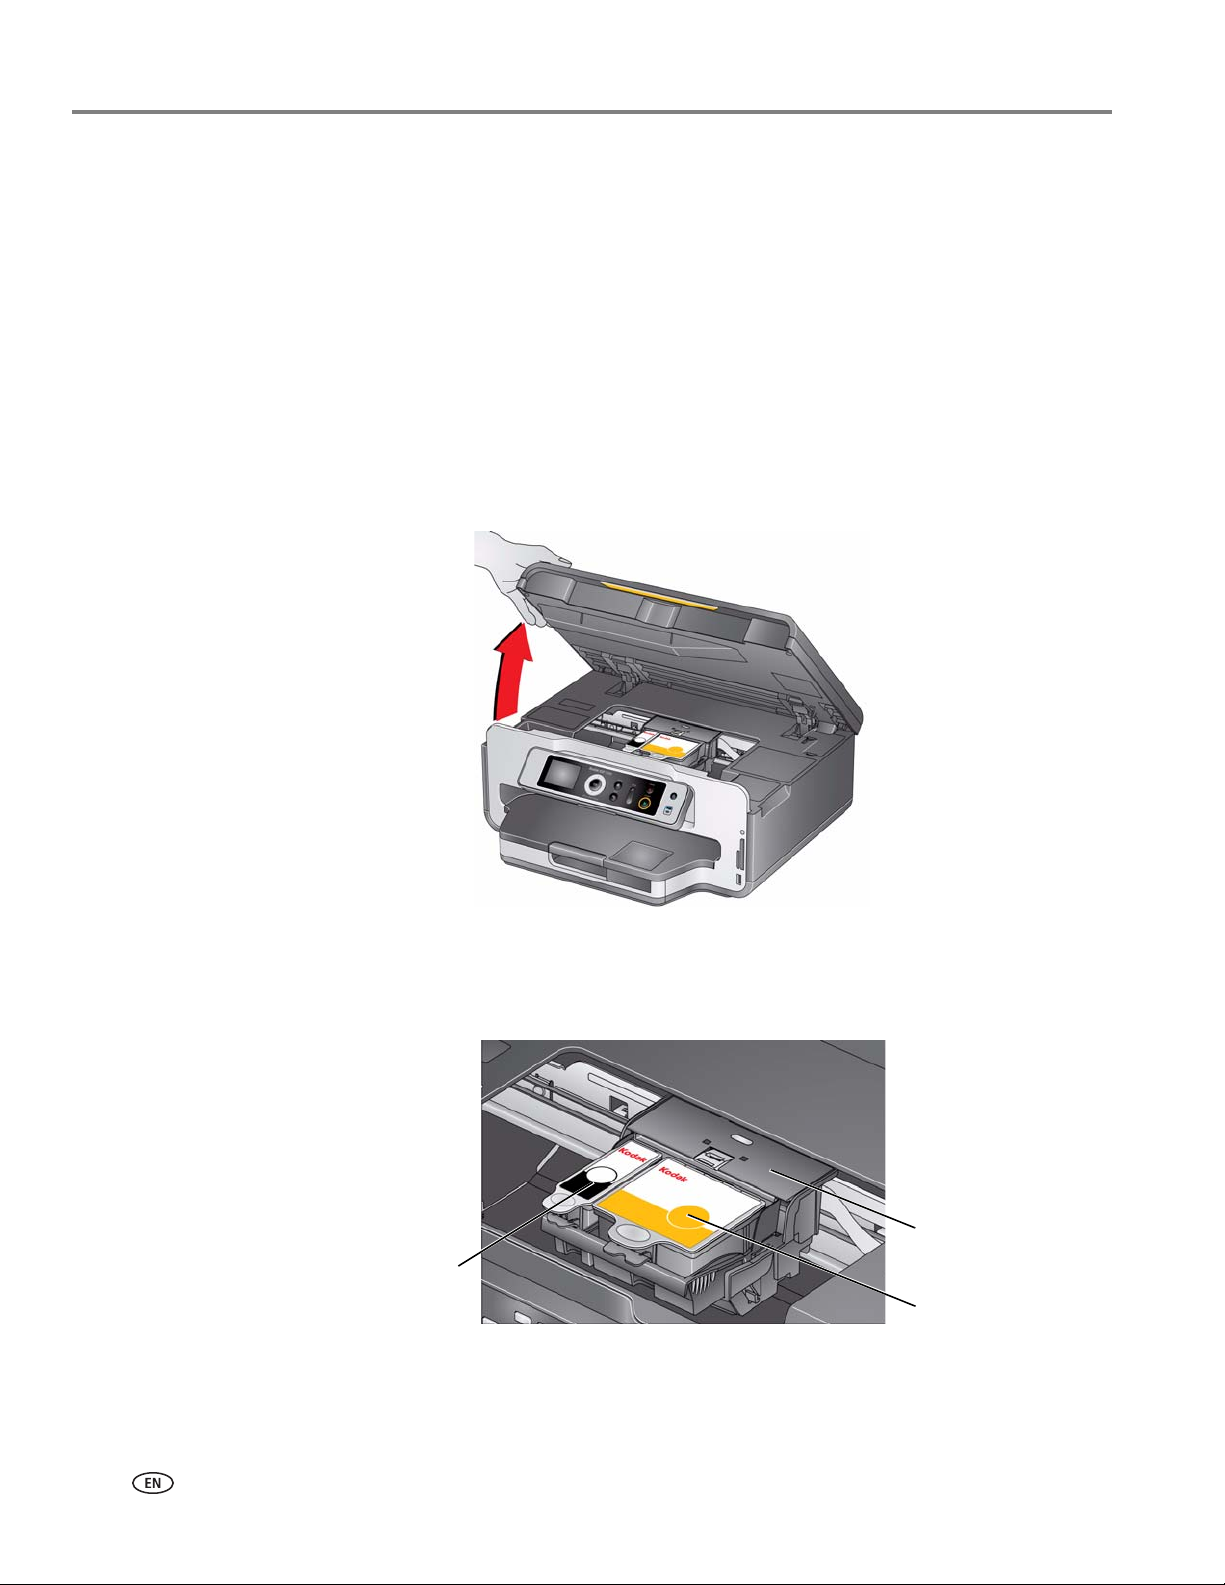
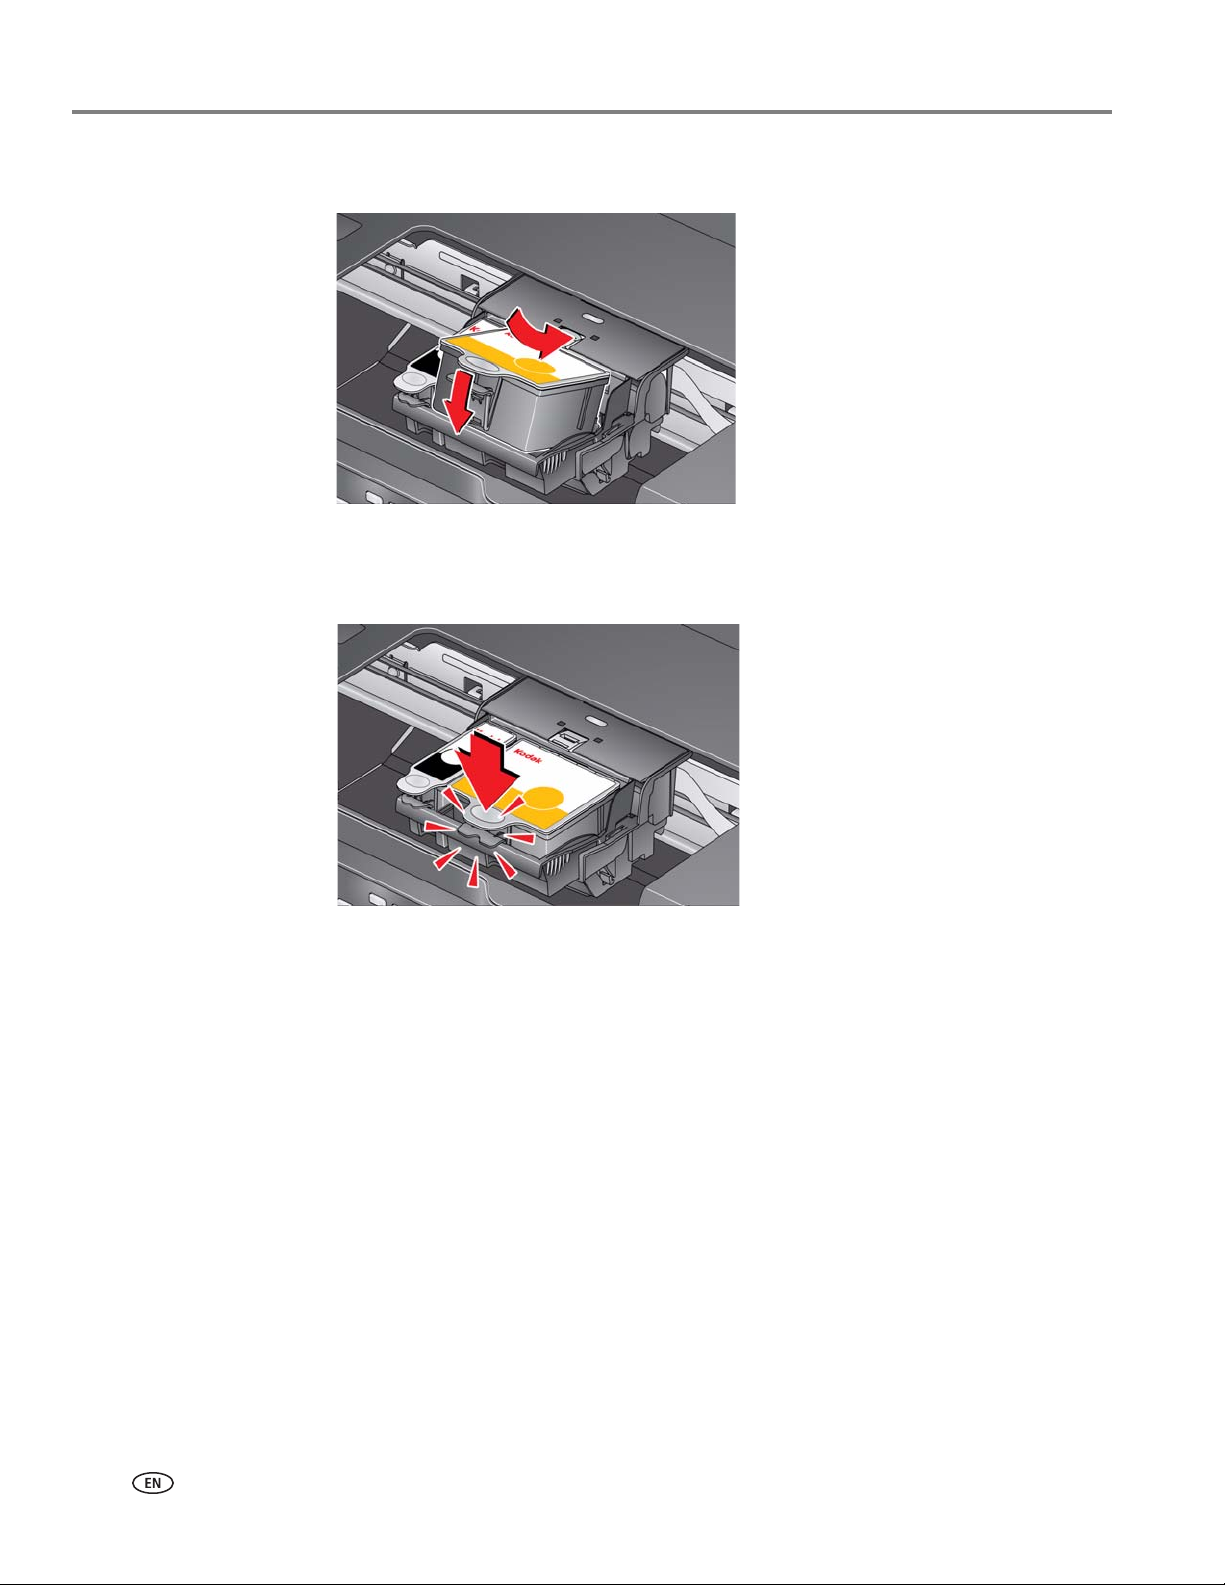
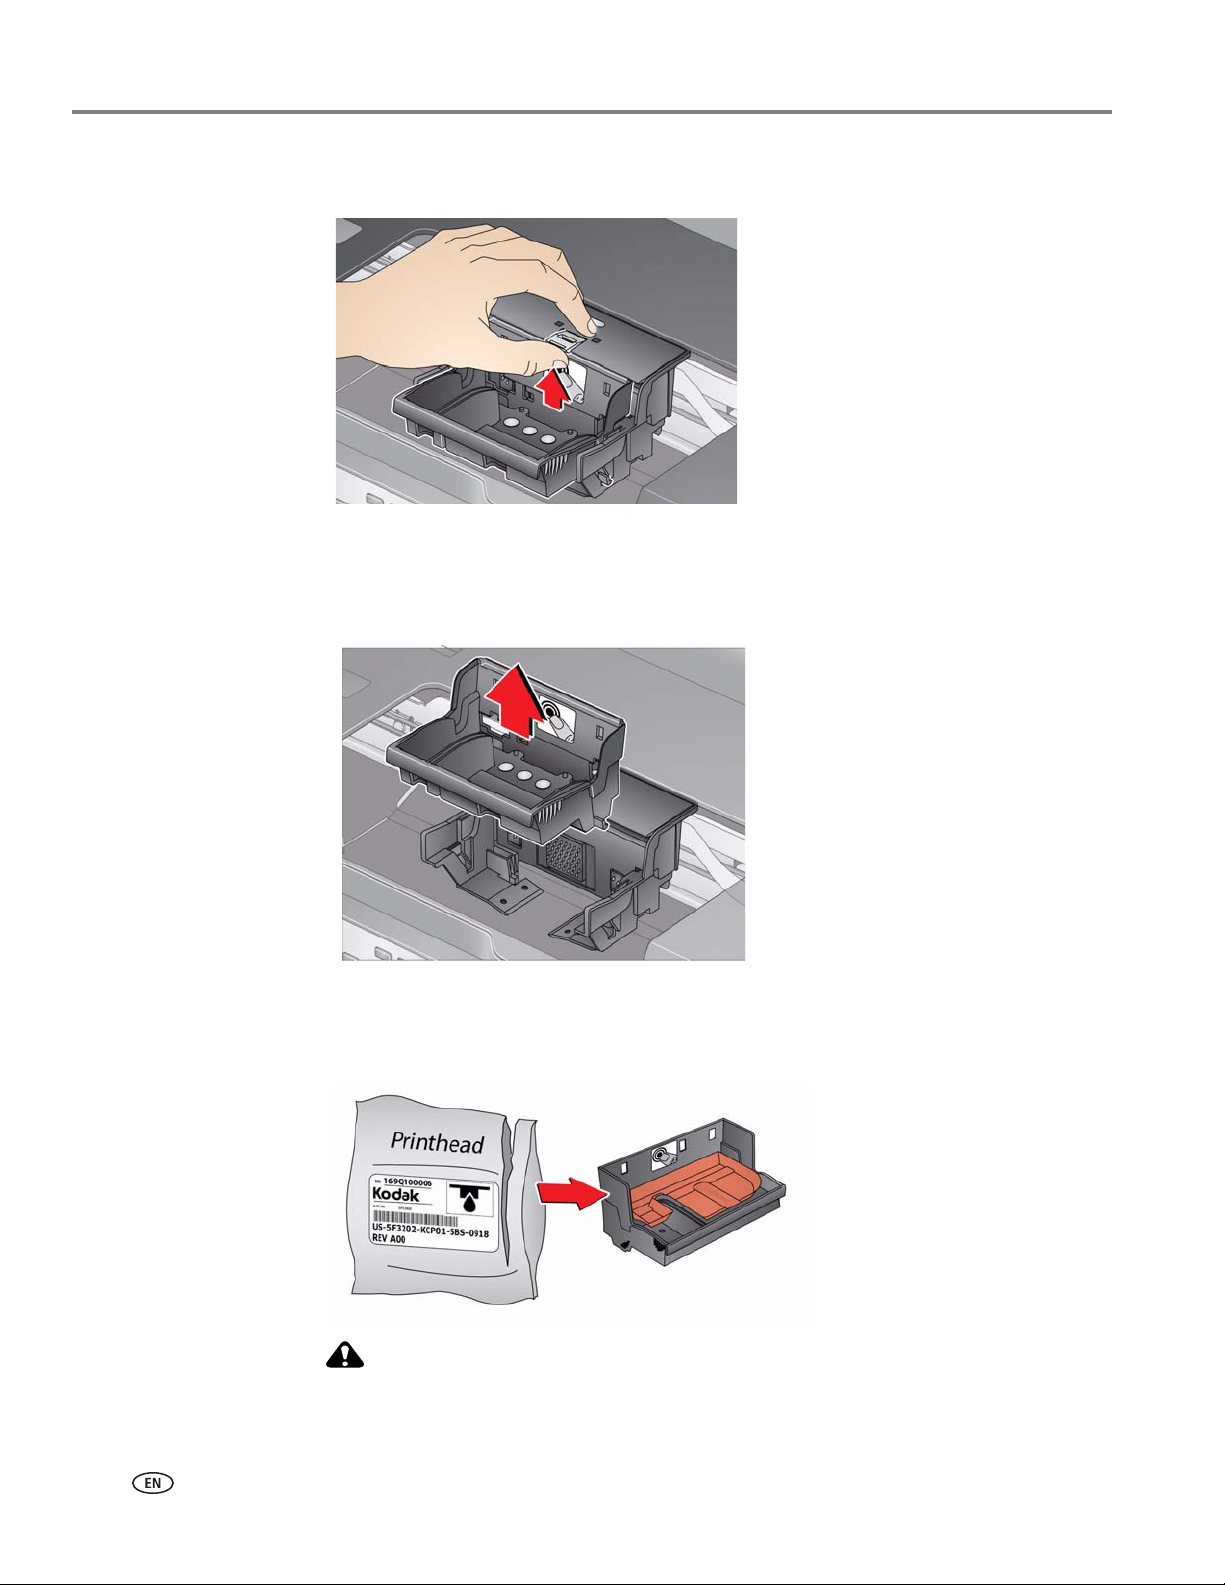
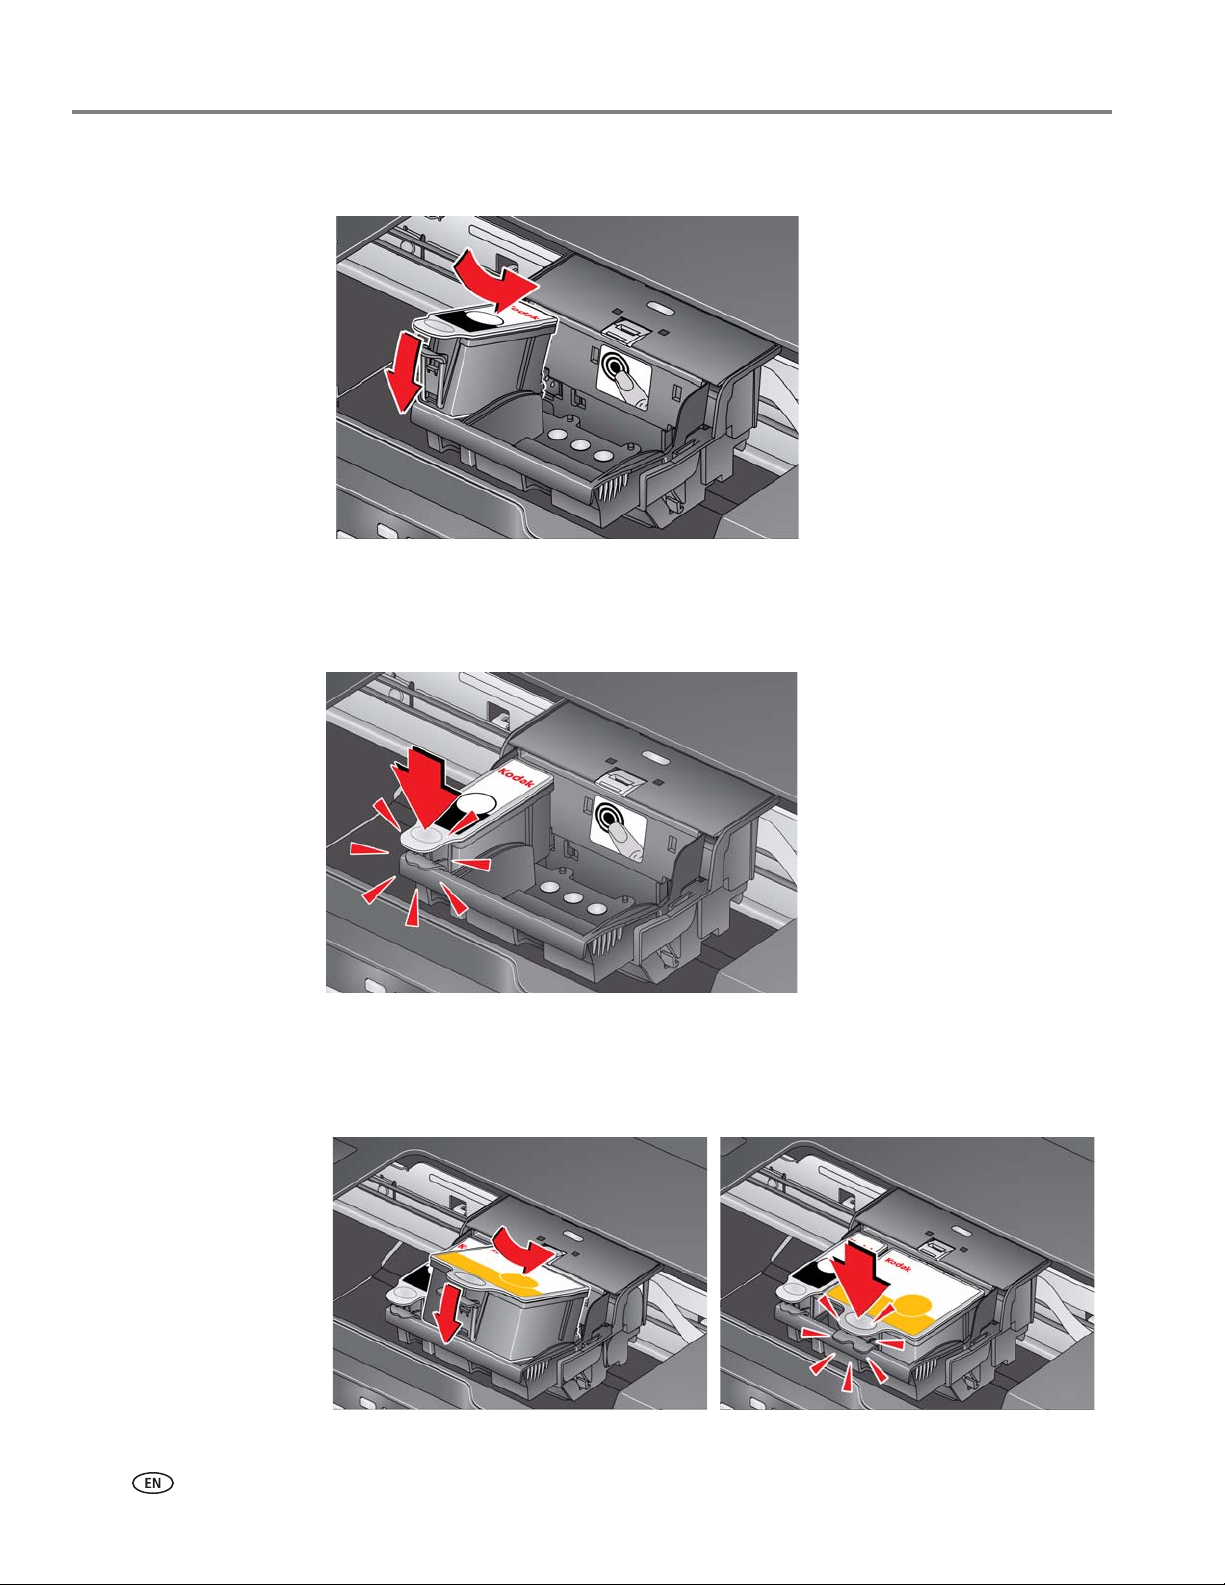
Replacing the printhead...............................................................................................................................................59
Updating the software and printer firmware..........................................................................................................63
Updating if your printer is connected to a computer with WINDOWS OS.............................................63
Updating if your printer is connected to a computer with MAC OS.........................................................64
Monitoring and adjusting printer performance....................................................................................................64
Getting help on the Web............................................................................................................................................68
Status lights....................................................................................................................................................................69
Power status light...................................................................................................................................................69
Wi-Fi status light....................................................................................................................................................69
9 Product and Safety Specifications
Features and Specifications.......................................................................................................................................70
Bottom input paper tray........................................................................................................................................72
Top input paper tray...............................................................................................................................................72
Table of contents
www.kodak.com/go/aiosupportiii
Output paper tray...................................................................................................................................................72
System requirements.............................................................................................................................................74
Canadian statements.............................................................................................................................................79
German compliance statement..........................................................................................................................79
Waste electrical and electronic equipment labeling.....................................................................................79
ENERGY STAR® Qualified..........................................................................................................................................80
Declaration of Conformity..........................................................................................................................................82
www.kodak.com/go/aiosupport 1
1
Printer Overview
This printer lets you print, copy, and scan pictures and documents. In addition, this
printer supports networking, letting you access the printer over a wireless (Wi-Fi) or
Ethernet network.
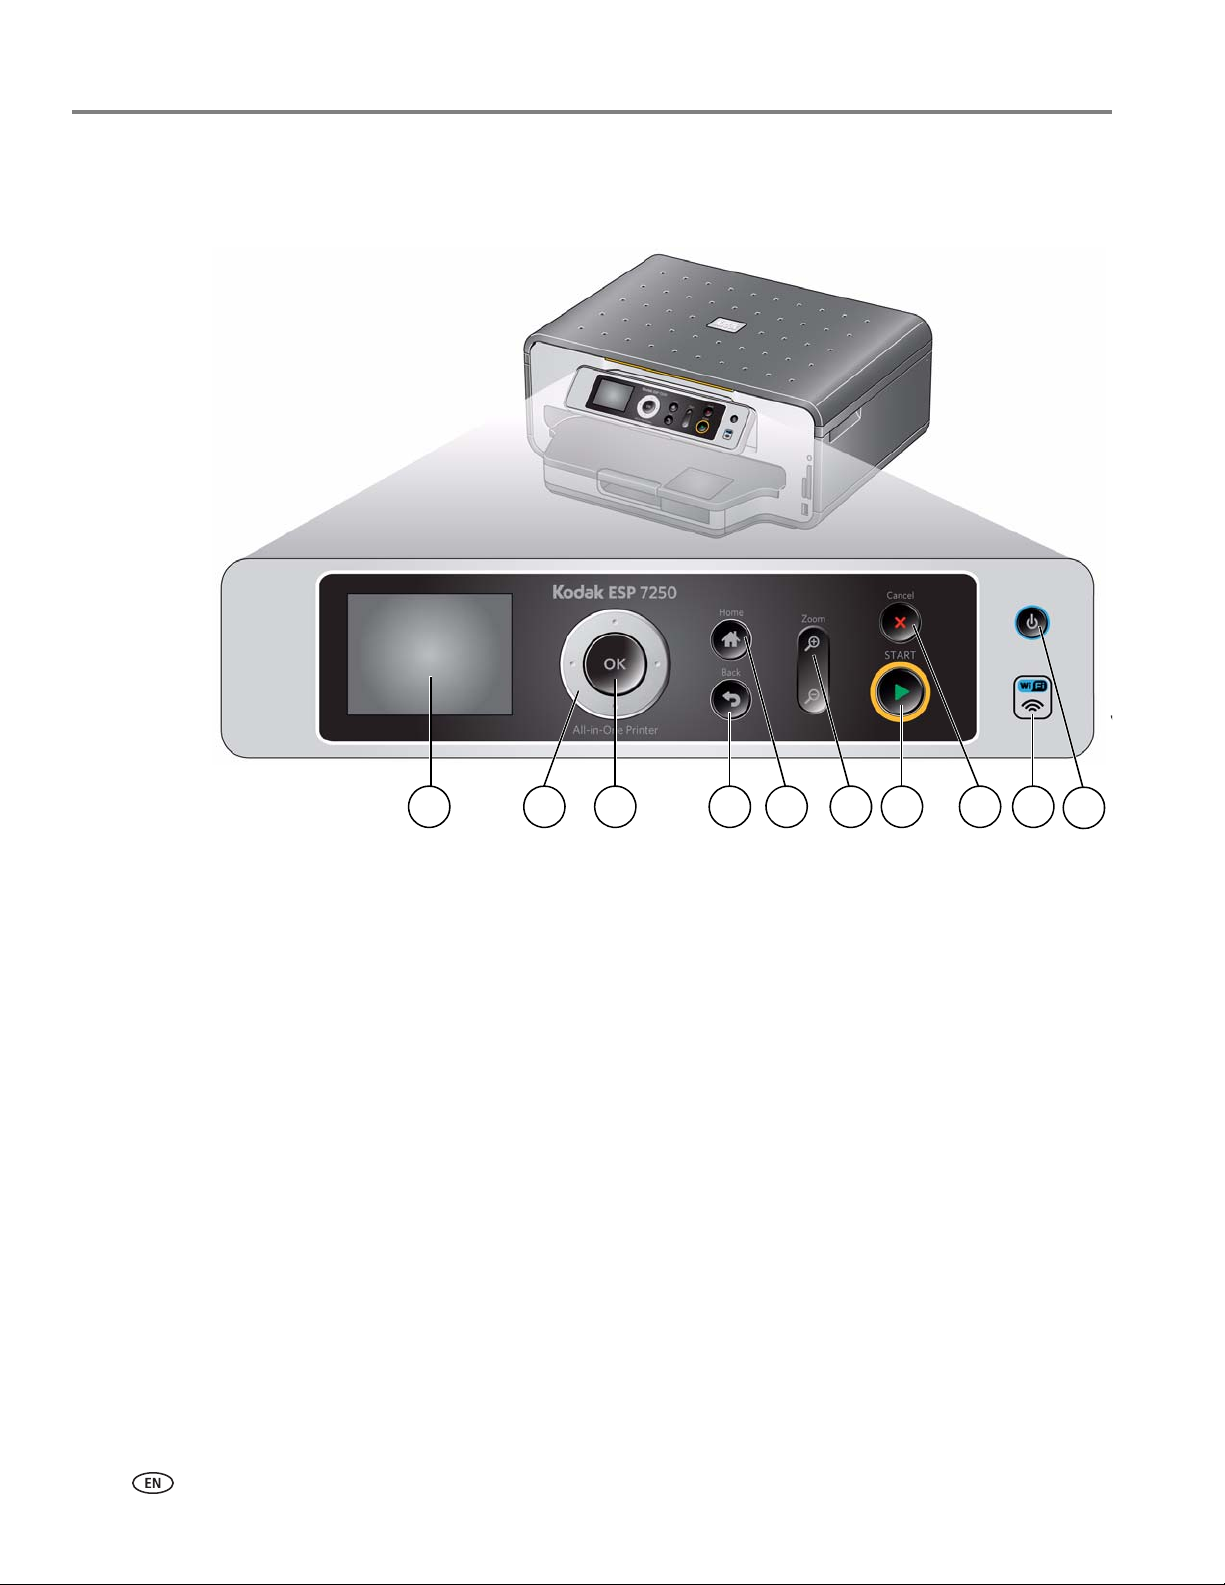
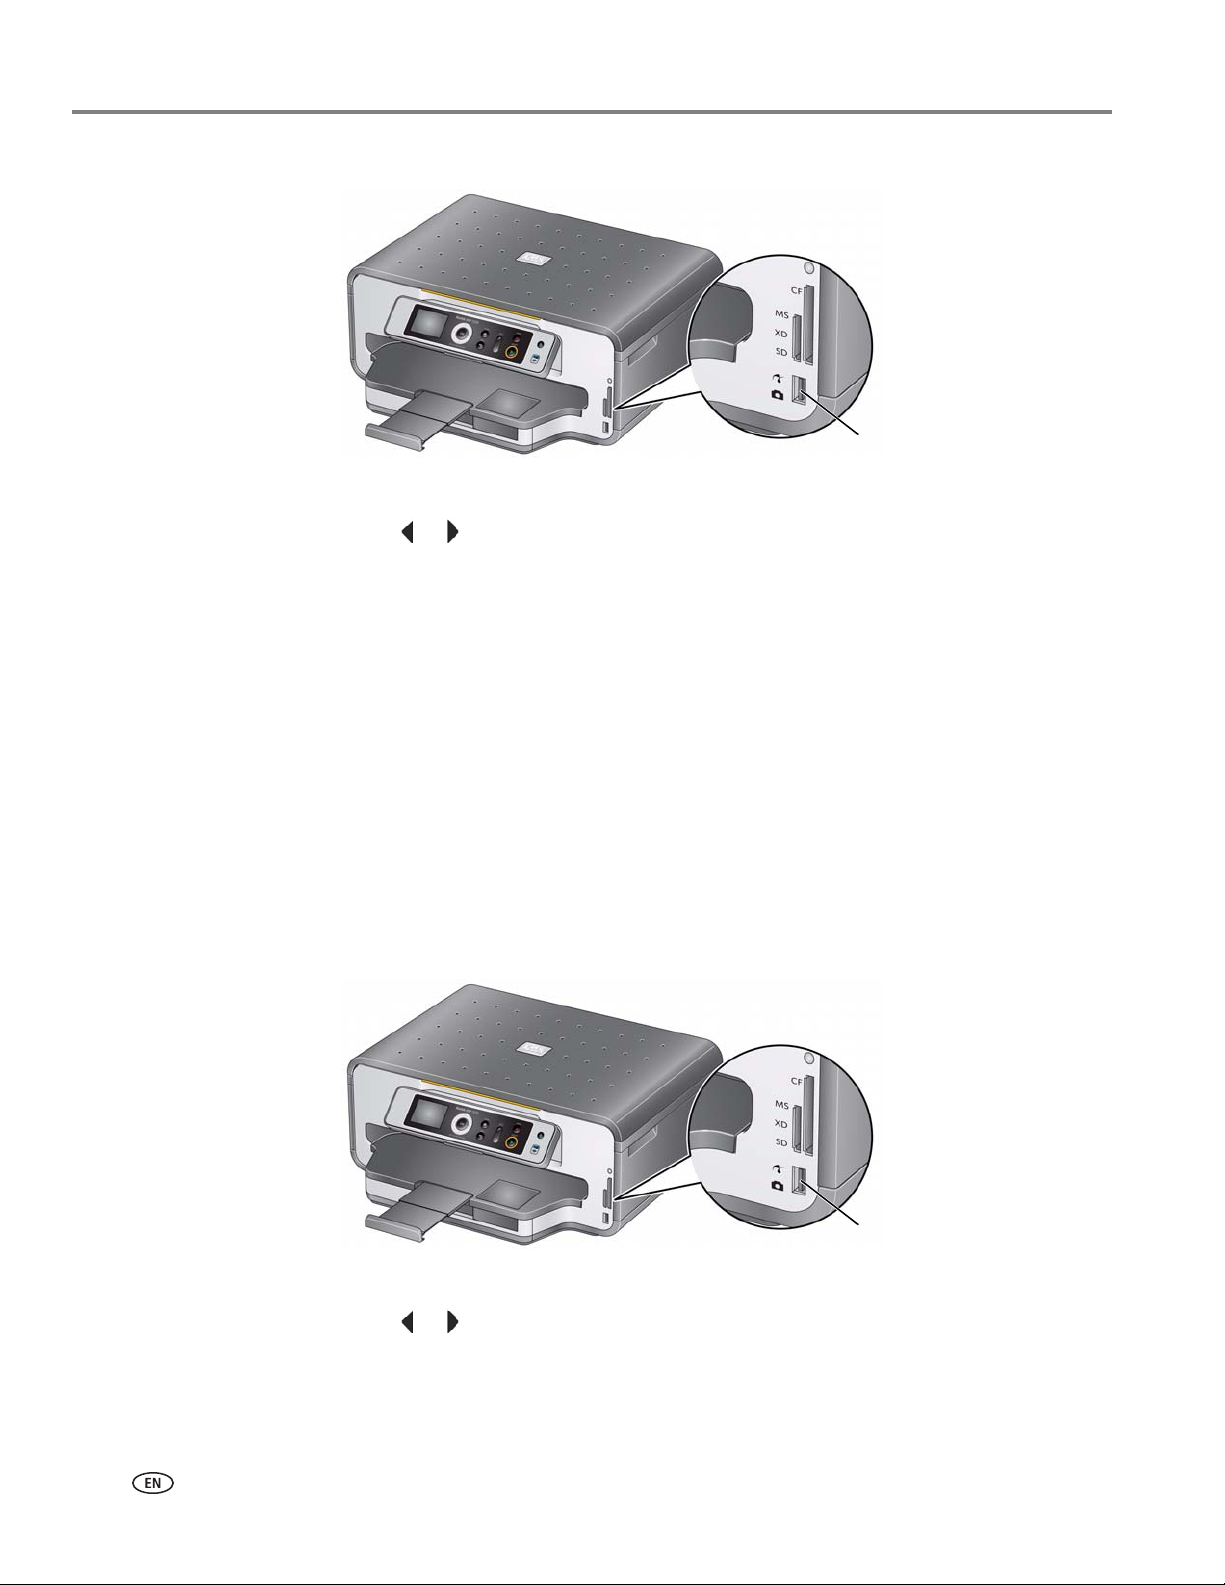
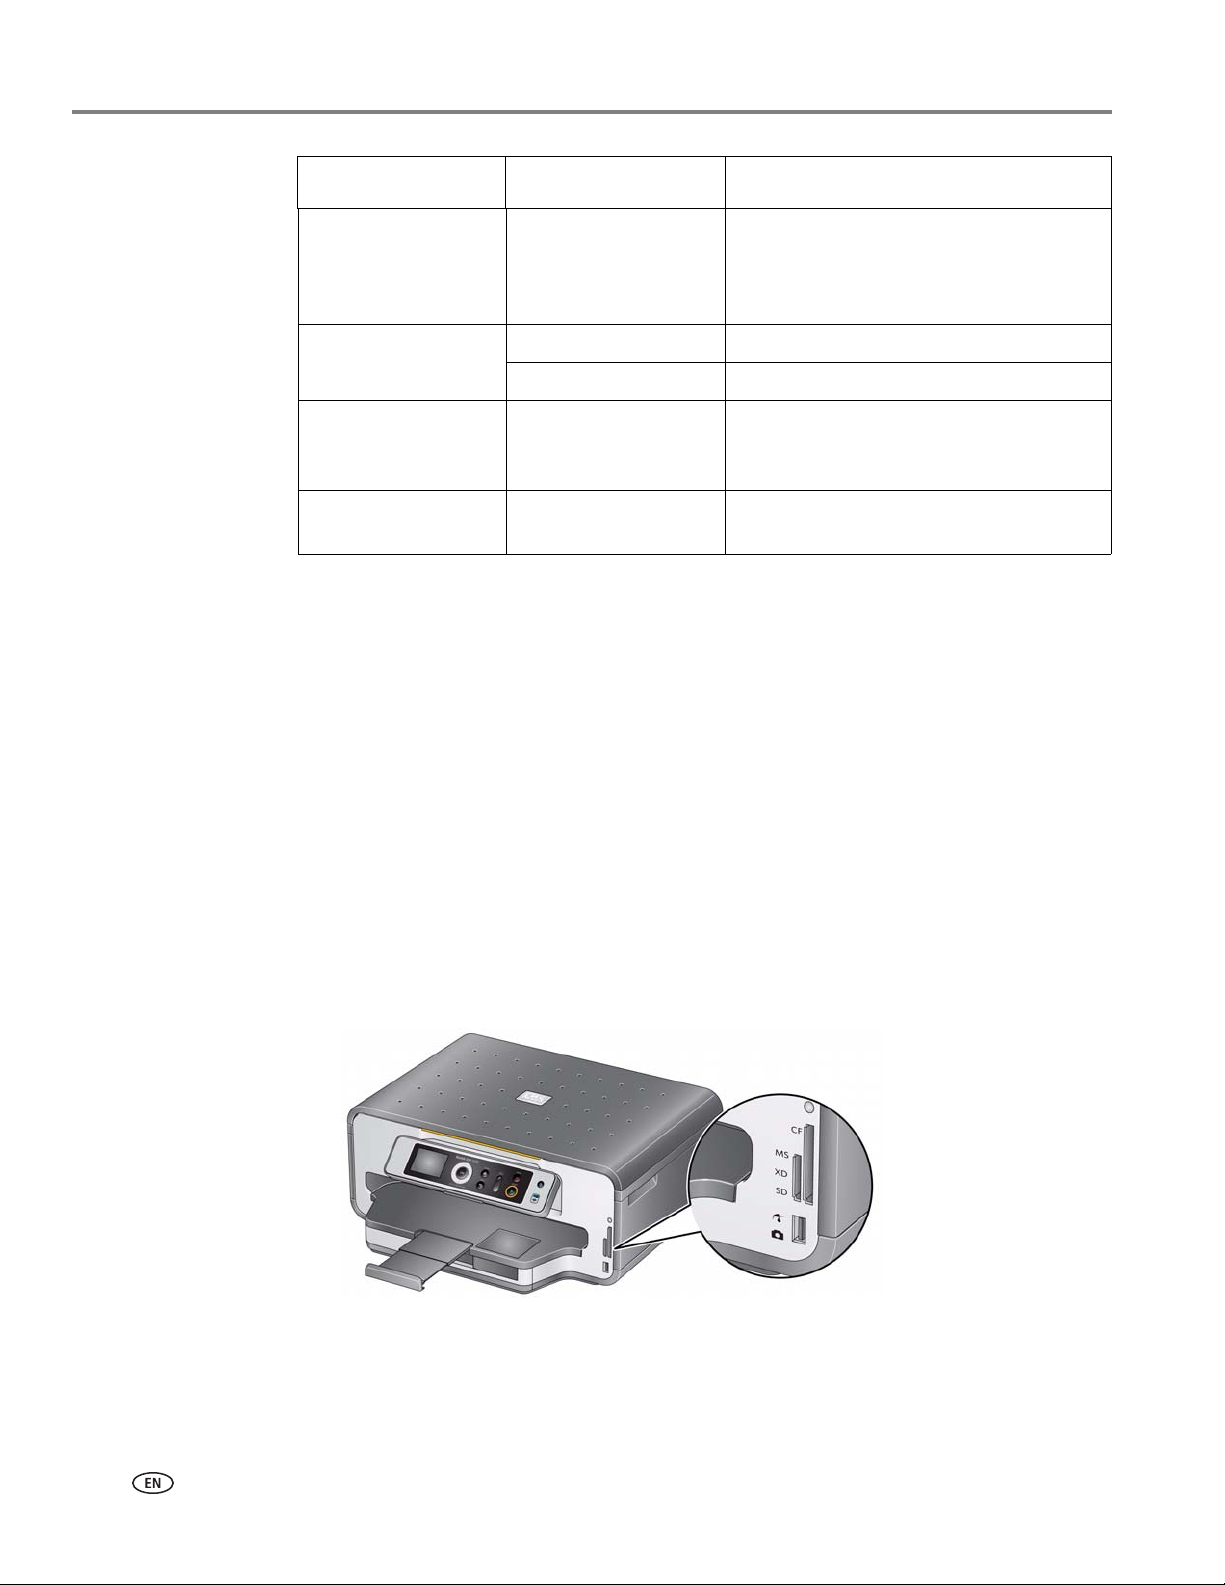
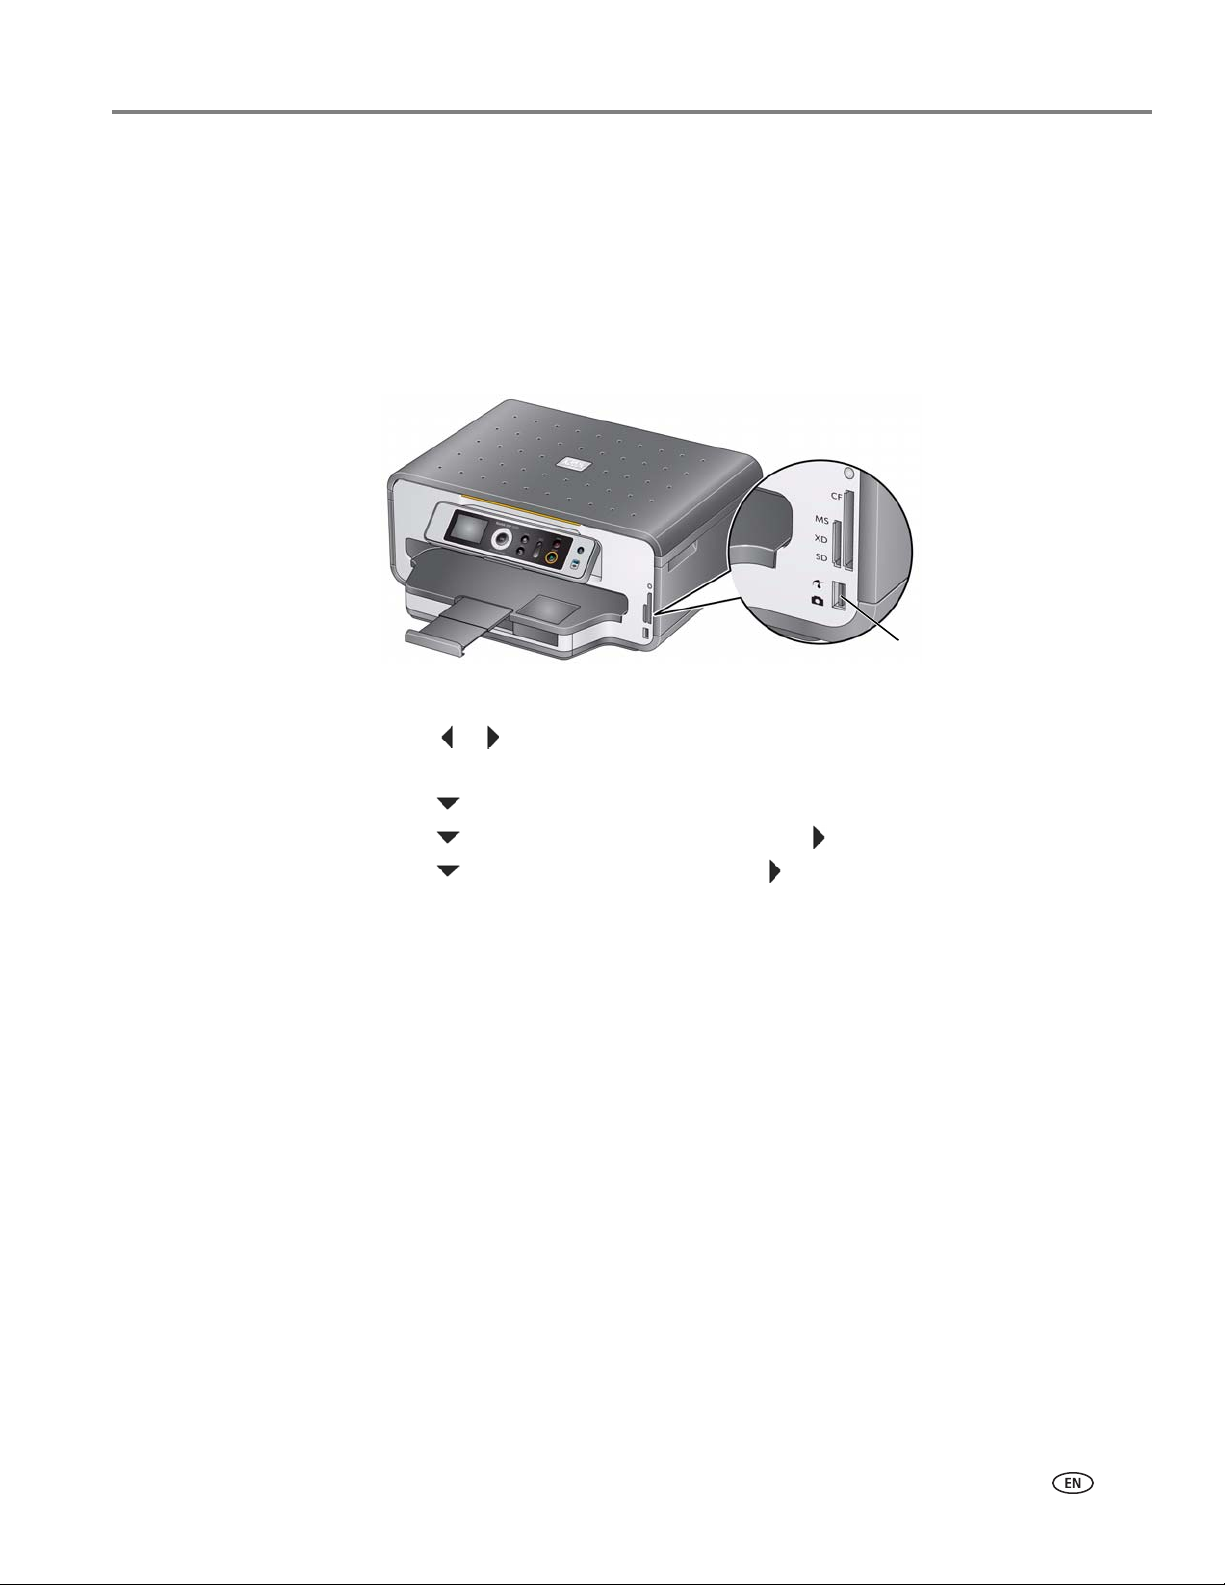
Components
1Control panel12View port for photo paper
2Power cord port13Output tray extender with paper stop
3USB port14Output tray
4Ethernet port15Scanner glass
5Rear-access cleanout area16Scanner lid
6Duplexer (pulled out)17Front paper-edge guides
7Printer access door18Main paper tray
8CF card slot19Paper tray extender for legal paper
9Front USB port20Left paper-edge guides
10MS/XD/SD card slot21Photo paper tray
11Printhead with ink cartridges installed
15
13
14
2
7
11
43
9
108
1
16
12
21
5
6
18
17
20
19
Printer Overview
2www.kodak.com/go/aiosupport
Control panel
FeatureDescription
1LCDDisplays pictures, messages, and menus
2Navigation buttonsUsed to navigate menus; scroll through pictures
3OK buttonSelects a menu item, accepts a setting, and continues with the current
operation
4Back buttonDisplays the next higher menu
5Home buttonDisplays the main menu; toggles between screens
6Zoom buttonsEnlarge or reduce the size of the displayed picture
7Start buttonBegins copying, scanning, printing, maintenance task, and file transfer
8Cancel buttonStops the current operation and returns to the menu; displays the next
higher menu
9Wi-Fi connectivity
LED
When lit, signals that the printer is connected to a wireless (Wi-Fi)
network; blinks when searching for an available Wi-Fi network or
reconnecting to an already configured network
10On/Off buttonTurns the printer on or off
731210
98456
www.kodak.com/go/aiosupport3
KODAK ESP 7200 Series All-in-One Printer
Home Center Software
KODAK Home Center Software is installed as part of the software installation on
your computer. The Home Center icon is added to your desktop and, depending on
your configuration, to the Start menu. Use this icon to start Home Center Software.
On a computer with WINDOWS Operating System (OS), you can use Home Center
Software to:
•browse, crop, enhance, and edit pictures
•print and scan
•upgrade your printer with the latest software and firmware
•configure your printer
•order supplies
•access the KODAK Tips and Projects Center
•access this Extended User Guide
On a computer with MAC OS, you can use Home Center Software to scan, order
supplies, configure your printer, or check for printer software updates.
4www.kodak.com/go/aiosupport
2
Configuring Your Printer
This section explains how to configure or change your printer settings and your
wireless network settings.
Configuring printer settings
NOTE: When you first power on the printer, the printer automatically steps you
through the process of selecting the Language and Country/Region.
To set or change basic printer settings:
1.Press Home.
2.Press to select
Printer Settings, then press OK.
3.Press to select one of the following settings:
•Date and Time*
–Press
OK, then press to select Year, Month, Day, Hour, or Minute.
Press or to change the values; press OK when you are done.
•Button Sounds
–Press to select
On or Off.
•Time to Low Power
–Press to change the time to energy-saving low power (select from 1 to 4
hours in 0.5 hour increments). After the time to low power, the printer goes
into a low-power mode.
•DPOF Printing
–Press to select
On or Off.
•Language
–Press OK, press to select a language, then press OK.
•Country/Region
–Press OK, press to select a country or region, then press OK.
•Reset All Settings (see Resetting factory defaults, page65)
NOTE: Resetting factory defaults does not change the date and time, language, or
country/region.
4.Press Back to go back to the Main Menu.
* You can also synchronize the printer's date and time to your computer from Home
Center Settings under Tools in Home Center Software.
www.kodak.com/go/aiosupport5
KODAK ESP 7200 Series All-in-One Printer
Connecting to a wireless network
To connect your printer to an 802.11 wireless (Wi-Fi) network, refer to the following
information.
Before you connect
You need:
•A computer equipped with a network interface card or wireless networking
support.
•A working 802.11 wireless network. Kodak recommends that you use a wireless
access point/router that uses Dynamic Host Configuration Protocol (DHCP).
•Your network name (SSID - Service Set Identifier). You can obtain your SSID
from the wireless access point, most commonly a router, using the router’s
embedded Web server. See the manufacturer’s documentation provided with
your wireless system for more information.
•Your Wired Equivalent Privacy (WEP) key or Wi-Fi Protected Access
(WPA/WPA2) passphrase.
•To
be sure to temporarily disable your firewall until the printer is successfully
installed and communicating.
Connecting to a wireless network using the WiFi Setup Wizard
You can use the WiFi Setup Wizard on the printer to connect to your wireless
network. Read the following procedures and use the one that is appropriate for your
network setup.
Connecting to a listednetwork
See Before you connect to determine what is needed to connect your printer to the
network.
To connect to a listed network using the WiFi Setup Wizard:
1.Press Home.
2.Press to select Network Settings, then press OK.
3.With WiFi Setup Wizard selected, press OK.
NOTE: The Wi-Fi radio is turned on automatically when you select WiFi Setup
Wizard.
Configuring Your Printer
6www.kodak.com/go/aiosupport
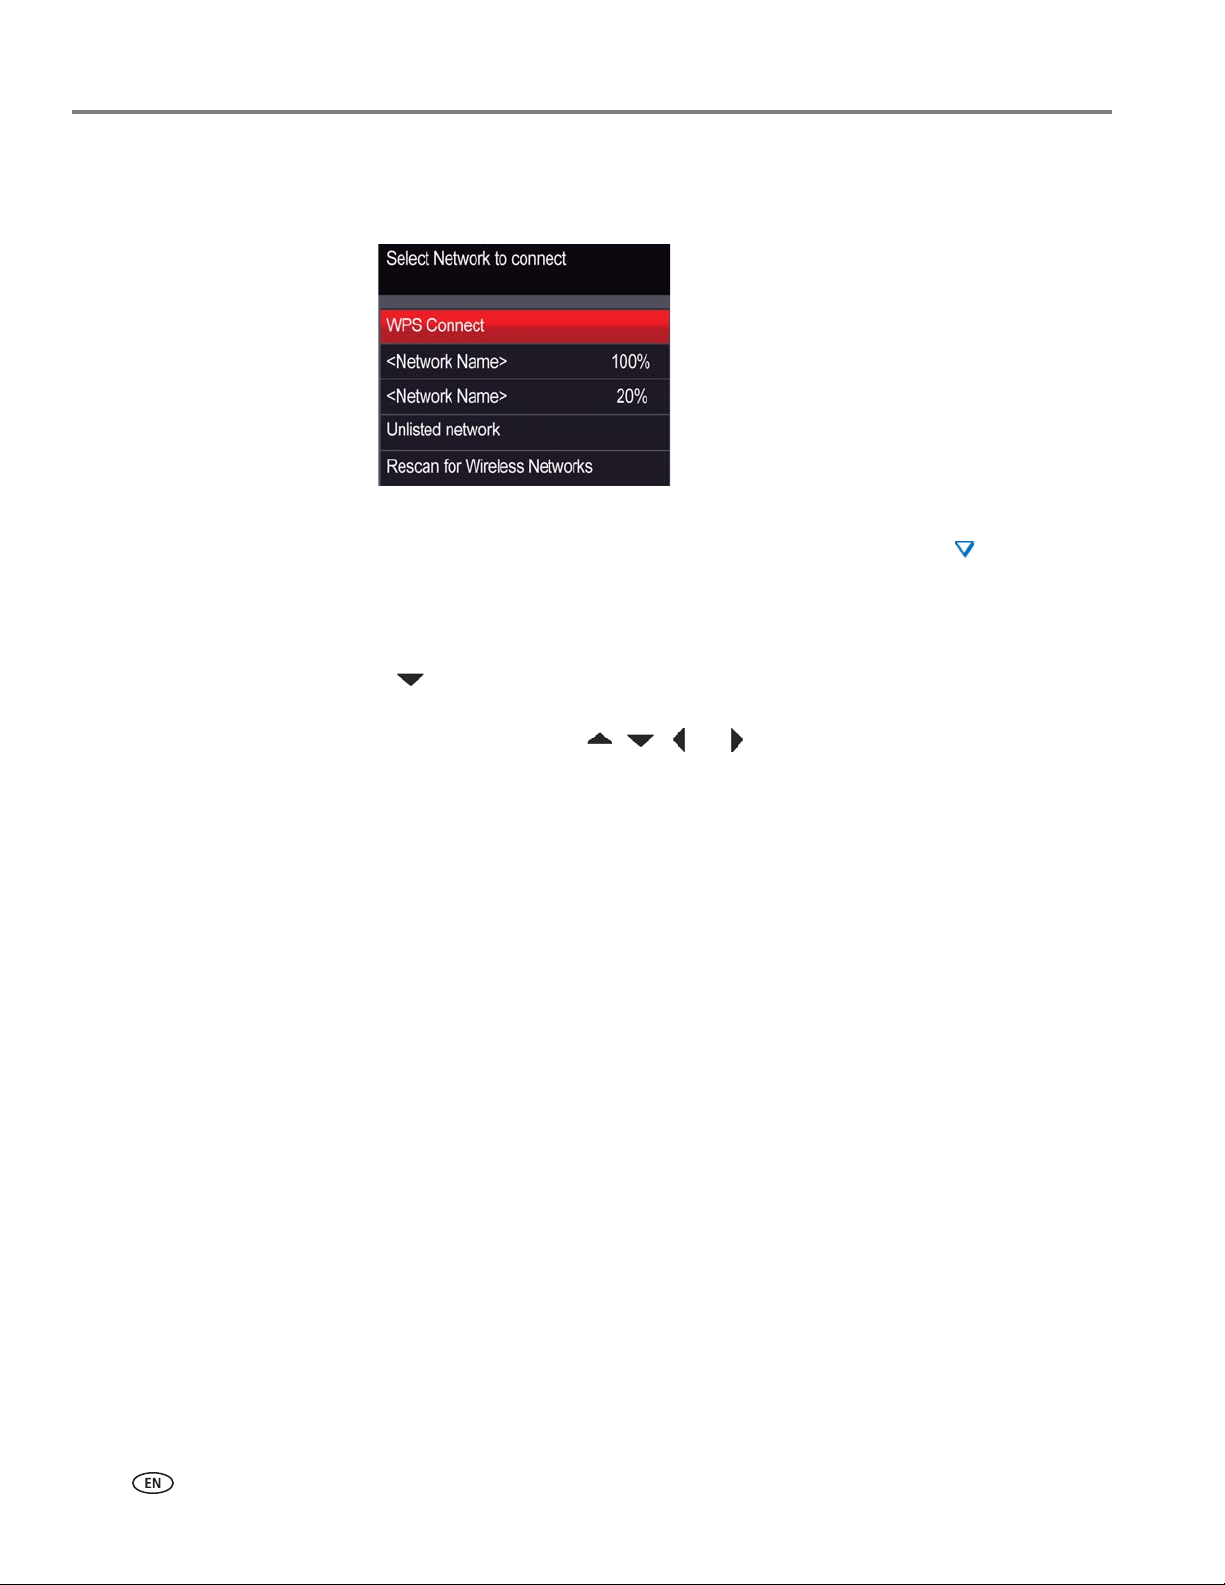
The printer searches for available wireless networks within range, then displays
the list in order of signal strength. For example:
NOTE: If there are more networks than can be shown on the LCD, a (page down)
symbol appears in the bottom right of the display. If you don’t see your
network in the list or want to change your network, select Rescan for
Wireless Networks, then press OK.
4.Press to select your network, then press OK.
5.If your network requires a password, “Enter Security String” and a keyboard
appear on the LCD. Press , , or to select the letters and numbers of
your password, using the correct uppercase and lowercase letters. Press OK
after each character. When your security string is entered, select DONE, then
press OK.
•To erase a character, select BKSP (backspace), then press OK.
•To change from uppercase to lowercase, select abc/123, then press OK.
•To change from lowercase to uppercase, select ABC/123, then press OK.
•To enter punctuation or symbols, select !@#, then press OK.
6.When the confirmation message appears, press OK.
7.If you haven’t yet installed the KODAK All-in-One Printer Software that came
with your printer, insert the software CD and follow the on-screen instructions
to install the software.
The printer with a wireless connection is listed as the name of the printer plus a
number (for example, KodakESP7200+1133).
www.kodak.com/go/aiosupport7
KODAK ESP 7200 Series All-in-One Printer
Connecting to an unlisted network
To connect to an unlisted network using the WiFi Setup Wizard:
1.Press Home.
2.Press to select Network Settings, then press OK.
3.With WiFi Setup Wizard selected, press OK.
NOTE: The Wi-Fi radio is turned on automatically when you select WiFi Setup
Wizard.
4.If your network is configured to not broadcast its SSID (network name) and does
not appear in the list, select Unlisted Network, then press OK.
5.Use the keyboard on the LCD to enter the network name.
Press , , or to select the letters and numbers of your network name,
using the correct uppercase and lowercase letters. Press OK after each
character. When you have finished entering the network name, select DONE,
then press OK.
•To erase a character, select BKSP (backspace), then press OK.
•To change from uppercase to lowercase, select abc/123, then press OK.
•To change from lowercase to uppercase, select ABC/123, then press OK.
•To enter punctuation or symbols, select !@#, then press OK.
6.Select WEP or WPA/WPA2 as required for your network's security setup, then
press OK.
7.Use the keyboard on the LCD to enter the required security information
(password or passphrase), pressing OK after each character. When your
security information is entered, select DONE, then press OK.
8.When the confirmation message appears, press OK.
9.If you haven’t yet installed the KODAK All-in-One Printer Software that came
with your printer, insert the software CD and follow the on-screen instructions
to install the software.
The printer with a wireless connection is listed as the name of the printer plus a
number (for example, KodakESP7200+1133).
Configuring Your Printer
8www.kodak.com/go/aiosupport
Using WPS to connect to a Wi-Fi network
If your router supports Wi-Fi Protected Setup (WPS), you can use WPS Connect.
WPS lets you configure your printer for a wireless network by pressing buttons or
entering a PIN.
To connect to a network using WPS:
1.Press Home.
2.Press to select
Network Settings, then press OK.
3.With WiFi Setup Wizard selected, press OK.
NOTE: The Wi-Fi radio is turned on automatically when you select Wi-Fi Setup
Wizard.
4.Press to select
WPS Connect, then press OK.
5.Select one of two methods of connecting:
IMPORTANT: Before you press OK on the printer, make sure you know where the router's
push button is, or where to enter the generated PIN.
If necessary, consult your Internet service provider or router device
manufacturer’s documentation for more information.
•To use push buttons:
a.With Push Button Configuration selected, press OK.
b.You will have two minutes to push the WPS button on your router (this may
either be a physical button on the router or a virtual button in the router’s
software).
•To enter a PIN:
a.Press to select Generate WPS PIN, then press OK.
b.Go to your router’s software and locate the PIN button.
c.Enter the PIN you received on the LCD into the PIN screen for your router.
6.When the confirmation message appears, press OK.
7.If you haven’t yet installed the KODAK All-in-One Printer Software that came
with your printer, insert the software CD and follow the on-screen instructions
to install the software.
The printer with a wireless connection is listed as the name of the printer plus a
number (for example, KodakESP7200+1133).
www.kodak.com/go/aiosupport9
KODAK ESP 7200 Series All-in-One Printer
Setting up an IP address
IMPORTANT: You should only need to set up an IP address for your printer if you are
having a problem with connecting. Typically, it is not necessary to set up an
IP address. This procedure is for advanced users who know how to obtain
the IP address for the printer.
All IP address entries have the following format: 000.000.000.000. Within each
three-digit grouping, the number must be right-justified. If an address or subnet
mask has only one or two characters between the periods, include one or two
leading zeros in front of that number. For example:
For information about obtaining the printer IP address, go to
www.kodak.com/go/inkjetnetworking.
To set up your IP address on the printer:
1.Press Home.
2.Press to select Network Settings, then press OK.
3.Press to select Advanced IP Address Setup, then press OK.
4.Press OK again to continue.
5.Select one of the following, then press OK:
•Dynamic (DHCP)
•Automatic (Private)
•Manual (Static)
6.If you selected Manual (Static), you are prompted to enter an IP address, a
Subnet Mask, a Gateway Address, and a DNS Server address. Press OK after
each entry. Use the navigation buttons to enter each digit of the numbers.
Consult your Internet service provider or network administrator for more
information.
The address as it may appear
in your documentation
How to enter the address
in the printer menu
149.89.138.149 149.089.138.149
149.2.40.149149.002.040.149
Configuring Your Printer
10www.kodak.com/go/aiosupport
Verifying the network configuration
To verify that you are connected to your wireless network:
1.Press Home.
2.Press to select
Network Settings, then press OK.
3.Press to select
View Network Configuration, then press OK.
The wireless network settings appear on the LCD.
If the printer is connected to your network, you will see the network name and
the word CONNECTED.
4.To scroll through the information, press .
5.When you are done, press OK.
Printing the network configuration
To print the current network configuration:
1.Load plain paper into the printer. (See Loading paper in the main paper tray,
page16.)
2.Press Home.
3.Press to select
Network Settings, then press OK.
4.Press to select
Print Network Configuration, then press OK.
The printer prints a summary of the network configuration.
Installing your printer on additional computers on the network
To add your printer to another computer(s) on your network, install the KODAK
All-in-One Printer Software that came with your printer on each computer. Follow
the on-screen instructions.
Connecting to another KODAK All-in-One Printer
If you are connecting to a newer model printer (for example, you already have an
ESP7 printer and now you are adding an ESP 7250 printer), you must install the
software for the newer model.
If you are connecting to another ESP 7250 printer or to an older model:
Gebruikershandleiding.com neemt misbruik van zijn services uitermate serieus. U kunt hieronder aangeven waarom deze vraag ongepast is. Wij controleren de vraag en zonodig wordt deze verwijderd.
Product:
Spelregels forum
Om tot zinvolle vragen te komen hanteren wij de volgende spelregels:
lees eerst de handleiding door;
controleer of uw vraag al eerder door iemand anders is gesteld;
probeer uw vraag zo duidelijk mogelijk te stellen;
heeft u een probleem en al geprobeerd om dit op te lossen, vermeld dit erbij aub;
heeft u een oplossing gekregen van een bezoeker dan horen wij dat graag in dit forum;
wilt u een reactie geven op een vraag of antwoord, gebruik dan niet dit formulier maar klik op de knop 'reageer op deze vraag';
uw vraag wordt direct op de website gezet; vermijd daarom persoonlijke gegevens in te vullen;
Belangrijk! Als er een antwoord wordt gegeven op uw vraag, dan is het voor de gever van het antwoord nuttig om te weten als u er wel (of niet) mee geholpen bent! Wij vragen u dus ook te reageren op een antwoord.
Belangrijk! Antwoorden worden ook per e-mail naar abonnees gestuurd. Laat uw emailadres achter op deze site, zodat u op de hoogte blijft. U krijgt dan ook andere vragen en antwoorden te zien.
Abonneren
Abonneer u voor het ontvangen van emails voor uw Kodak ESP 7200 serie bij:
nieuwe vragen en antwoorden
nieuwe handleidingen
U ontvangt een email met instructies om u voor één of beide opties in te schrijven.
Ontvang uw handleiding per email
Vul uw emailadres in en ontvang de handleiding van Kodak ESP 7200 serie in de taal/talen: Engels als bijlage per email.
De handleiding is 1.73 mb groot.
U ontvangt de handleiding per email binnen enkele minuten. Als u geen email heeft ontvangen, dan heeft u waarschijnlijk een verkeerd emailadres ingevuld of is uw mailbox te vol. Daarnaast kan het zijn dat uw internetprovider een maximum heeft aan de grootte per email. Omdat hier een handleiding wordt meegestuurd, kan het voorkomen dat de email groter is dan toegestaan bij uw provider.
Uw handleiding is per email verstuurd. Controleer uw email
Als u niet binnen een kwartier uw email met handleiding ontvangen heeft, kan het zijn dat u een verkeerd emailadres heeft ingevuld of dat uw emailprovider een maximum grootte per email heeft ingesteld die kleiner is dan de grootte van de handleiding.
Er is een email naar u verstuurd om uw inschrijving definitief te maken.
Controleer uw email en volg de aanwijzingen op om uw inschrijving definitief te maken
U heeft geen emailadres opgegeven
Als u de handleiding per email wilt ontvangen, vul dan een geldig emailadres in.
Uw vraag is op deze pagina toegevoegd
Wilt u een email ontvangen bij een antwoord en/of nieuwe vragen? Vul dan hier uw emailadres in.