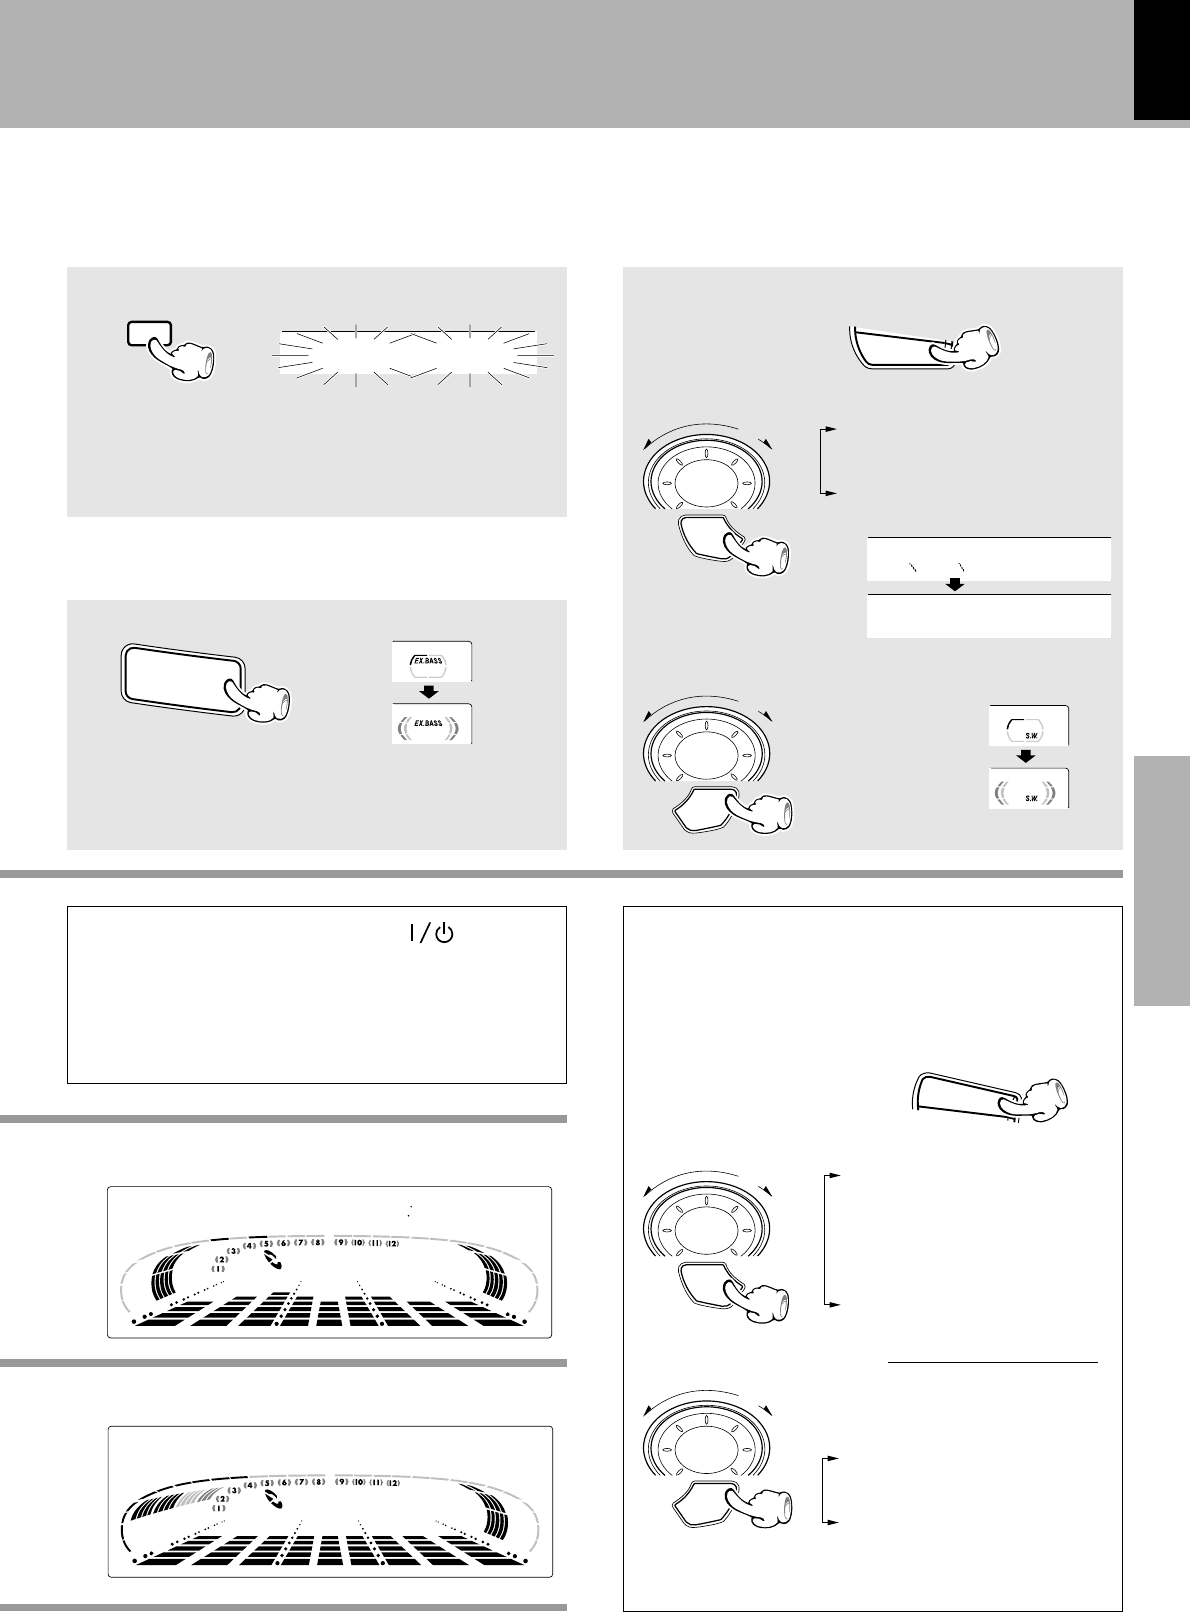
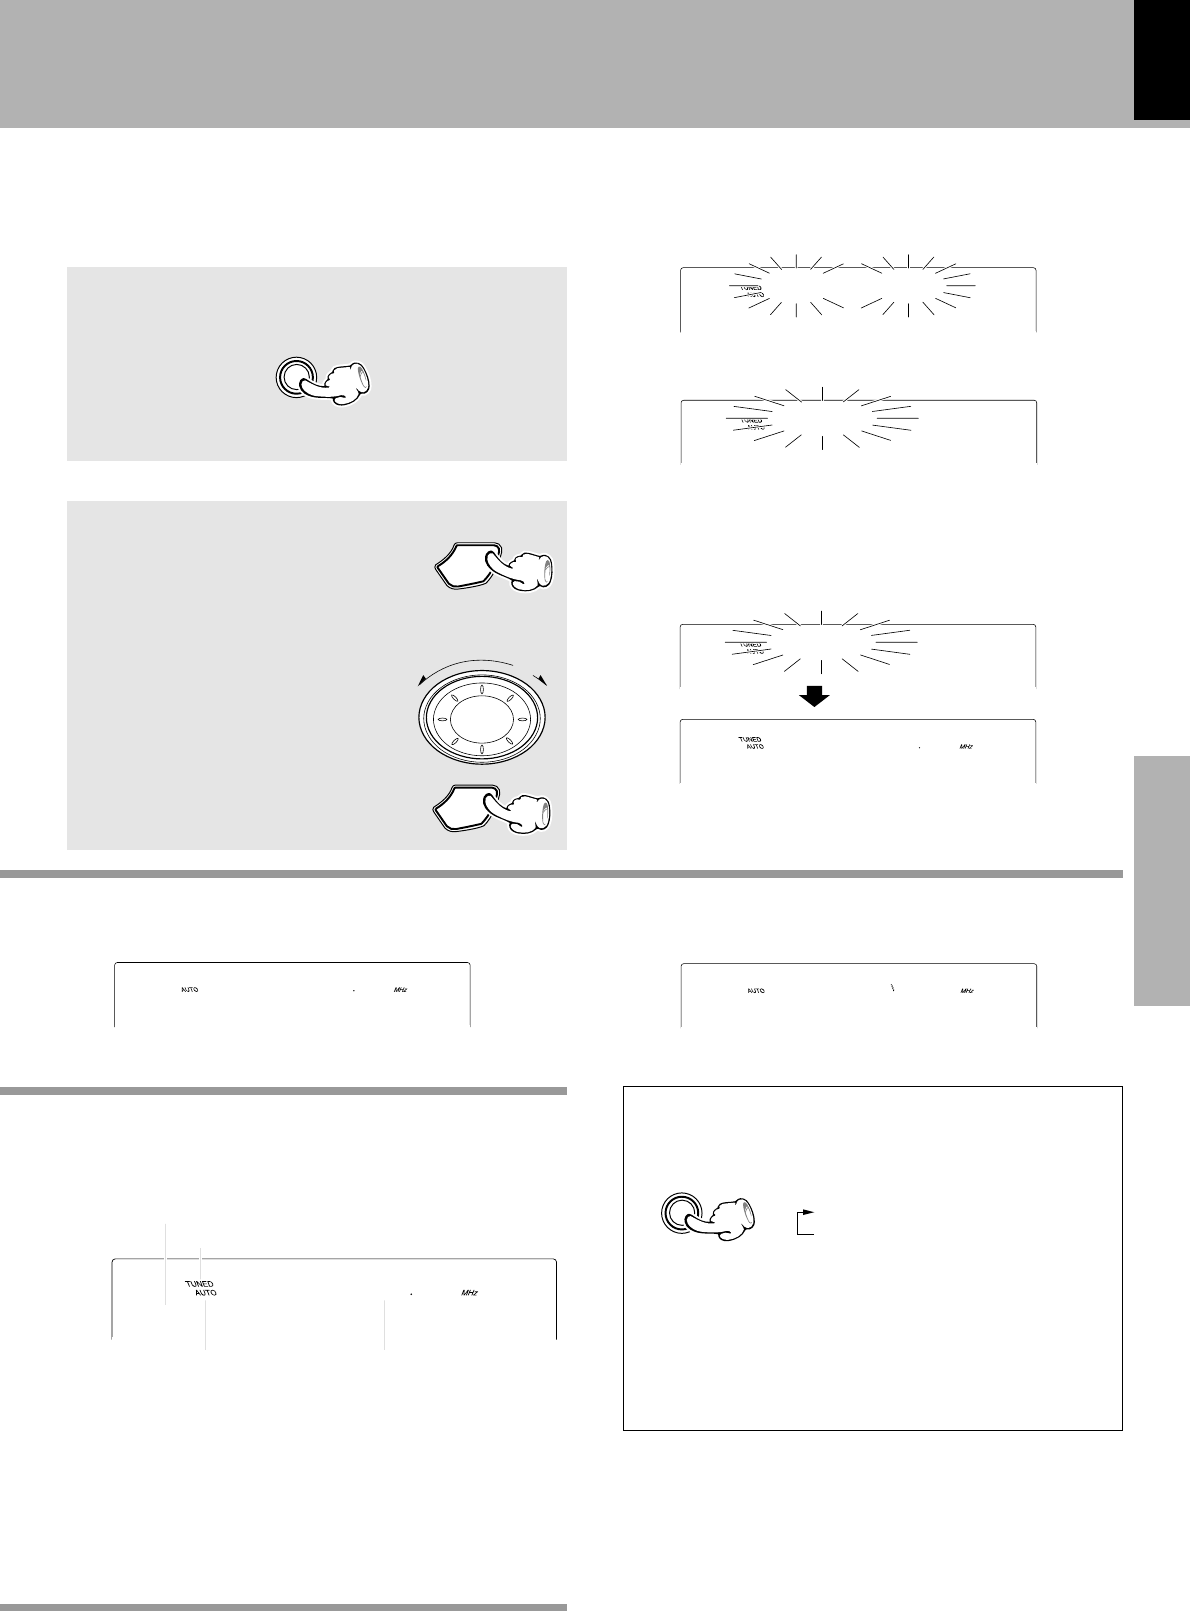
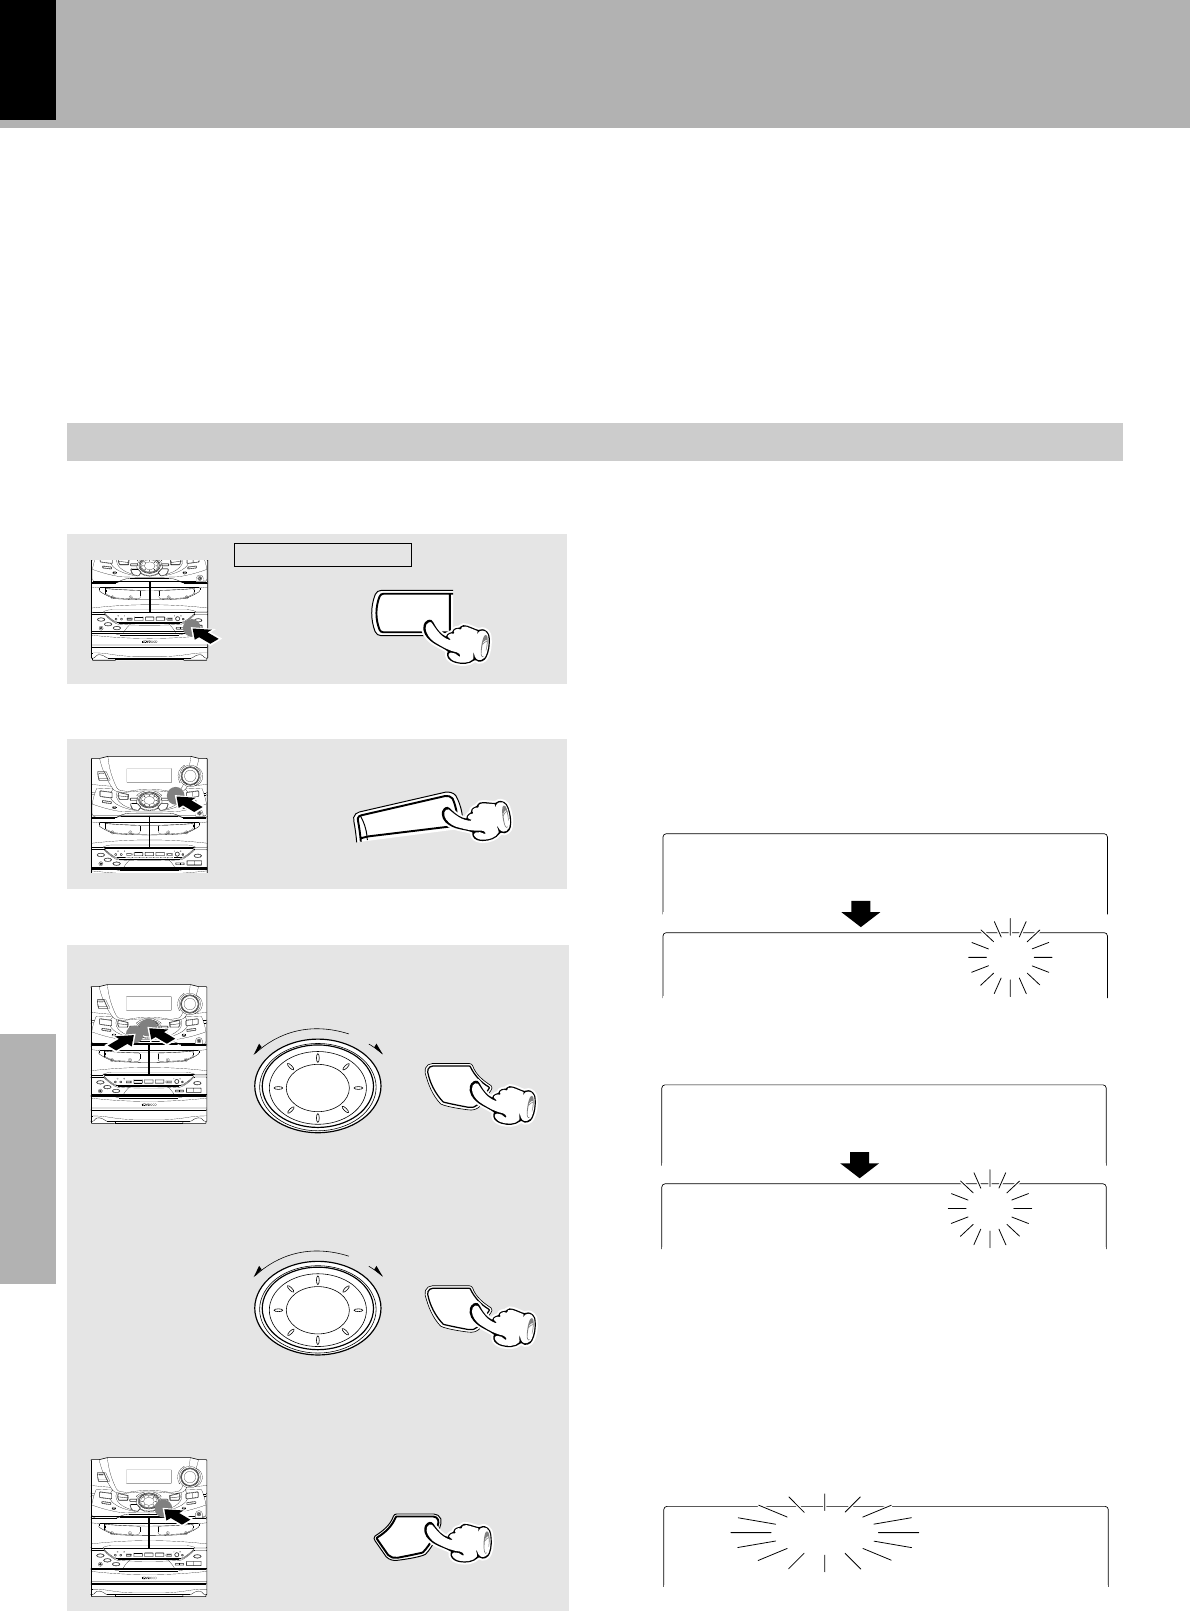
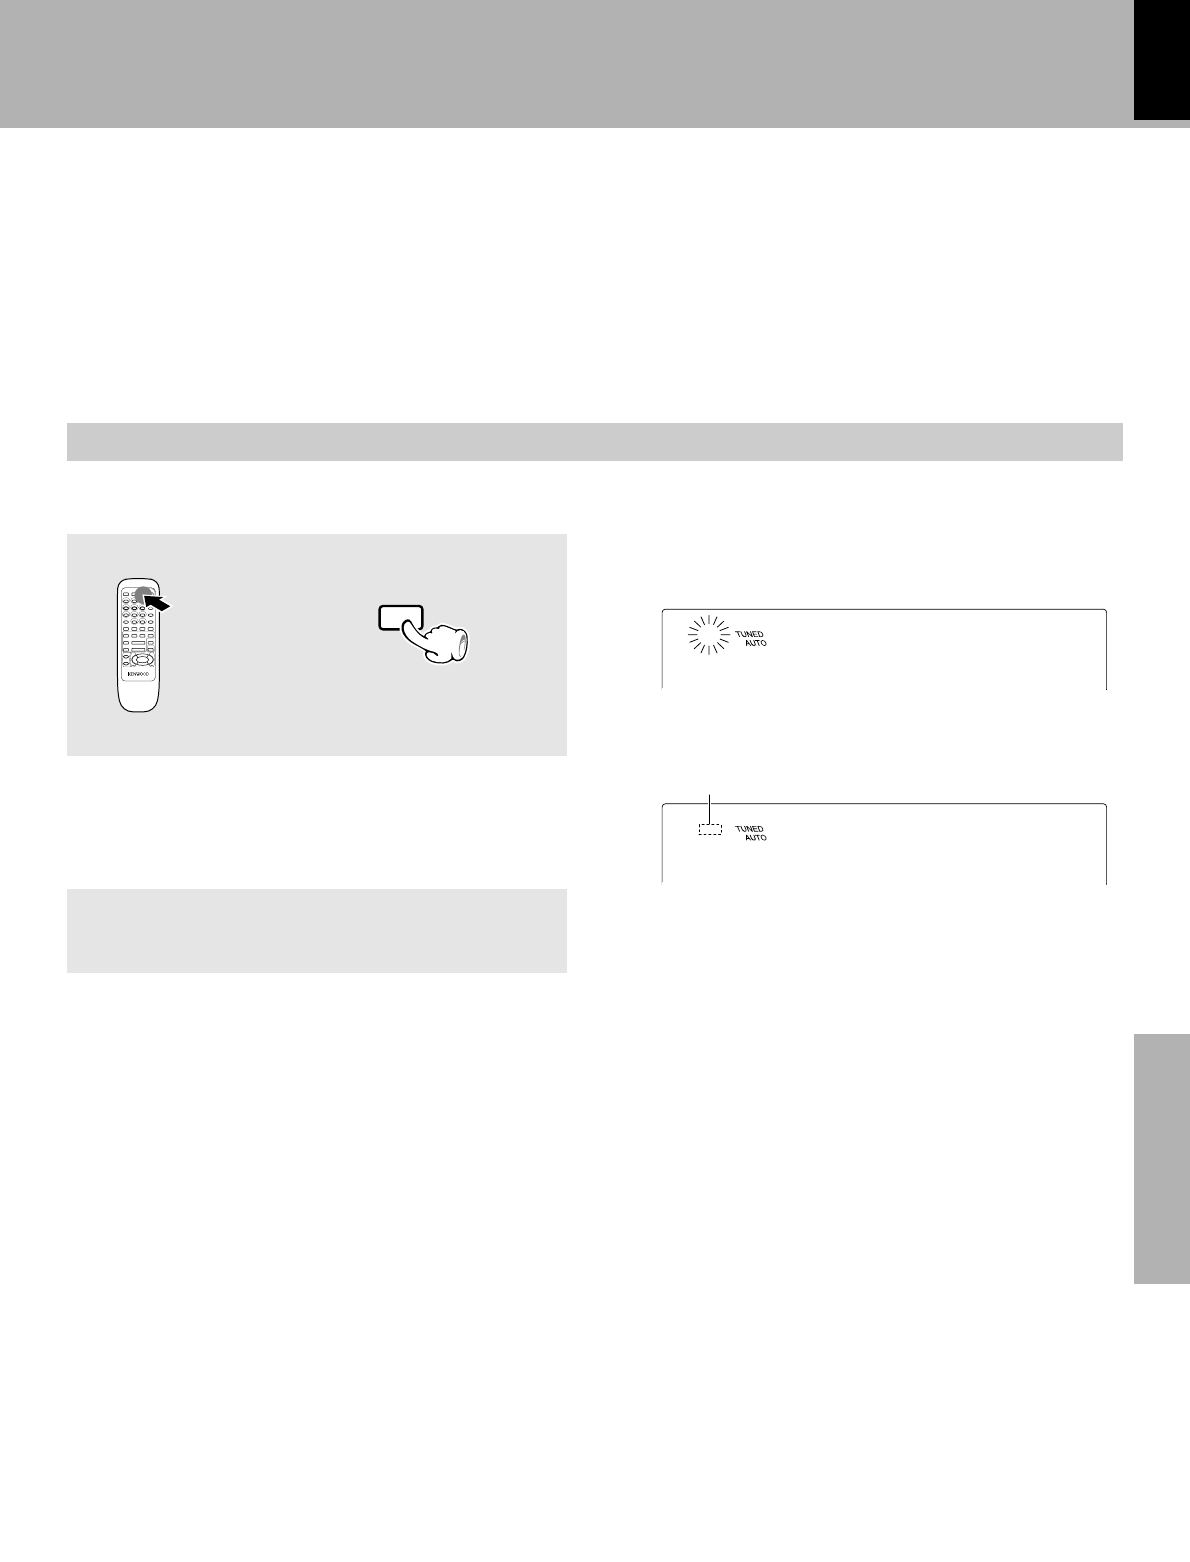
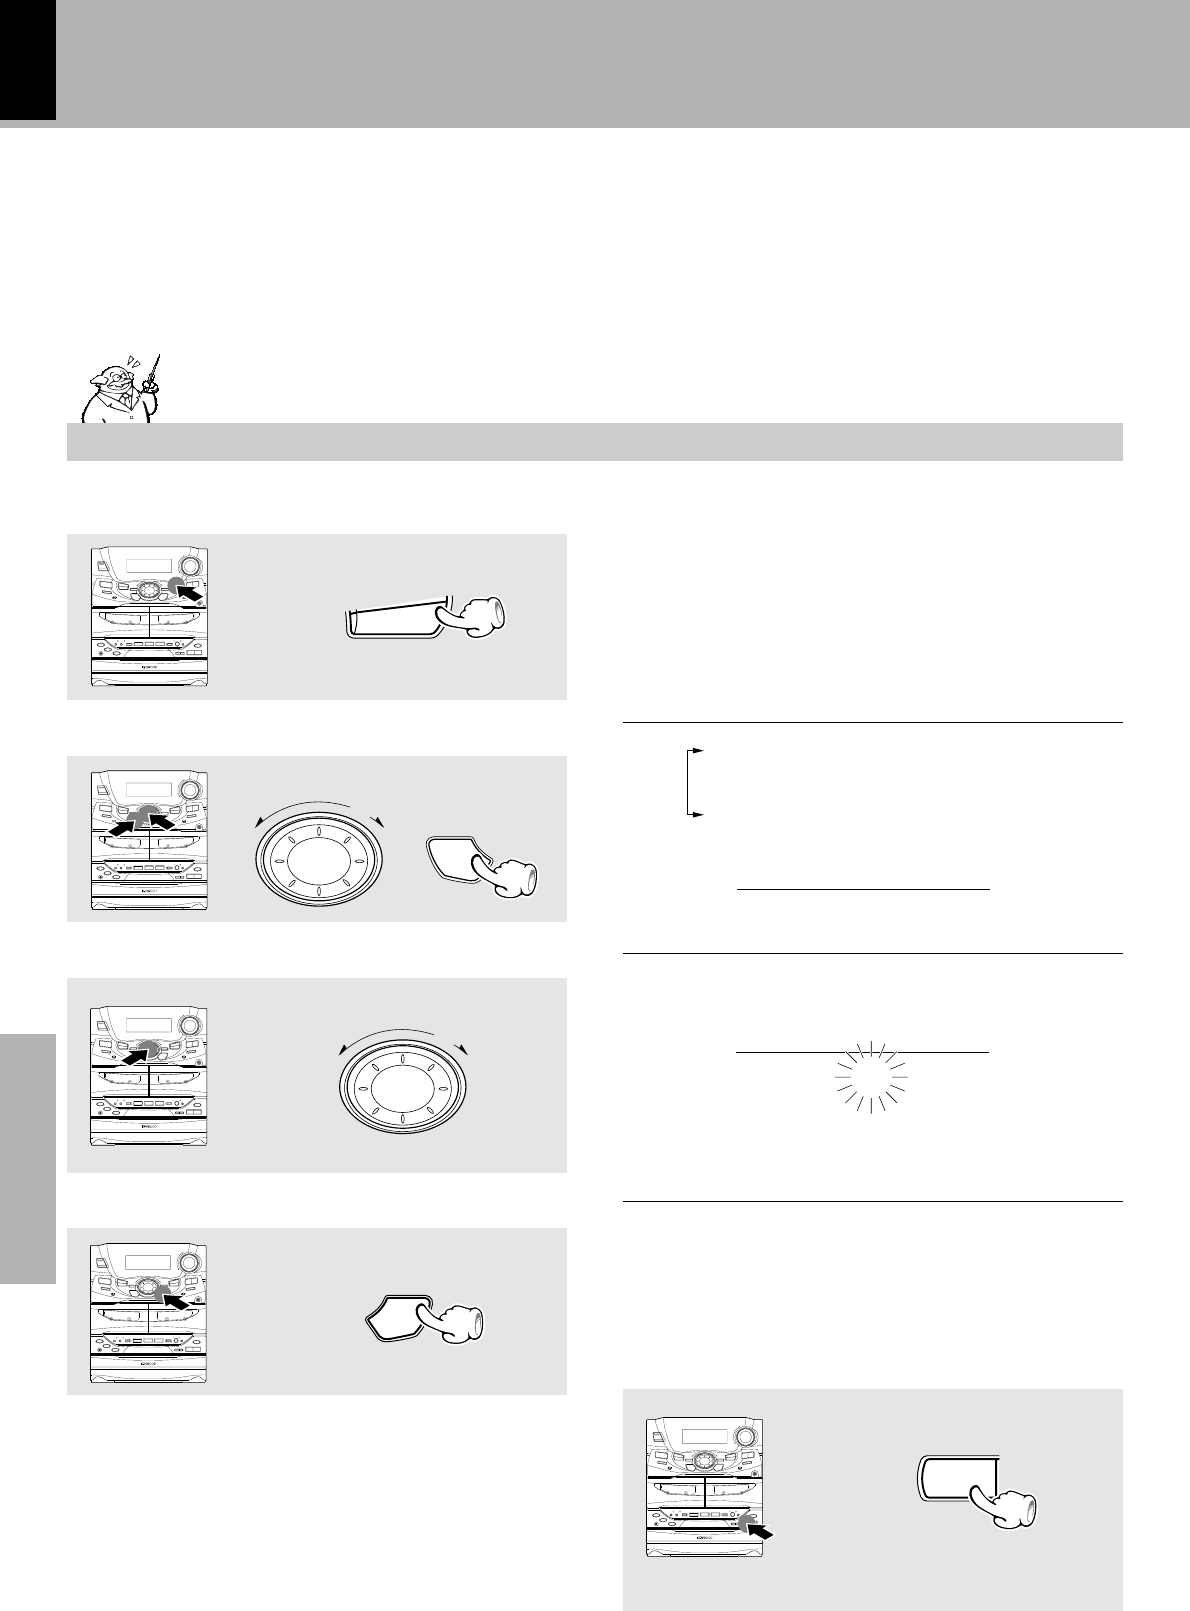
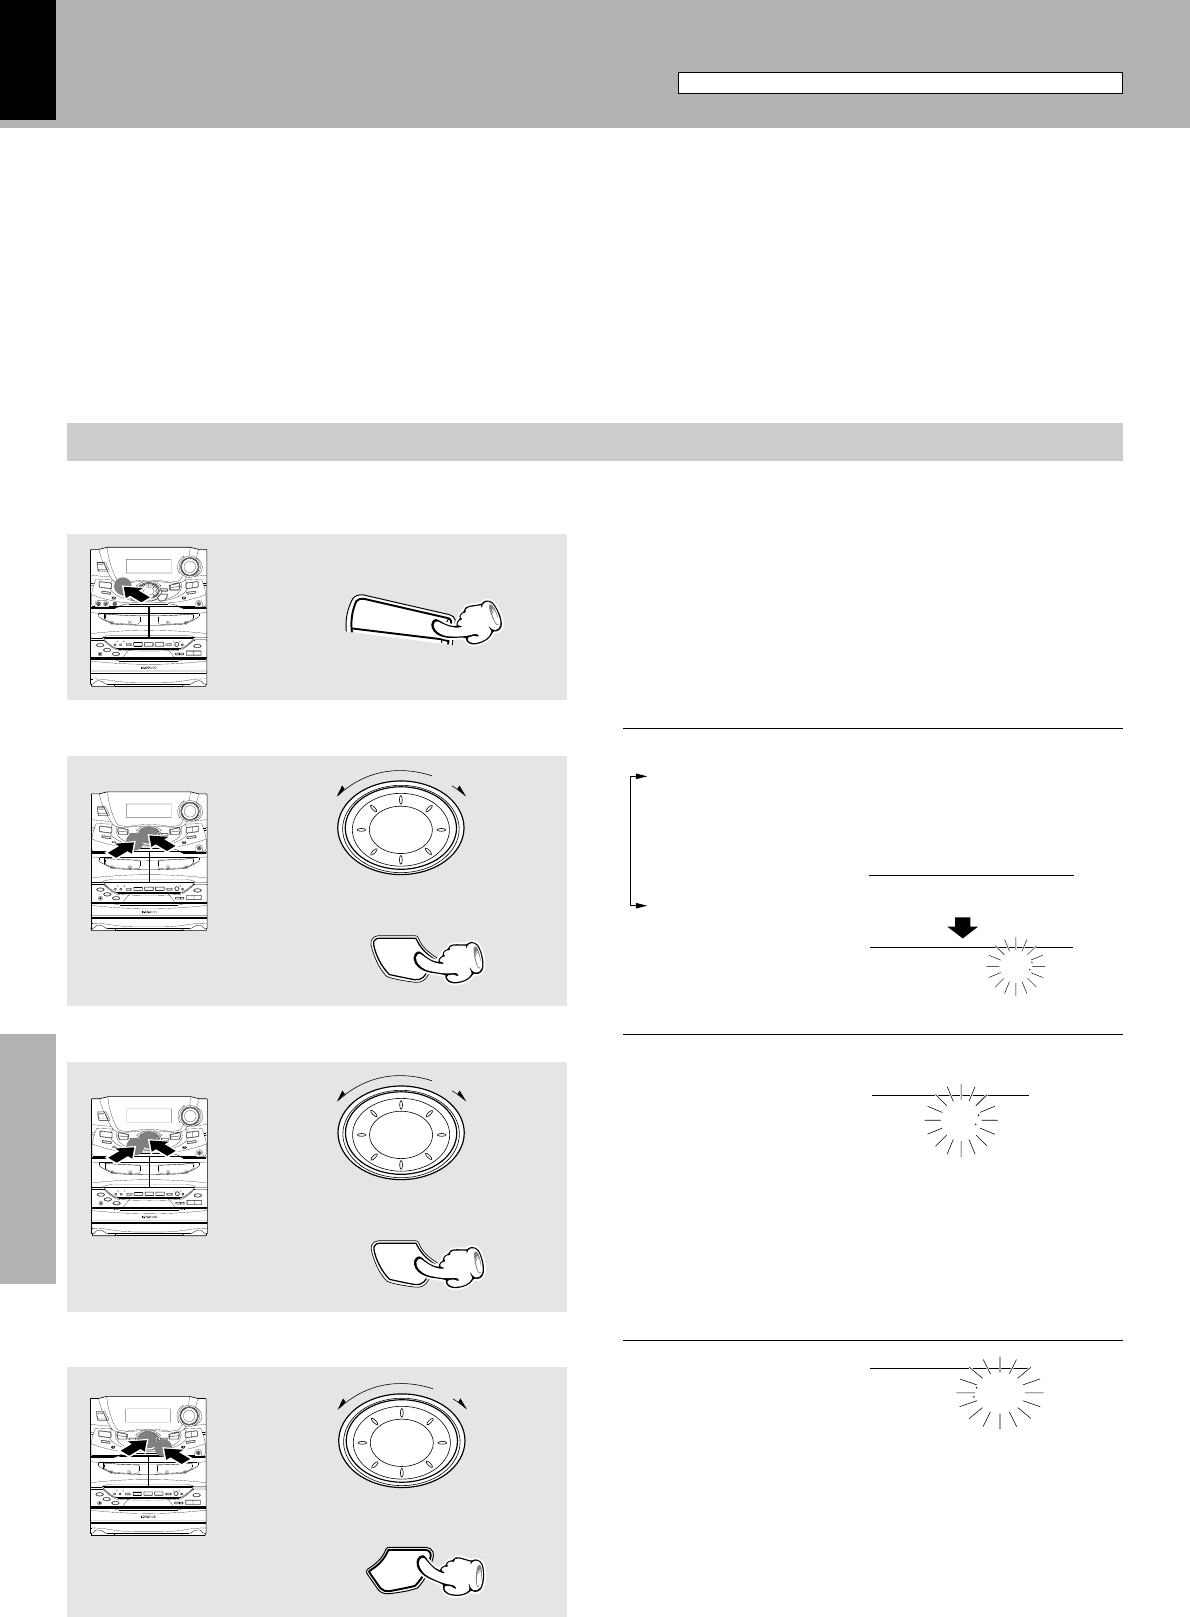
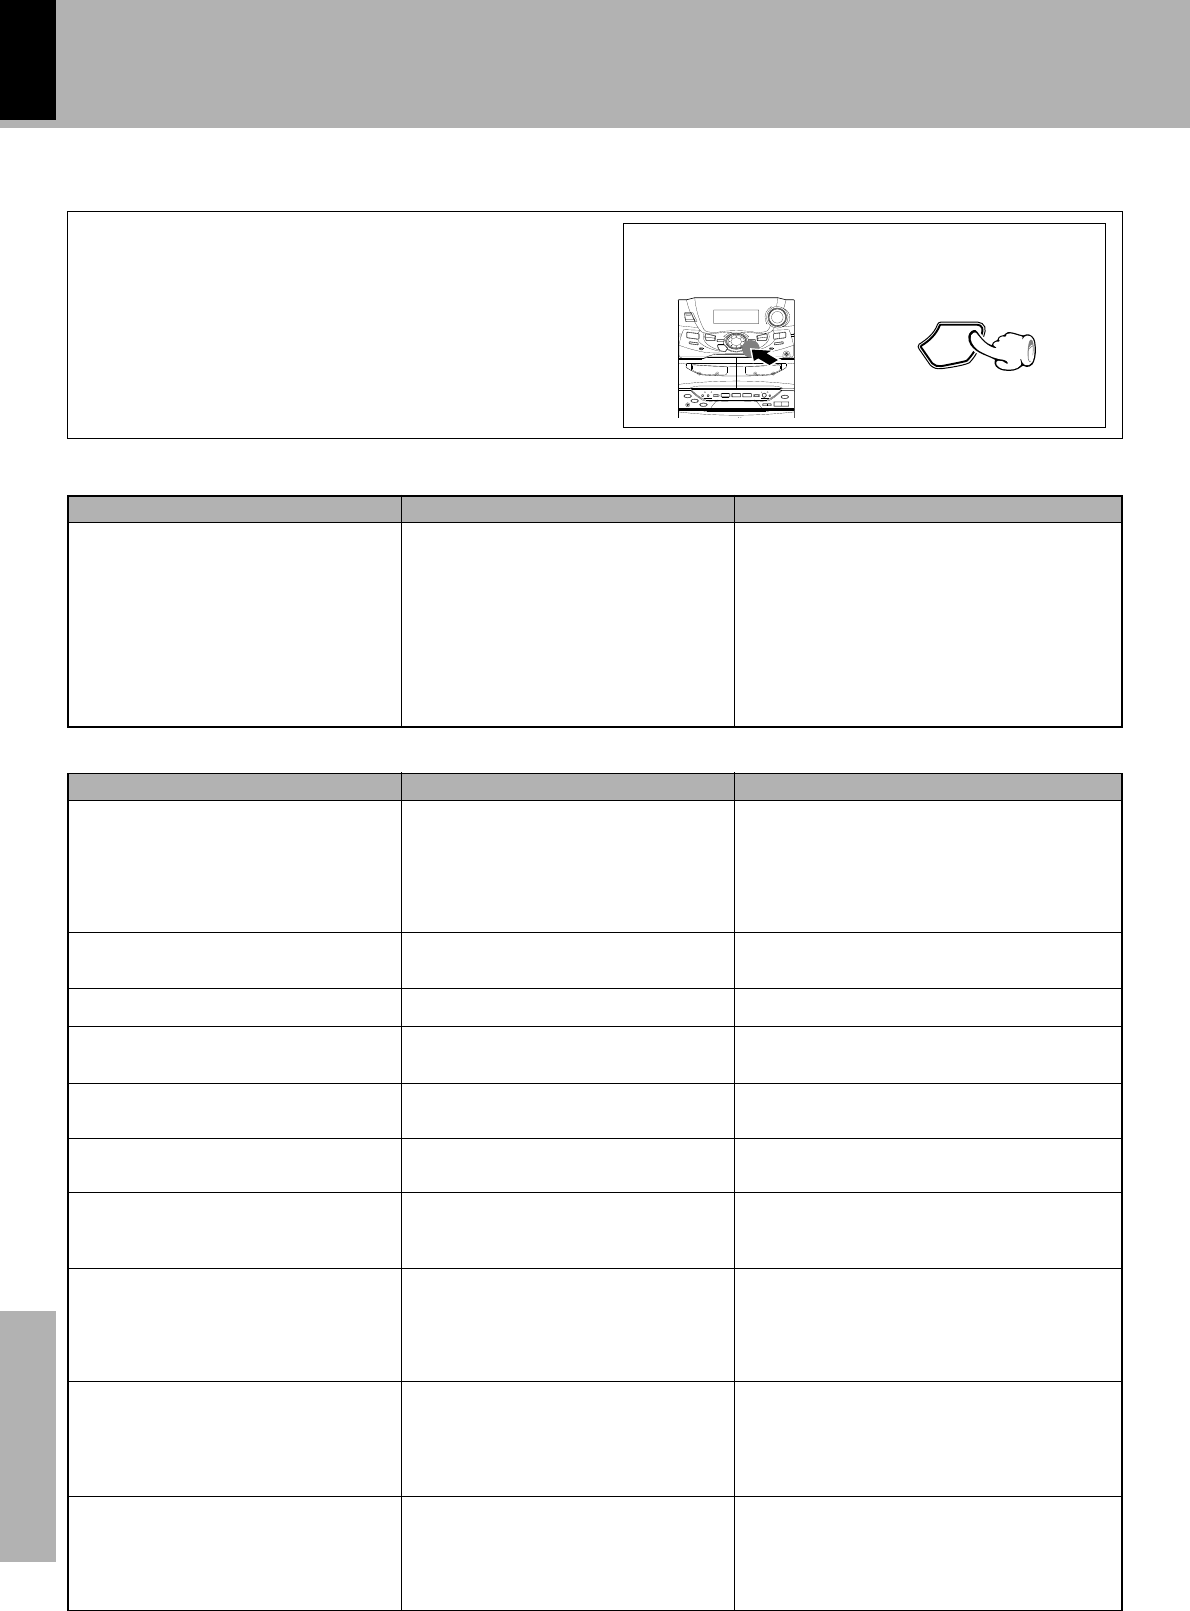
Each press switches the space frequency alternately.
1“FM100/AM10 kHz”.......STEP,
2“FM 50 /AM 9 kHz”.......STEP,
÷The “AM” display is variable depending on the model (country or
area), and “MW” may be displayed in some areas.
3Establish the selection.
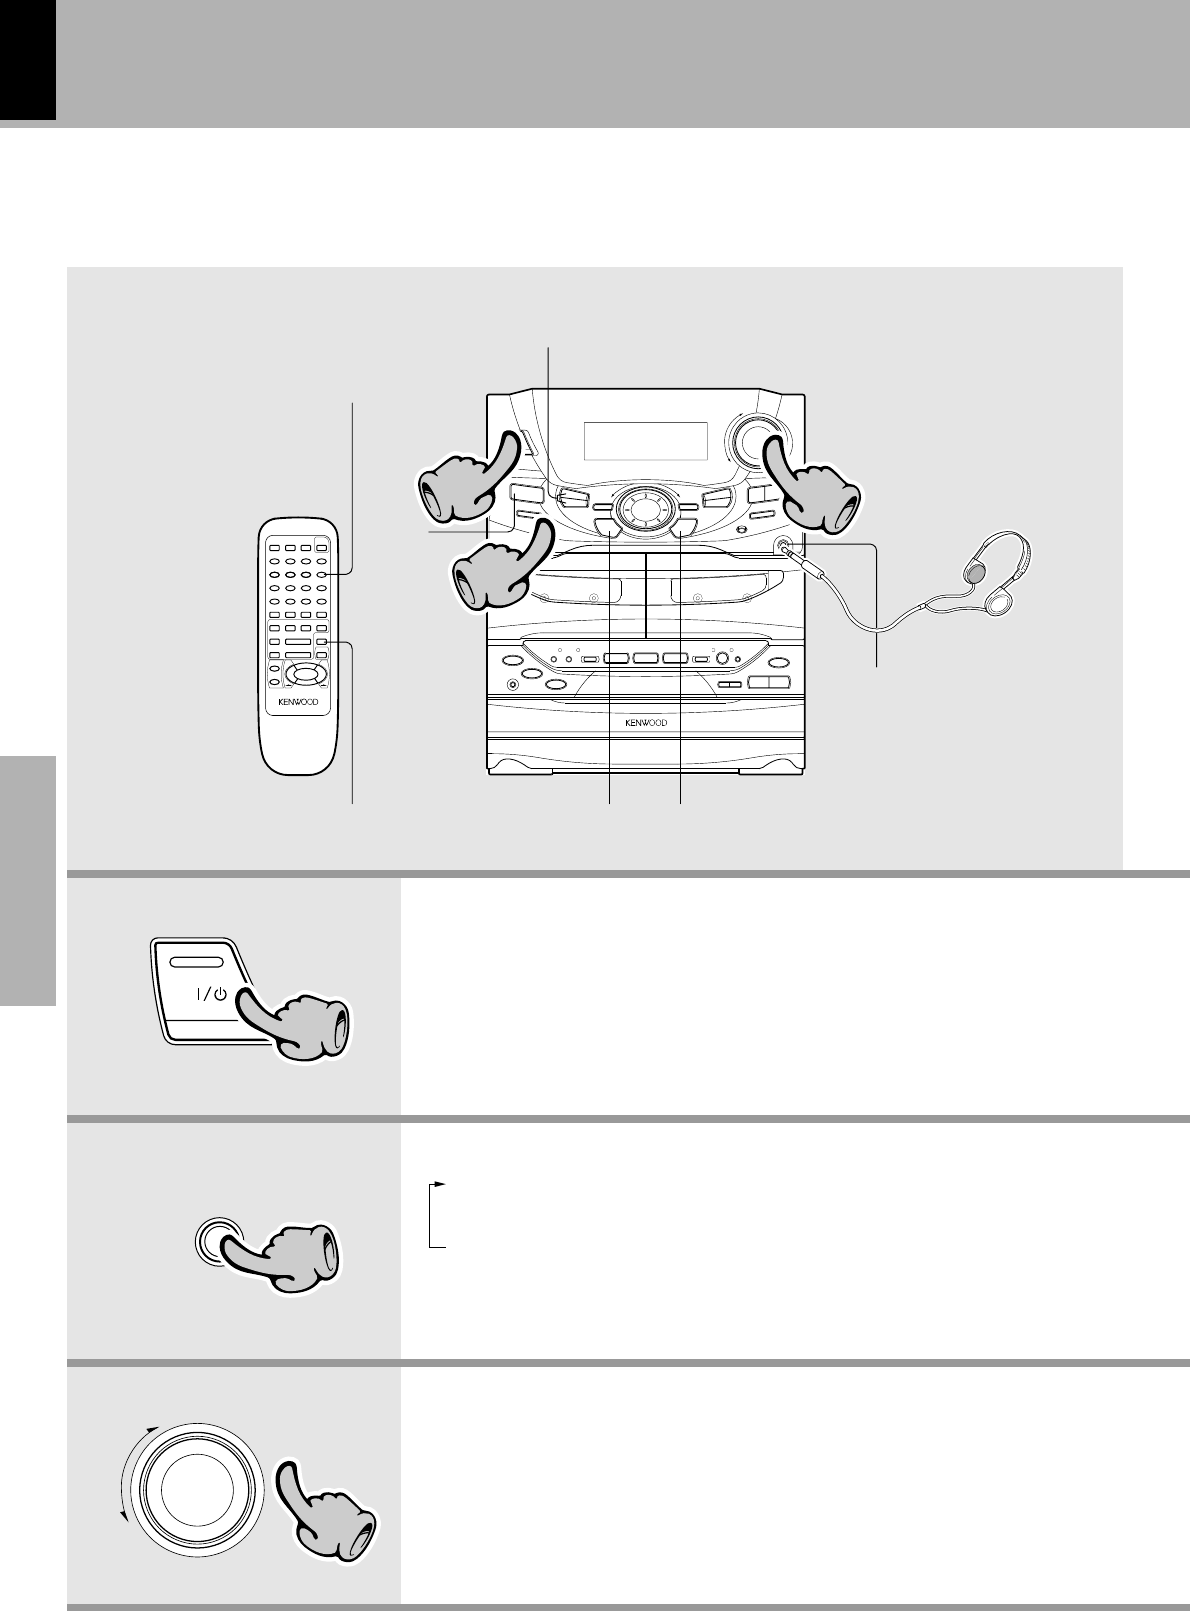
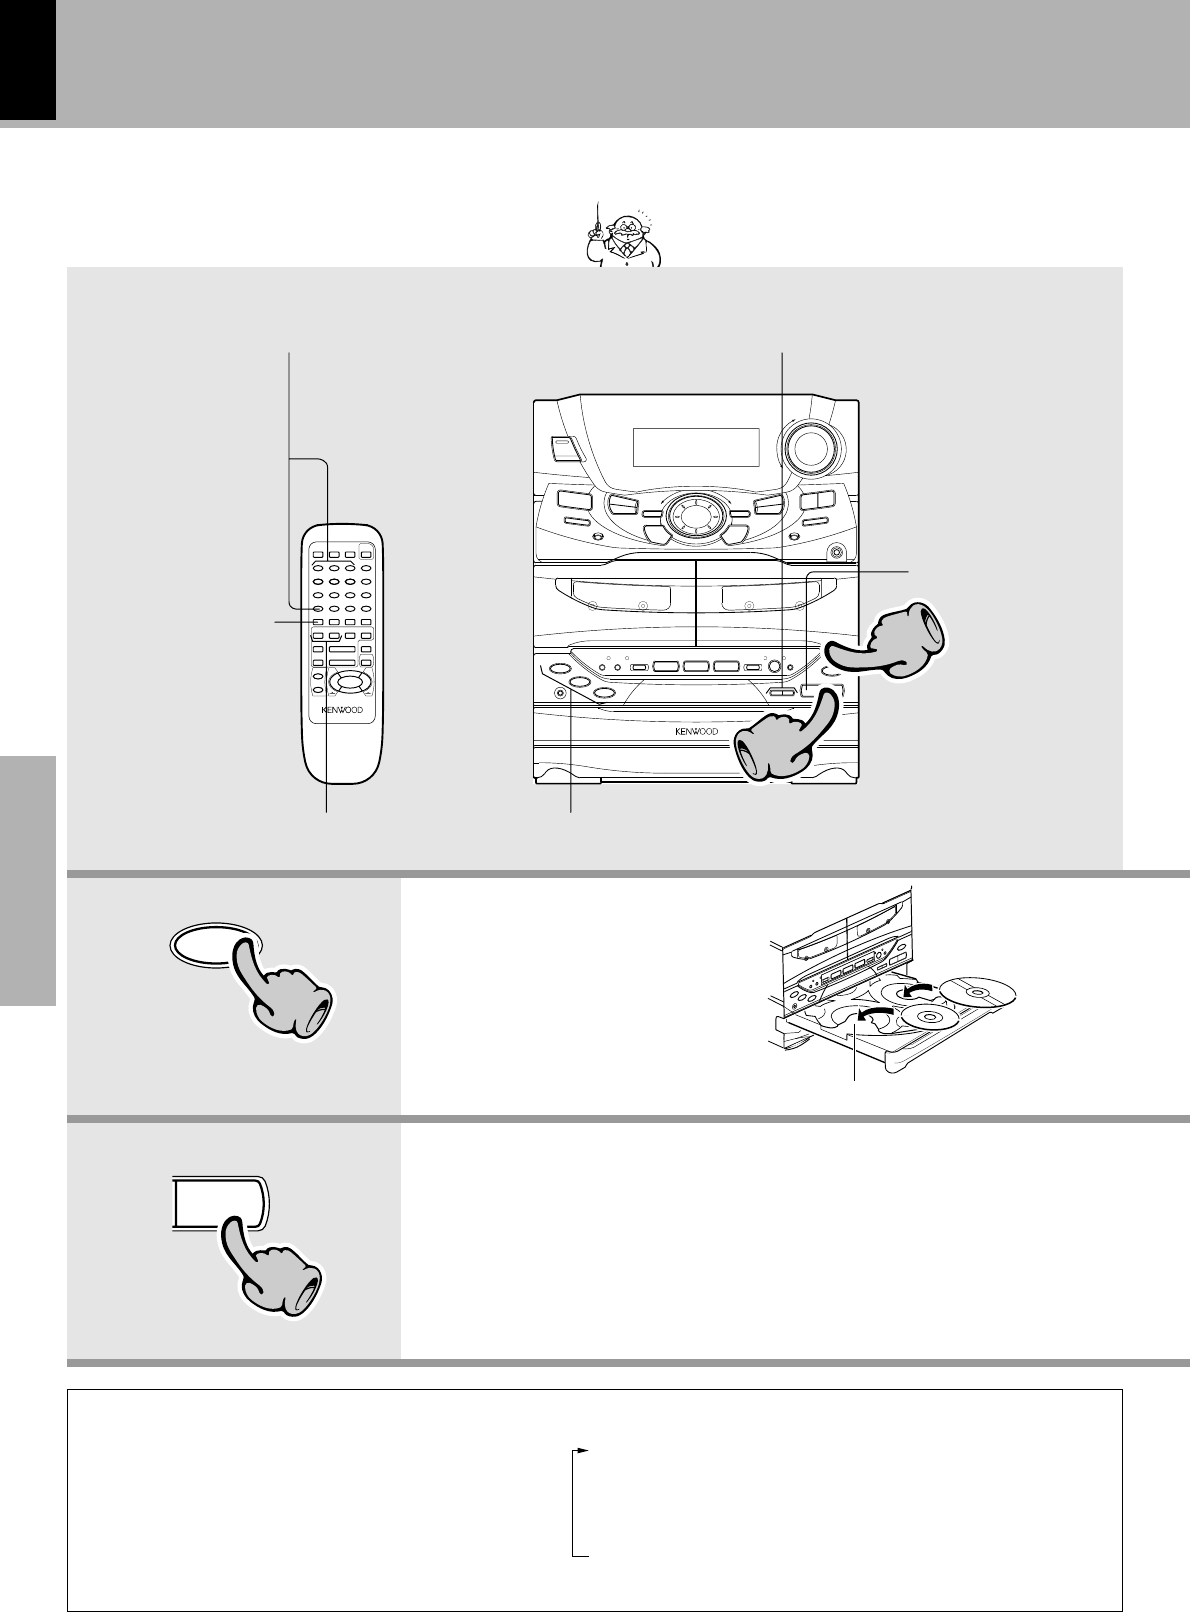
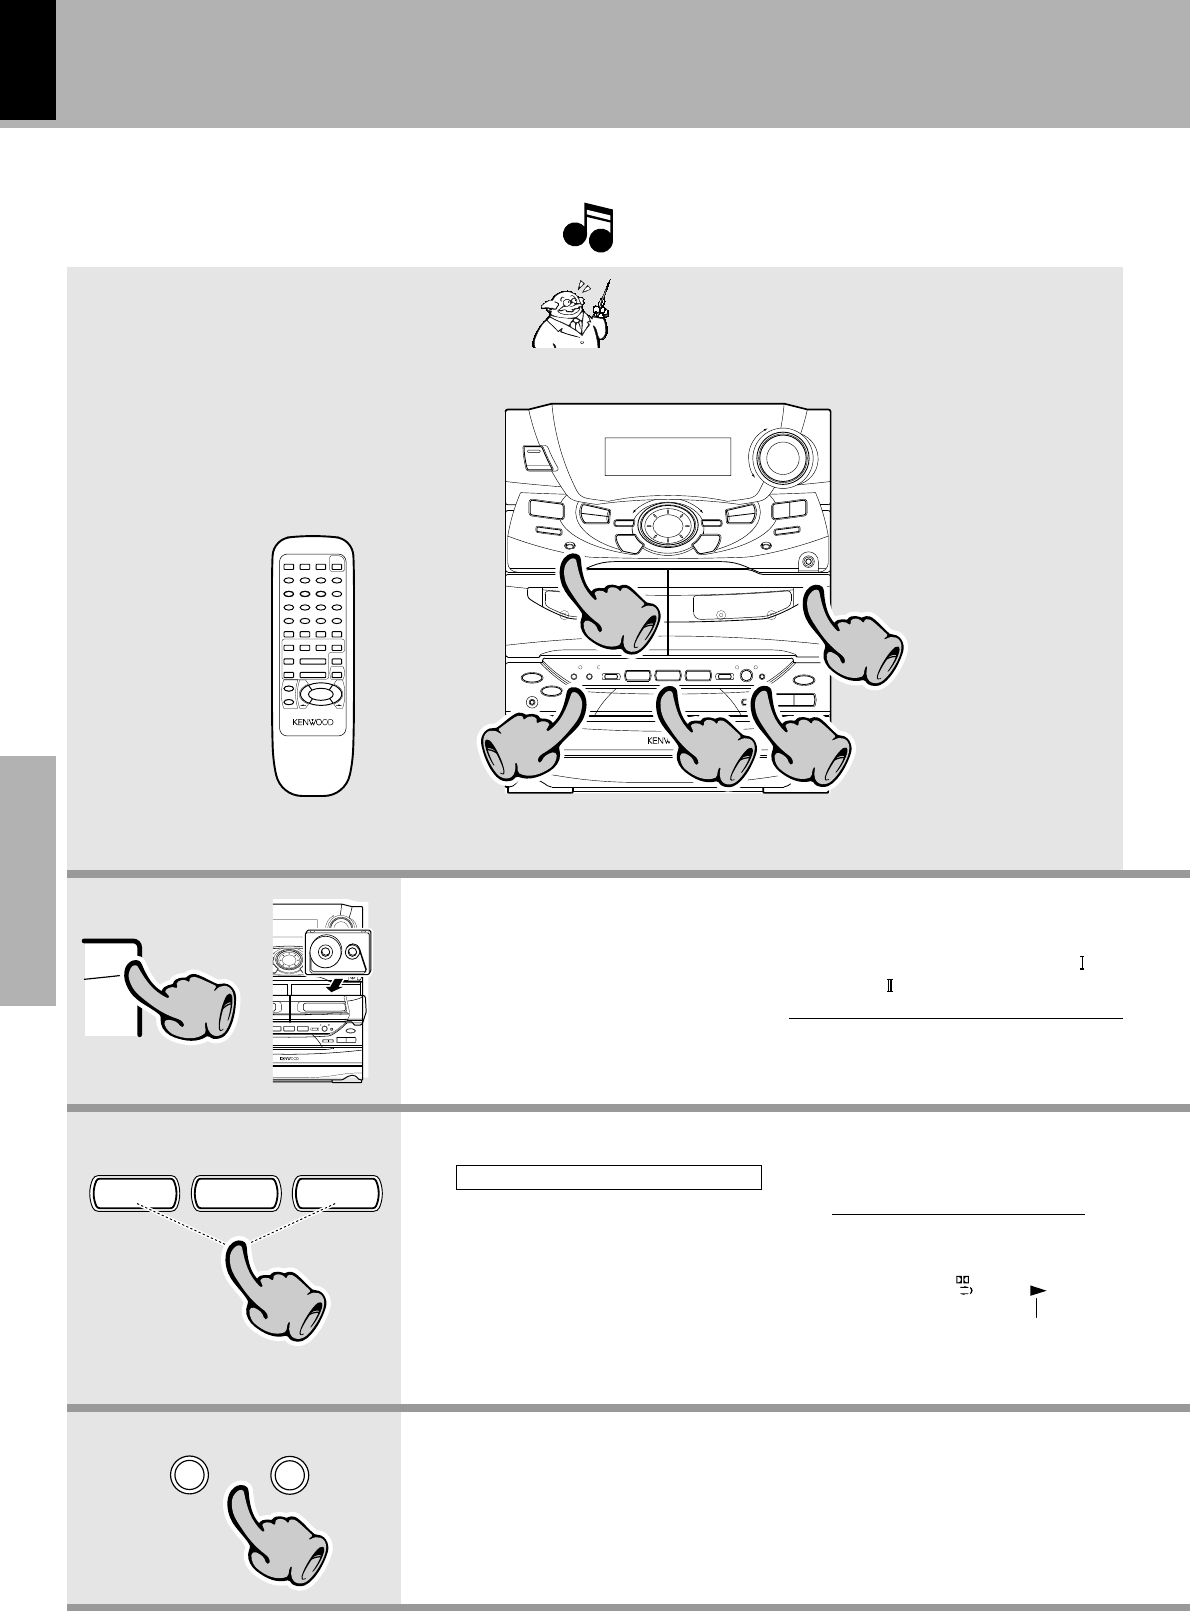
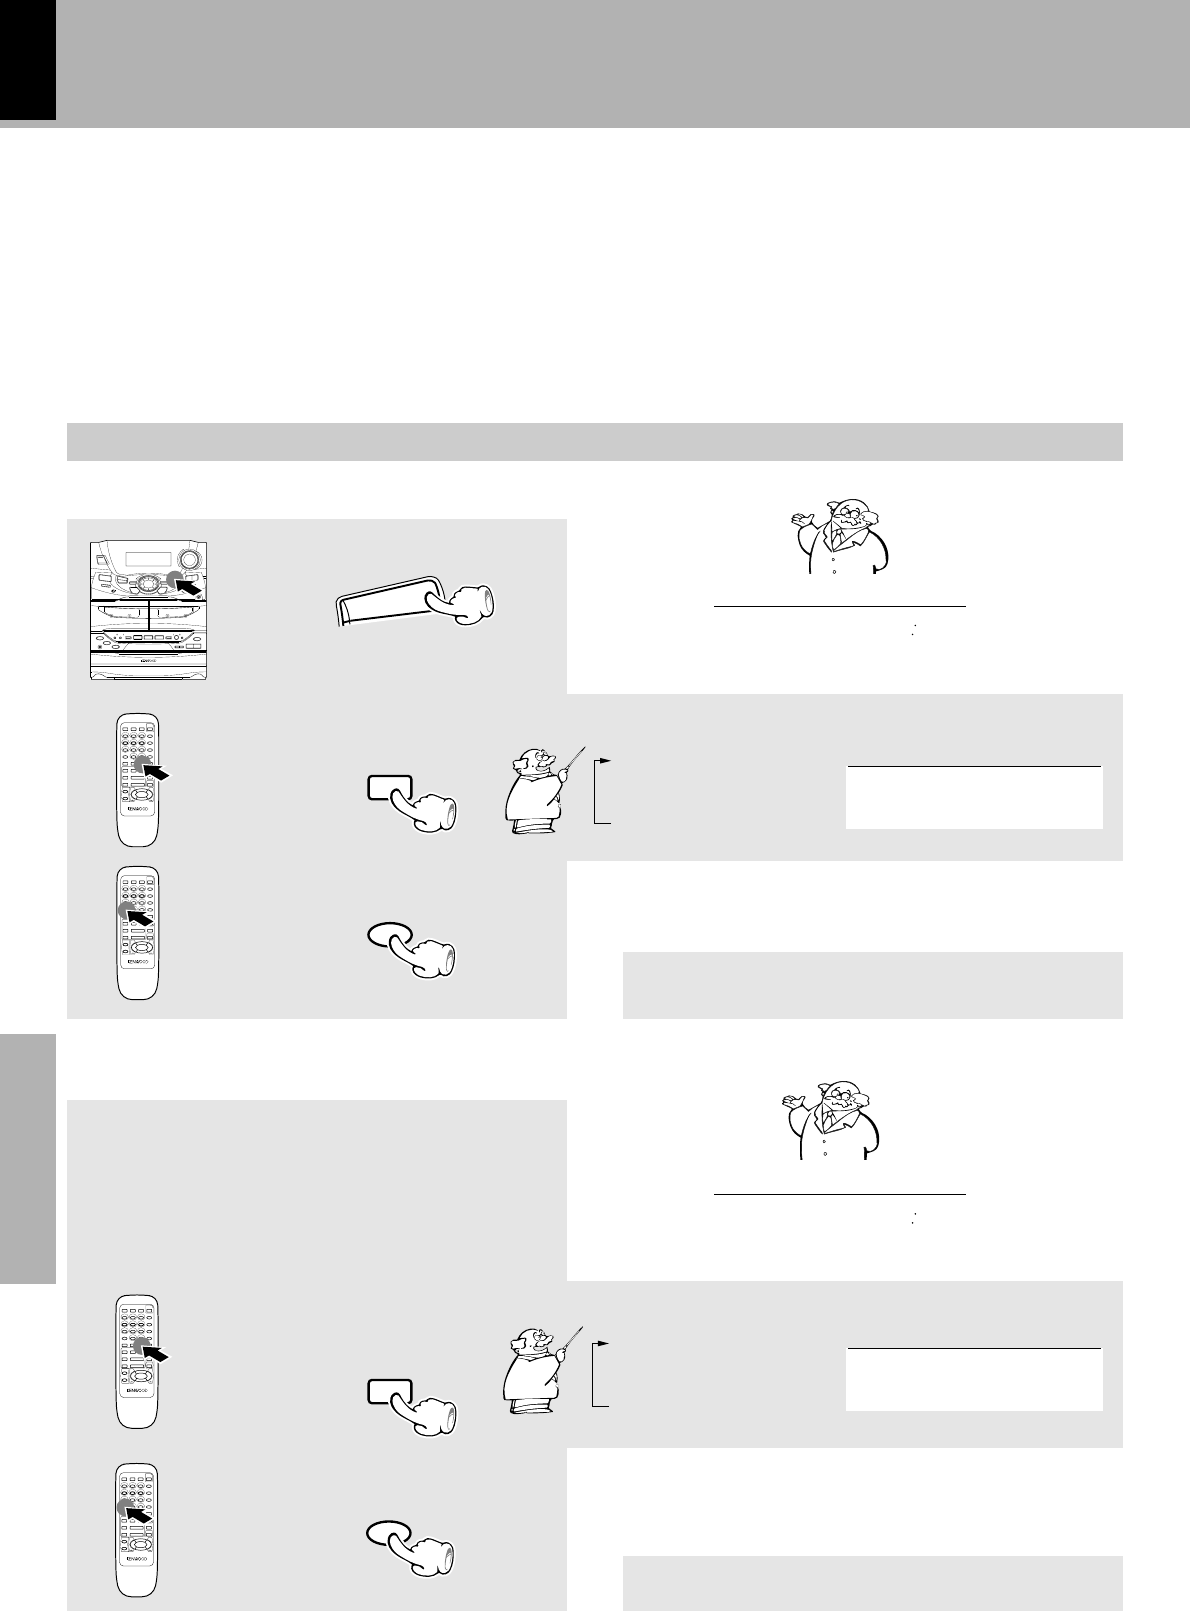
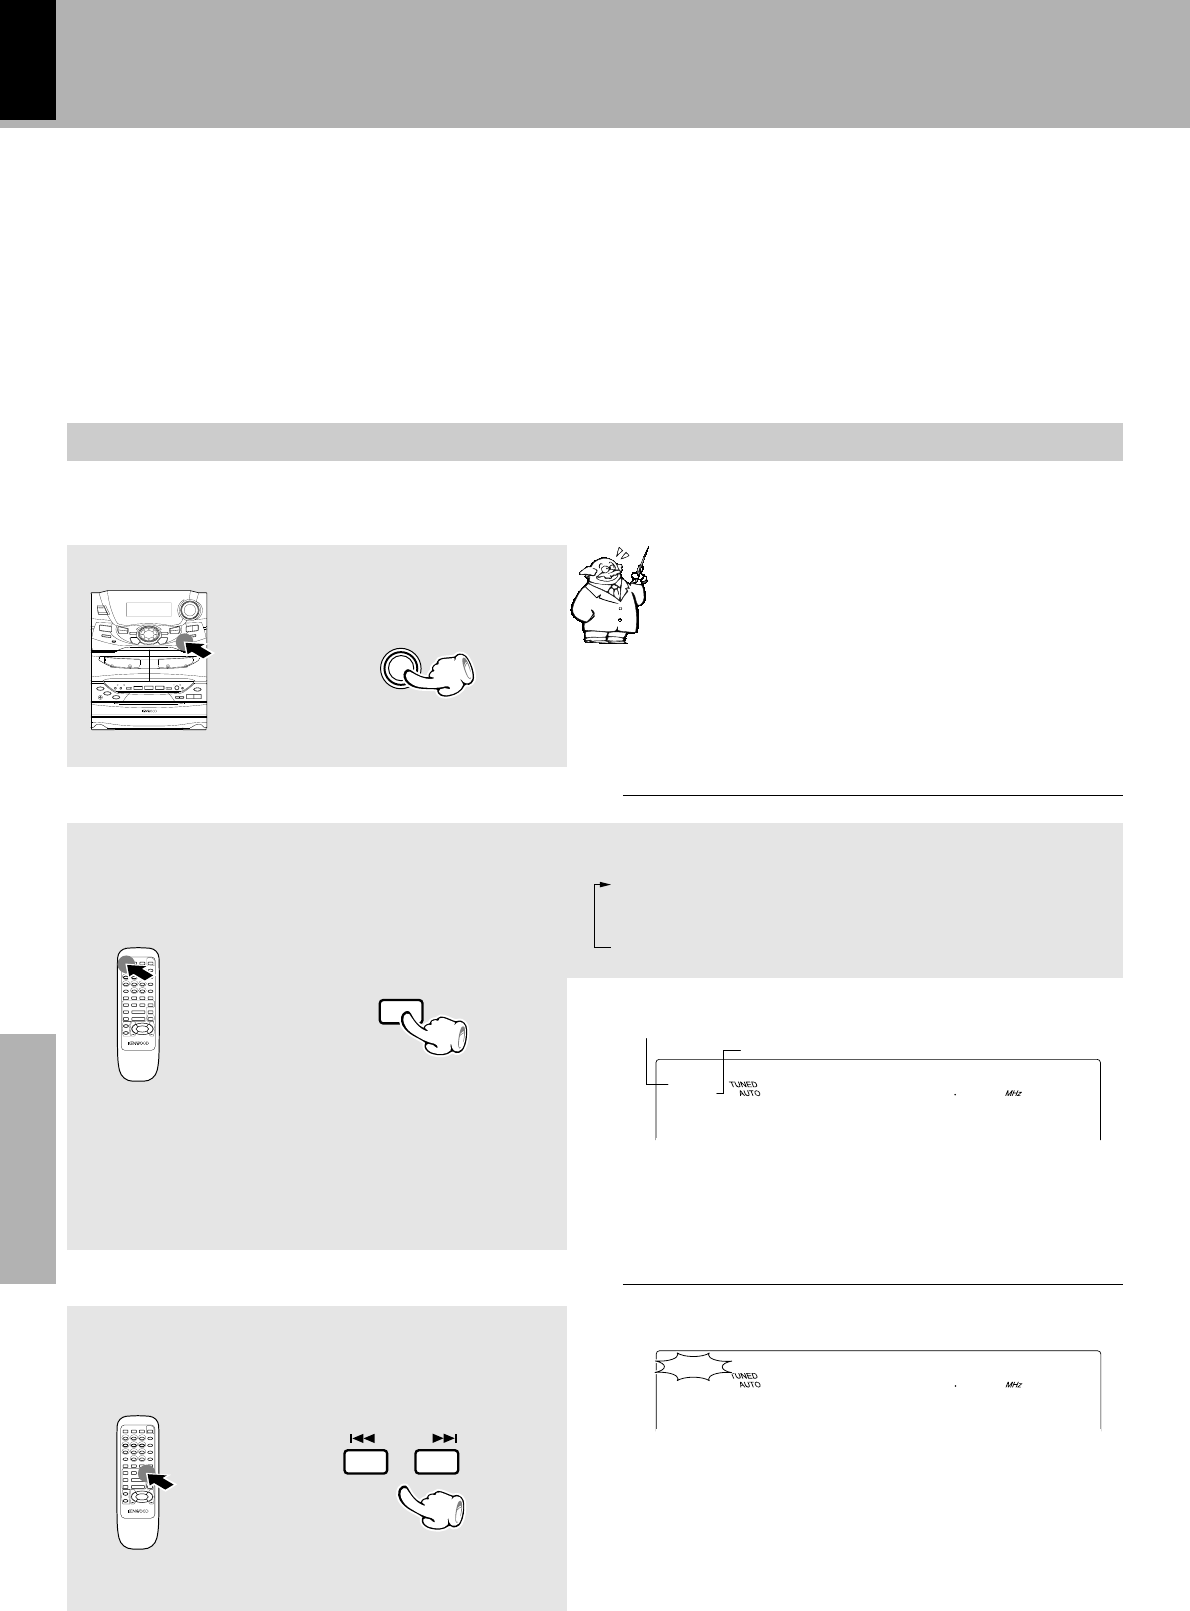
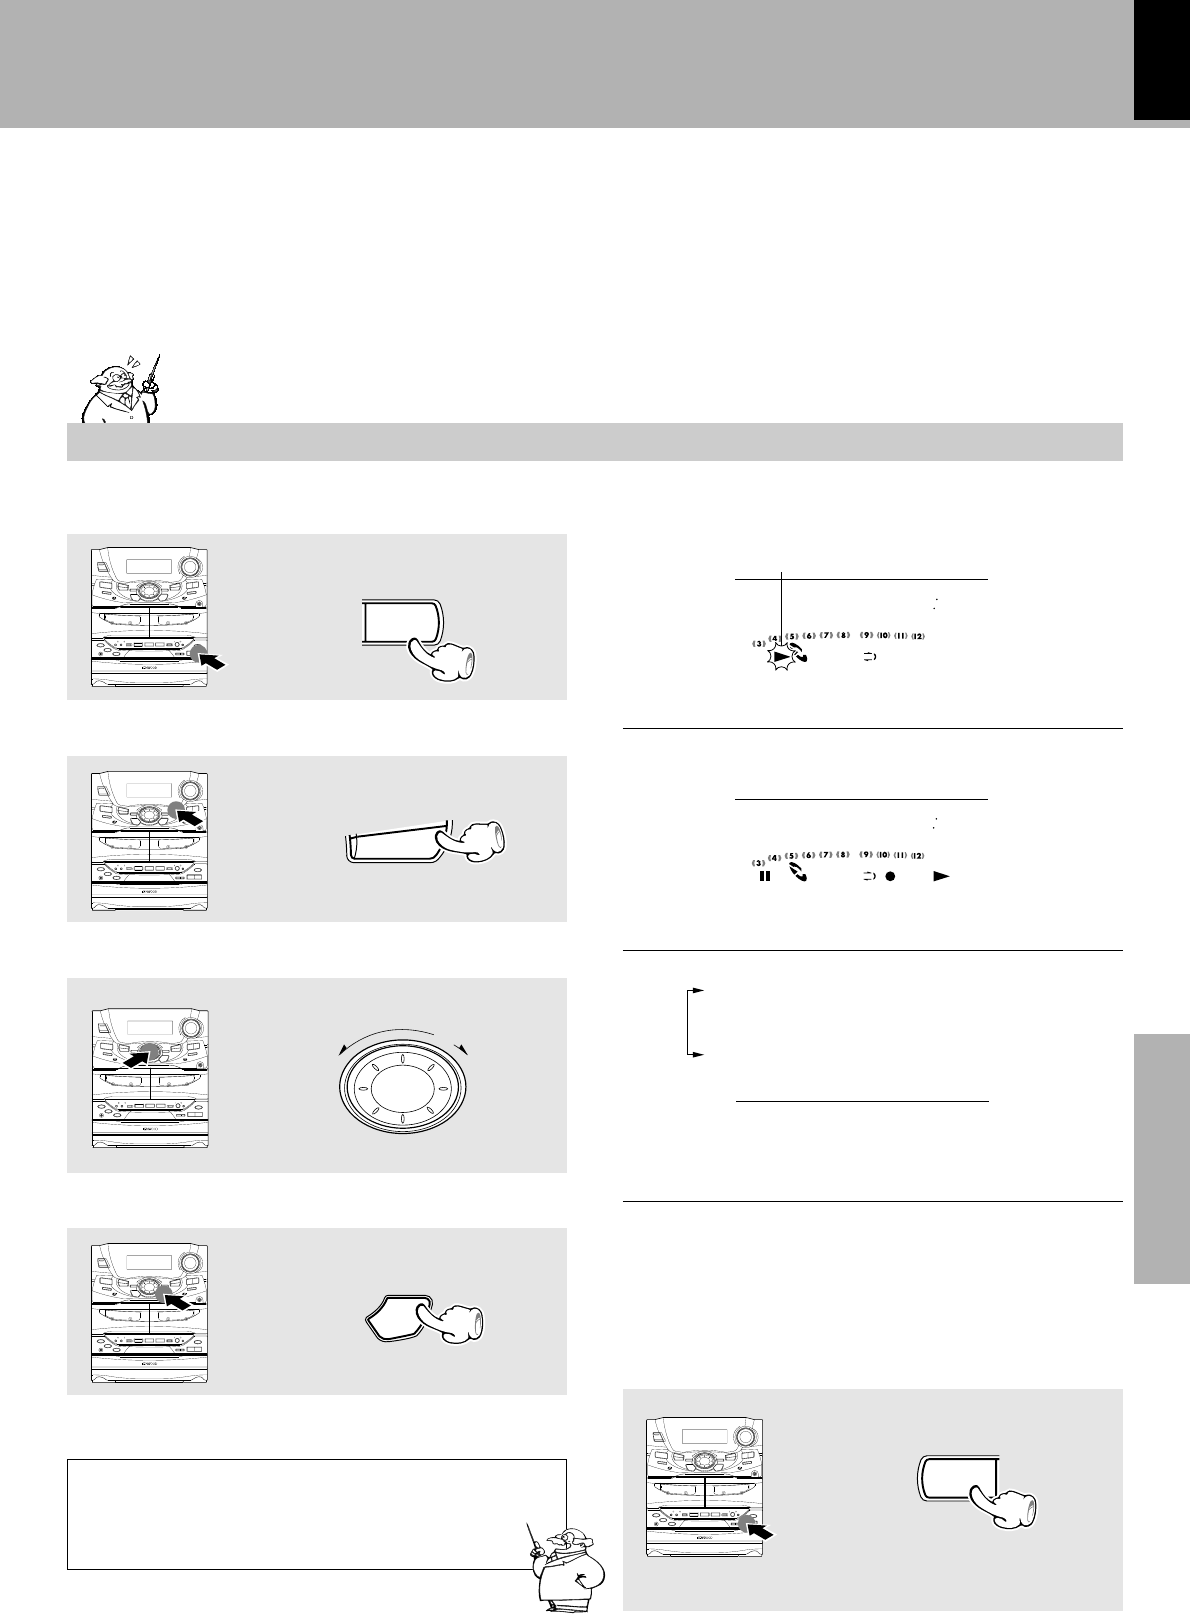
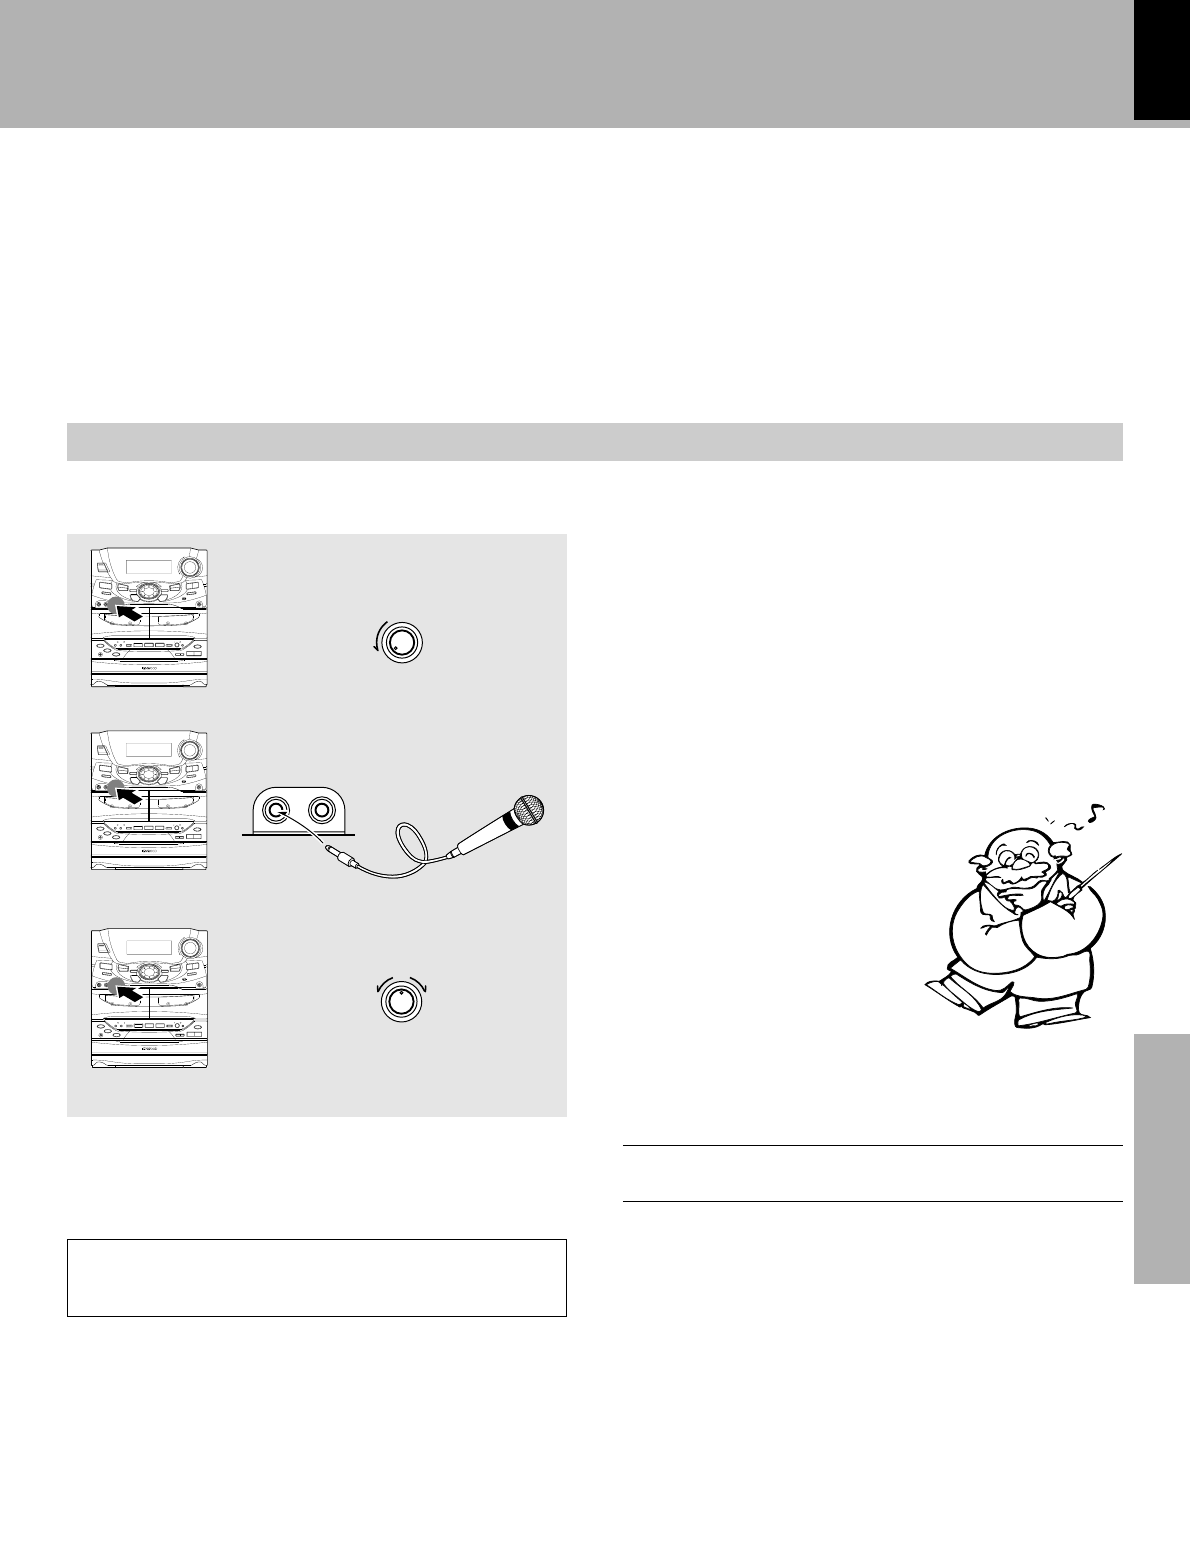
Operation
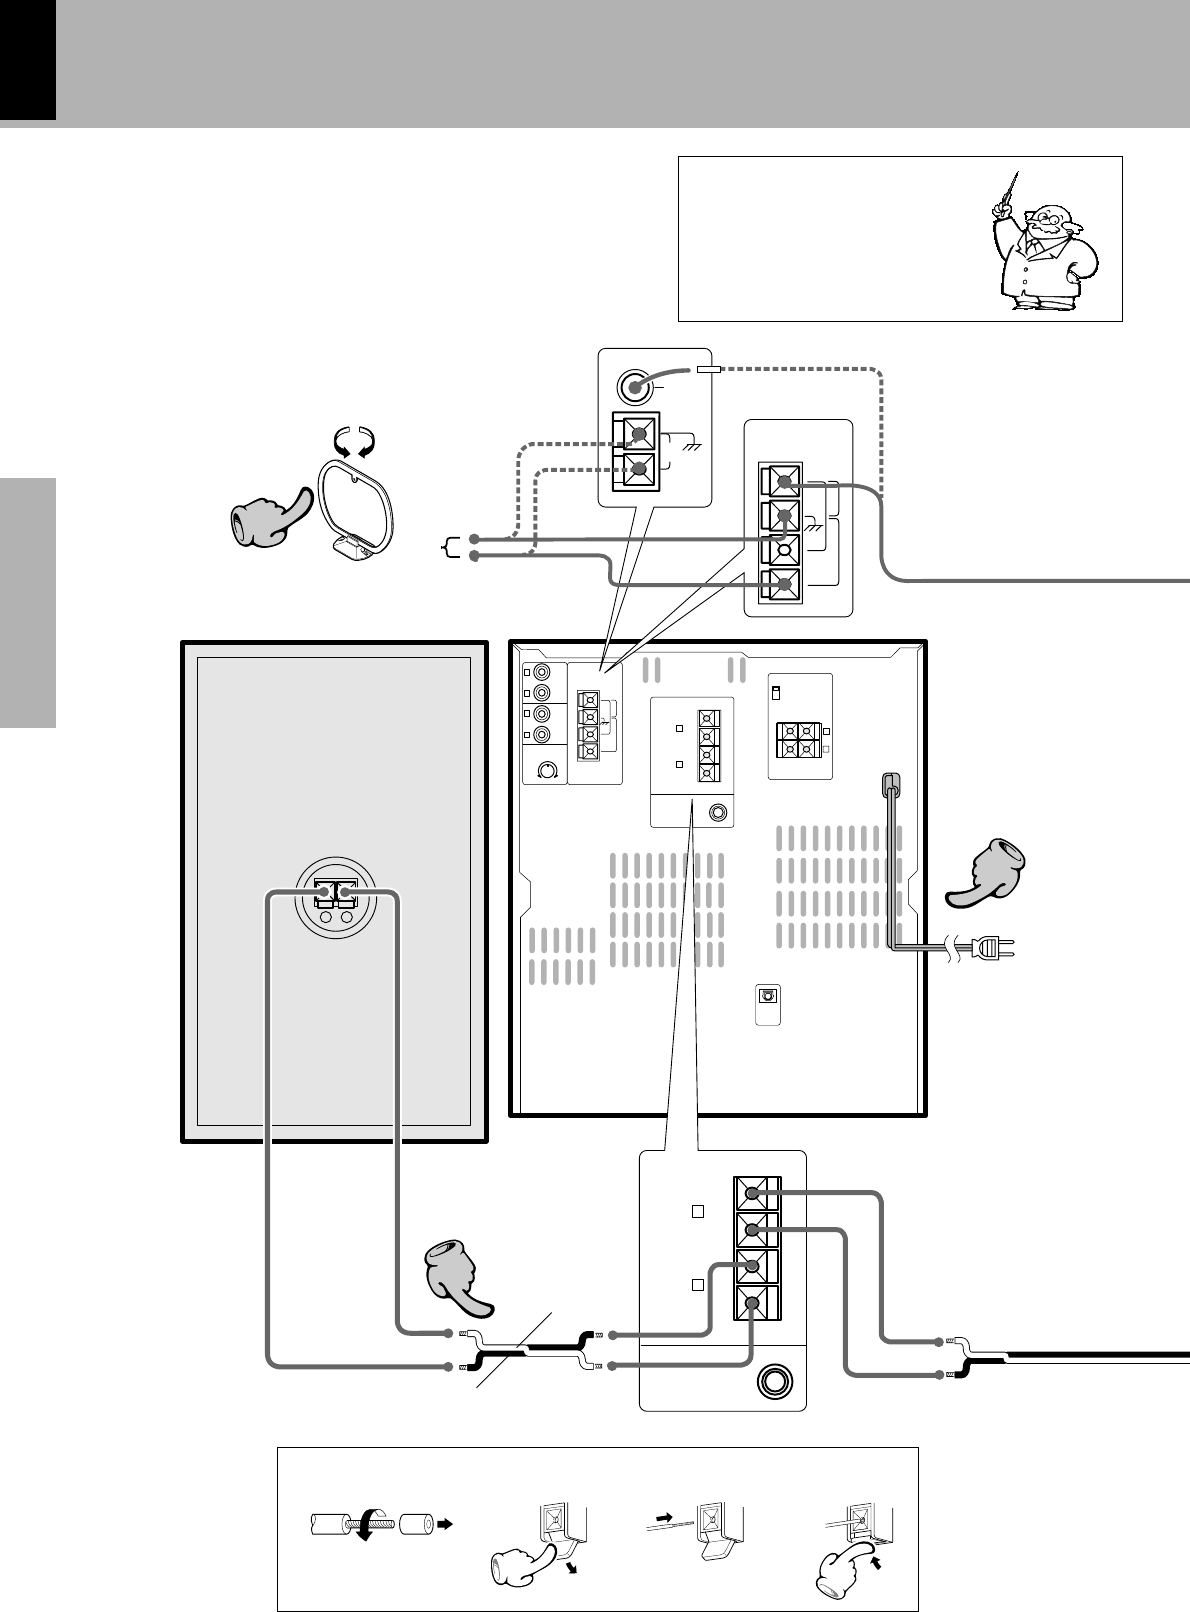
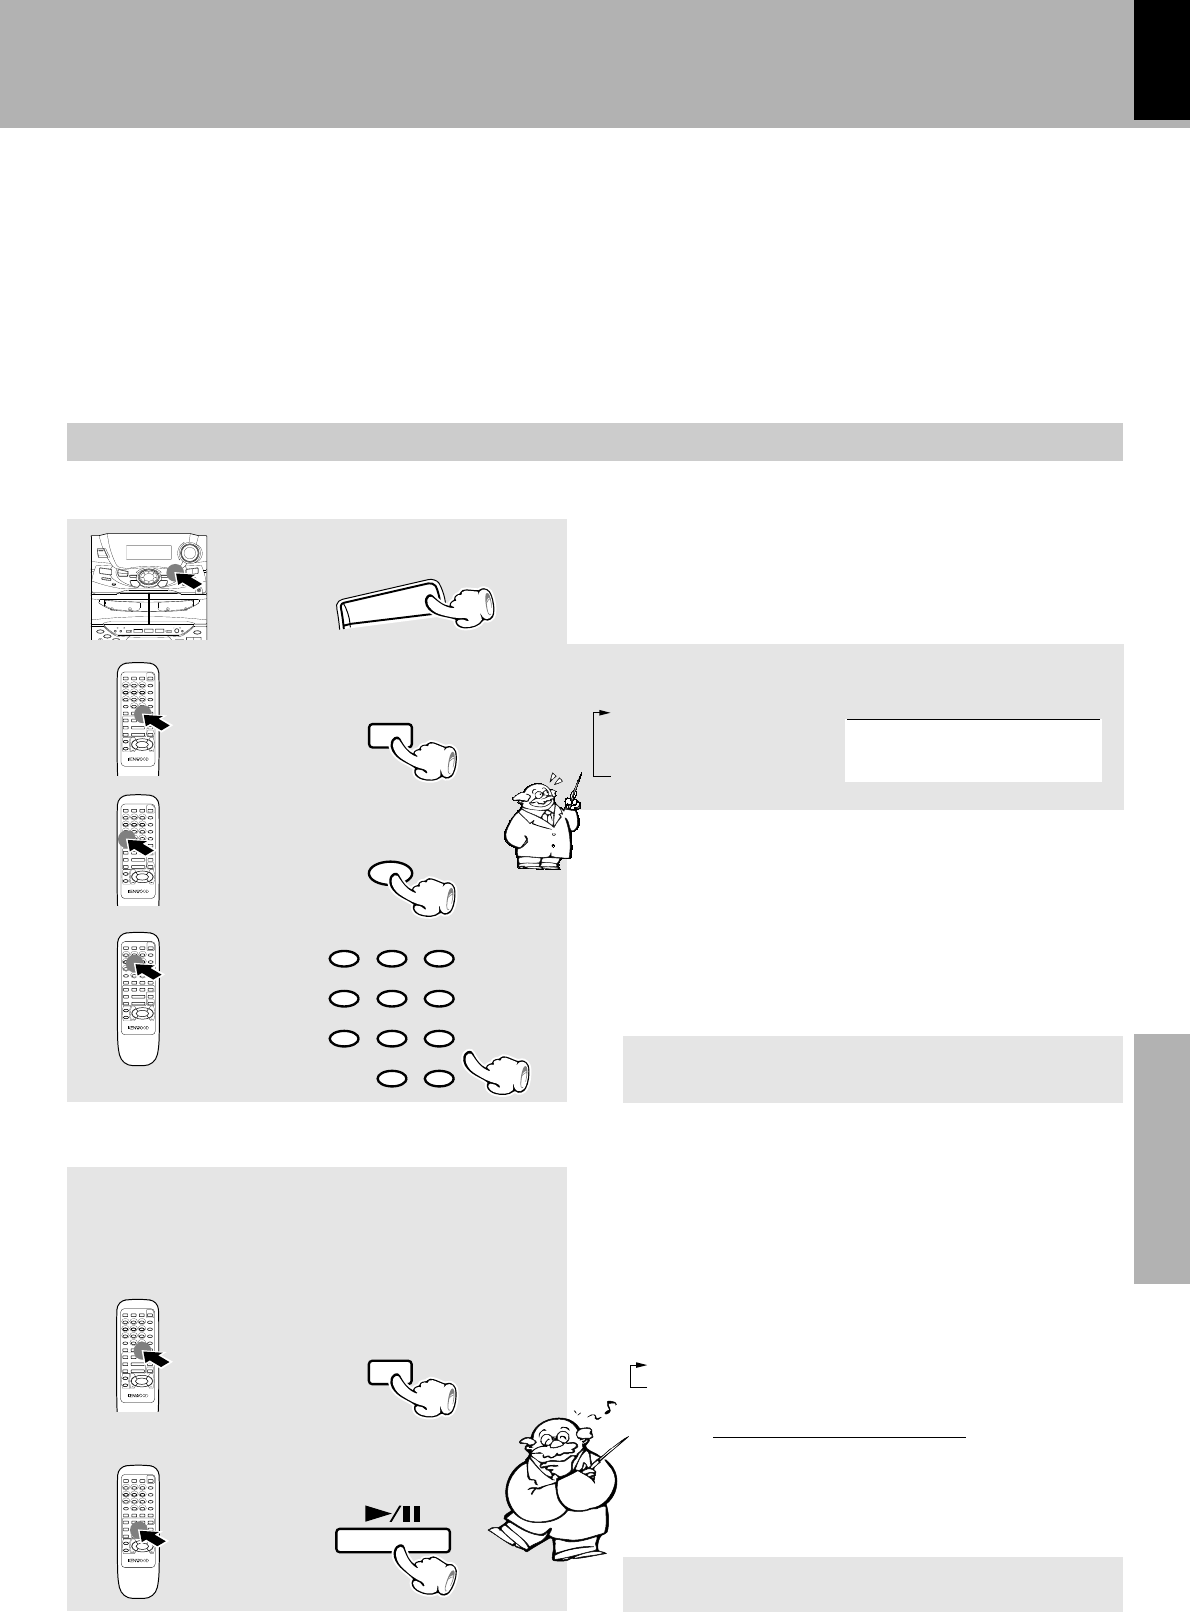
Plug the power cord into the mains power outlet and press
the on/standby (
POWER) key of the remote control
unit to turn power ON. After the power has been turned
ON, press the desired key.
To turn power off, press the on/standby (
POWER)
key again. The system enters the standby mode in which
only the time display is lit.
÷When pressing more than one remote control keys successively,
press the keys securely by leaving an interval of 1 second or more
between keys.
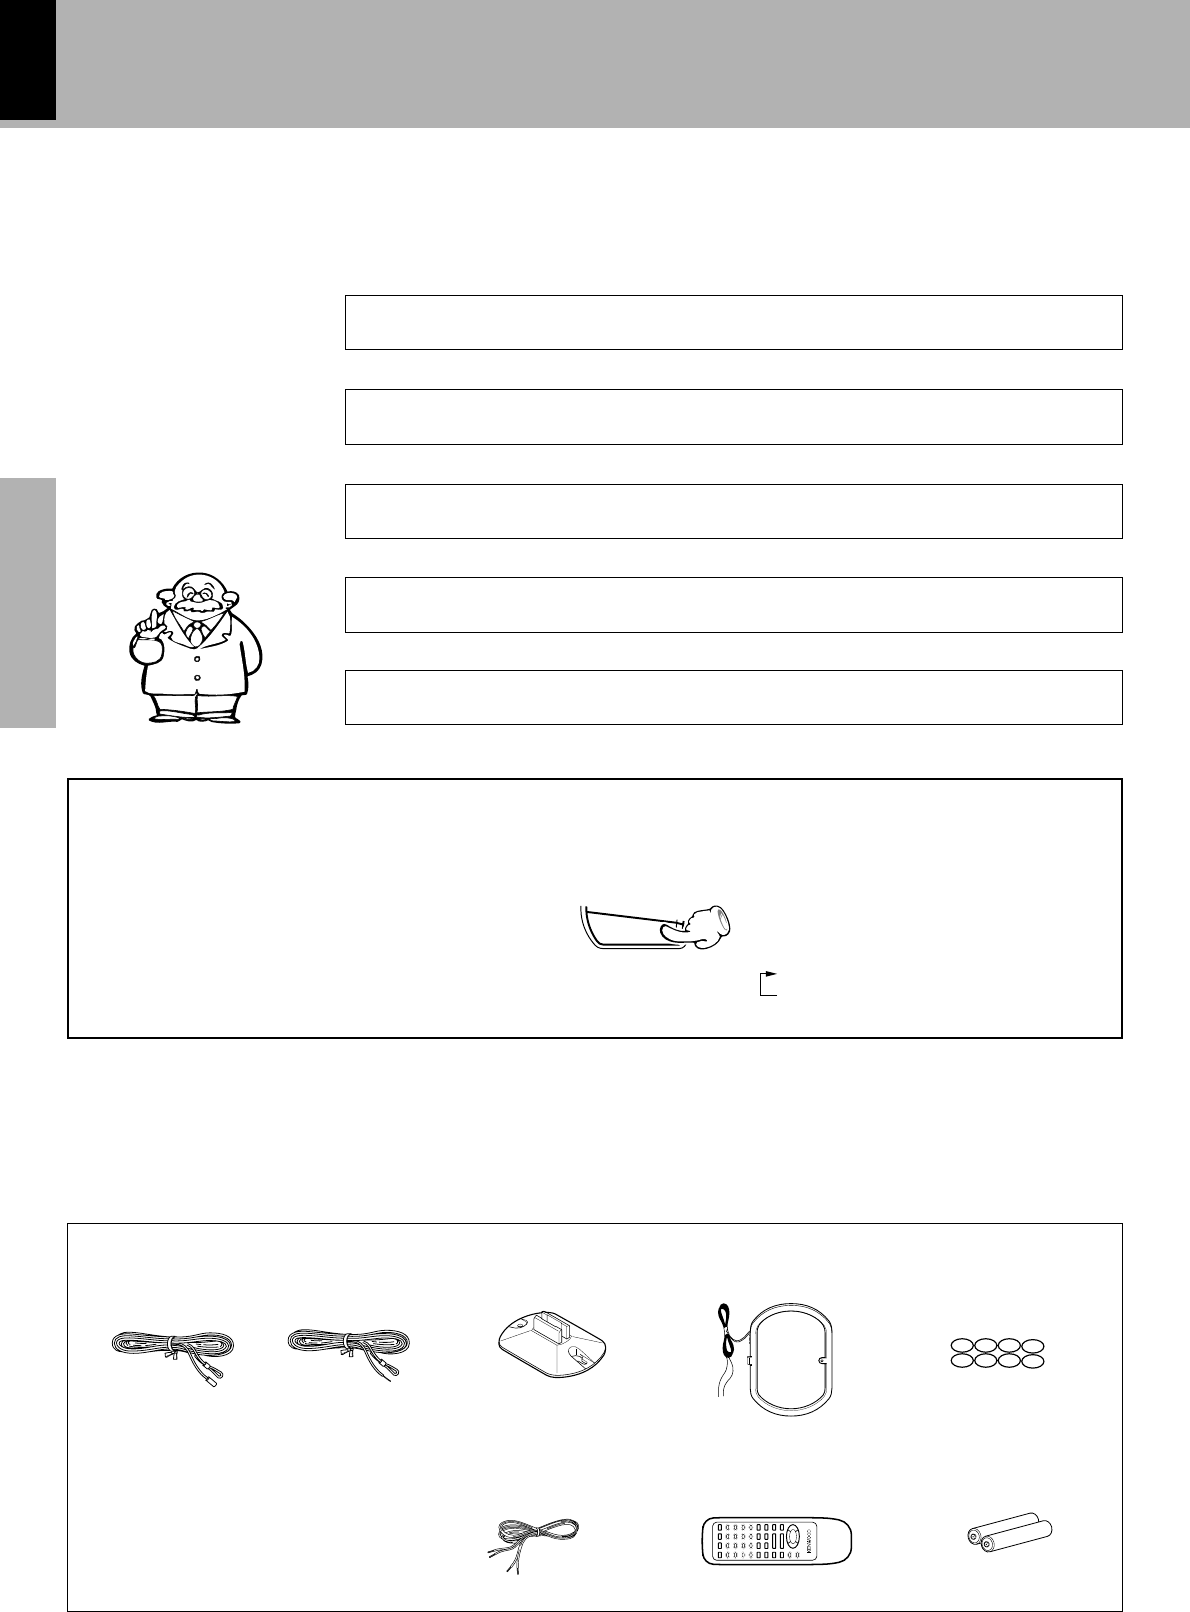
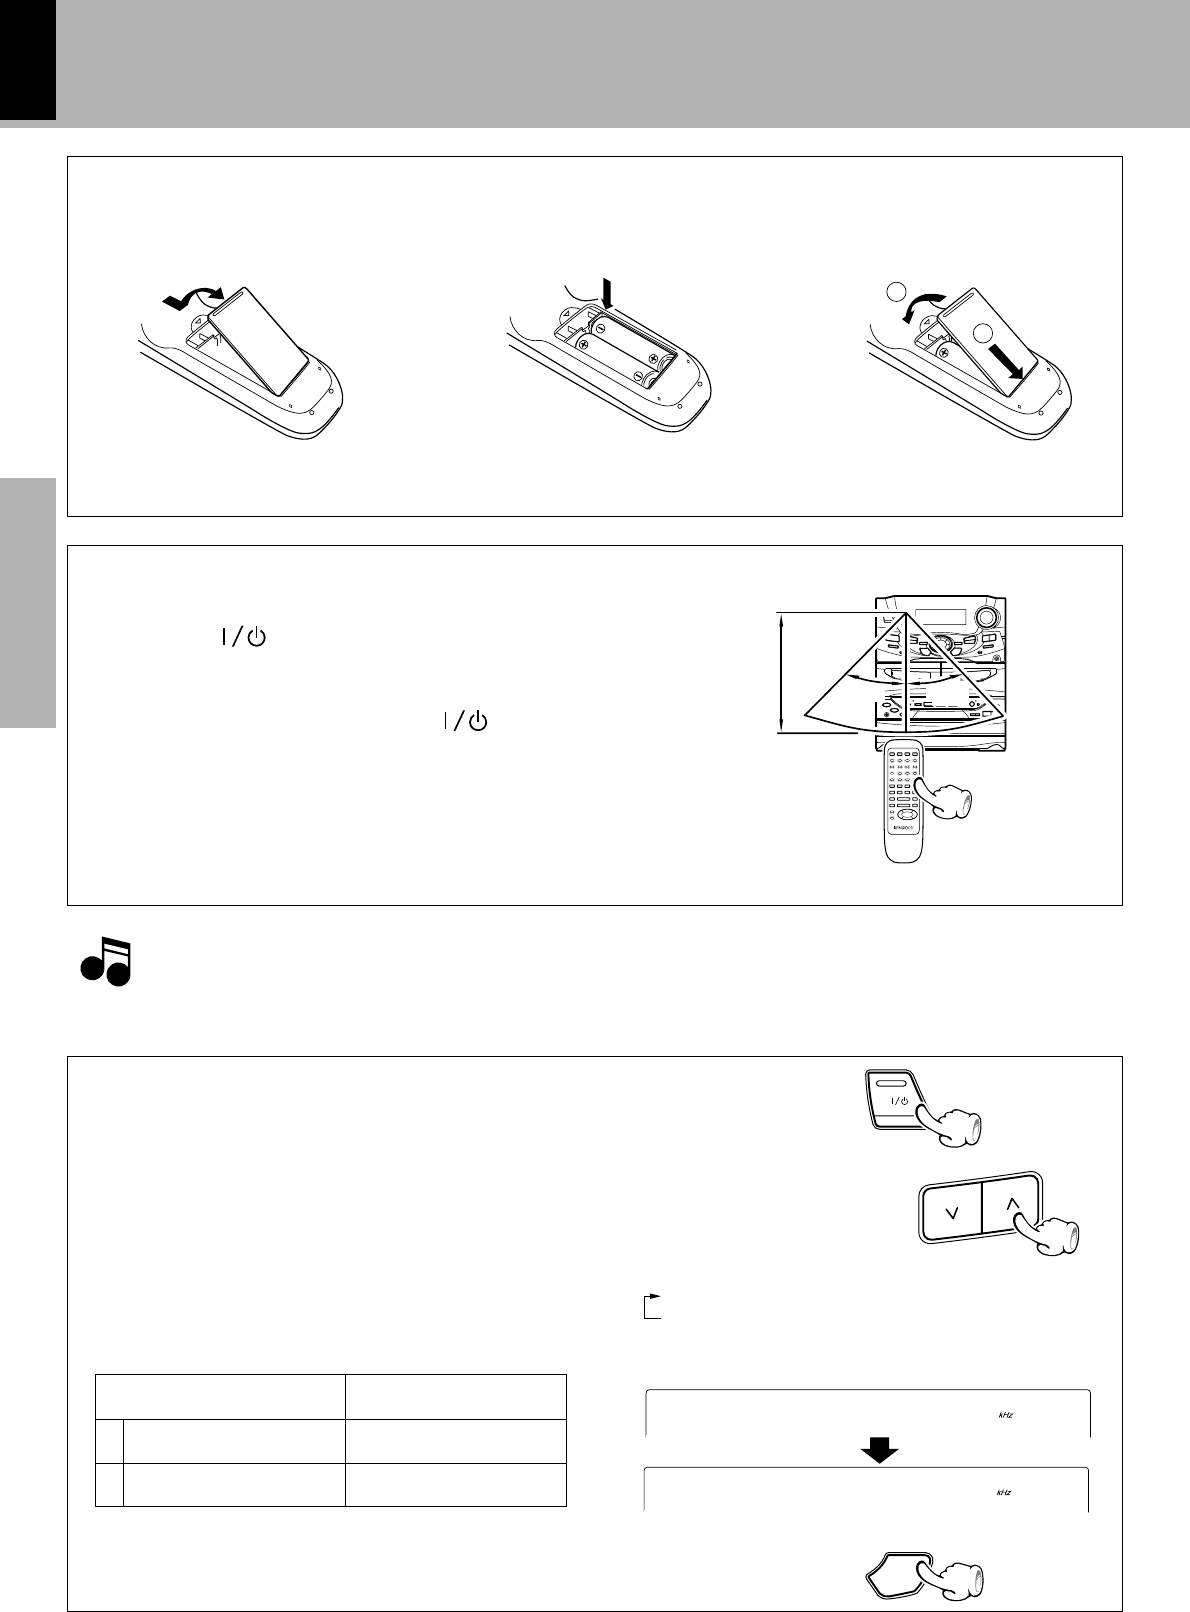
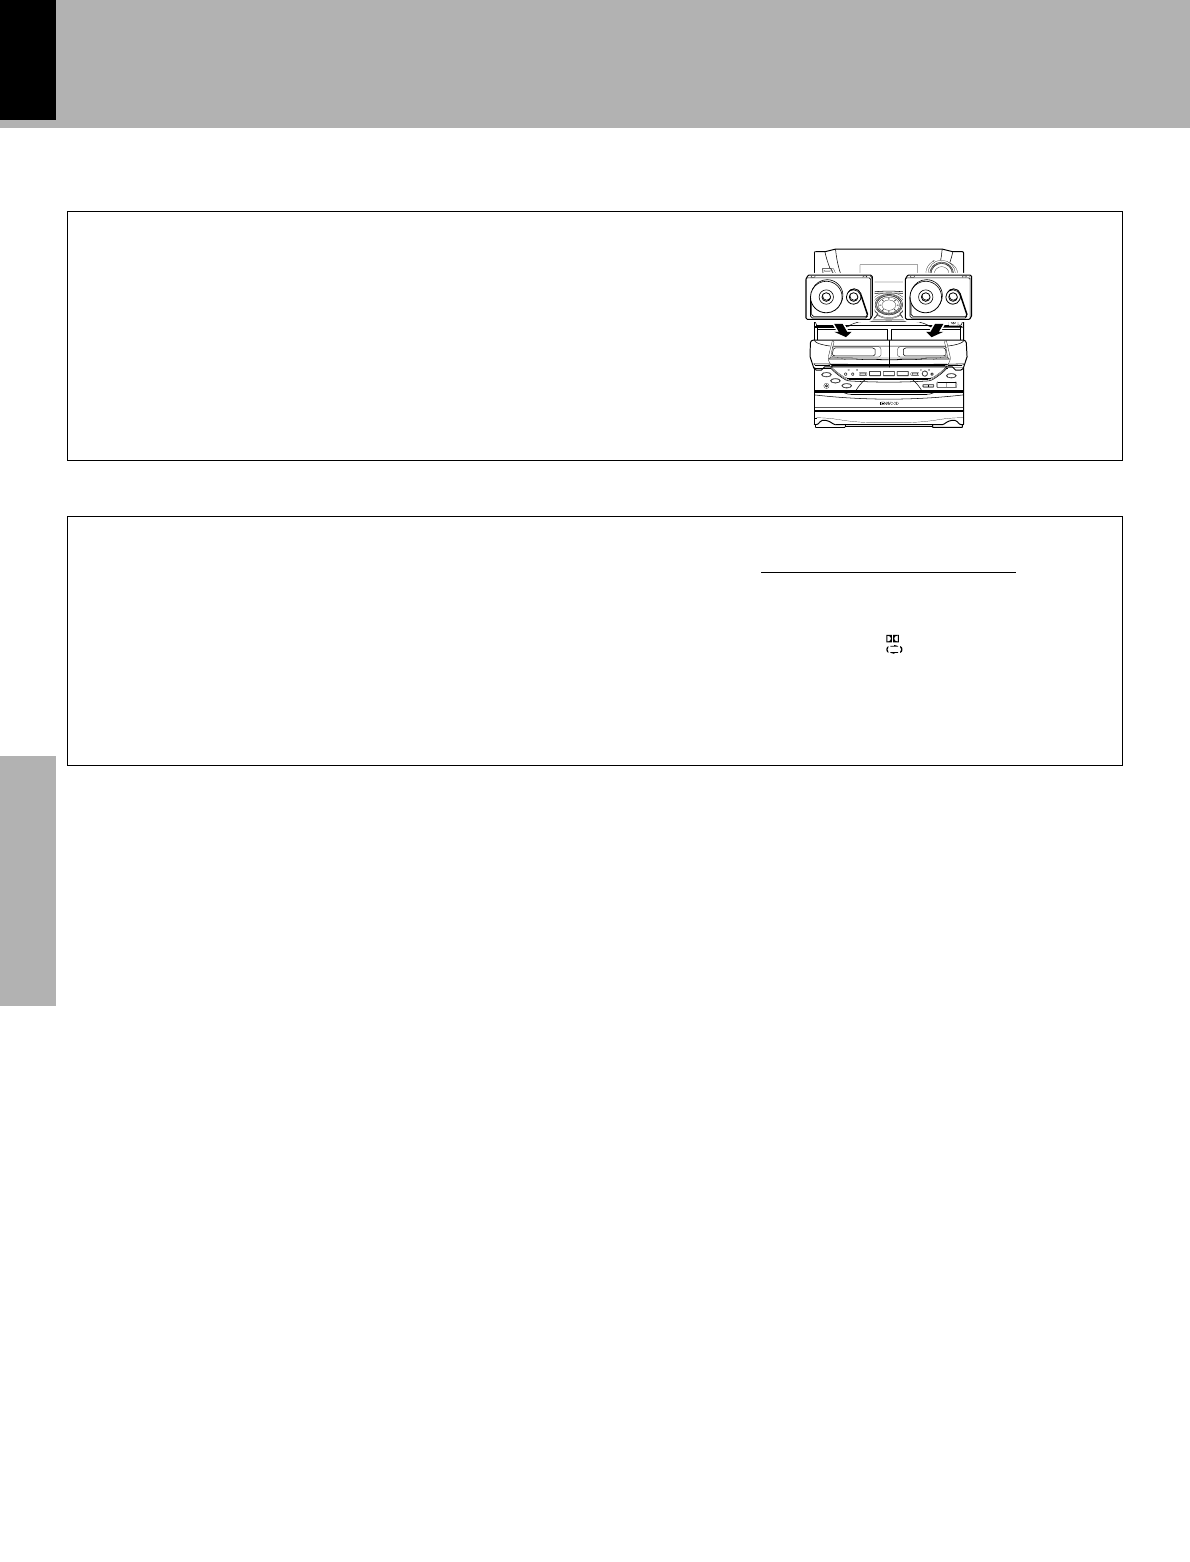
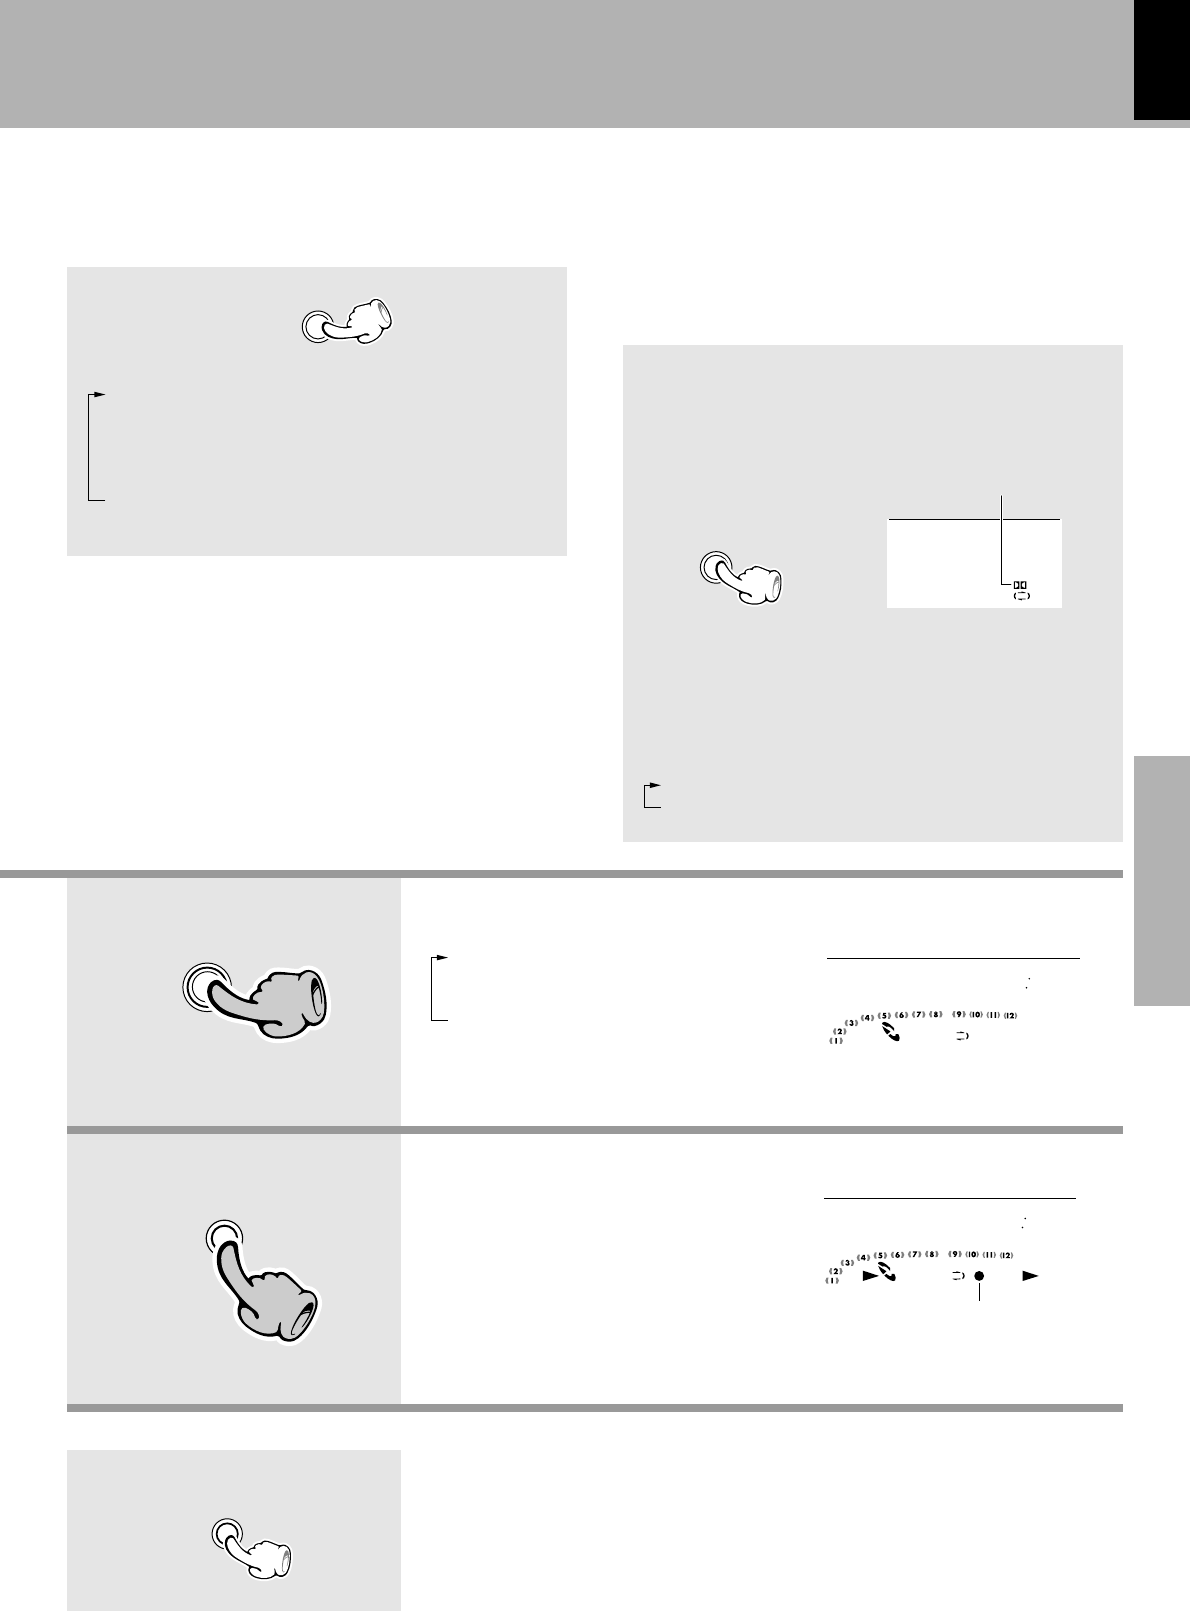
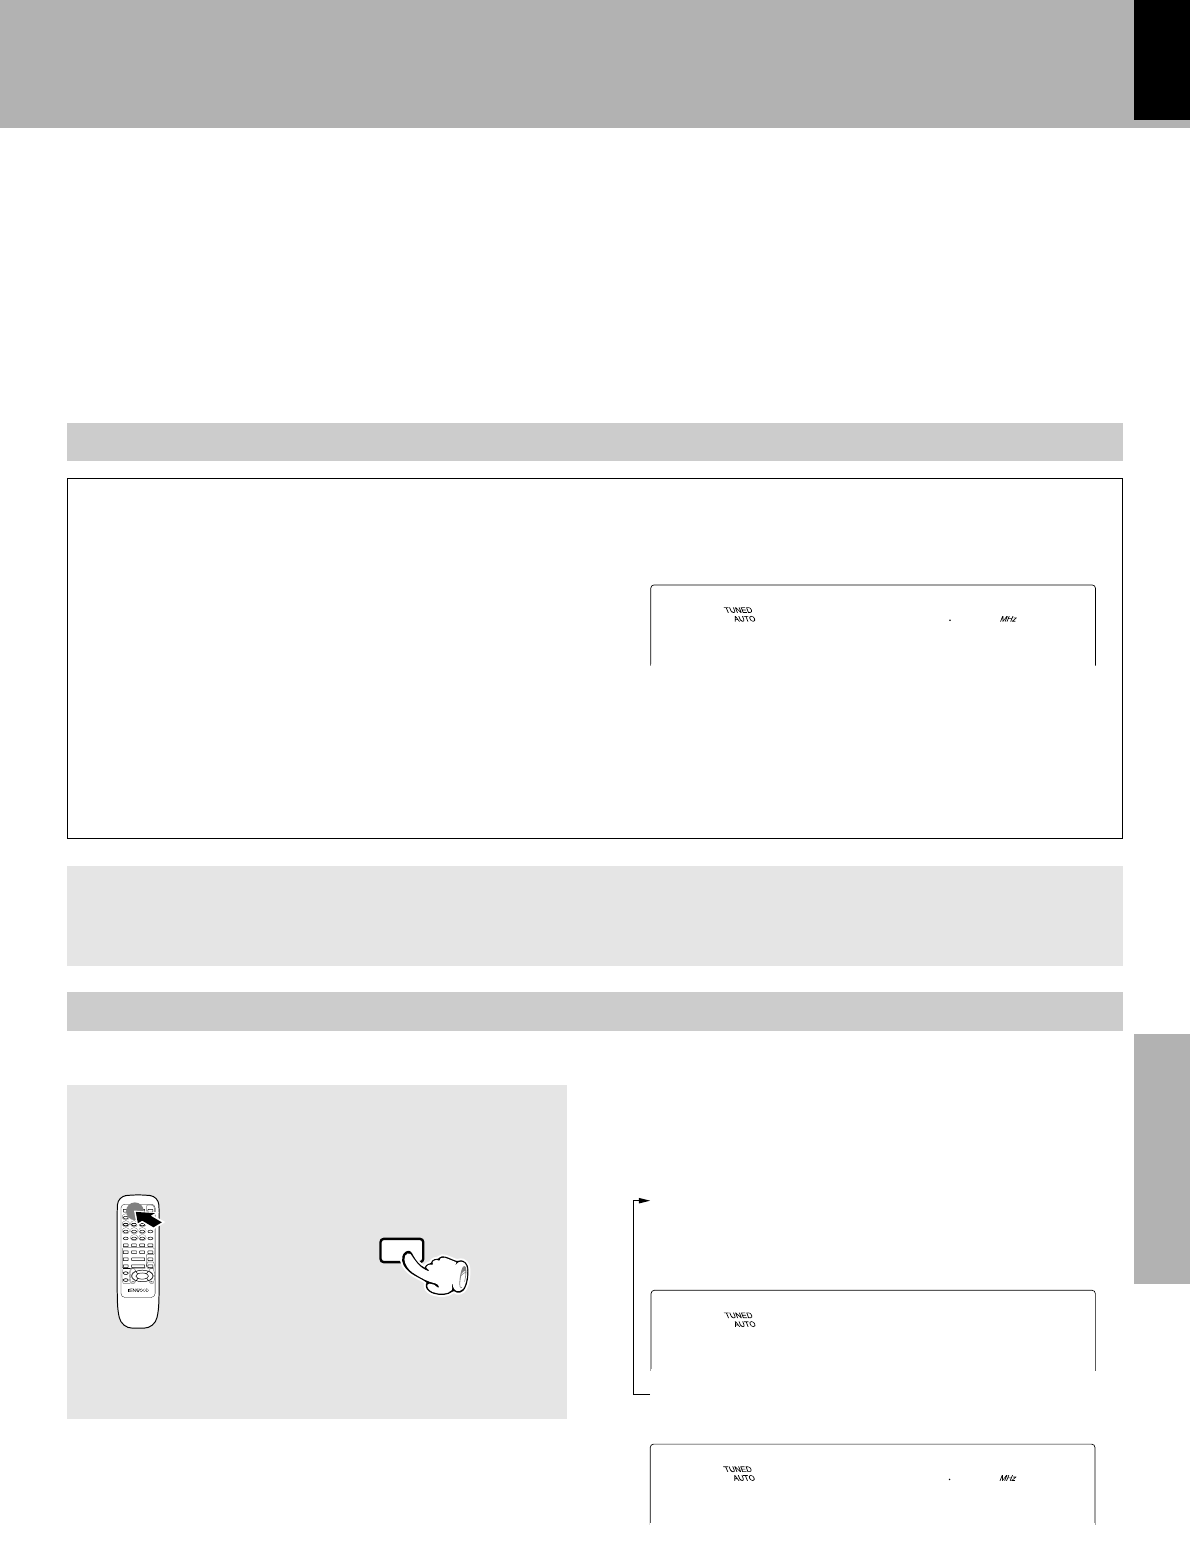
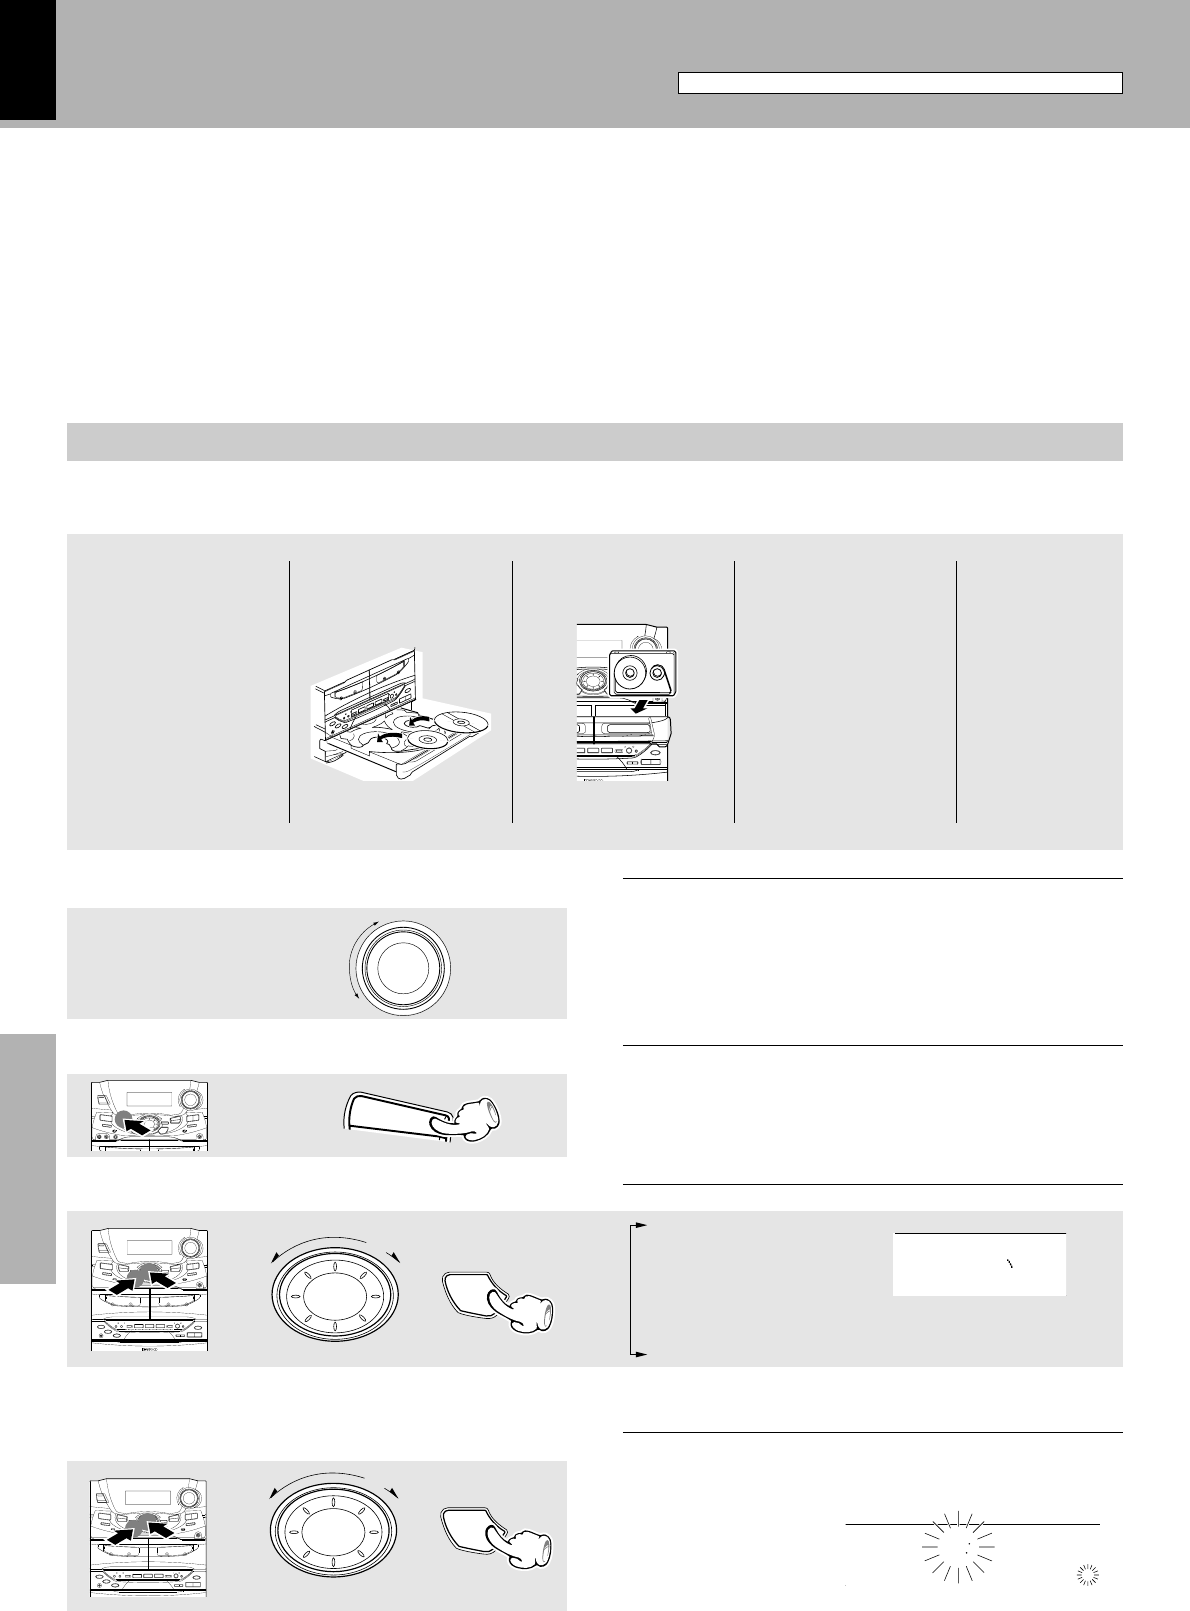
Loading batteries
2 Insert batteries.3 Close the cover.
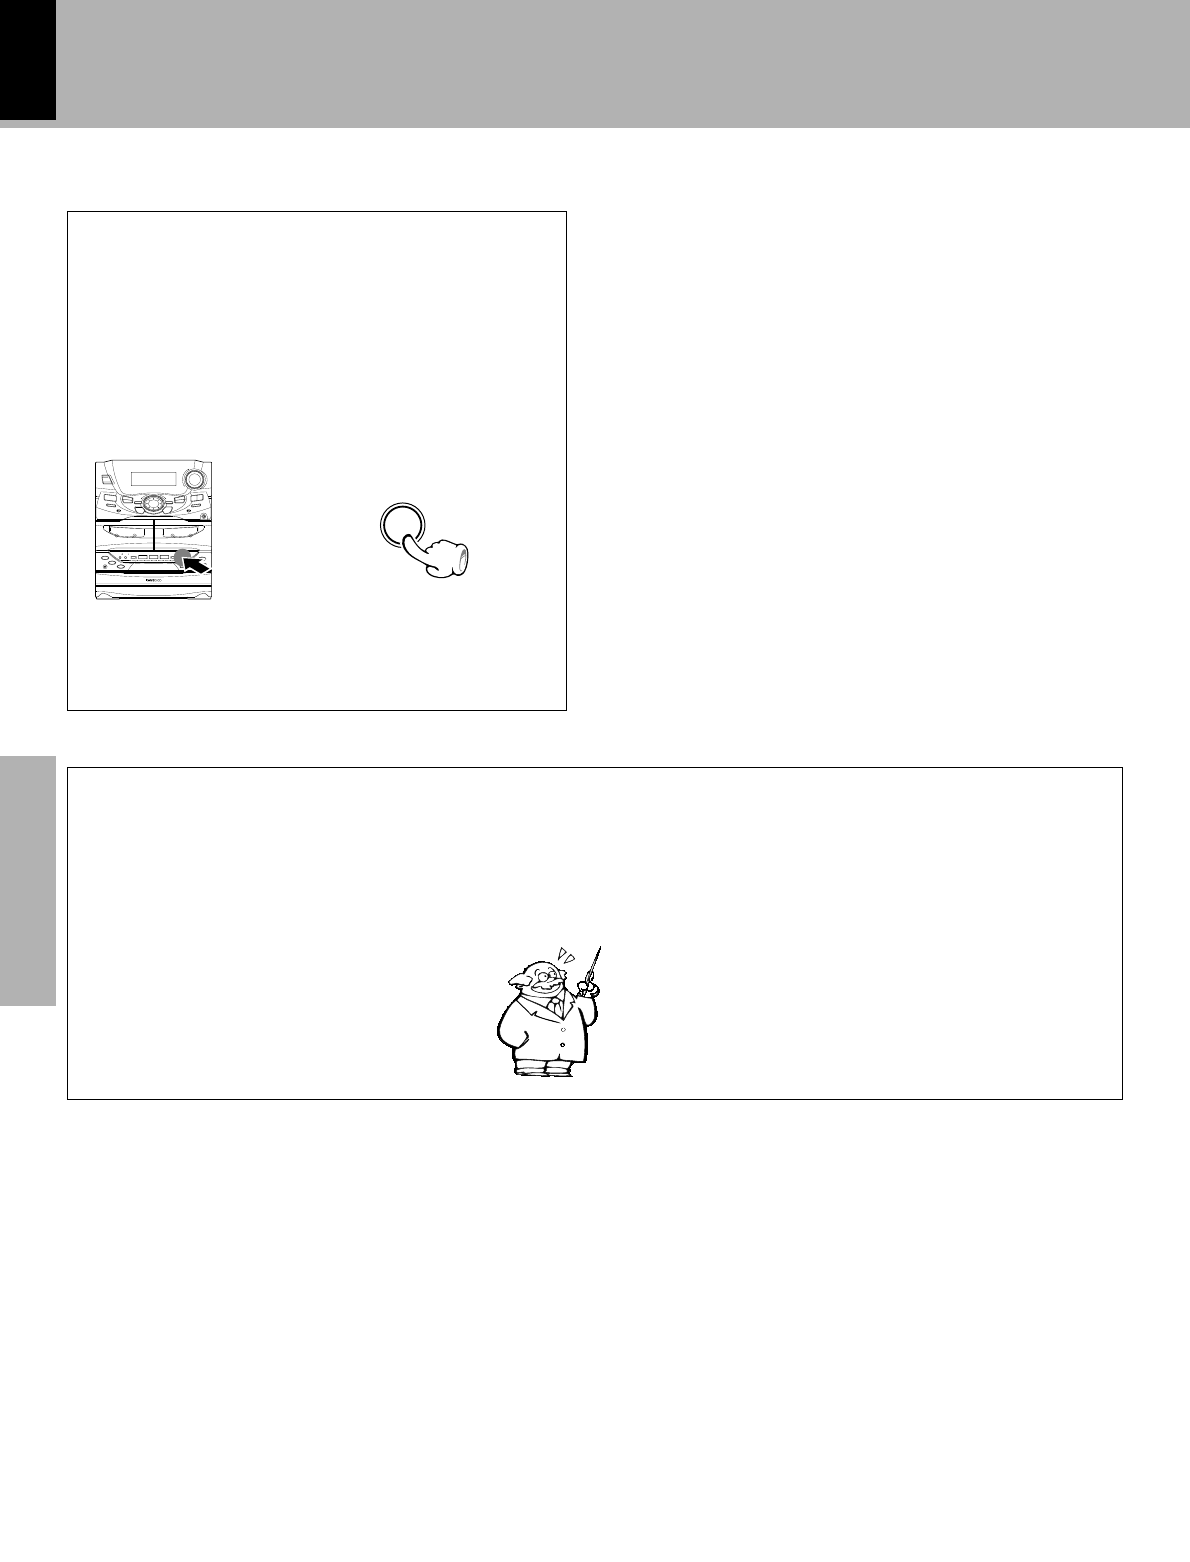
1.The provided batteries are intended for use in operation checking, and their service life may be short.
2.When the remote controllable distance becomes short, replace both of the batteries with new ones.
3. If direct sunlight or the light of a high- frequency fluorescent lamp (inverter type, etc.) is incident to the remote sensor, malfunction may occur.
In such a case, change the installation position to avoid malfunction.
1 Remove the cover.
Operation of remote control unit
Notes
Notes
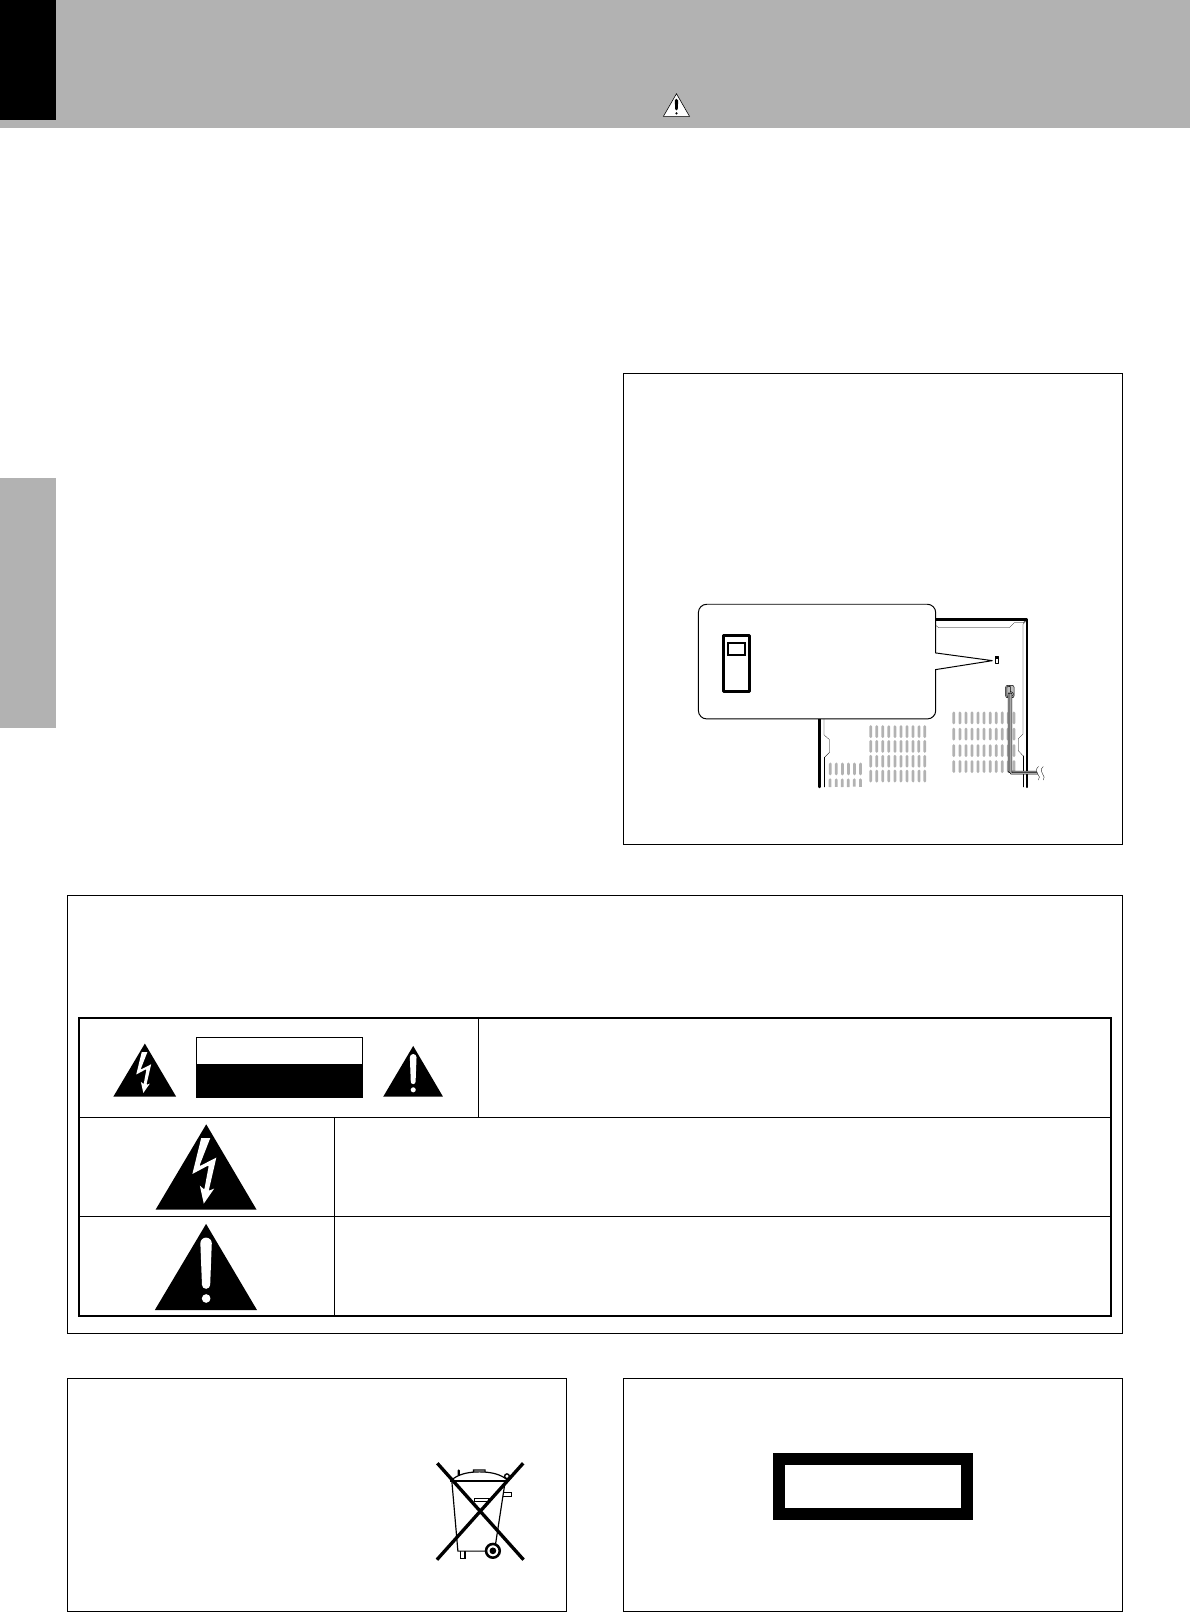
Operating range (approx.)
Remote sensor
÷Insert two R6 (“AA”-size) batteries following
the polarity indications.
2
1
TUNIN
G
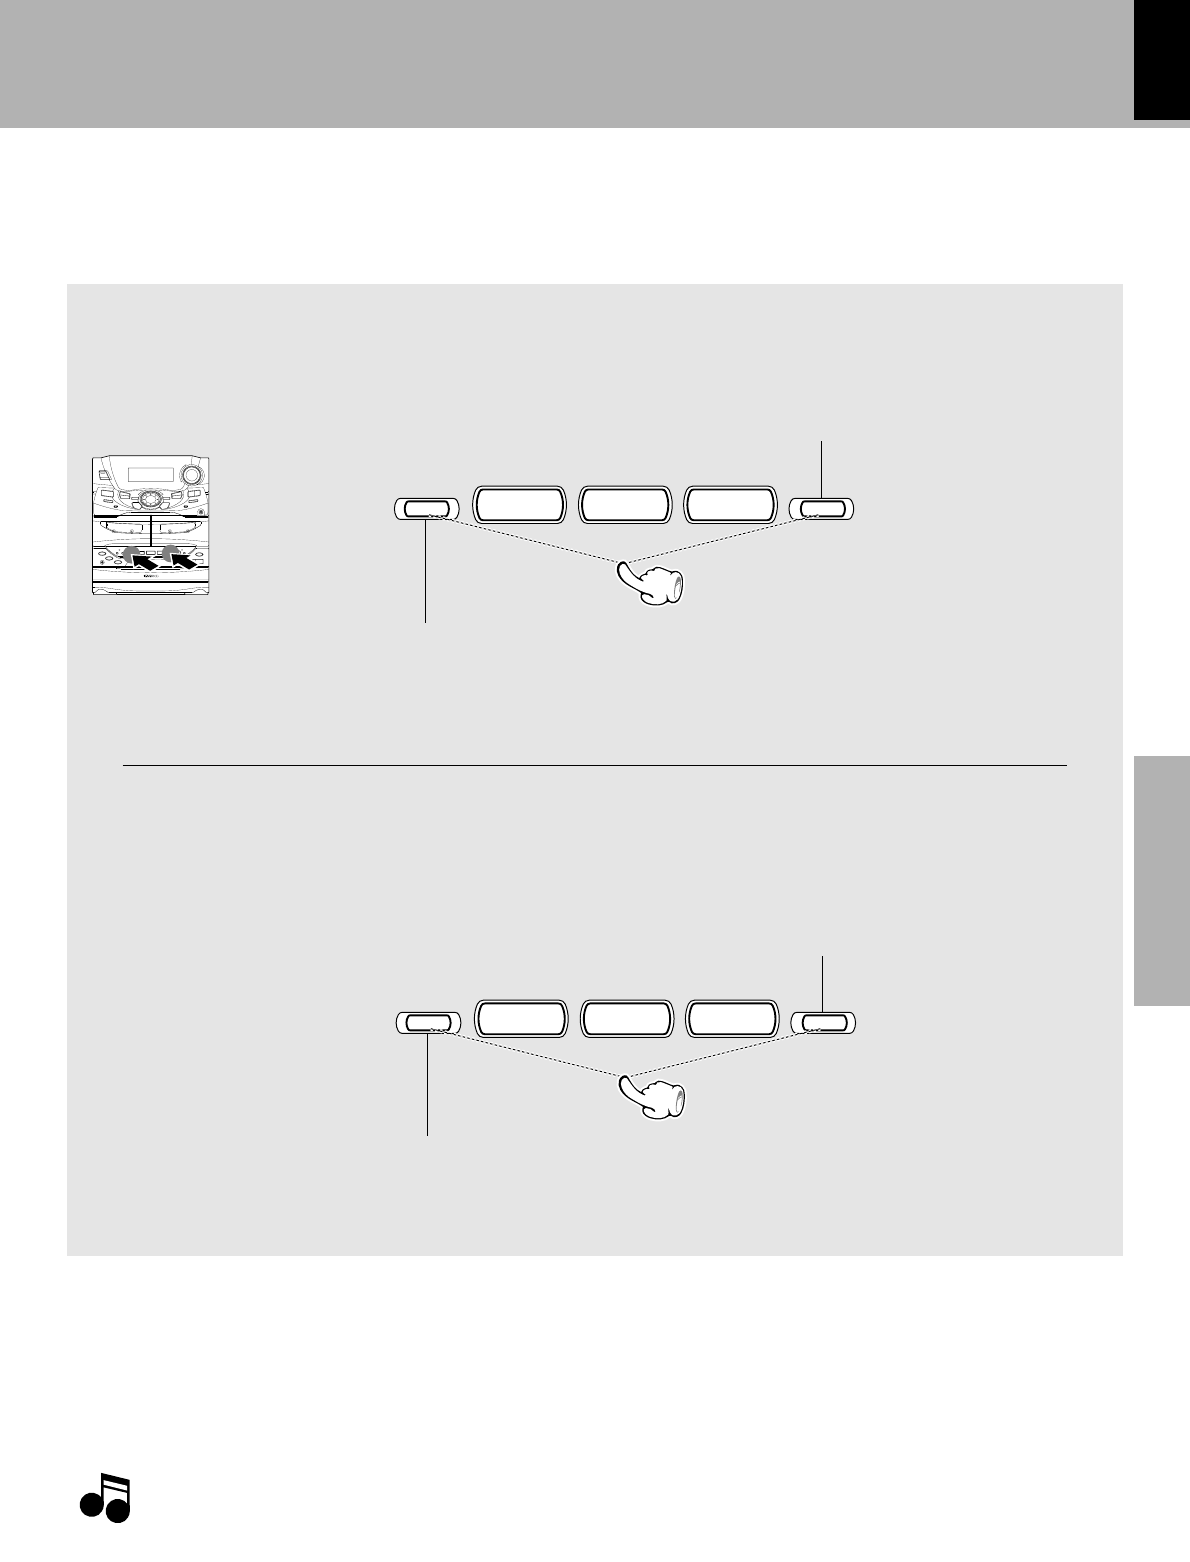
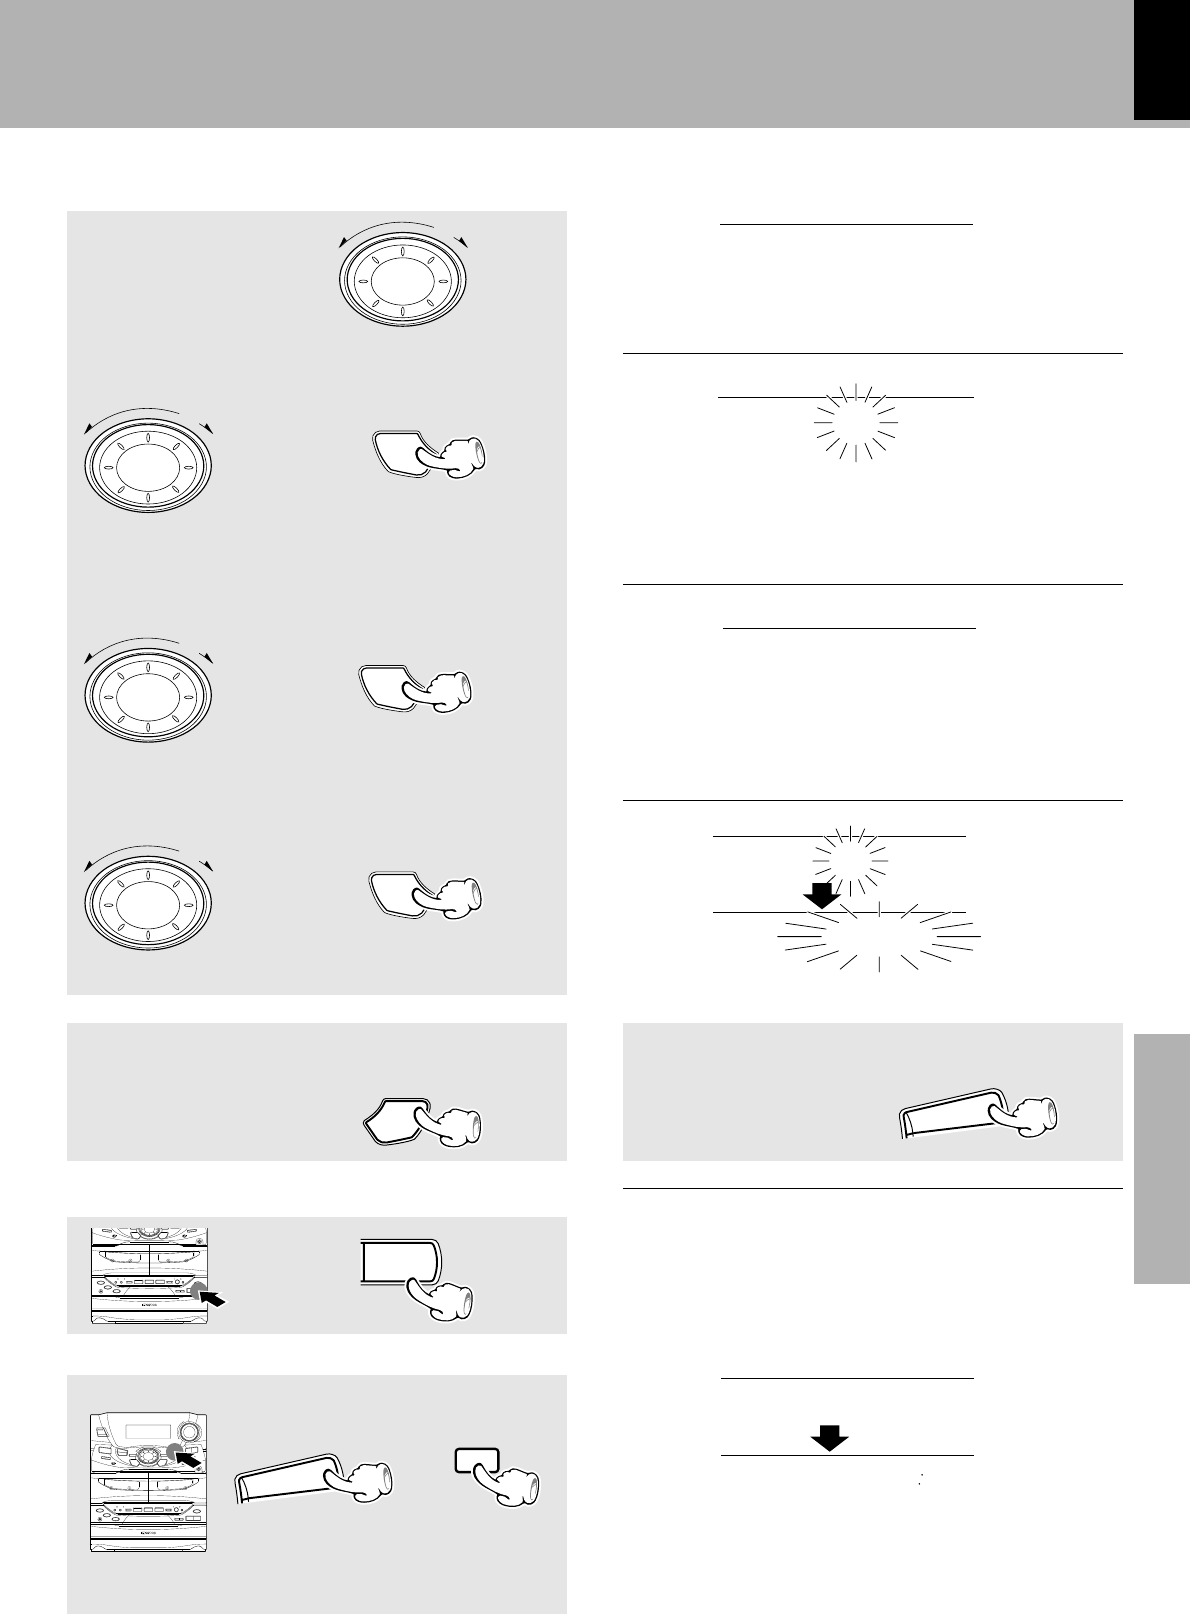
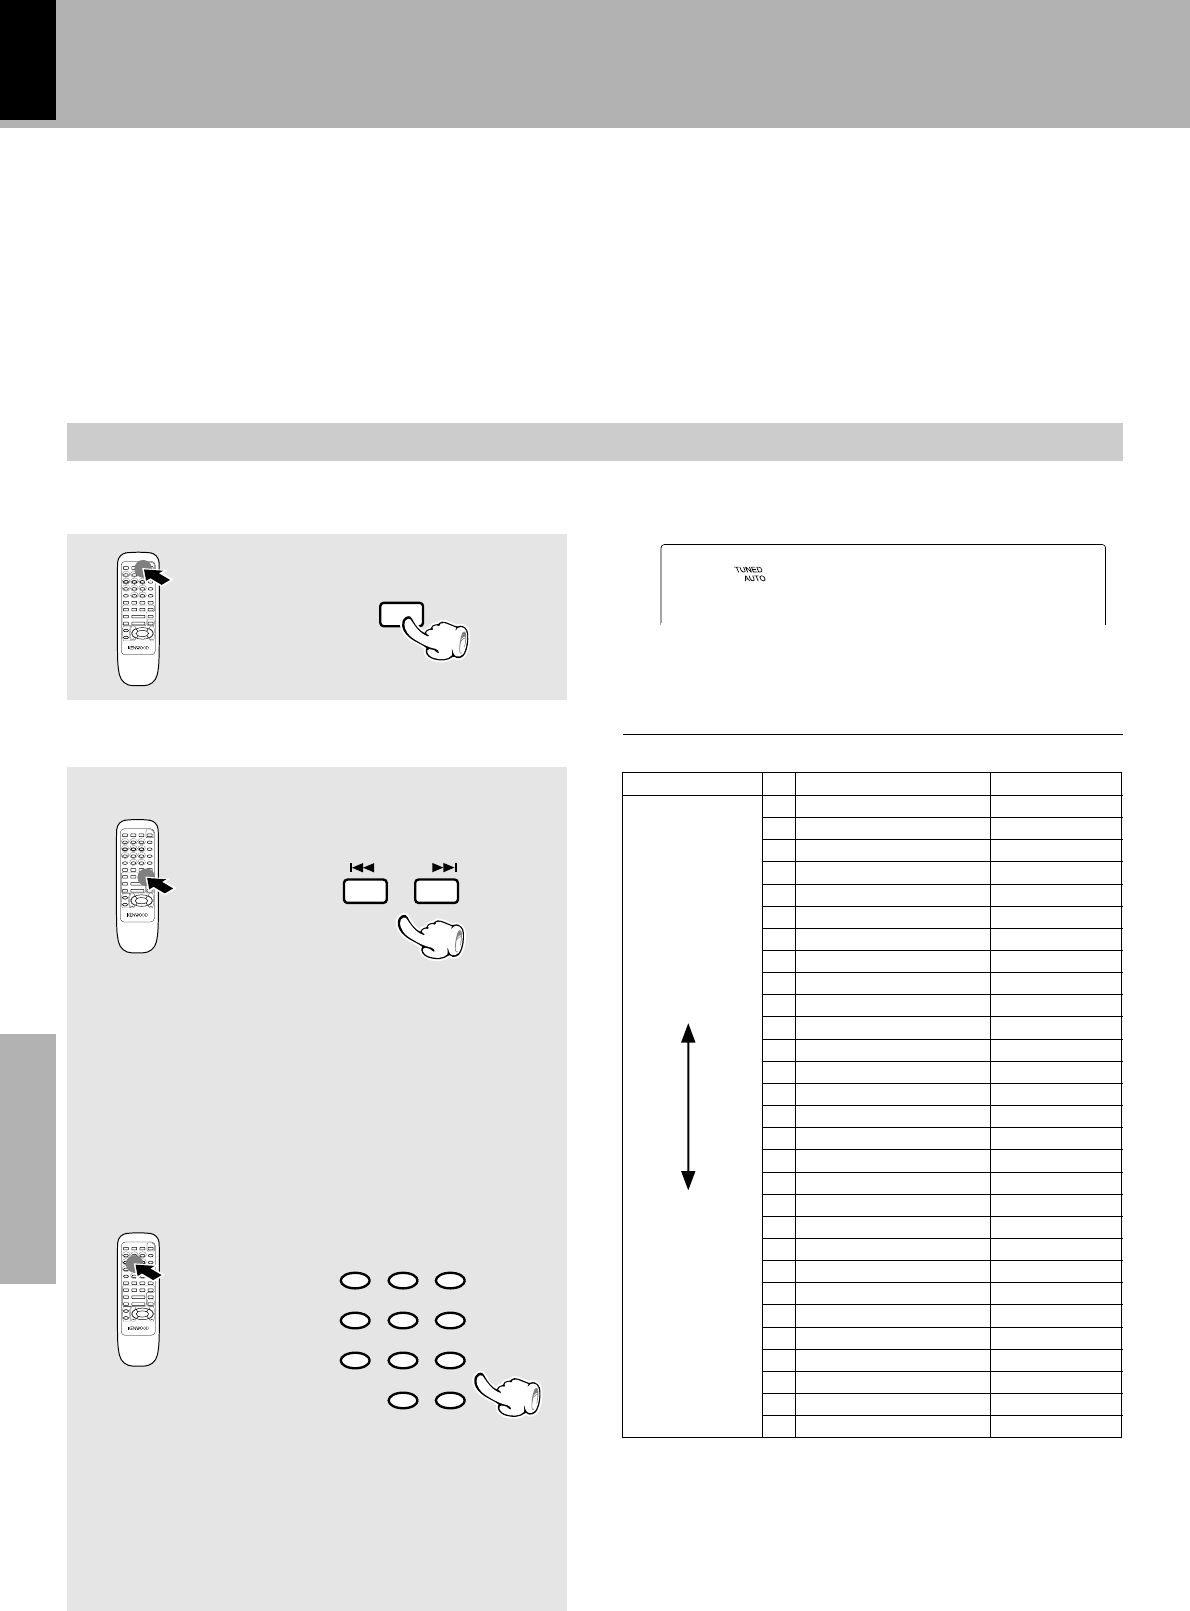
CHANNEL SPACE setting
(Except for the U.S.A., Canada, U.K. Europe and Australia)
CHANNEL
SPACE freq.
Area
1
2
USA, Canada and South
American countries
Other countries
FM: 100 kHz
AM:10 kHz
FM:50 kHz
AM:9 kHz
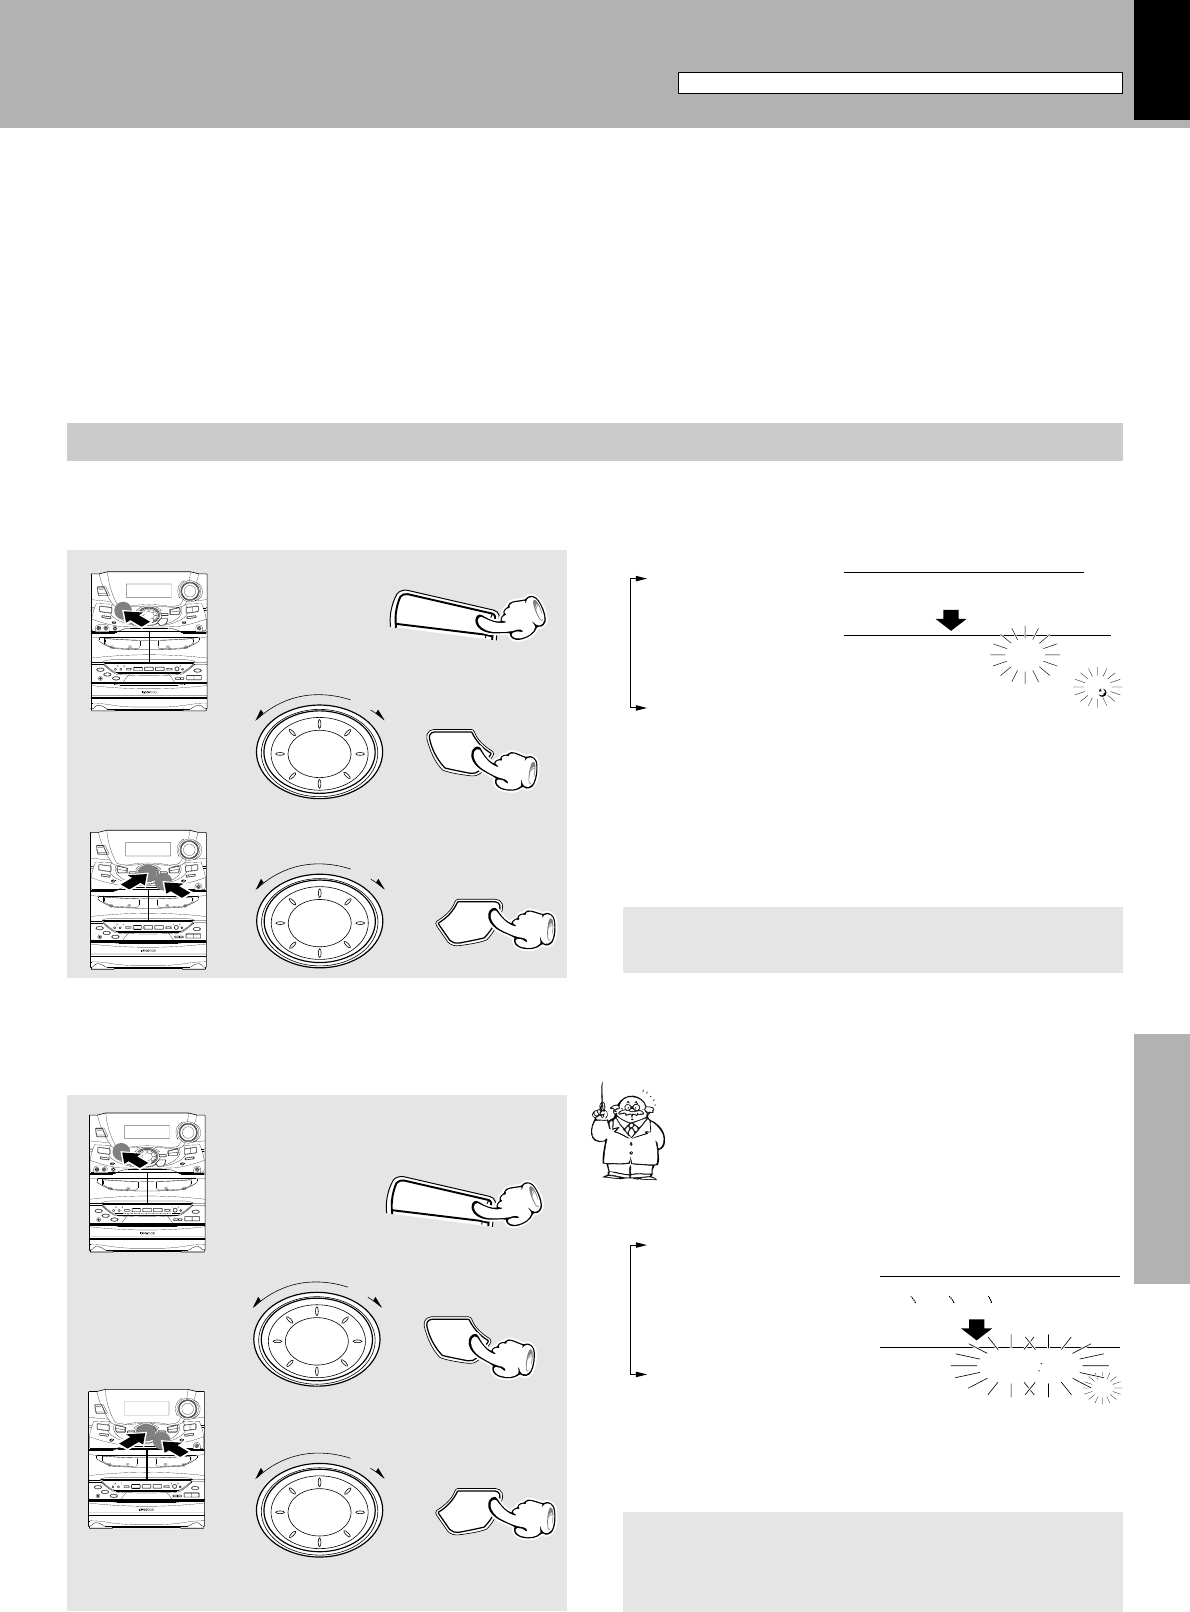
The space between radio channels has been set to the one that pre-
vails in the area to which the system is shipped. However, if the
current channel space setting does not match the setting in the area
where the system is to be used, for instance when you move from
area 1 or area 2 shown in the following table or vice versa, proper
reception of AM/FM (SW/MW/FM) broadcasts cannot be expected.
In this case, change the channel space setting in accordance with
Gebruikershandleiding.com neemt misbruik van zijn services uitermate serieus. U kunt hieronder aangeven waarom deze vraag ongepast is. Wij controleren de vraag en zonodig wordt deze verwijderd.
Product:
Spelregels forum
Om tot zinvolle vragen te komen hanteren wij de volgende spelregels:
lees eerst de handleiding door;
controleer of uw vraag al eerder door iemand anders is gesteld;
probeer uw vraag zo duidelijk mogelijk te stellen;
heeft u een probleem en al geprobeerd om dit op te lossen, vermeld dit erbij aub;
heeft u een oplossing gekregen van een bezoeker dan horen wij dat graag in dit forum;
wilt u een reactie geven op een vraag of antwoord, gebruik dan niet dit formulier maar klik op de knop 'reageer op deze vraag';
uw vraag wordt direct op de website gezet; vermijd daarom persoonlijke gegevens in te vullen;
Belangrijk! Als er een antwoord wordt gegeven op uw vraag, dan is het voor de gever van het antwoord nuttig om te weten als u er wel (of niet) mee geholpen bent! Wij vragen u dus ook te reageren op een antwoord.
Belangrijk! Antwoorden worden ook per e-mail naar abonnees gestuurd. Laat uw emailadres achter op deze site, zodat u op de hoogte blijft. U krijgt dan ook andere vragen en antwoorden te zien.
Abonneren
Abonneer u voor het ontvangen van emails voor uw Kenwood xd 751 bij:
nieuwe vragen en antwoorden
nieuwe handleidingen
U ontvangt een email met instructies om u voor één of beide opties in te schrijven.
Ontvang uw handleiding per email
Vul uw emailadres in en ontvang de handleiding van Kenwood xd 751 in de taal/talen: Engels als bijlage per email.
De handleiding is 3,68 mb groot.
U ontvangt de handleiding per email binnen enkele minuten. Als u geen email heeft ontvangen, dan heeft u waarschijnlijk een verkeerd emailadres ingevuld of is uw mailbox te vol. Daarnaast kan het zijn dat uw internetprovider een maximum heeft aan de grootte per email. Omdat hier een handleiding wordt meegestuurd, kan het voorkomen dat de email groter is dan toegestaan bij uw provider.
Stel vragen via chat aan uw handleiding
Stel uw vraag over deze PDF
Uw handleiding is per email verstuurd. Controleer uw email
Als u niet binnen een kwartier uw email met handleiding ontvangen heeft, kan het zijn dat u een verkeerd emailadres heeft ingevuld of dat uw emailprovider een maximum grootte per email heeft ingesteld die kleiner is dan de grootte van de handleiding.
Er is een email naar u verstuurd om uw inschrijving definitief te maken.
Controleer uw email en volg de aanwijzingen op om uw inschrijving definitief te maken
U heeft geen emailadres opgegeven
Als u de handleiding per email wilt ontvangen, vul dan een geldig emailadres in.
Uw vraag is op deze pagina toegevoegd
Wilt u een email ontvangen bij een antwoord en/of nieuwe vragen? Vul dan hier uw emailadres in.