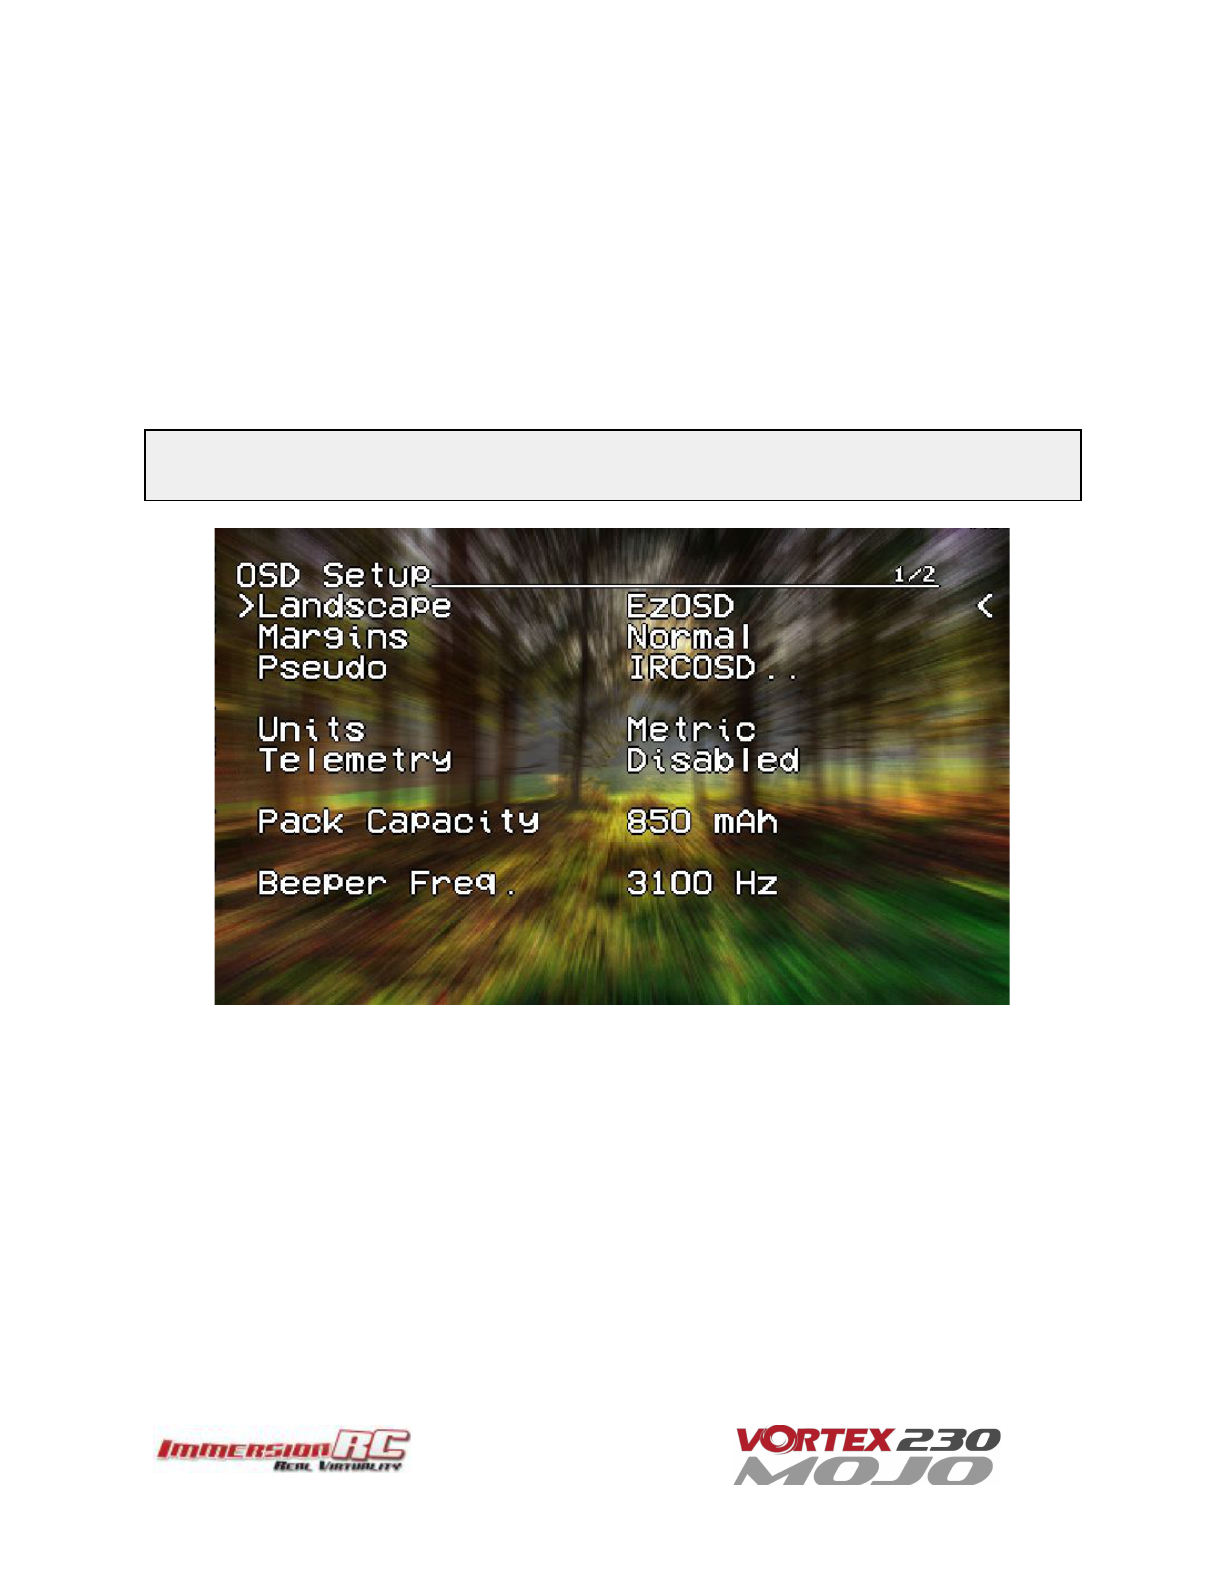
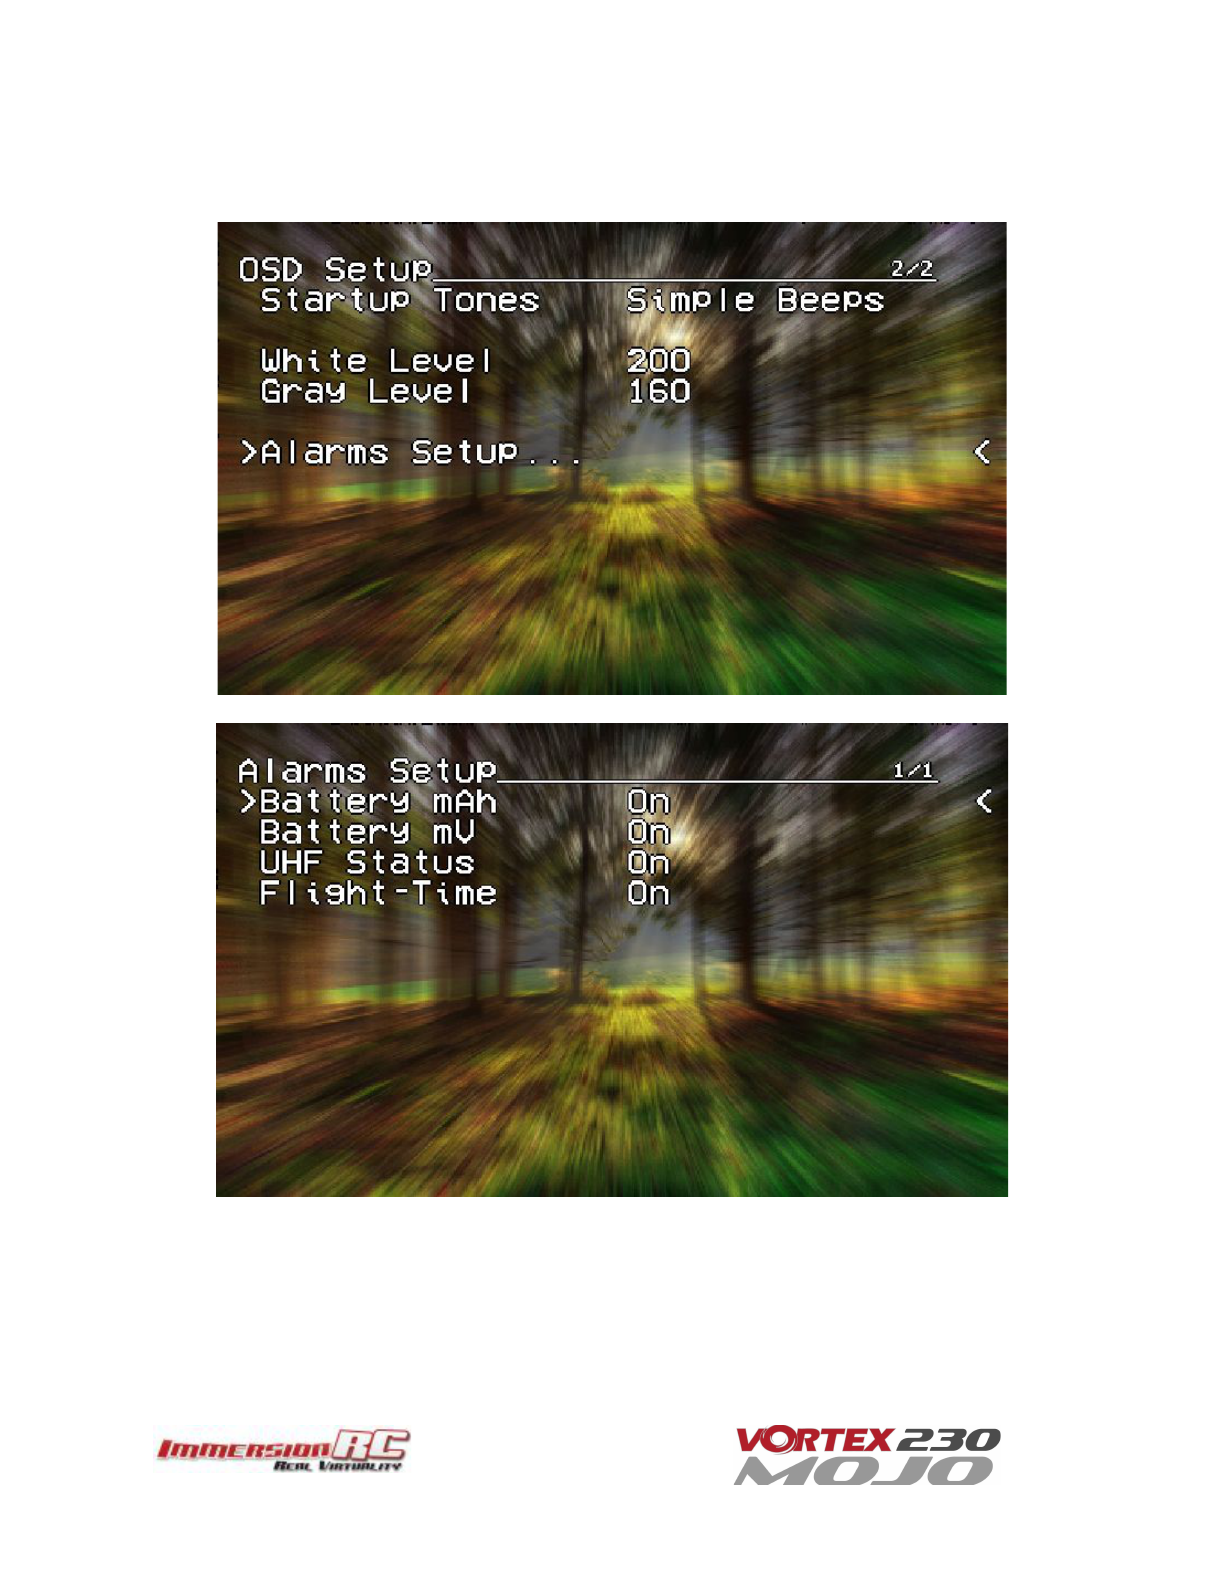
WARNING
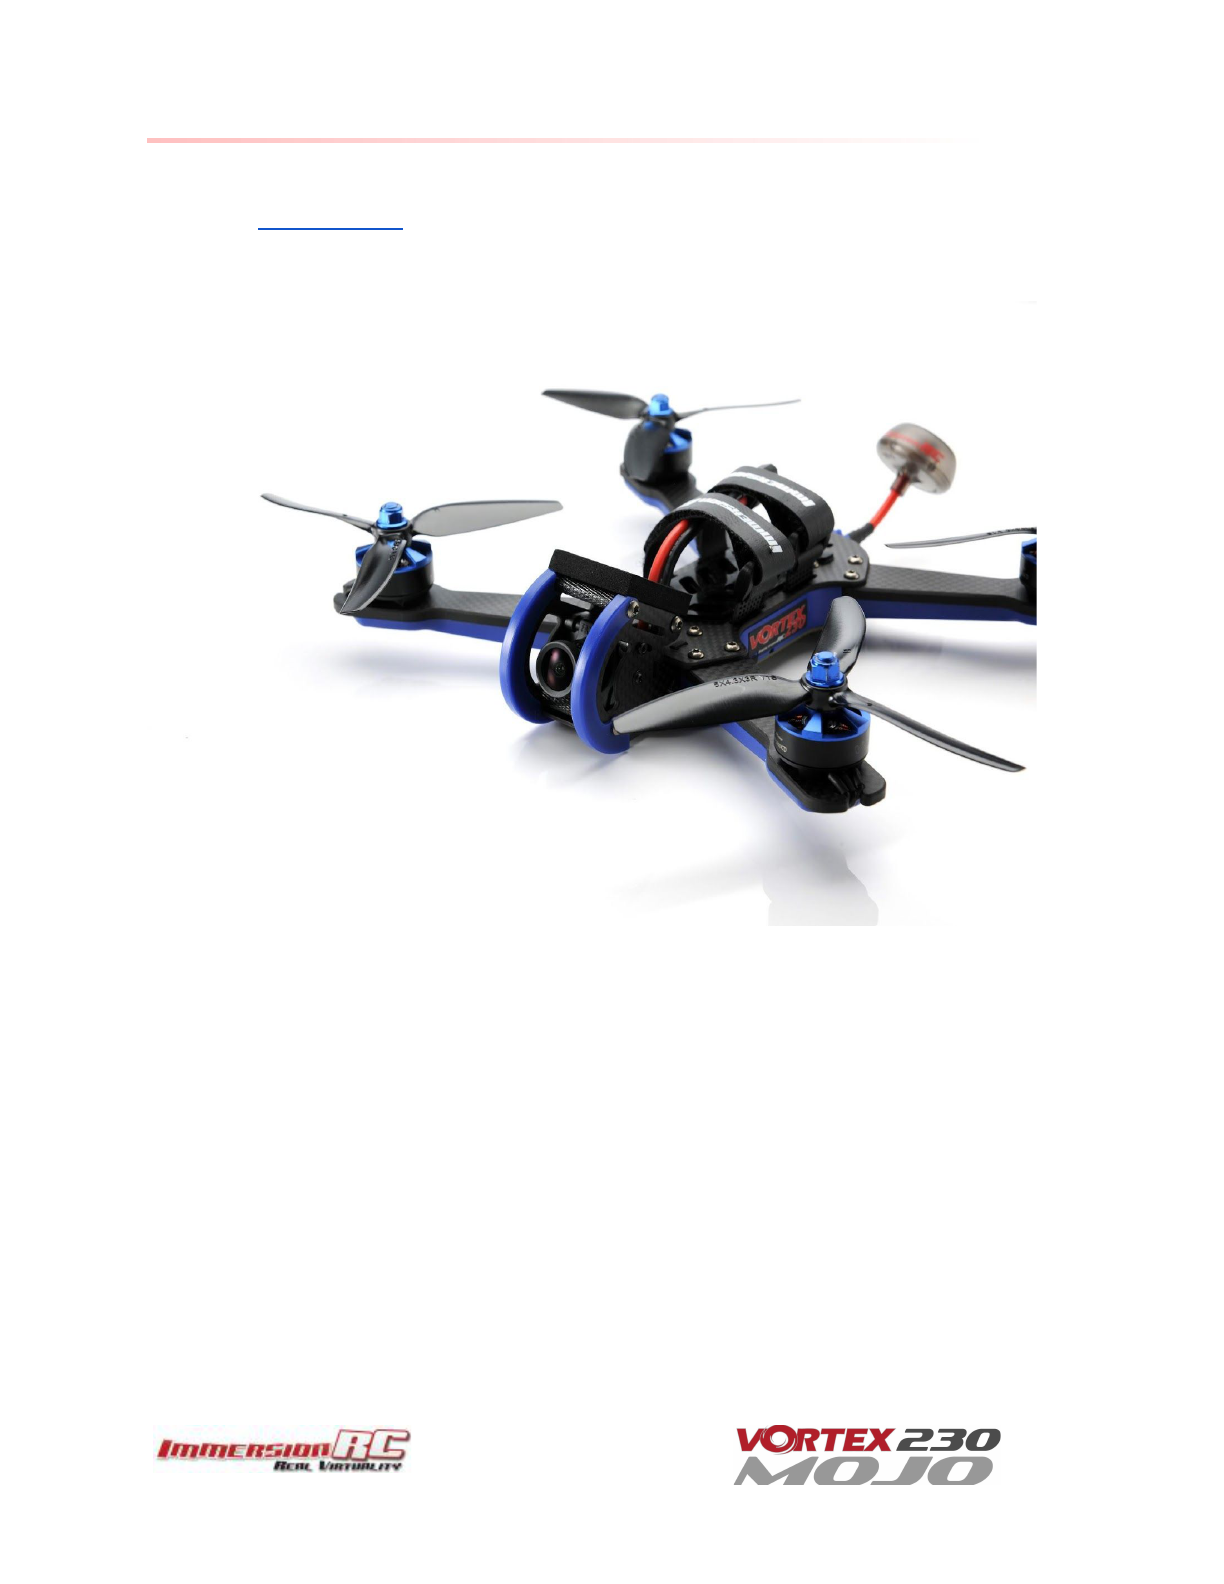
Congratulations on your purchase of one of the world’s finest ARF pure-bred freestyle/racing mini-quads. A
product designed by FPV pilots, for FPV pilots.
Do not expect it to fly like a DJI Phantom™ . It does not have a return-to-home feature, no GPS, and it does not
have stabilization features that will allow your little brother to fly it.
Take it easy if you are new to the world of FPV racing, find an empty field for your first flight and get
comfortable with flying the quad first before you hit that downtown bando.
Acro mode is something that should be learned as soon as possible, flying any other mode is a bit like driving a
Lamborghini around a parking-lot in reverse… not exactly what you bought the Lambo for.
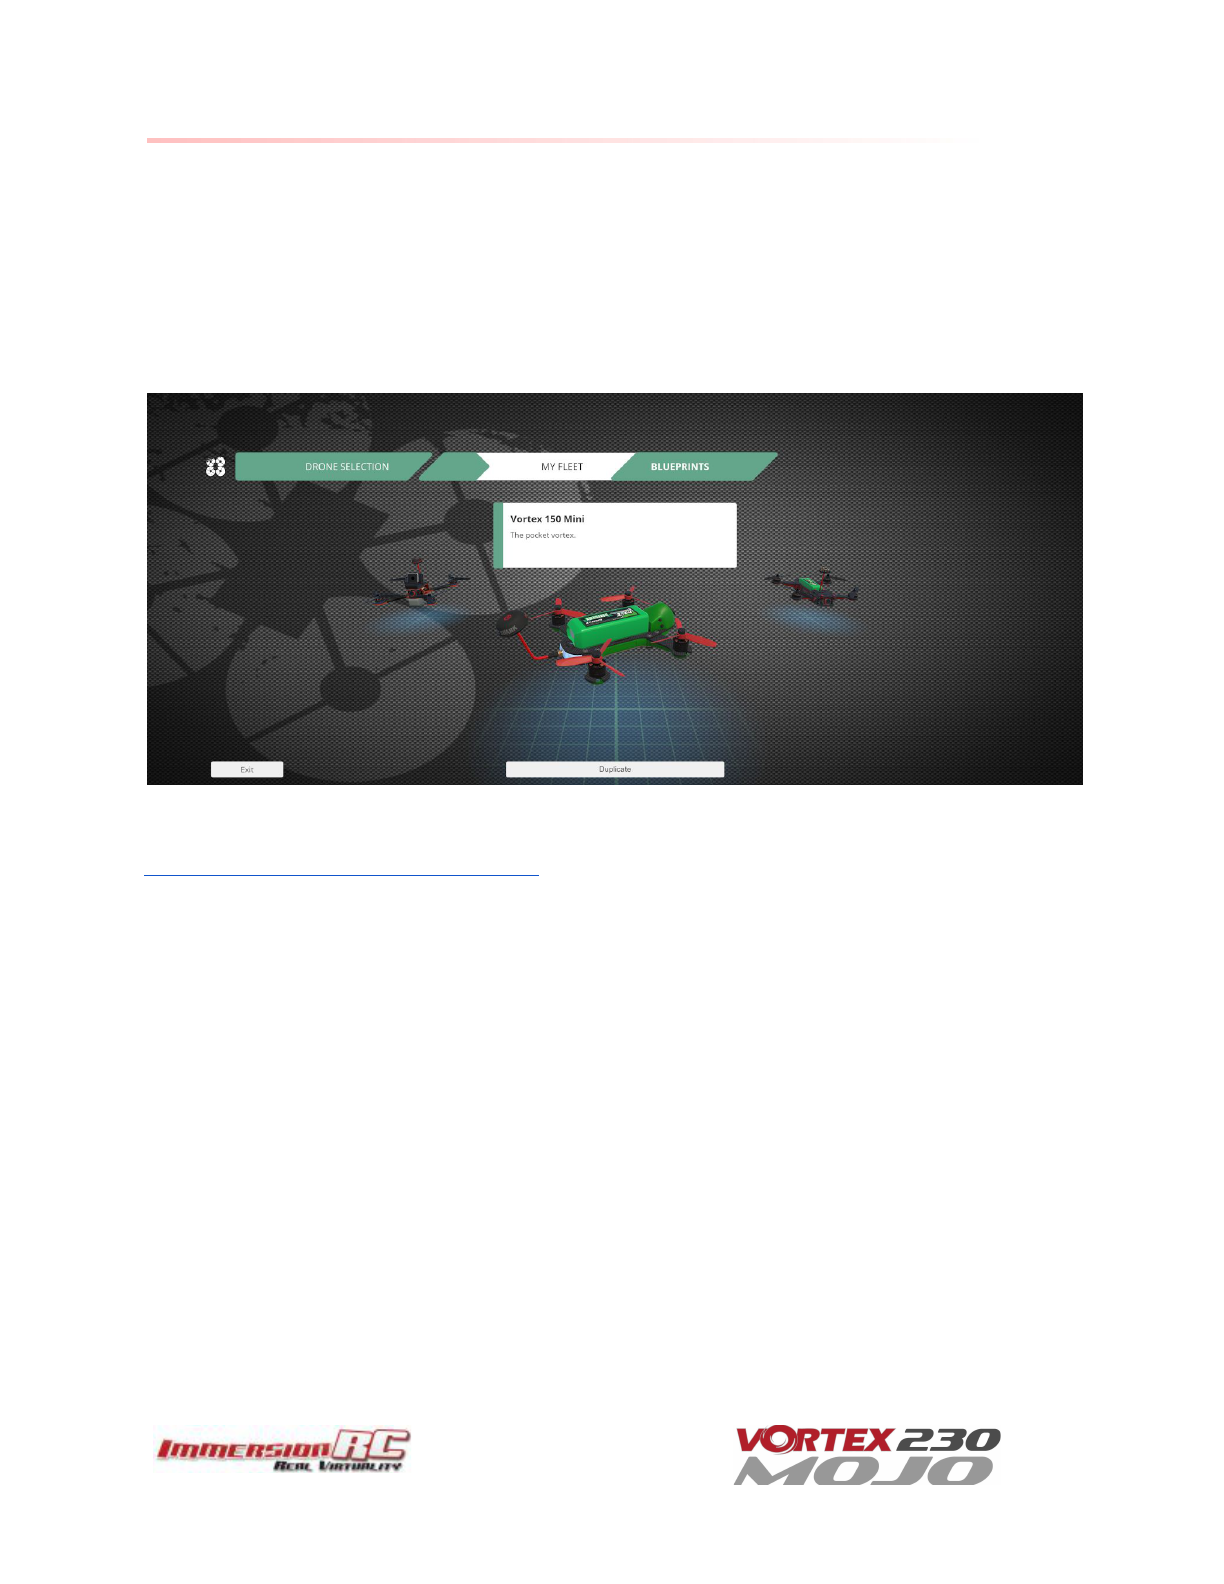
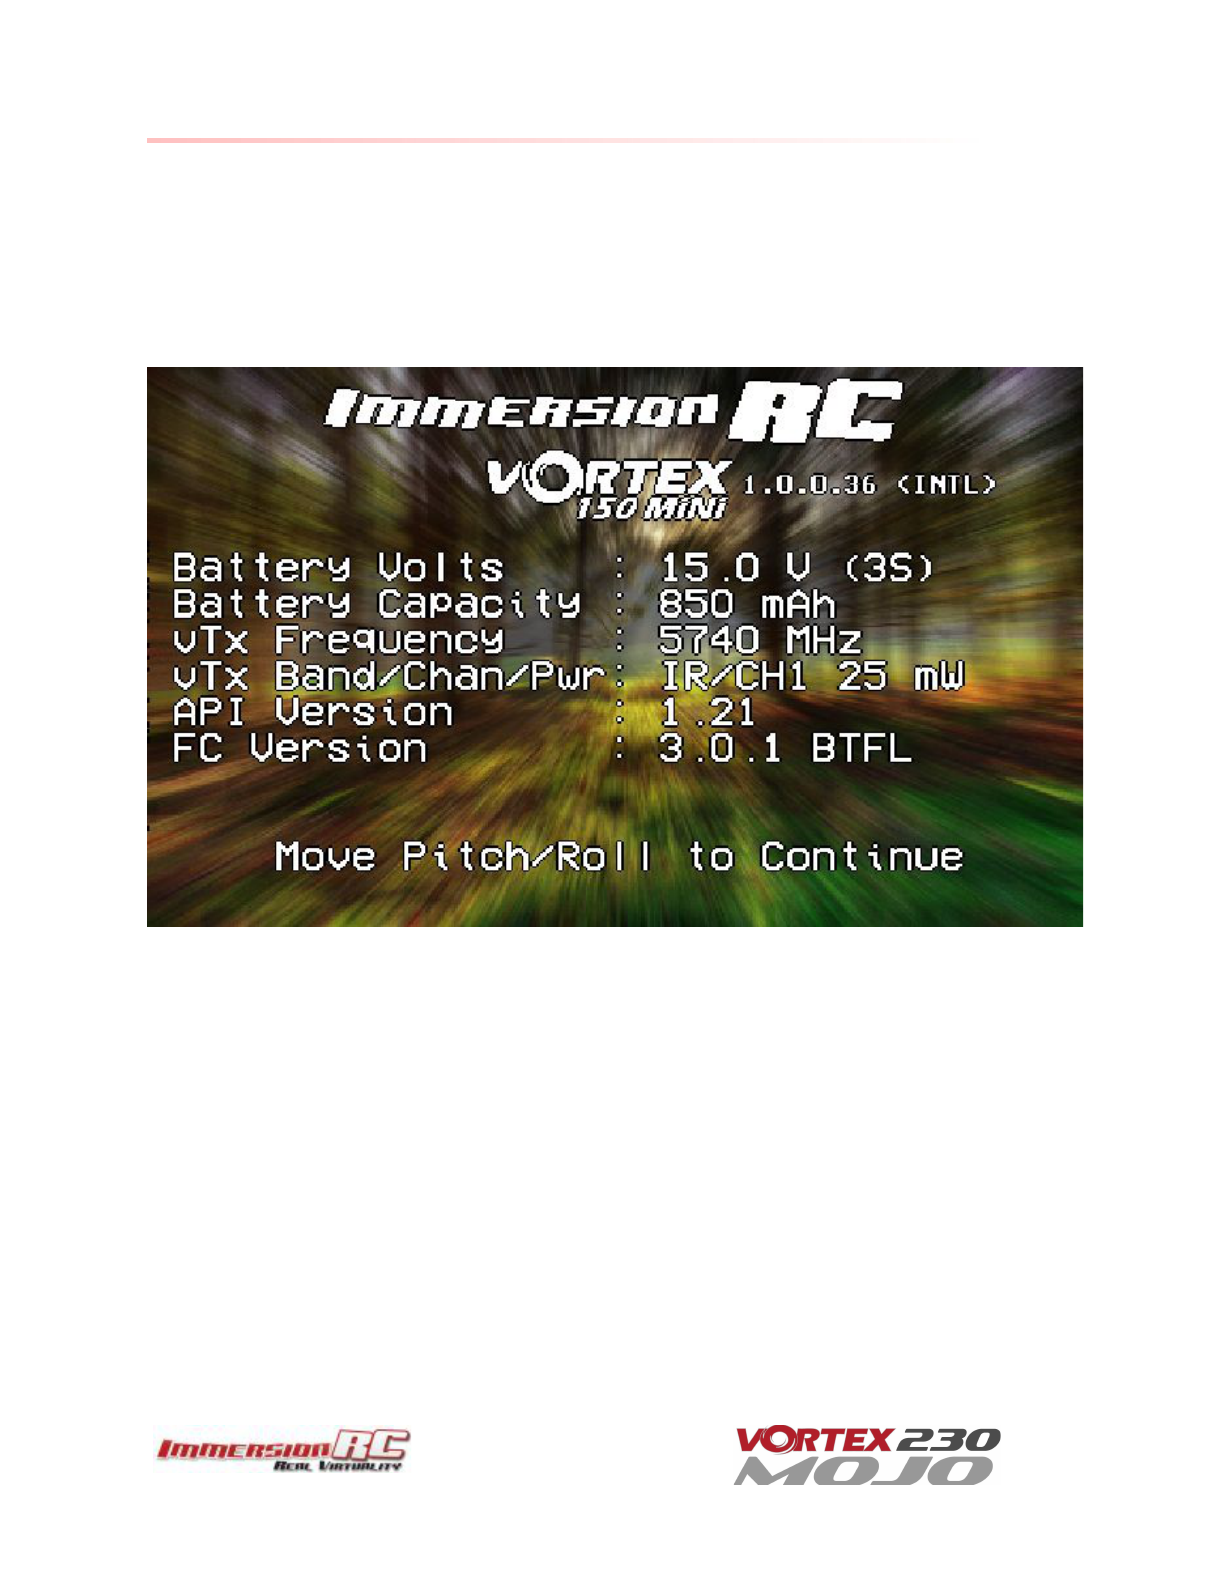
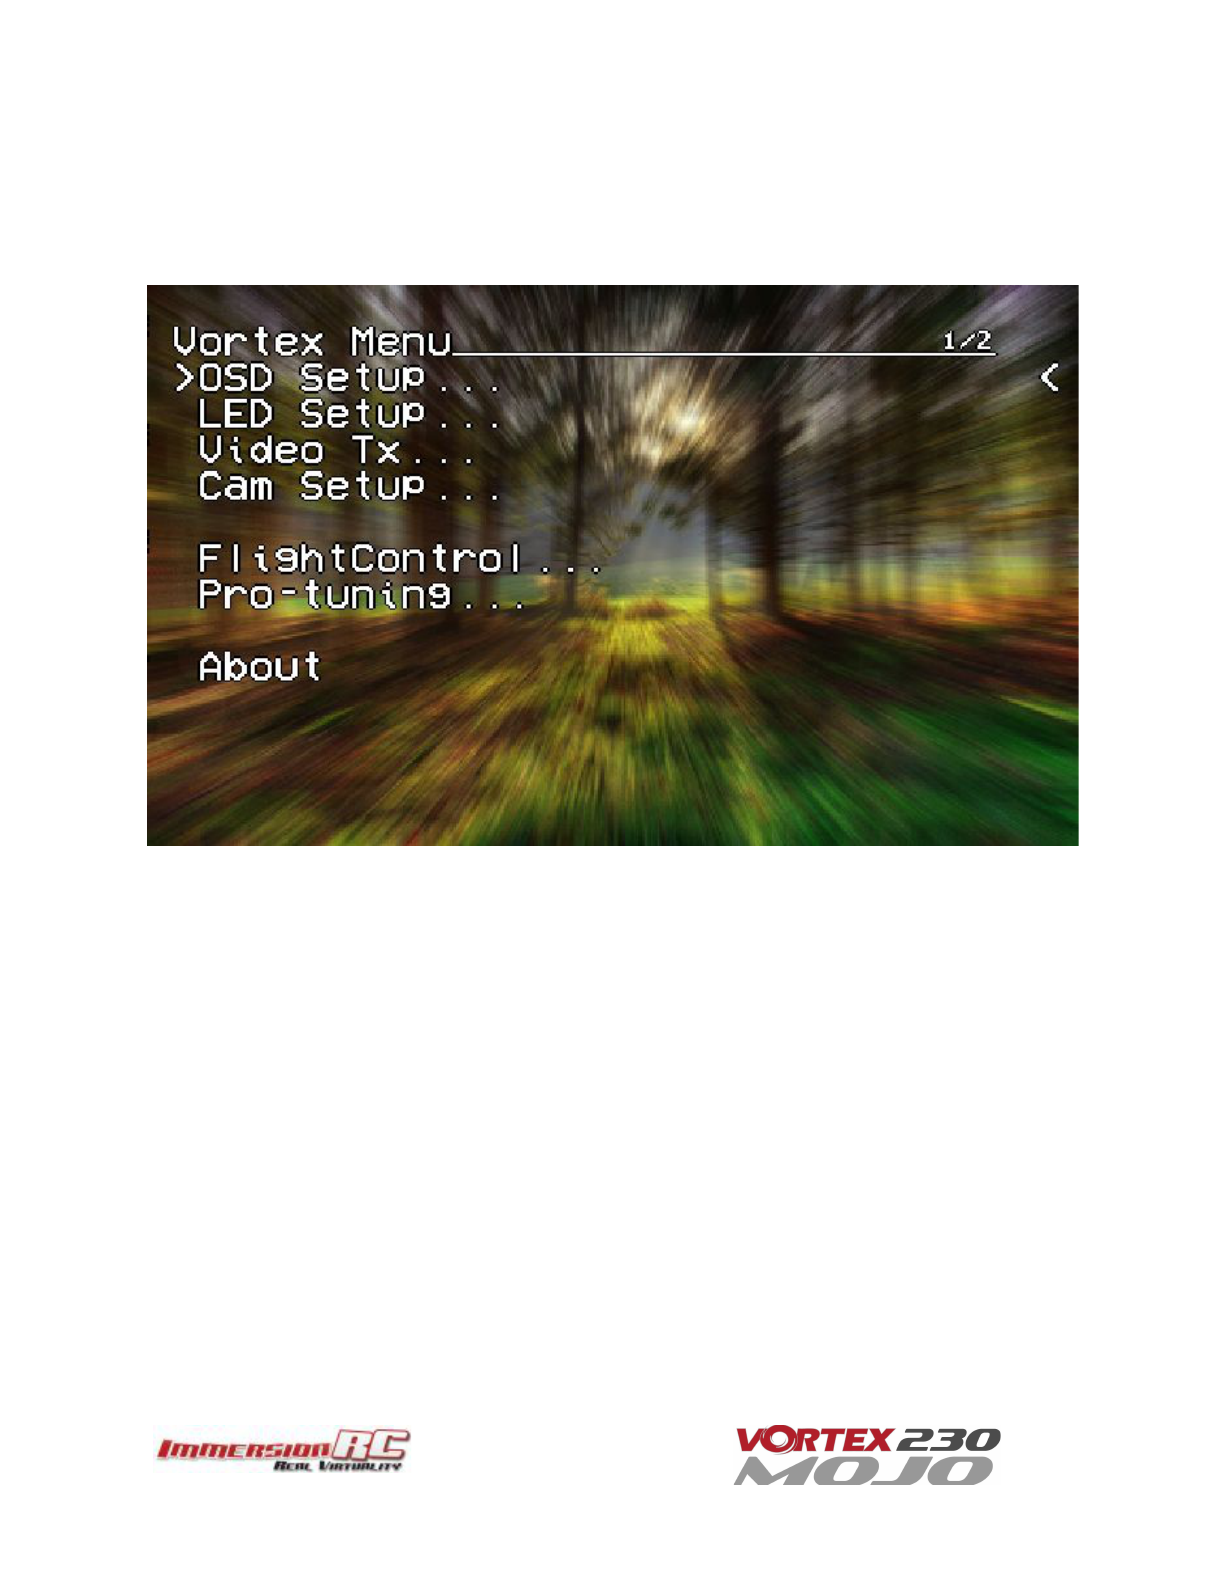
Please carefully read the recommendations in this instruction manual, as far as equipment/battery selection,
and how to run the Vortex 230 Mojo setup Wizard.
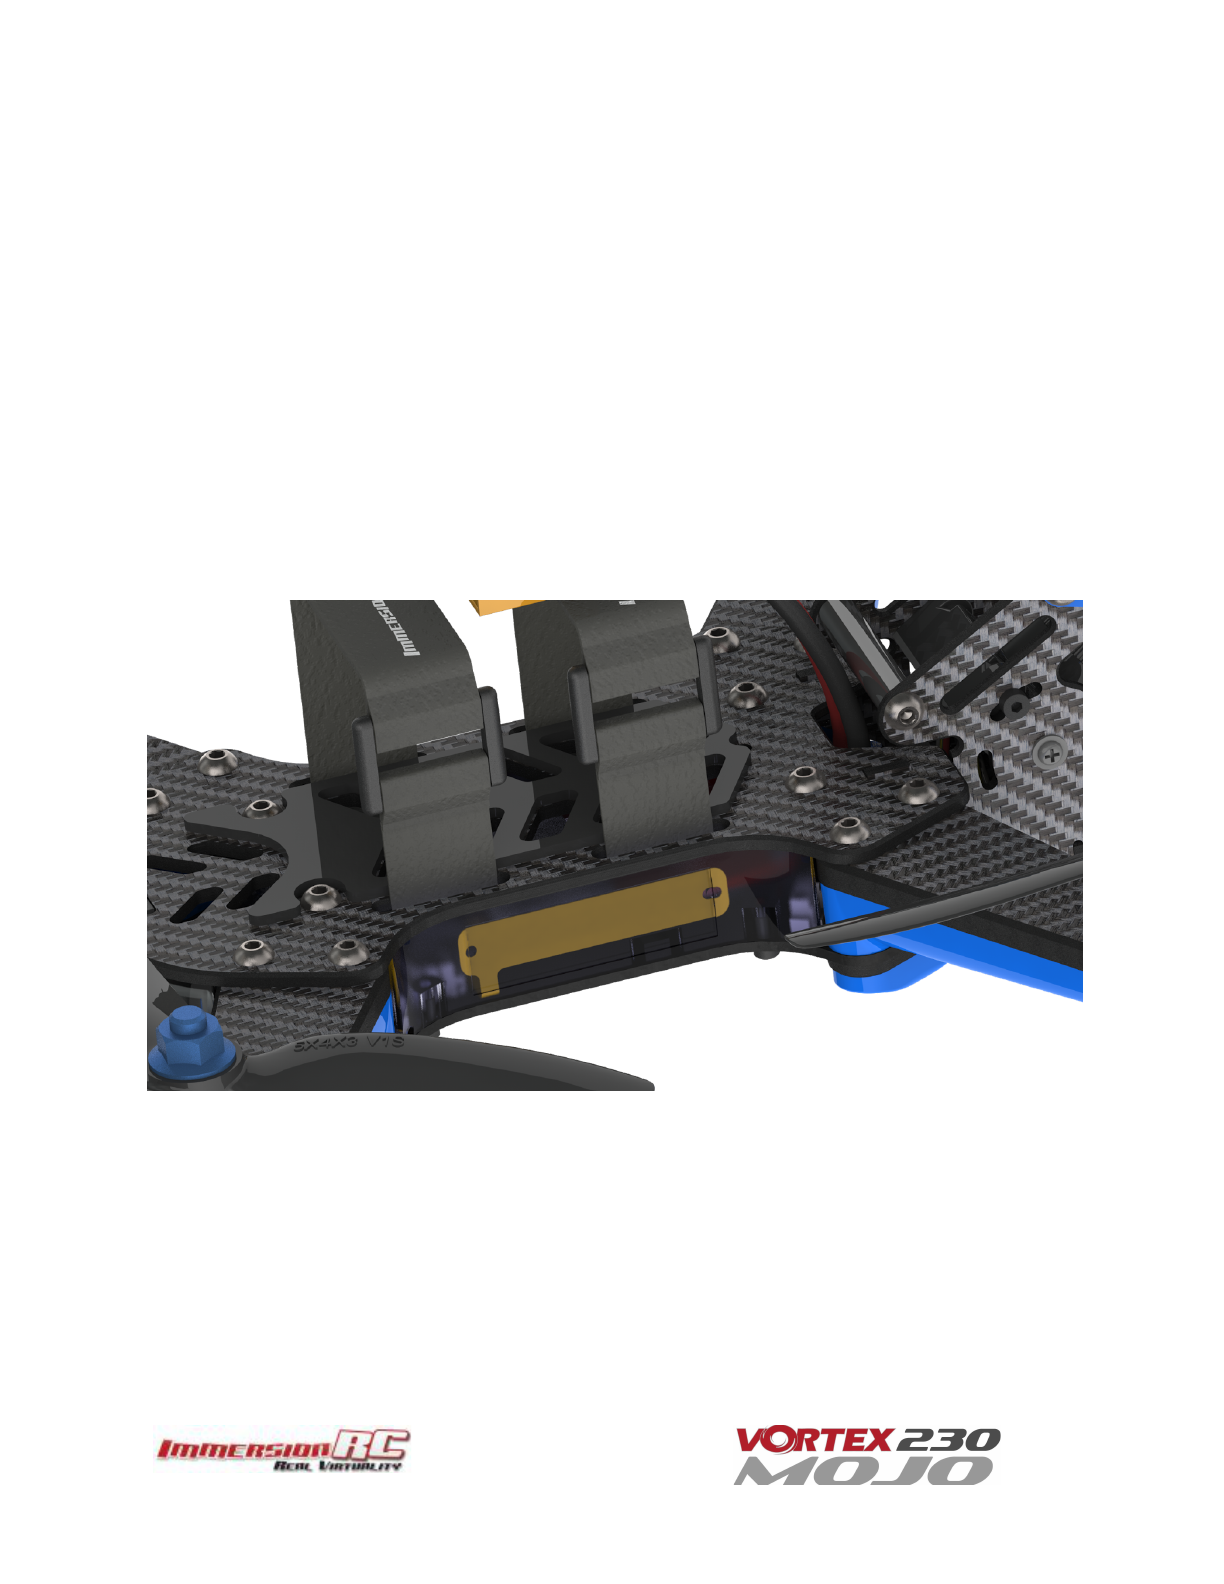
REMOVE PROPS
Mini-quad props can do serious damage when coming in contact with human skin, risk of deep cuts and
lacerations should be avoided at all cost.
So when you are working on a quad with the battery connected, it is highly recommended to REMOVE ALL
PROPS, unless you are just about to fly. Keep in mind that when setting up mini-quads, there is always a
remote chance that a configuration change can spin up motors unexpectedly.
ImmersionRC
accepts
no
responsibility,
or
liability,
for
any
injury,
or
damage,
to
persons
or
property,
caused
by
the
use
of
the
Vortex.
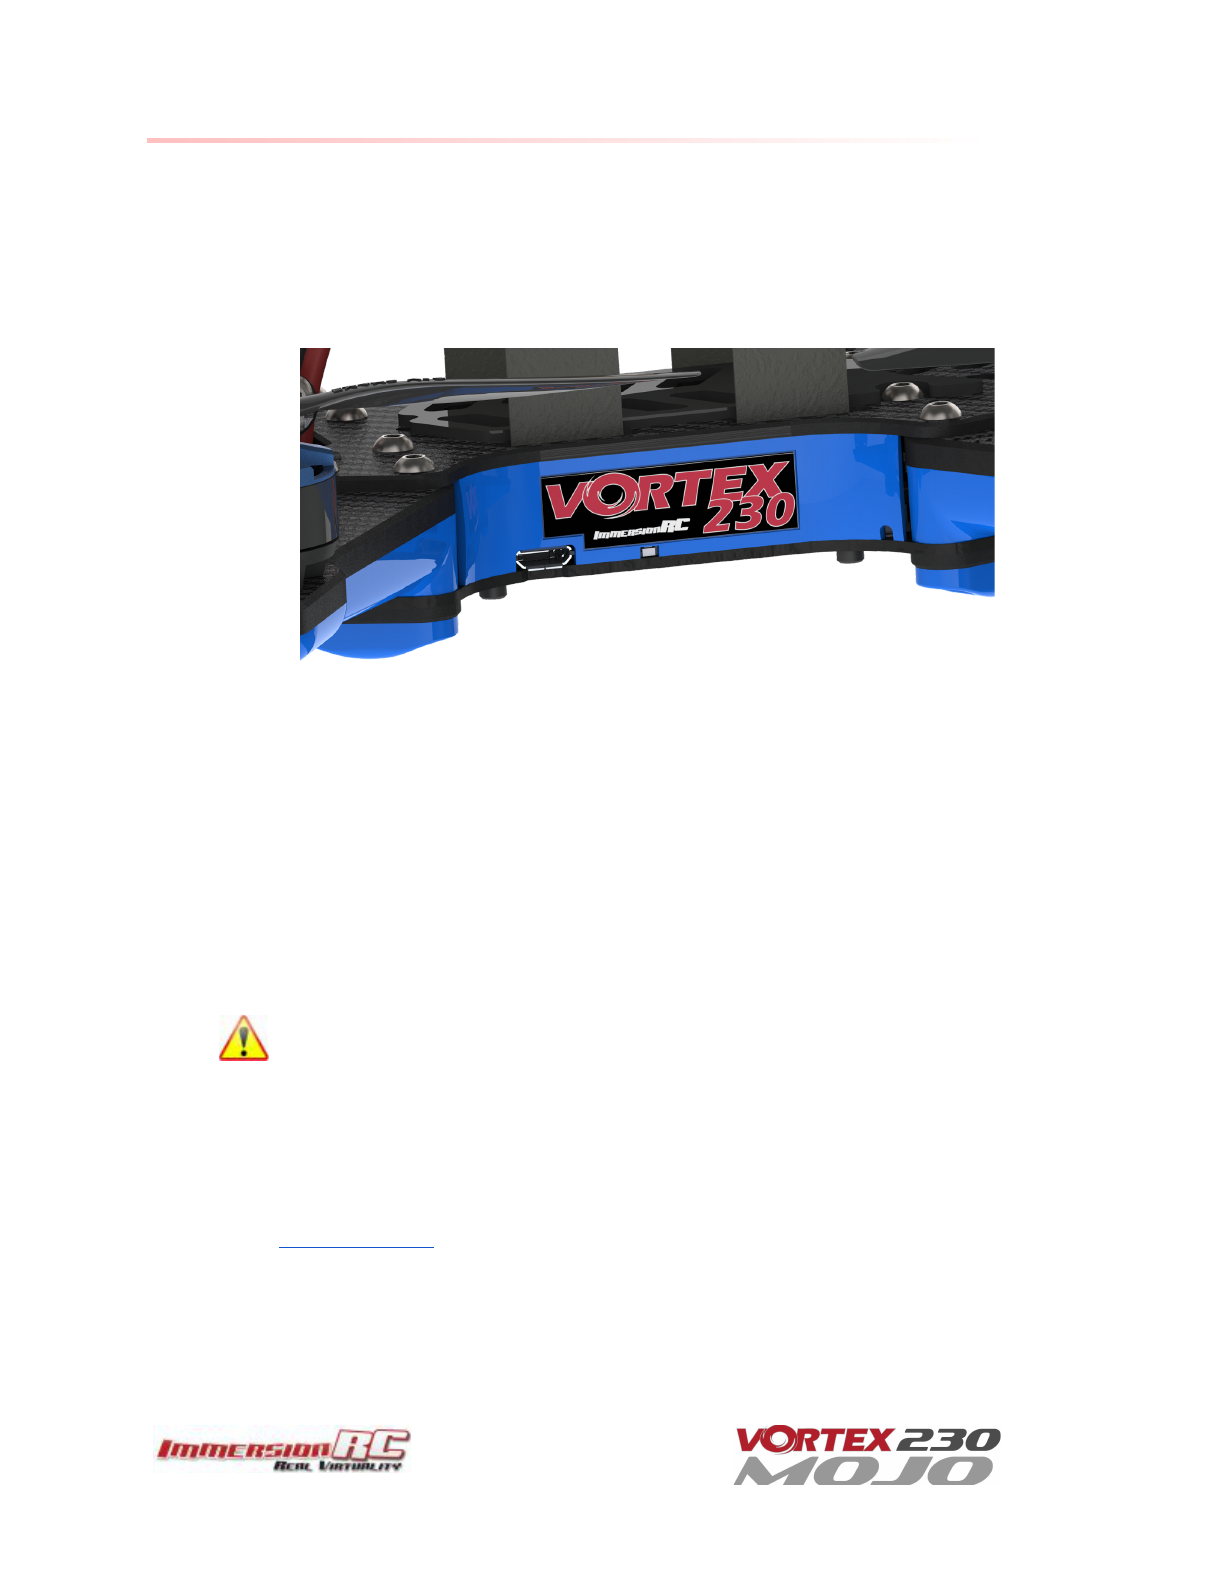
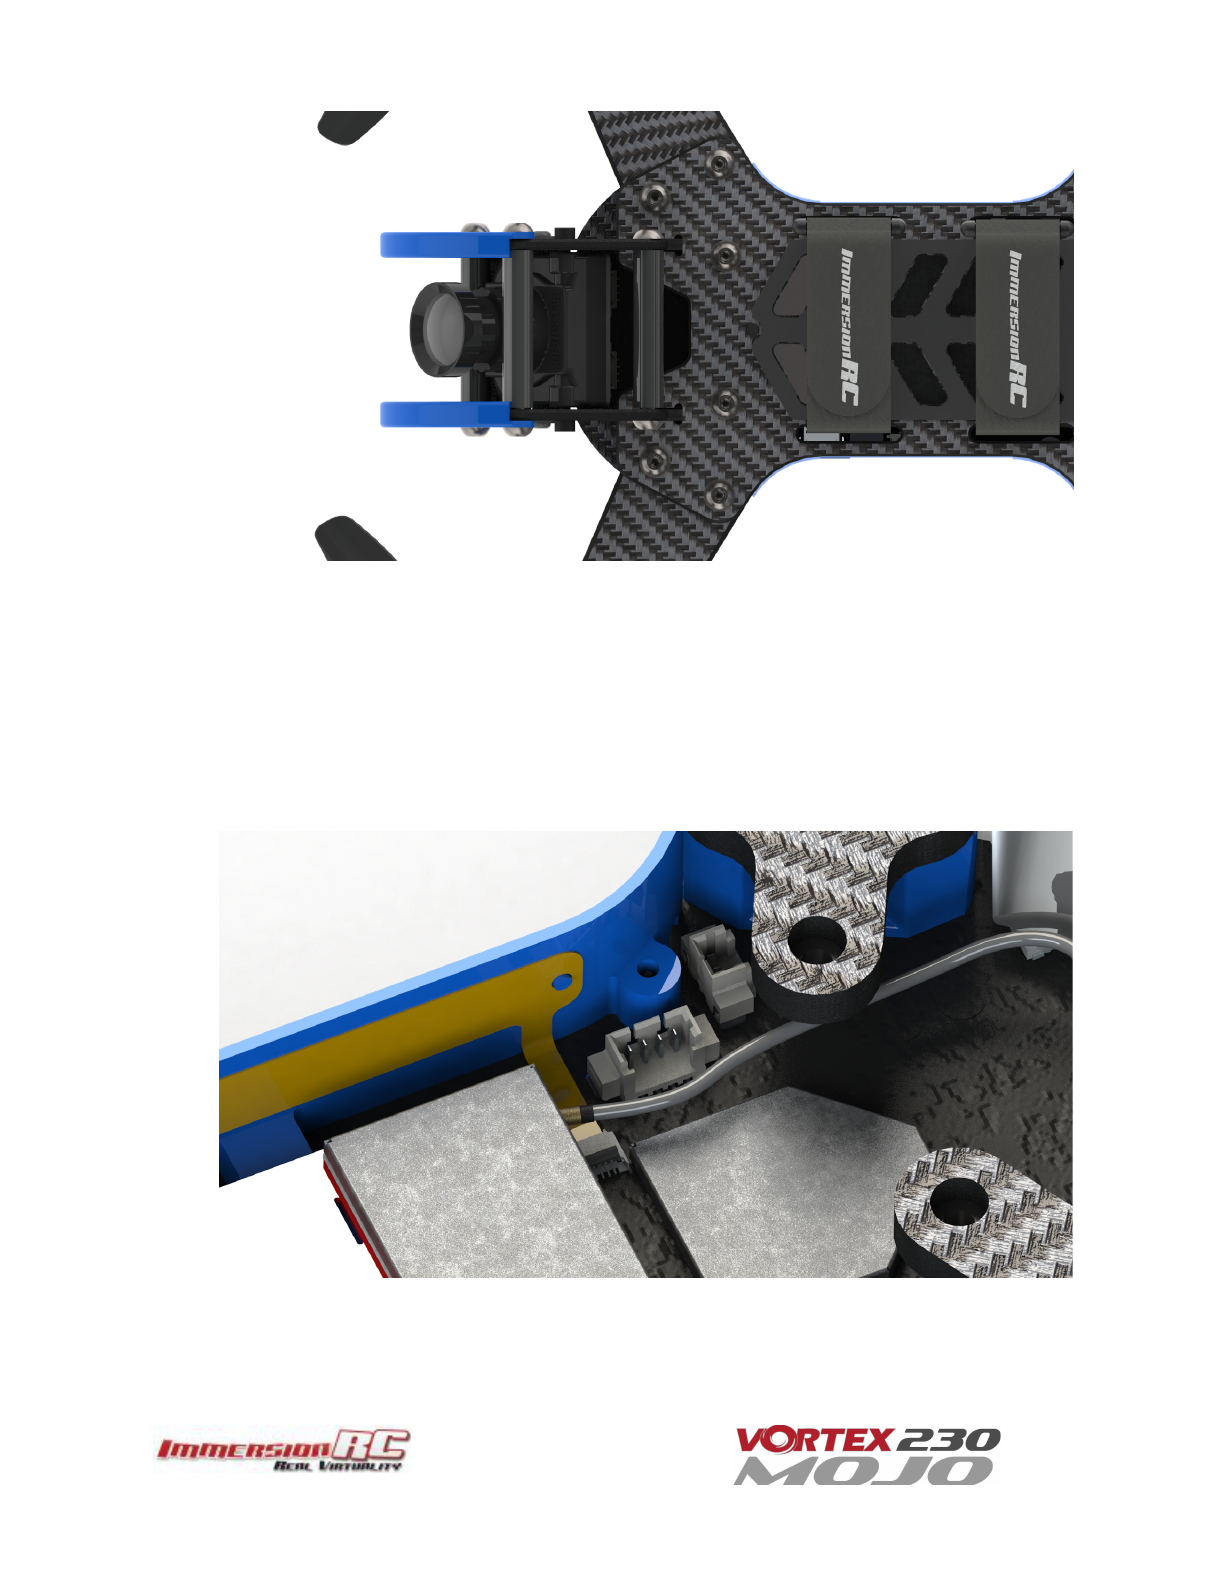
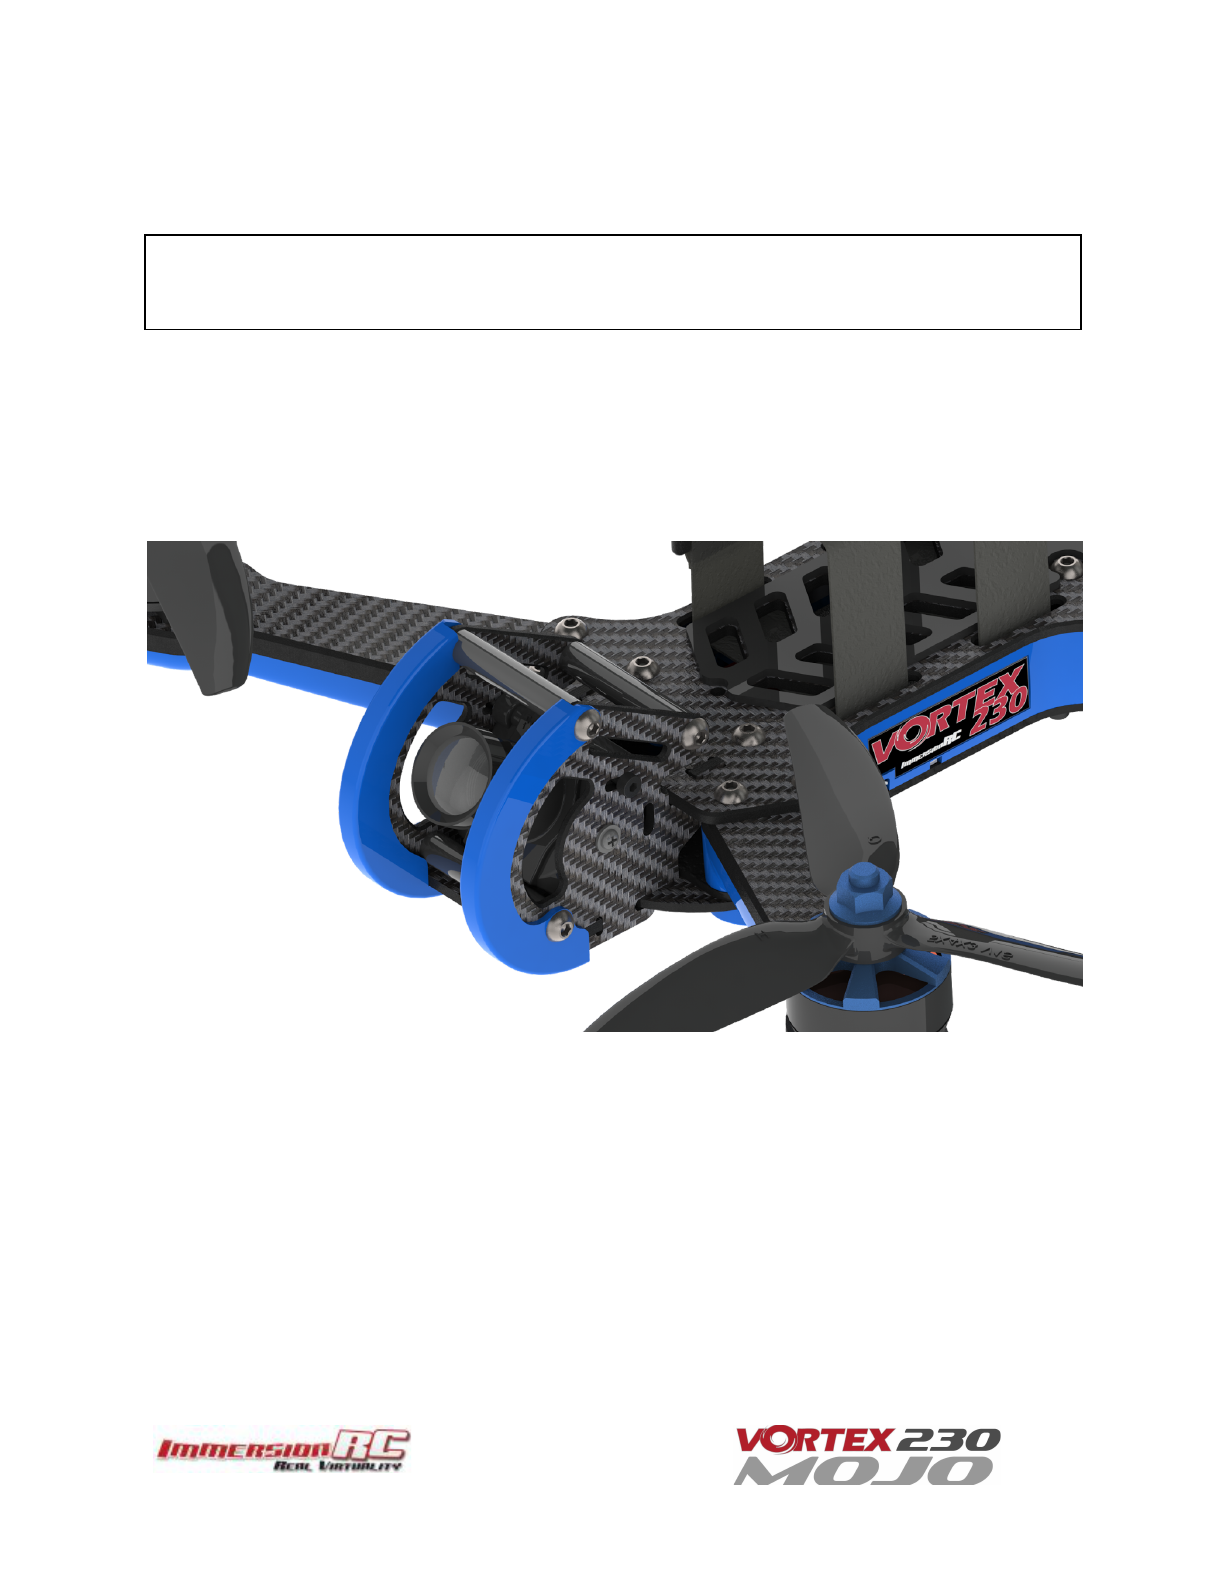
INSTALL ANTENNA
The Video Transmitter included in the Vortex may be damaged permanently if run without the supplied
SpiroNET Antenna. Please take care to install this antenna before every flight, and when powering up the
Vortex for even a short time period.
ImmersionRC
accepts
no
responsibility
for
damage
caused
to
the
Vortex
by
operating
without
a
suitable
Tx
antenna
installed.