1320
Note: Each time a period ends and the speed set-
tings move one column to the left, if all of the indi-
cators in the Current Period column are lit, all
speed settings will move downward so that only the
highest indicators in the columns will appear in the
program display. When the speed settings move to
the left again and not all of the indicators in the
Current Period column are lit, the speed settings
will move back up.
If the speed or incline setting for the current period
is too high or too low, you can manually override
the setting by pressing the Speed or Incline but-
tons on the console. Every few times one of the
Speed buttons is pressed, an additional indicator
will light or darken in the Current Period column. If
any of the columns to the right of the Current
Period column have the same number of lit indica-
tors as the Current Period column, an additional in-
dicator will light or darken in those columns as
well. Note: If you manually adjust the speed setting
so that all of the indicators in the Current Period
column are lit, the speed settings in the program
display will not move downward as described
above.
To stop the program temporarily, press the Stop
button. All displays will pause and the Time/
Segment Time display will begin to flash. To
restart the program, press the Start button. To end
the program, press the Stop button, remove the
key, and then reinsert the key.
Follow your progress with the five displays.
Refer to step 6 on page 11.
Remove the key from the console.
When the program has ended, make sure that
the incline of the treadmill is at the lowest set-
ting. The incline must be at the lowest setting
when the treadmill is folded to the storage po-
sition or the treadmill will be damaged. Next,
remove the key from the console. Keep the key in
a secure place. Note: If the console remains lit
after the key is removed, refer to page 23 and
turn off the demo mode.
Next, move the on/off switch near the power cord
to the off position.
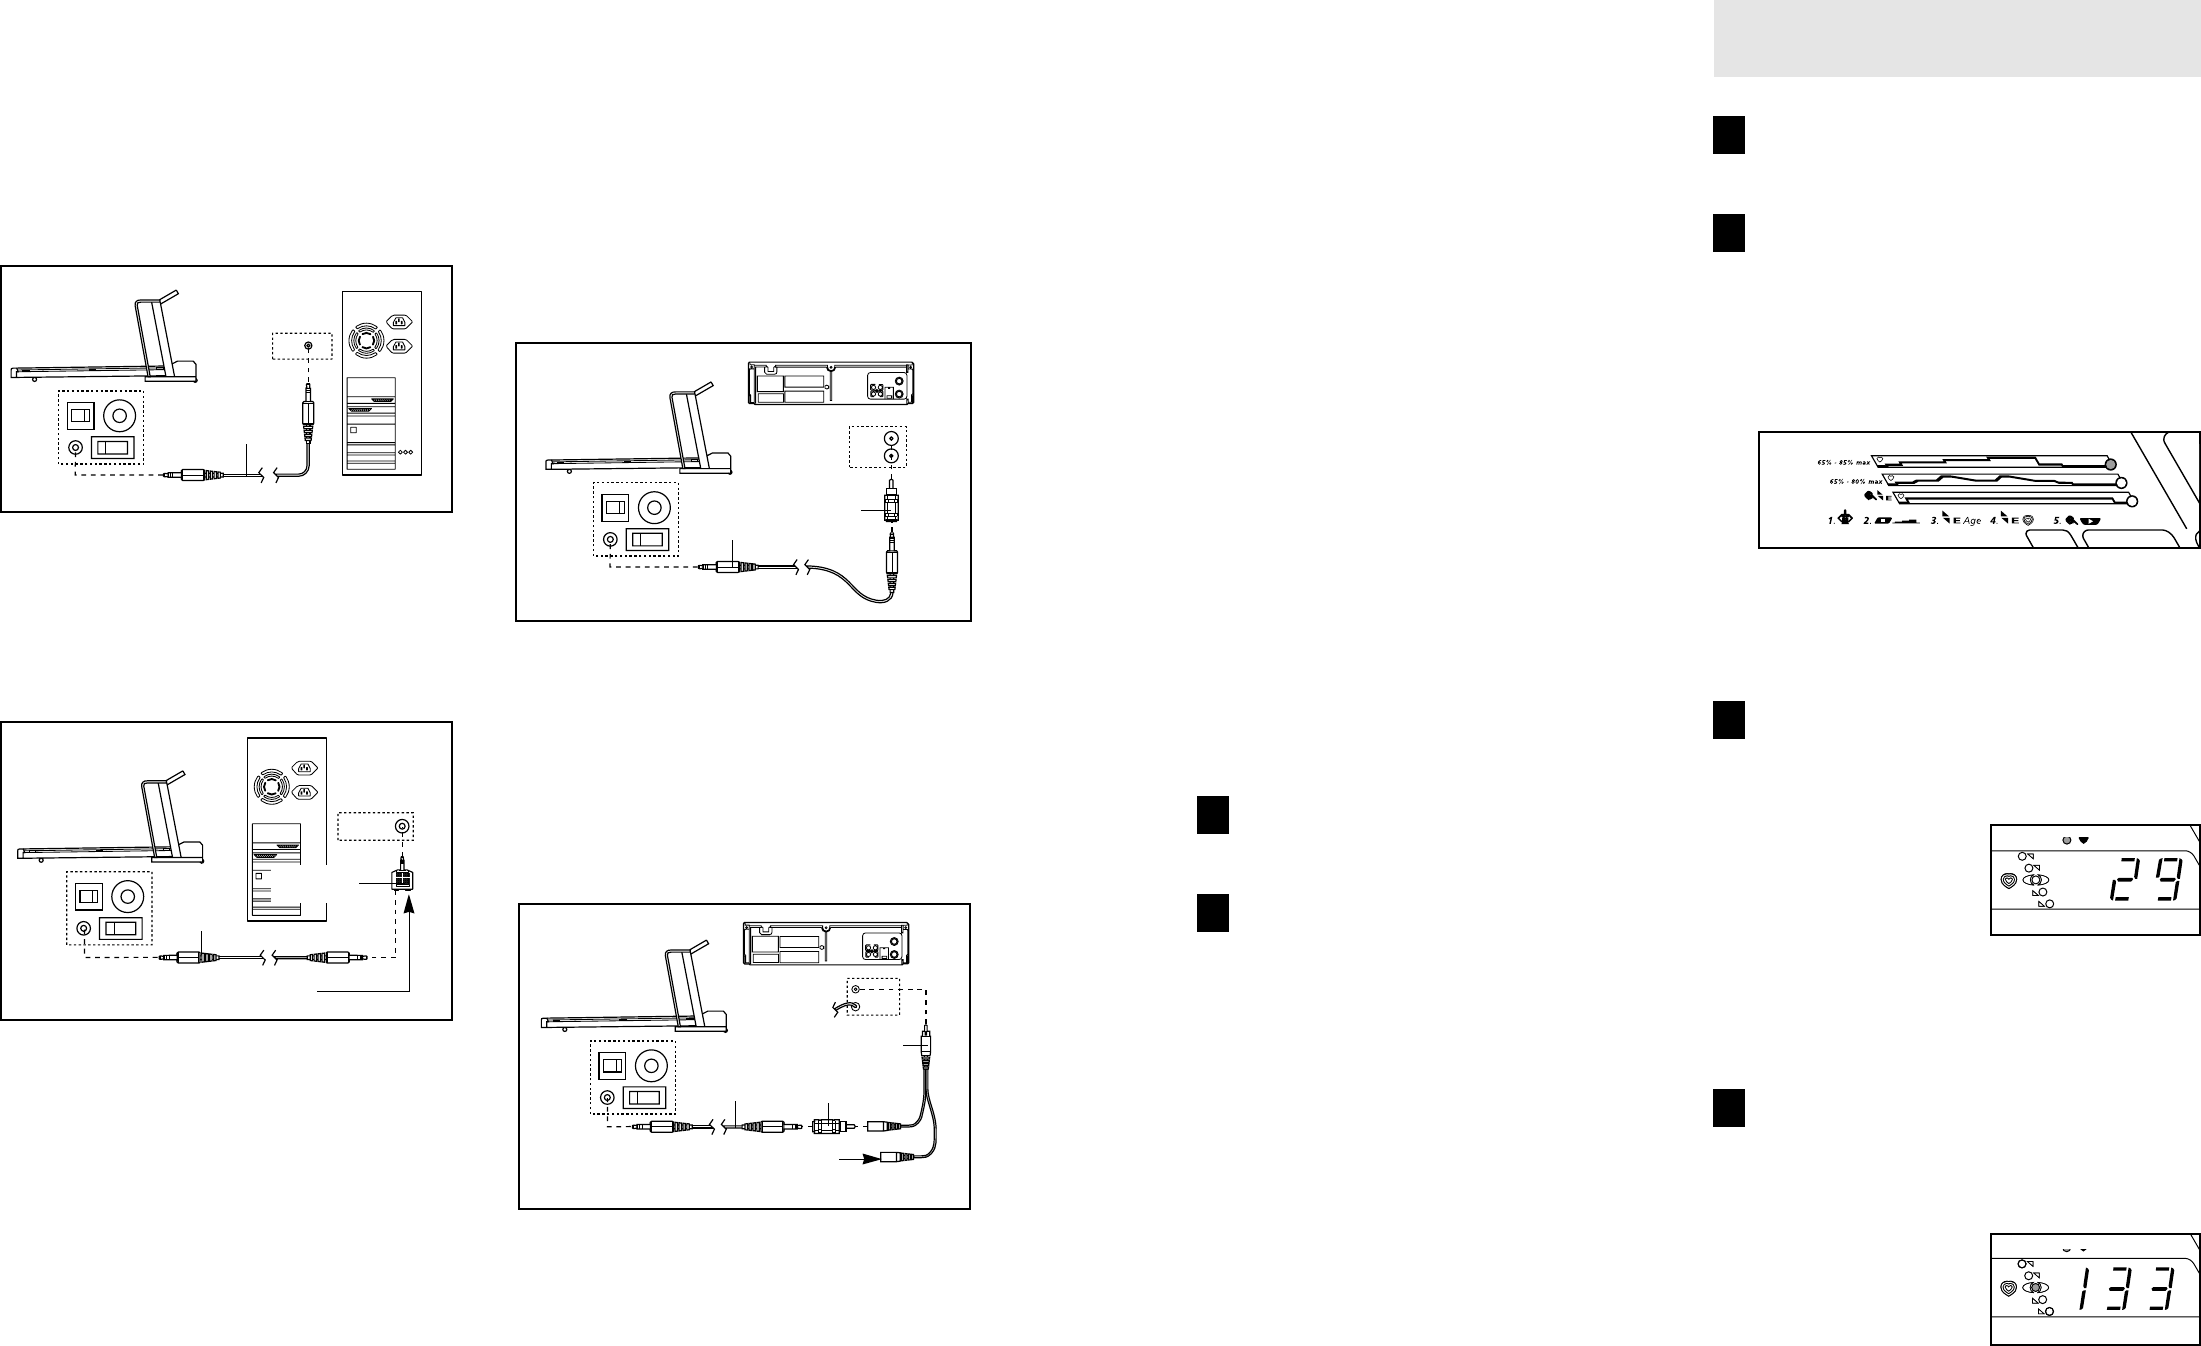
HOW TO USE THE 65%–85% PULSE PROGRAM
AND THE 65%–80% PULSE PROGRAM
Insert the key fully into the console.
See HOW TO TURN ON THE POWER on page 10.
Select the 65%–85% program or the 65%–80%
program.
When the key is inserted, the manual mode will be
selected and the manual indicator will light. To se-
lect the 65%–85% program or the 65%–80% pro-
gram, press the Program Select button repeatedly
until the appropriate program indicator lights.
The profiles on the console show how the target
heart rate will change during the pulse programs.
Note that the program display shows a simplified
profile of the program.
Enter your age.
When a pulse program is selected, the letters
“AGE” will appear in the Pulse display. You must
enter your age to use a
pulse program. If you
have already entered
your age, press the
Enter button and go to
step 4. If you have not
entered your age,
press the
▲▲
or
▼▼
button beside the Enter button to
enter your age. When your age is shown, press
the Enter button. Once you have entered your
age, your age will be saved in memory.
Enter a target heart rate.
After you have entered your age, the letters “PLS”
will appear in the Pulse display. Press the
▲▲
but-
ton beside the Enter button. The Pulse display will
then show the maxi-
mum target heart rate
setting for the program,
in beats per minute. If
desired, press the
▲▲
or
▼▼
button to adjust the
setting.
4
3
2
1
6
5
HOW TO CONNECT YOUR COMPUTER
Note: If your computer has a 3.5mm LINE OUT jack,
see instruction A. If your computer has only a
PHONES jack, see instruction B.
A. Plug one end of the audio cable into the jack on the
front of the treadmill near the power cord. Plug the
other end of the cable into the LINE OUT jack on
your computer.
B. Plug one end of the audio cable into the jack on the
front of the treadmill near the power cord. Plug the
other end of the cable into the splitter. Plug the split-
ter into the PHONES jack on your computer. Plug
your headphones or speakers into the other side of
the splitter.
HOW TO CONNECT YOUR VCR
Note: If your VCR has an unused AUDIO OUT jack,
see instruction A below. If the AUDIO OUT jack is
being used, see instruction B. If you have a TV
with a built-in VCR, see instruction B. If your VCR
is connected to your home stereo, see HOW TO
CONNECT YOUR HOME STEREO on page 19.
A. Plug one end of the audio cable into the jack on the
front of the treadmill near the power cord. Plug the
other end of the cable into the adaptor. Plug the
adaptor into the AUDIO OUT jack on your VCR.
B. Plug one end of the audio cable into the jack on the
front of the treadmill near the power cord. Plug the
other end of the cable into the adaptor. Plug the
adaptor into an RCA adaptor (available at electron-
ics stores). Next, remove the wire that is currently
plugged into the AUDIO OUT jack on your VCR and
plug the wire into the unused side of the RCA adap-
tor. Plug the RCA adaptor into the AUDIO OUT jack
on your VCR.