You will find many safety precautions
and recommendations throughout
this section, and throughout this man-
ual.The safety precautions in this sec-
tion are among the most important.
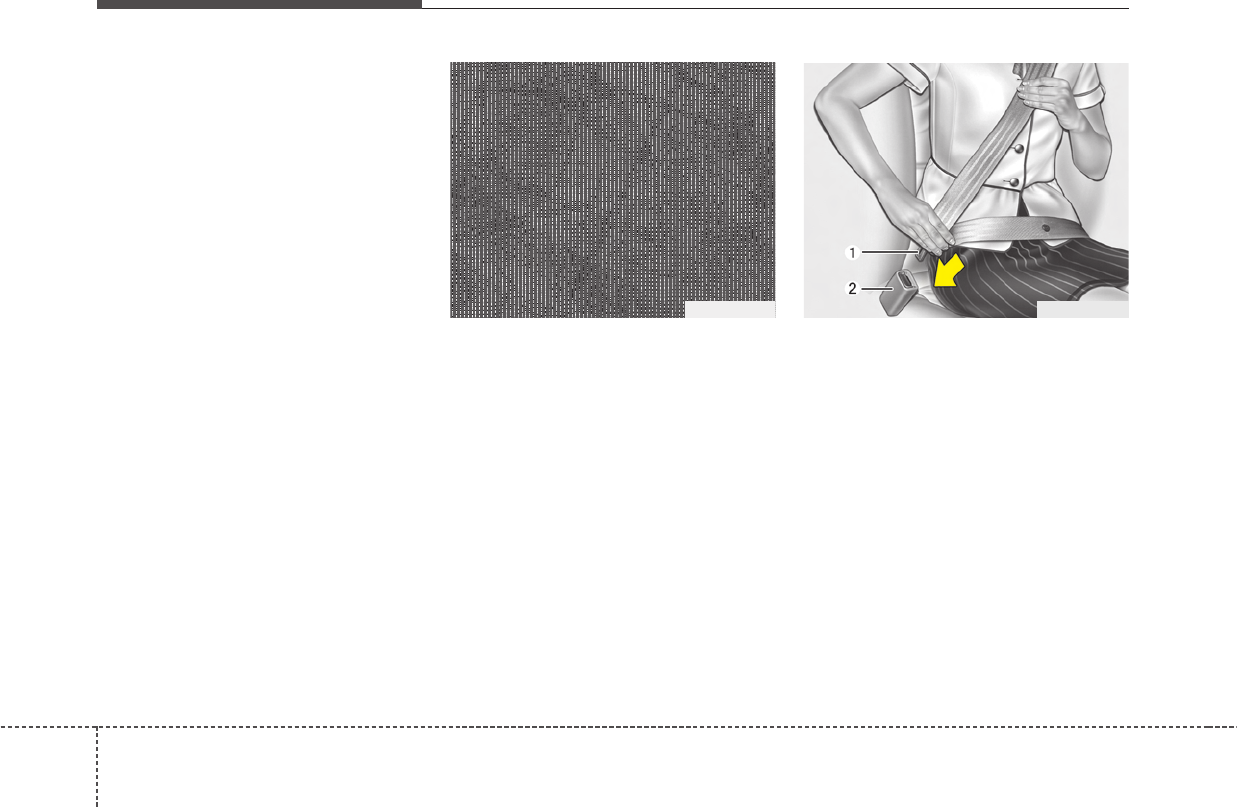
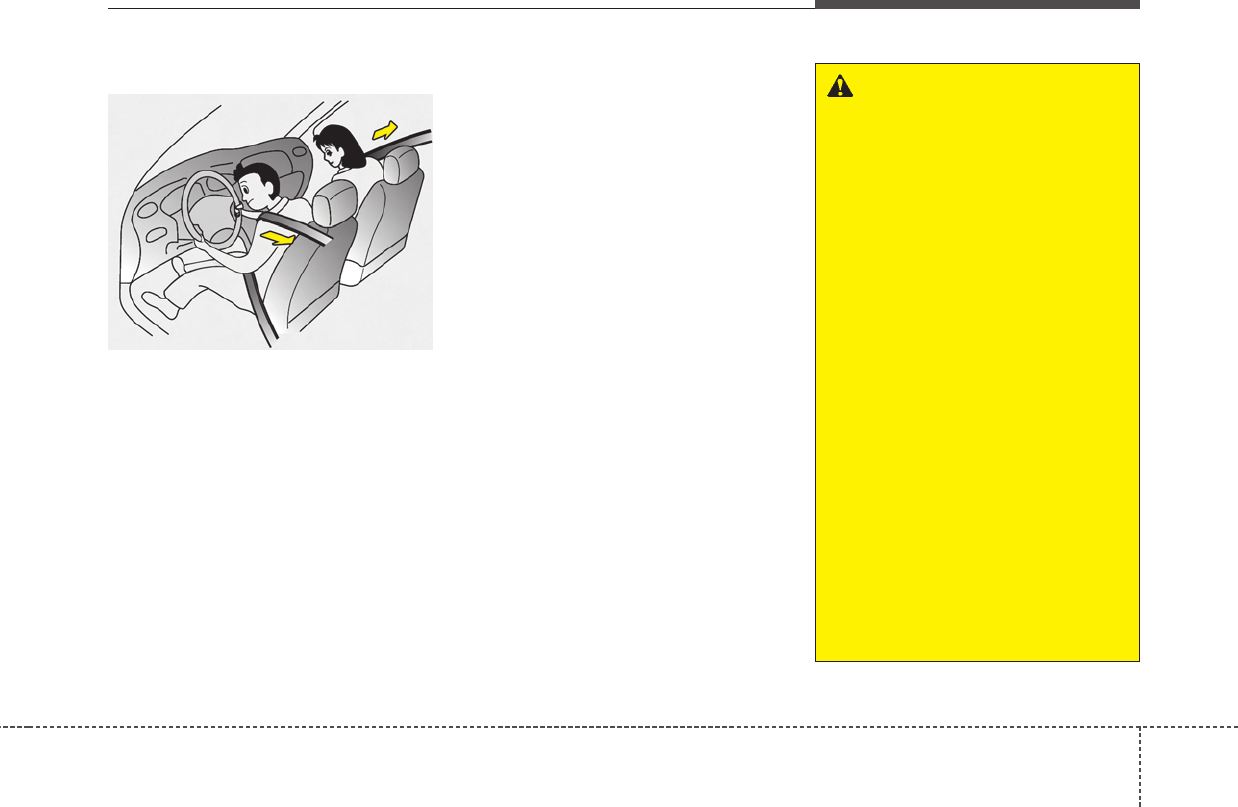
Always wear your seat belt
A seat belt is your best protection in
all types of accidents. Air bags are
designed to supplement seat belts,
not replace them. So even though
your vehicle is equipped with air bags,
ALWAYS make sure you and your
passengers wear your seat belts, and
wear them properly.
Restrain all children
All children under age 13 should ride
in your vehicle properly restrained in
a rear seat, not the front seat. Infants
and small children should be
restrained in an appropriate child
restraint. Larger children should use
a booster seat with the lap/shoulder
belt until they can use the seat belt
properly without a booster seat.
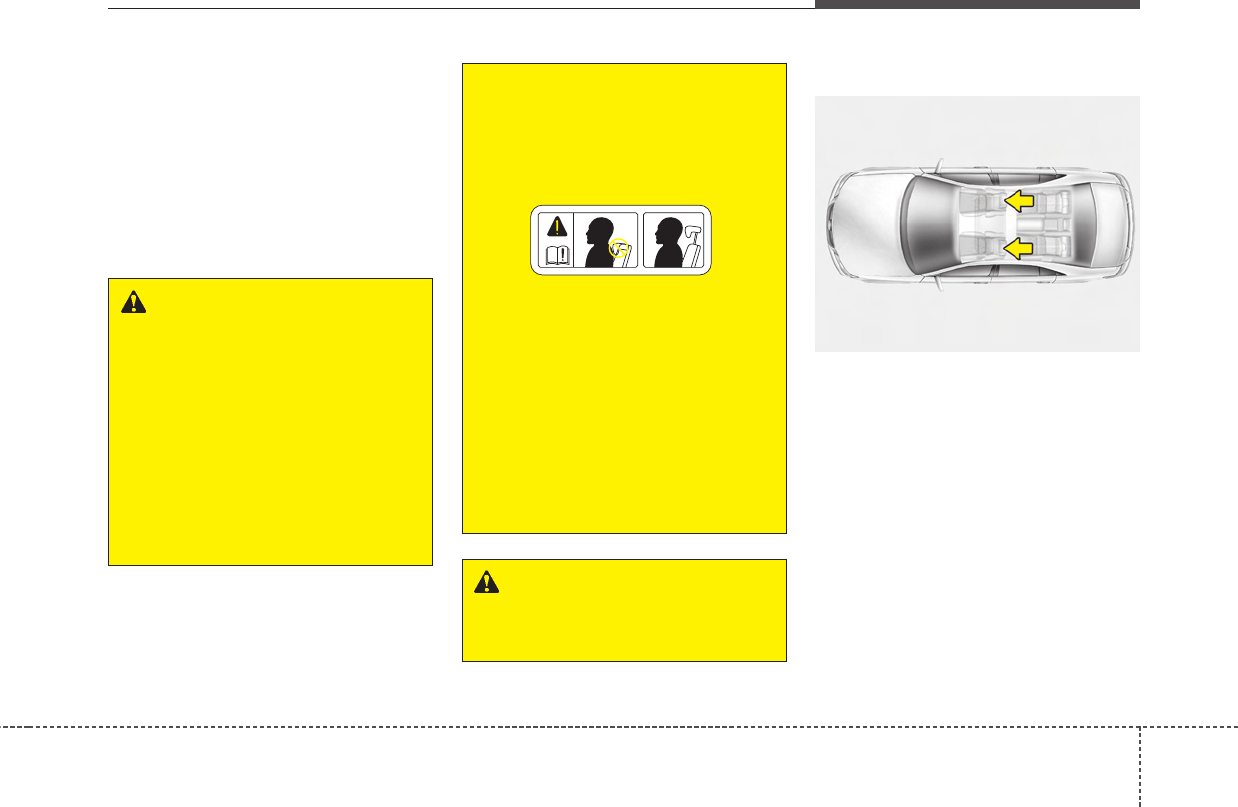
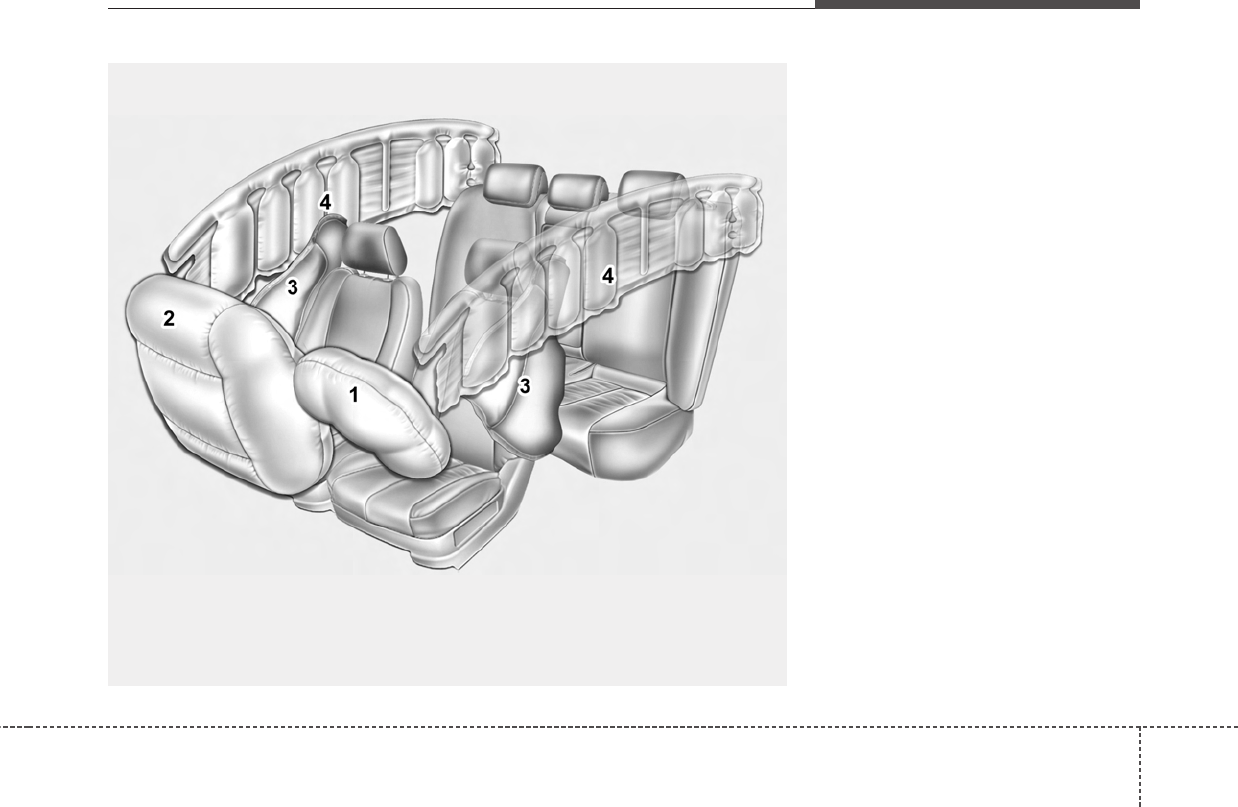
Air bag hazards
While air bags can save lives, they
can also cause serious or fatal
injuries to occupants who sit too
close to them, or who are not prop-
erly restrained. Infants, young chil-
dren, and shorter adults are at the
greatest risk of being injured by an
inflating air bag. Follow all instruc-
tions and warnings in this manual.
Driver distraction
Driver distraction presents a serious
and potentially deadly danger, espe-
cially for inexperienced drivers. Safety
should be the first concern when
behind the wheel and drivers need to
be aware of the wide array of potential
distractions, such as drowsiness,
reaching for objects, eating, personal
grooming, other passengers, and
using cellular phones, to name a few.
Drivers can become distracted when
they take their eyes and attention off
the road or their hands off the wheel
to focus on activities other than driv-
ing. To reduce your risk of distraction
or getting into an accident:
• ALWAYS set up your mobile devices
(i.e., MP3 players, phones, naviga-
tion units, etc.) when your vehicle is
parked or safely stopped.
• ONLY use your mobile device when
allowed by laws and when conditions
permit safe use. NEVER text or
email while driving. Most states have
laws prohibiting drivers from texting.
Some states and cities also prohibit
drivers from using handheld phones.
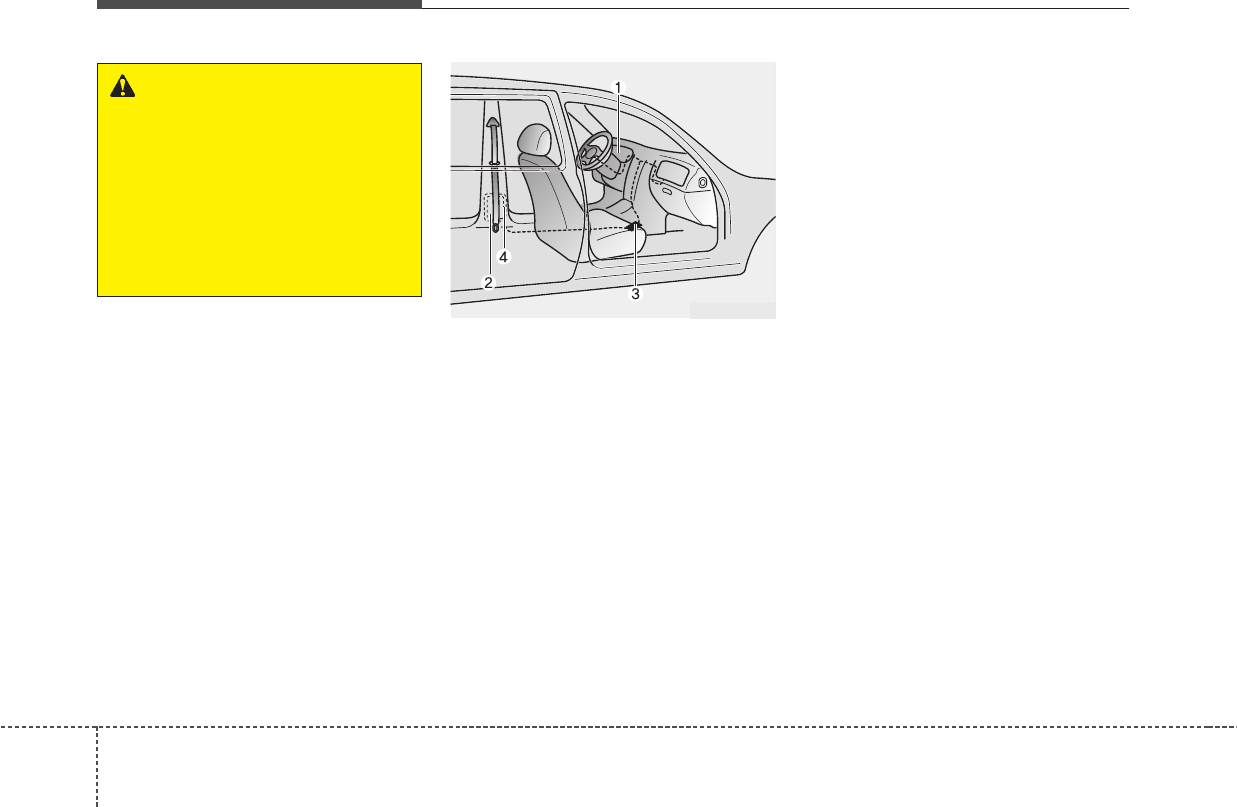
IMPORTANT SAFETY PRECAUTIONS
Safety features of your vehicle
23