723746
40
Verklein
Vergroot
Pagina terug
1/44
Pagina verder
40
AlARM ClOCK
11. Alarm clock
The radio has two individually adjustable alarm times.
12.1 Settings
Alarm 1and Alarm 2are congured identically and allow two separate alarm times to be saved.
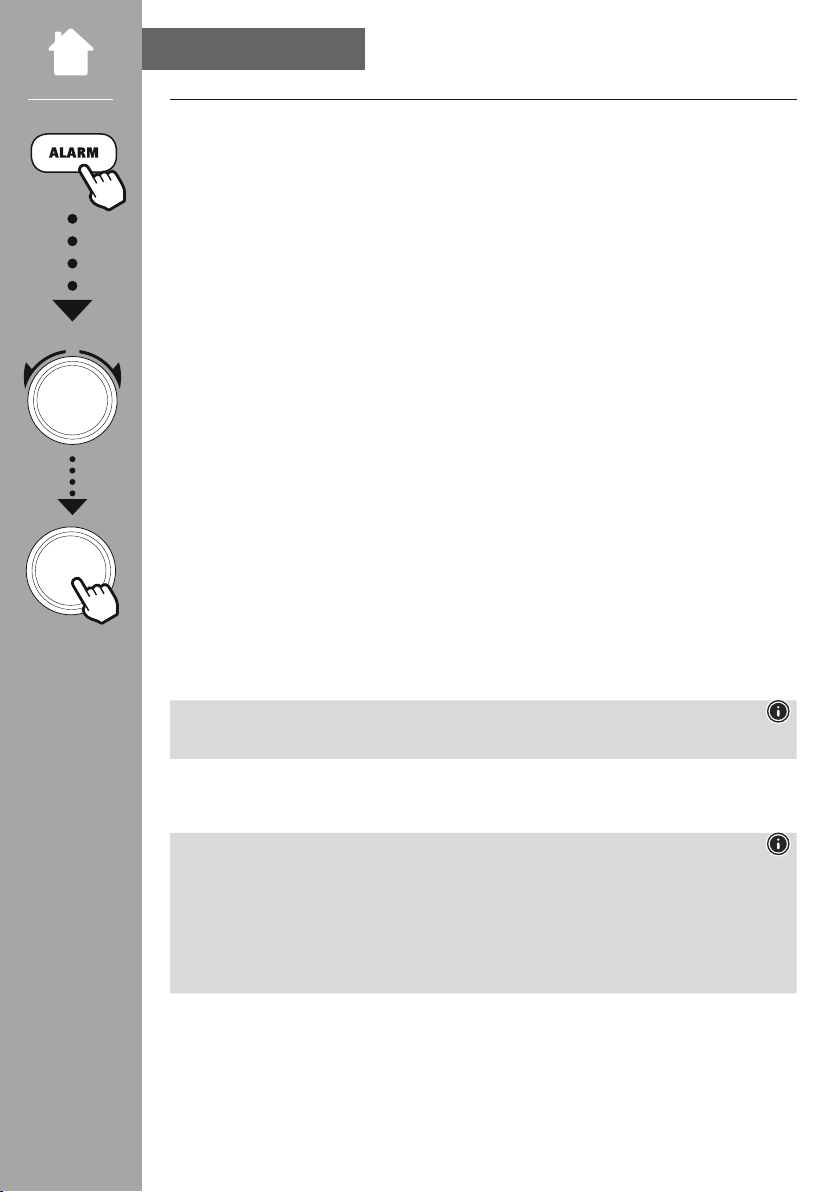
Press [AlARM] (9) to open the Settings menu. Select Alarm 1or2using the rotary controller (10).
Conrm your selection by pressing rotary controller (10).
Step1
Turning the rotary controller (10) allows you to switch between "ON" (alarm active) and "OFF") (alarm
inactive). If you select "OFF", the setup process is terminated and you aretaken back to the alarm menu's
start screen
Step2
Turn the rotary controller to select the time in hours. Conrm the selection by pressing the rotary
controller (10). Next, repeat the setting process to congurethe alarm time in minutes.
Step3
Now select which days the alarm is to be active on. The following options areavailable for this:
a) Daily àThe alarm is active from Monday to Sunday
b) Once àThe alarm is only active once, i.e. as soon as the set alarm time next arrives.
c) Mon–Fri àThe alarm is active from Monday to Friday
d) Sat–Sun à
The alarm is active from Saturday to Sunday
e) Select days àThis selection takes you to adrop-down menu in which you can choose the
required day (Monday to Sunday). Once aday is selected, this is indicated by a
symbol ()
Step4
Now choose whether you wish to be woken by an alarm (Sound) or the radio (Radio). If you choose
Radio, you can select from Favourites 1and 2that aresaved on the shortcut buttons.
Step5
Youcan set the volume at which the alarm sound should be played. This setting makes it irrelevant how
loud you last listened to the radio.
Note
[AlARM] (9) takes you back to the previous step.
The alarm setting process is now complete. As soon as the alarm goes off,you can activate the snooze
function by pressing the rotary controller button. Repeatedly pressing the rotary controller (10) allows you
to change the snooze time. [AlARM] (9) deactivates the alarm.
Note
Youcan activate and deactivate alarm 1again by pressing and holding [AlARM] (9). This shortcut
function also works if the radio is in standby mode.
If the alarm is active, the alarm symbol appears on the left next to the time. If the radio is switched off,
the alarm symbol is displayed on the left next to the date.
The symbol for alarm 2appears on the right-hand side accordingly.Alarm 2cannot be activated via a
shortcut button.
NAVIGATe
40

Hulp nodig? Stel uw vraag in het forum

Spelregels

Misbruik melden

Gebruikershandleiding.com neemt misbruik van zijn services uitermate serieus. U kunt hieronder aangeven waarom deze vraag ongepast is. Wij controleren de vraag en zonodig wordt deze verwijderd.

Product:

Bijvoorbeeld antisemitische inhoud, racistische inhoud, of materiaal dat gewelddadige fysieke handelingen tot gevolg kan hebben.

Bijvoorbeeld een creditcardnummer, een persoonlijk identificatienummer, of een geheim adres. E-mailadressen en volledige namen worden niet als privégegevens beschouwd.

Spelregels forum

Om tot zinvolle vragen te komen hanteren wij de volgende spelregels:

Belangrijk! Als er een antwoord wordt gegeven op uw vraag, dan is het voor de gever van het antwoord nuttig om te weten als u er wel (of niet) mee geholpen bent! Wij vragen u dus ook te reageren op een antwoord.

Belangrijk! Antwoorden worden ook per e-mail naar abonnees gestuurd. Laat uw emailadres achter op deze site, zodat u op de hoogte blijft. U krijgt dan ook andere vragen en antwoorden te zien.

Abonneren

Abonneer u voor het ontvangen van emails voor uw Hama DR1000DE bij:


U ontvangt een email met instructies om u voor één of beide opties in te schrijven.


Ontvang uw handleiding per email

Vul uw emailadres in en ontvang de handleiding van Hama DR1000DE in de taal/talen: Nederlands, Engels, Frans als bijlage per email.

De handleiding is 1.53 mb groot.


U ontvangt de handleiding per email binnen enkele minuten. Als u geen email heeft ontvangen, dan heeft u waarschijnlijk een verkeerd emailadres ingevuld of is uw mailbox te vol. Daarnaast kan het zijn dat uw internetprovider een maximum heeft aan de grootte per email. Omdat hier een handleiding wordt meegestuurd, kan het voorkomen dat de email groter is dan toegestaan bij uw provider.

Andere handleiding(en) van Hama DR1000DE

Hama DR1000DE Gebruiksaanwijzing - Deutsch - 10 pagina's


Uw handleiding is per email verstuurd. Controleer uw email

Als u niet binnen een kwartier uw email met handleiding ontvangen heeft, kan het zijn dat u een verkeerd emailadres heeft ingevuld of dat uw emailprovider een maximum grootte per email heeft ingesteld die kleiner is dan de grootte van de handleiding.

Er is een email naar u verstuurd om uw inschrijving definitief te maken.

Controleer uw email en volg de aanwijzingen op om uw inschrijving definitief te maken

U heeft geen emailadres opgegeven

Als u de handleiding per email wilt ontvangen, vul dan een geldig emailadres in.

Uw vraag is op deze pagina toegevoegd

Wilt u een email ontvangen bij een antwoord en/of nieuwe vragen? Vul dan hier uw emailadres in.


Info