6
Special features of your television
Your television set enables you to receive and watch digital stations
(via DVB-T), including in High Definition (HD).
At present, reception for these digital television stations in High Defi-
nition is only possible in some countries in Europe.
This television can receive and process all analogue and all
unencrypted digital stations. This television set has an integrated
digital and analogue receiver. The digital receiver unit converts the
signals from digital stations to provide outstanding audio and picture
quality.
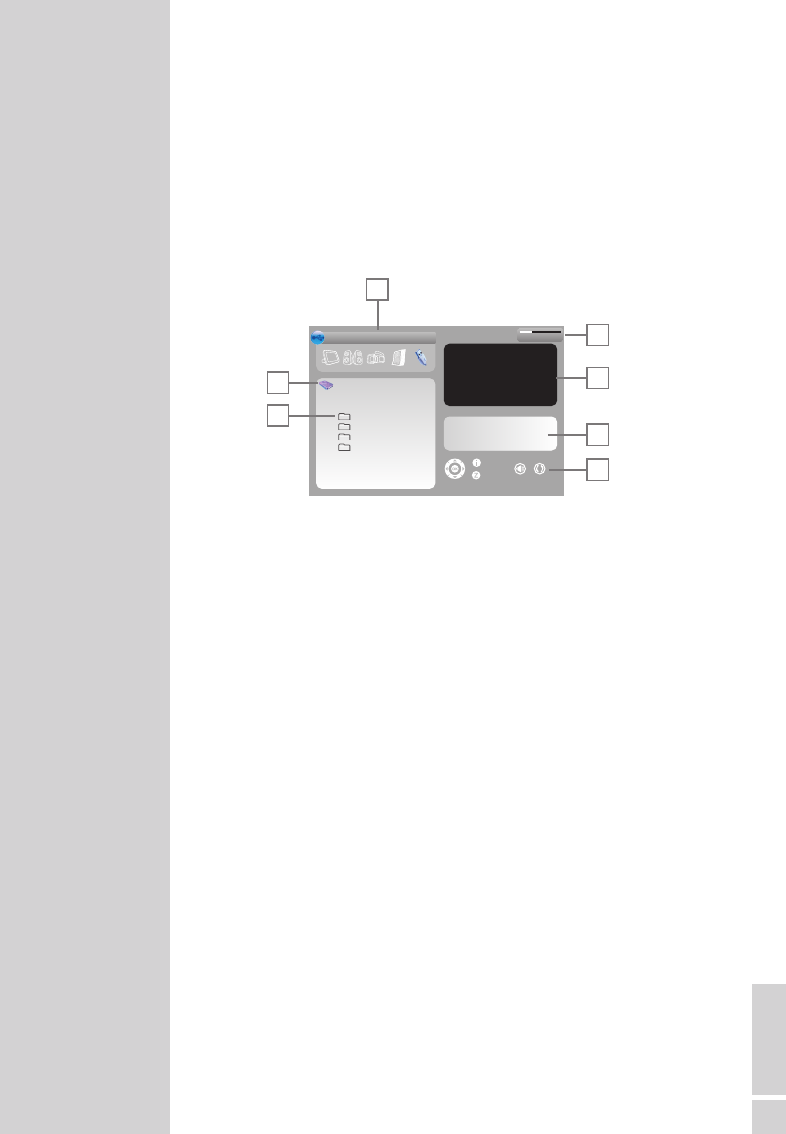
The TV guide (only for digital stations) tells you of any schedule
changes at short notice, and provides an overview of all the stations’
schedules for the next few days.
Detailed information on the individual stations – if it is provided by
the broadcaster – is also available in the electronic programme
guide.
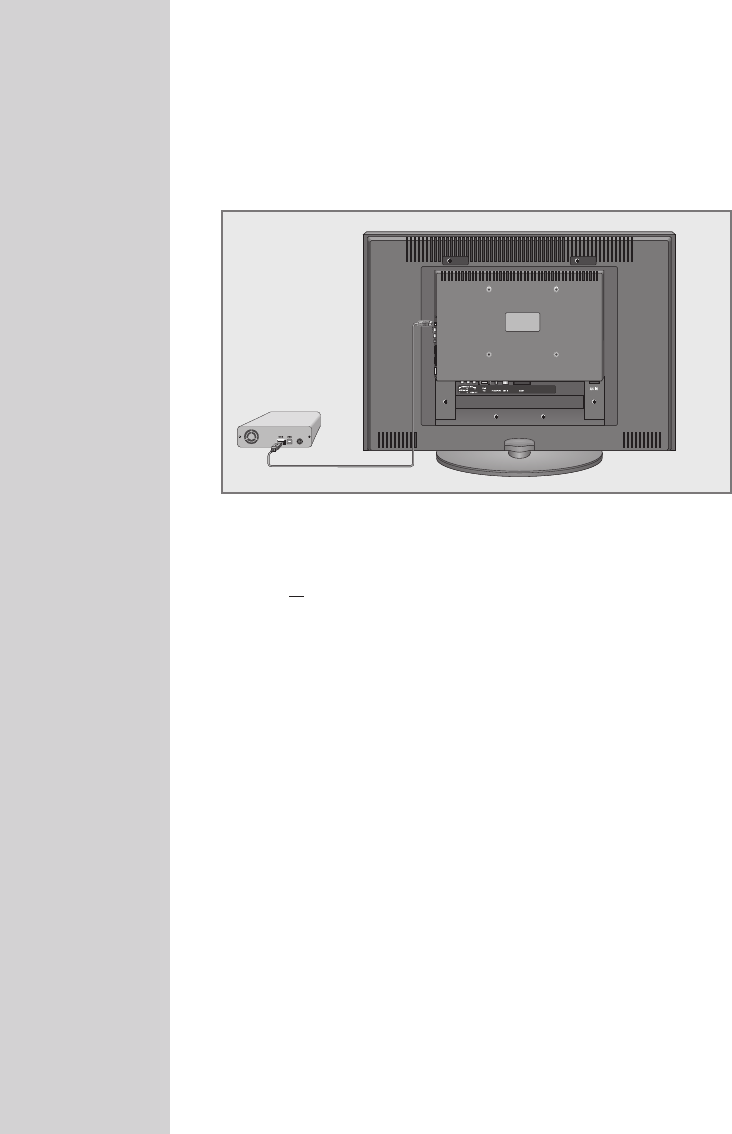
You can connect various data media, for example, an external hard
drive, a USM memory stick or a digital camera to the USB socket.
Using the file browser, you can then select and play the file formats
you want (for example, MP4, MP3 or JPEG data).
Receiving digital stations
To receive digital stations you need a digital rooftop or indoor an-
tenna (passive or active indoor antenna with its own power supply).
Unlike analogue broadcasting, not every station has its own trans-
mission frequency. Instead, several stations are grouped into what
are known as bouquets on a regional or national level.
You can find the current transmission information on teletext from var-
ious broadcasters, or look in a TV guide or on the Internet.
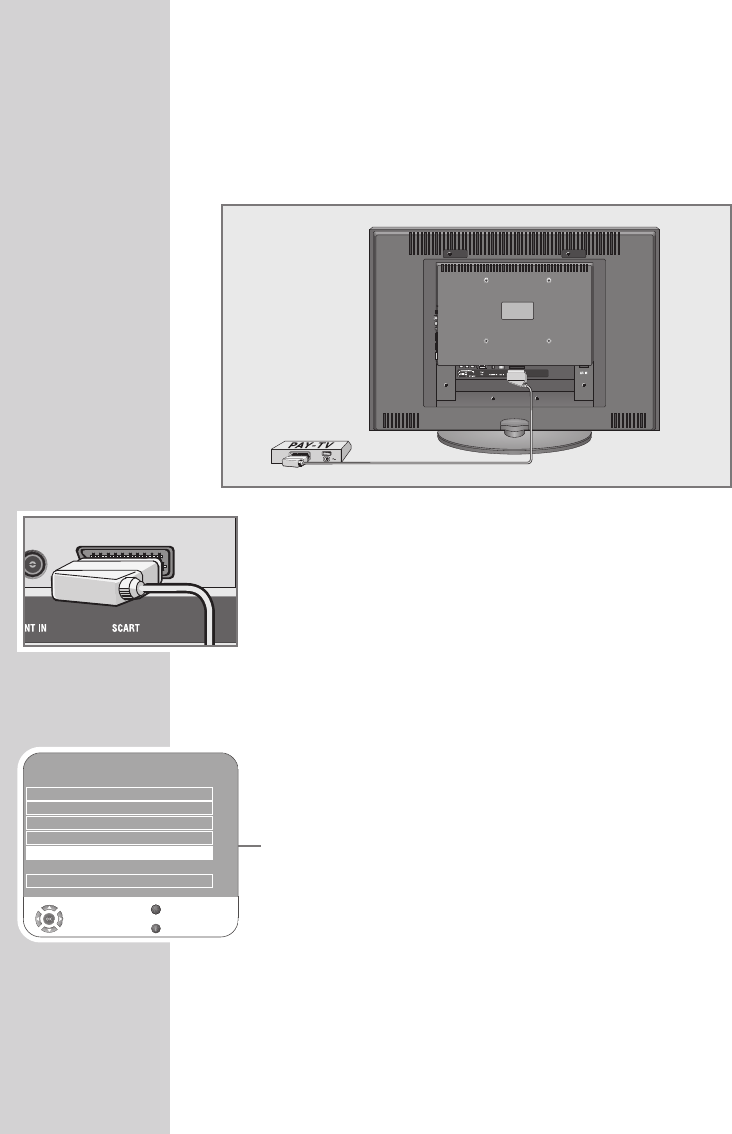
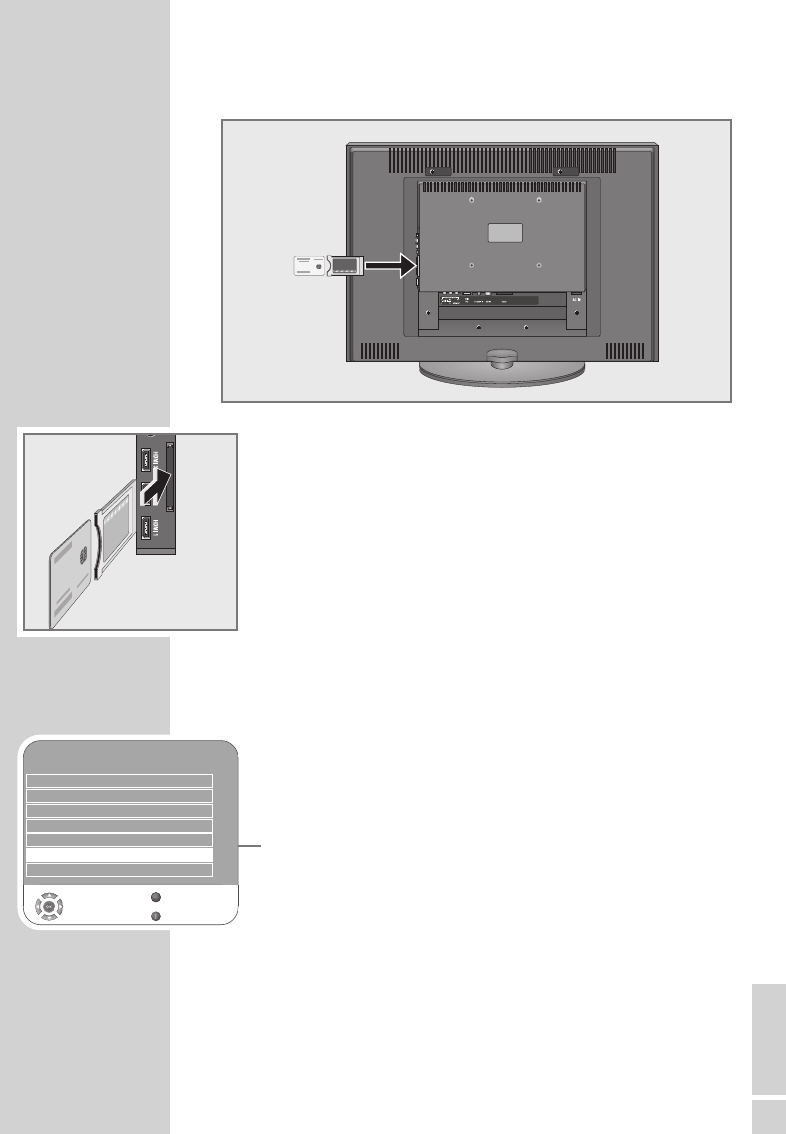
What is Common Interface?
Common Interface (CI) is an interface for DVB receivers.
Encoded stations can only be viewed with a CA module suitable for
the encoding system and the corresponding smart card.
The television set is equipped with a Common Interface slot into
which CA modules from various providers can be inserted.
You can insert the provider’s smart card into the CA module in order
to enable the encrypted stations you want to see.
GENERAL INFORMATION
----------------------------------------