56
INFORMATION
_____________________________________________________________
This device is noise-suppressed
according to the applicable EC
directives.
This product fulfils the European di-
rectives 89/336/EEC, 73/23/EEC
and 93/68/EEC.
This device conforms to the safety
regulation DIN EN 60065 (VDE
0860) and therefore the interna-
tional safety regulation IEC 60065.
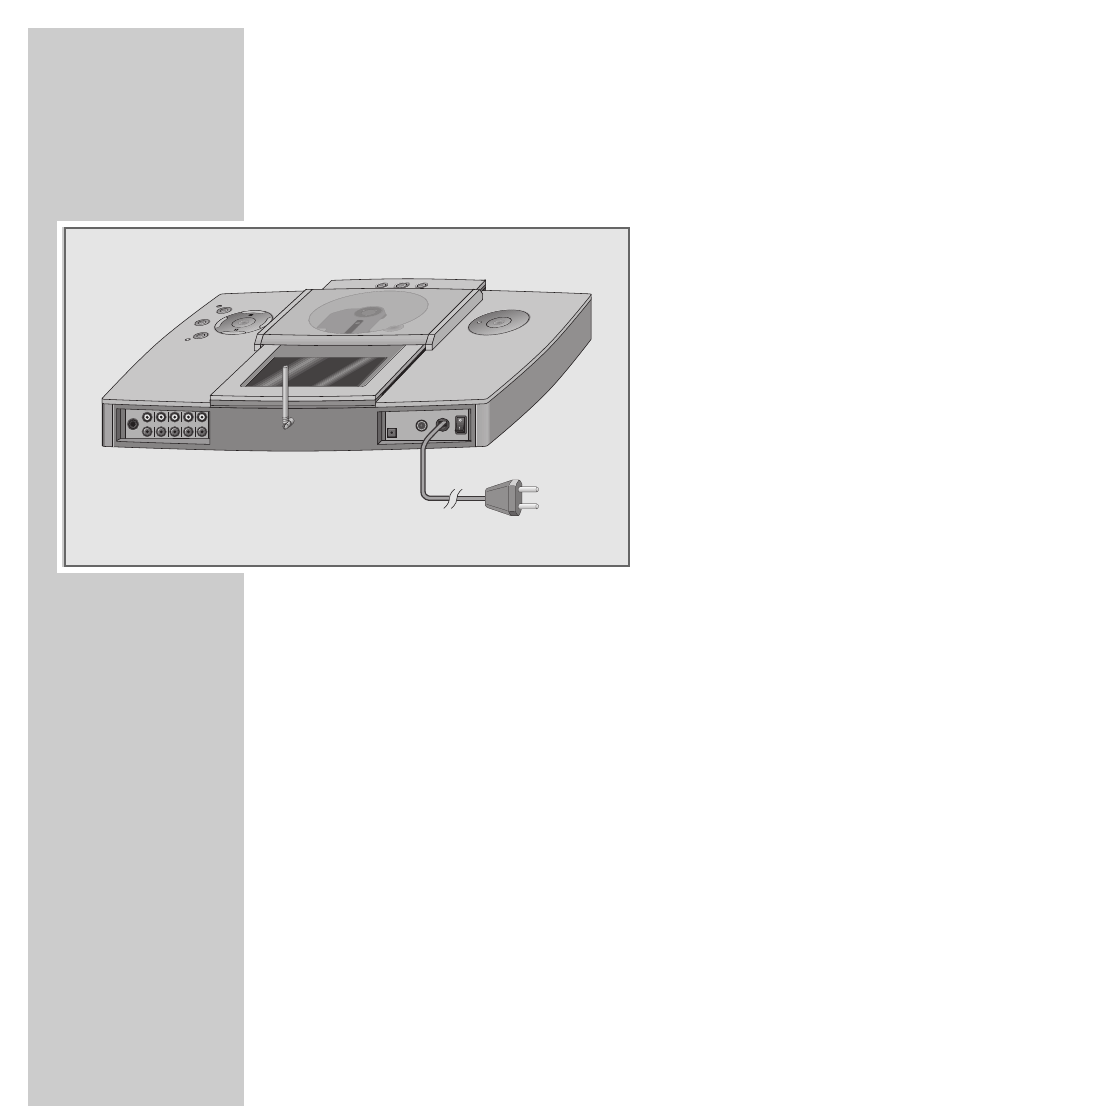
The type plate with details on the
mains supply is located on the
bottom of the casing.
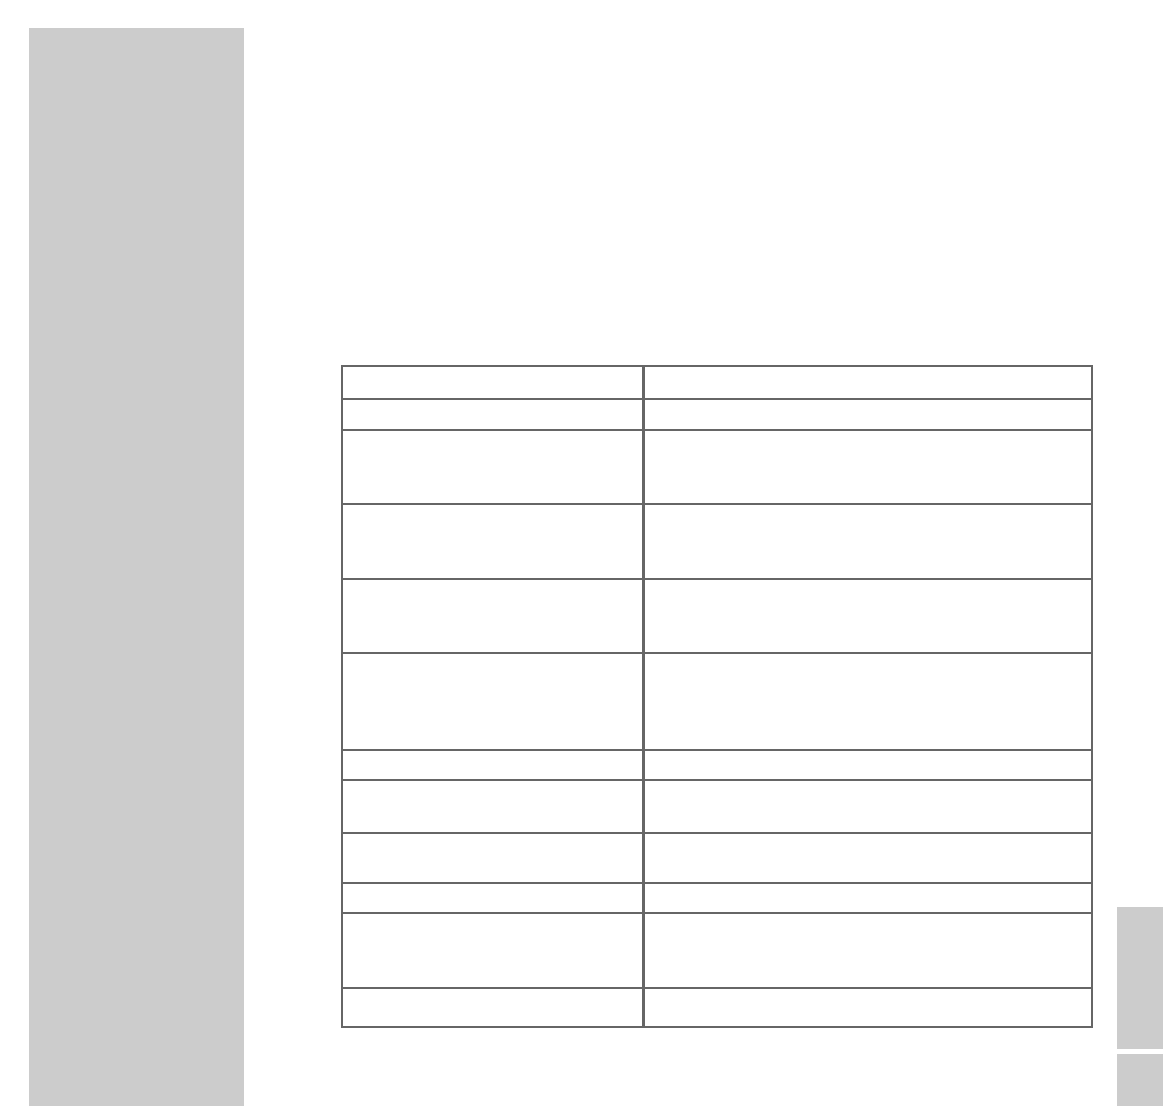
Transmission range
Data transmission:
868 ... 870 MHz
Signal transmission:
863 ... 865 MHz
Transmission power:
< 10 mW
Amplifier unit
Preamplifier output level:
500 mV
Input sensitivity/
impedance:
250 mV/22 kΩ
Receiver unit
Reception range:
FM 87.5 ...108.0 MHz
CD unit
Frequency response:
10 Hz ... 20 kHz
Non-linear distortion factor:
0,01 %
Noise voltage ratio:
(wtd.) 100 dB
System
Voltage supply:
Operating voltage 230 V~
Mains frequency 50/60 Hz
Max. power consumption 20 W
Power consumption in Stand-by
mode < 3 W
Dimensions and weight:
Dimensions of device
W x H x L 43.5 x 7.5 x 33 cm
Weight 4.8 kg
Technical data
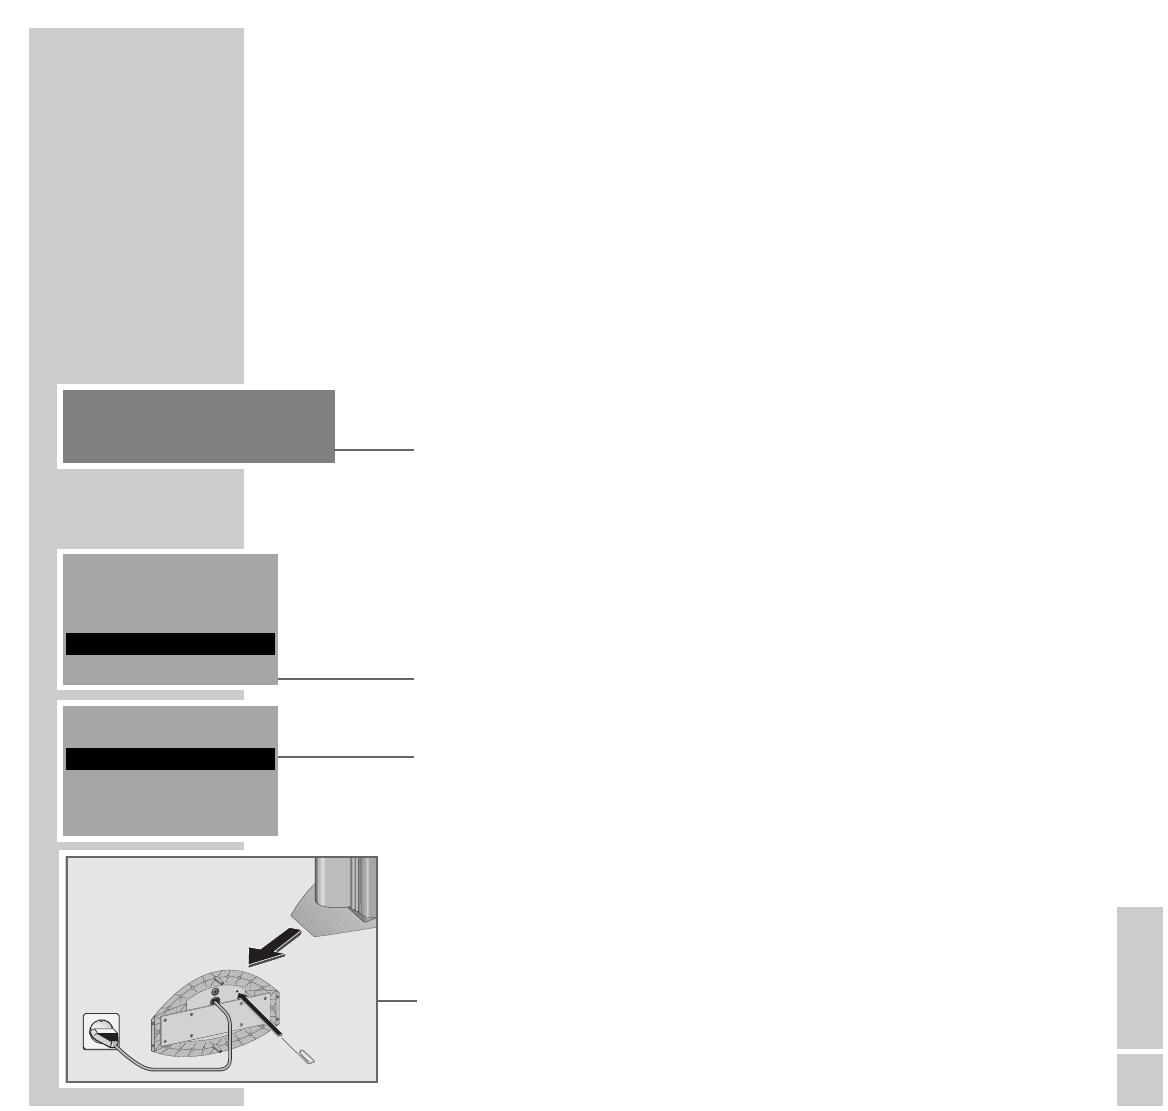
Important notes for users in the U.K.
Mains plug
This apparatus is fitted with an approved moulded 13
Amp plug. To change a fuse in this type of plug
proceed as follows:
1 Remove fuse cover and fuse.
2 Fix new fuse which should be a BS1362 5 Amp,
A.S.T.A. or BSI approved type.
3 Refit the fuse cover.
If the fitted plug is not suitable for your socket outlets, it
should be cut off and an appropriate plug fitted in its
place. If the mains plug contains a fuse, this should
have a value of 5 Amp. If a plug without a fuse is
used, the fuse at the distribution board should not be
greater than 5 Amp.
Note:
The severed plug must be disposed to avoid a
possible shock hazard should it be inserted into a
13 Amp socket elsewhere.
How to connect plug
The wires in the mains lead are coloured with the
following code: blue = neutral (N), brown = live (L).
As these colours may not correspond with the colour
markings identifying the terminals in your plug,
proceed as follows:
1 Connect the blue wire to the terminal marked N or
coloured black.
2 Connect the brown wire to the terminal marked L
or coloured red.
3 Do not connect either wire to the earth terminal in
the plug, marked E (or e) or coloured green (or
green and yellow).
Before replacing the plug cover, make certain that the
cord grip is clamped over the sheath oft the lead – not
simply over the two wires.
DFM 869
AFM 864
The HiFi system and the remote control are intended for sale within the EU in the following countries: Belgium,
Denmark, Germany, UK, Finland, France, Ireland, Luxembourg, Netherlands, Norway, Austria, Portugal,
Sweden.