ENGLISH
7
Setting television channels automatically
The television set is equipped with an automatic channel search
system.
You start the search and can then sort the television channels into
your order of preference.
100 preset positions are provided, to which you can assign televisi-
on channels from the antenna or from the cable connection.
You can also delete television channels from the channel list which
were found more than once or which have poor reception.
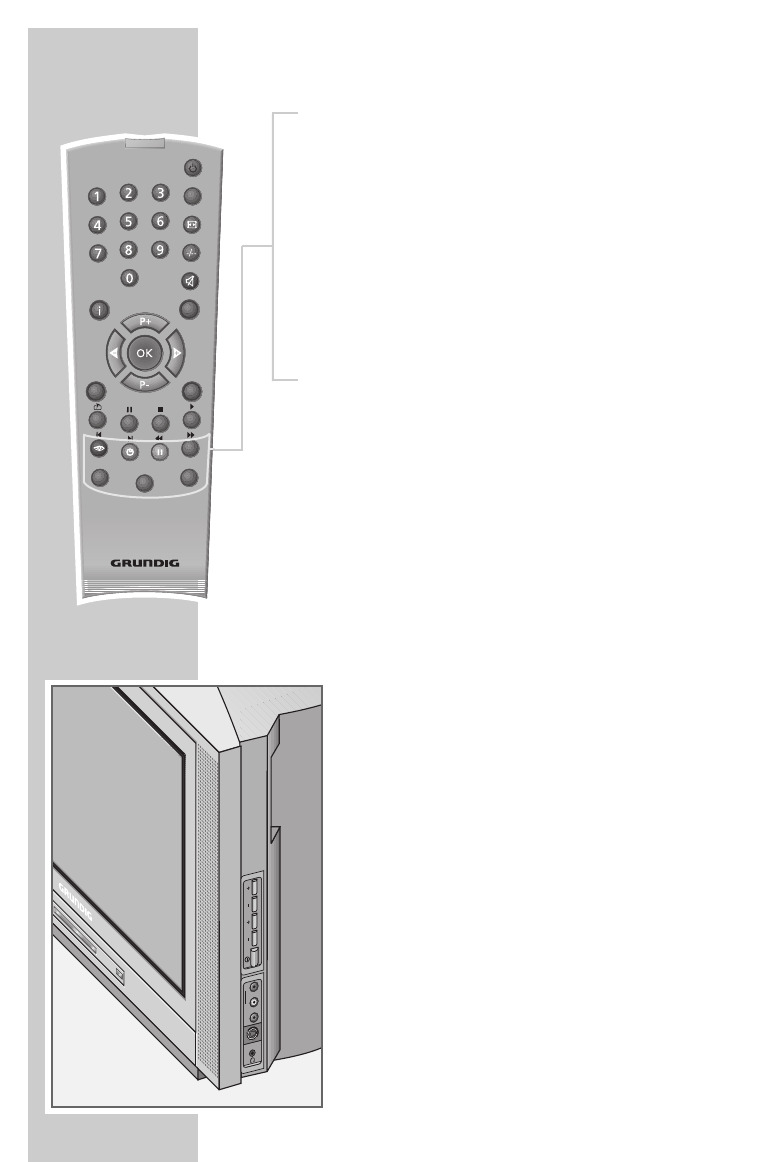
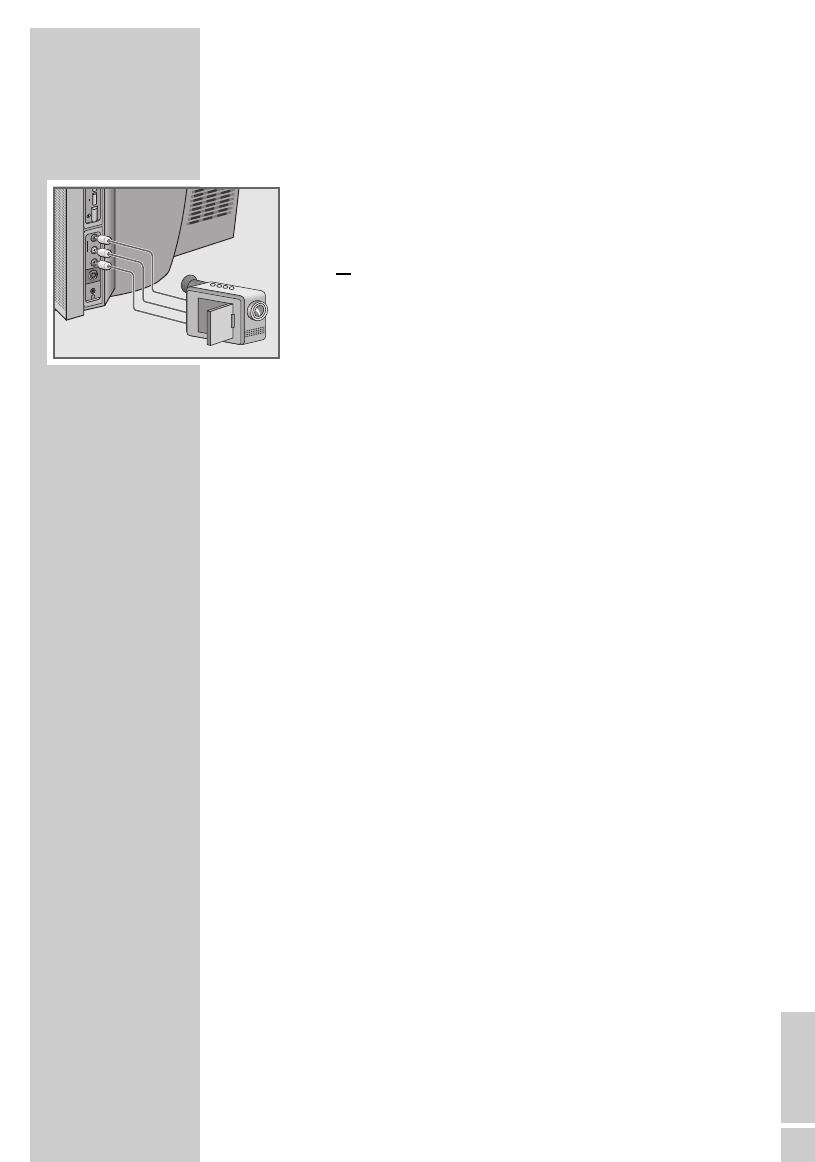
1 Switch on the television with »
Ȃ« on the television set, then
press »P+« on the remote control.
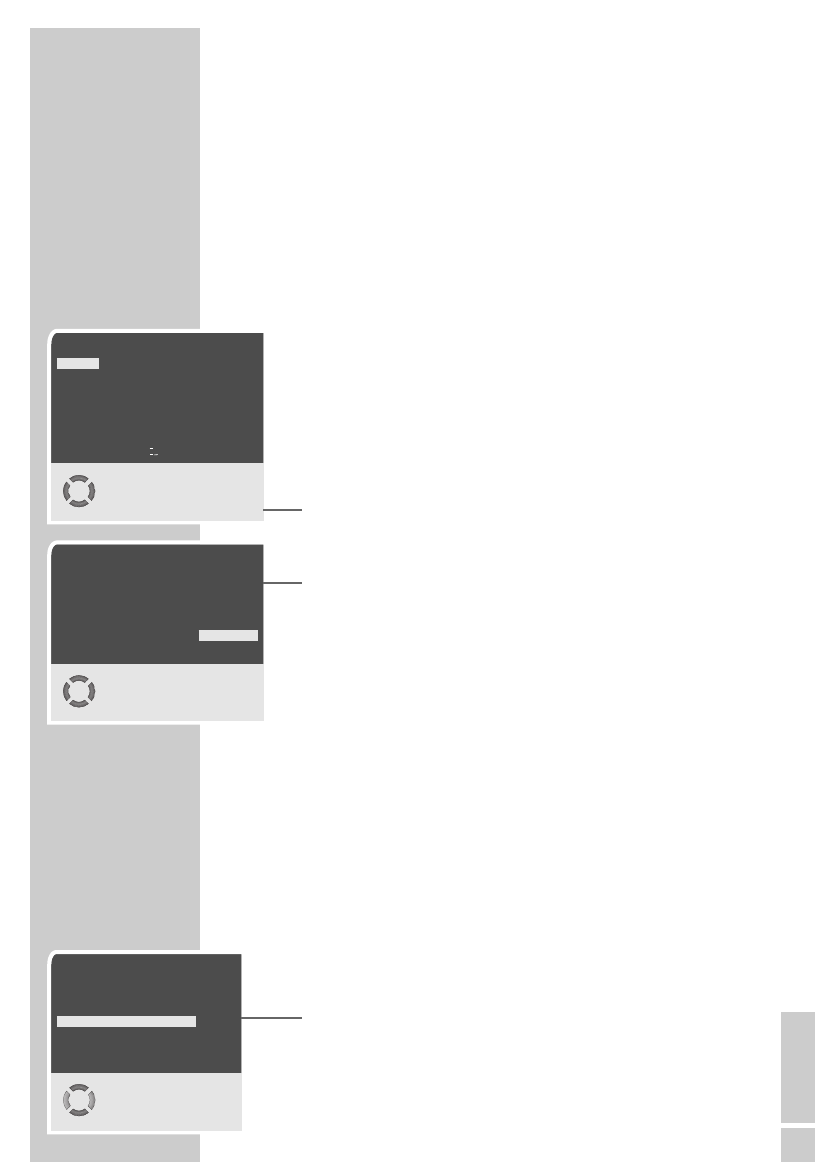
– The »Language« menu appears when the television is first
switched on.
Hint:
If the »Language« menu does not appear on the screen,
then set it in accordance with the chapter on resetting all tele-
vision channels on page 24.
2 Select language with »P+«, »P-«, »
Ǹ
« or »
Ƿ
« and press
»OK« to confirm.
– The »Country Selection« menu appears.
3 Select the country using »P+«, »P-«, »
Ǹ
« or »
Ƿ
«.
4 Press »OK« to start the automatic search.
– The automatic search may last a few minutes, depending on
the number of television channels received.
– After performing the search, the menu »Provider Selection« is
displayed, (only if a provider was found). Kabel 1 in Ger-
many, for example.) Press »P+« or »P-« to select the TV
Guide provider and confirm by pressing »OK«.
Changing stored channels
You can delete channels that have been stored more than once
during the automatic search. You can also store channels in a diffe-
rent preset position, change or enter the name of a channel as well
as skip channels.
Selecting the station list
1 Press »i« to open the »MAIN MENU«.
2 Select »Preset list« with »P+« or »P-« and confirm with »OK«
– The »Preset list« menu appears.
Note:
Further operation is explained in the following sections.
SETTINGS
______________________________________________
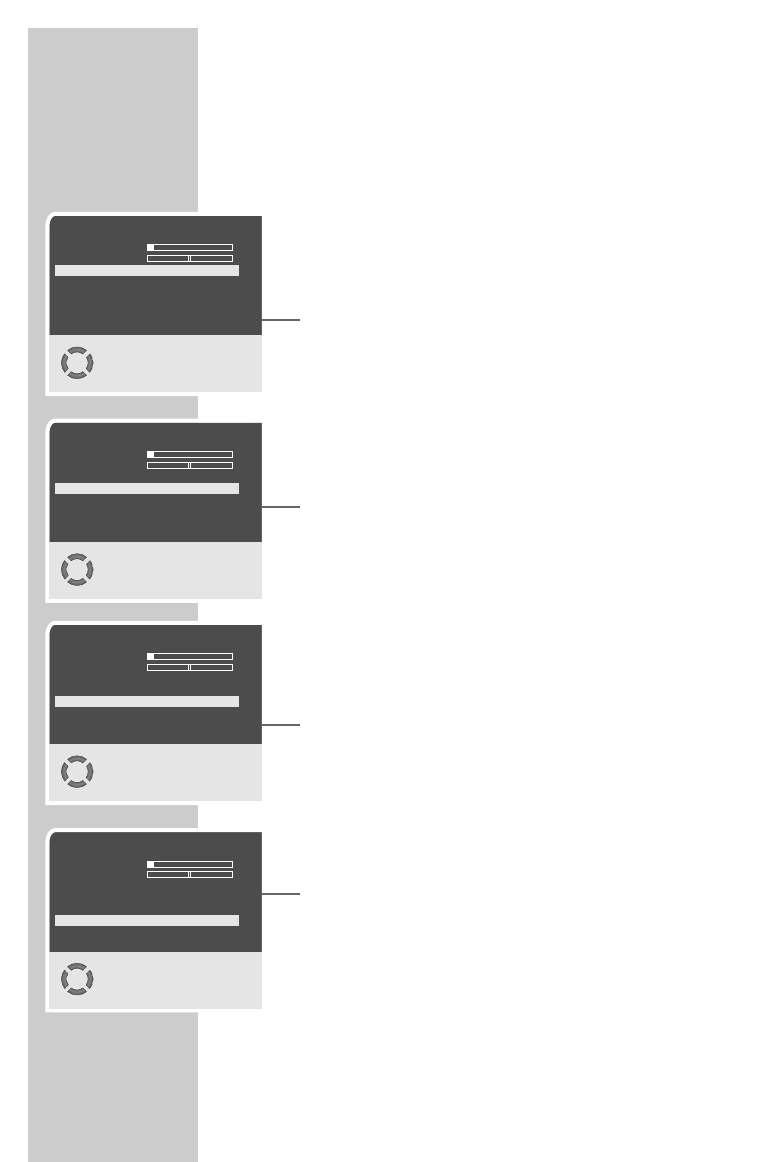
Language
English Svenska Romaneste
Deutsch Dansk Hirvatski
Francais Norsk âe‰tina
Italiano Suomi Slovenãina
Español Slovensko Gjuha Shqipe
Portuguesa Polski Блгapck
Eλληvικα Magyar Makeдоhckд
Türkçe Pycck Srpski
Dutch Л¹1
Select
İ
OK
Country Selection
Belgium Hungary Portugal
Czech Rep. Ireland Schweiz
Danmark Italia Suomi
Deutschland Netherlands Sverige
Eλλaδa Norge Türkiye
España Österreich U.K.
France Polska
...........
Start Autoprogramming
İ
OK
MAIN MENU
Sound
Picture
Preset list
Channel settings
Settings
Select
●
i
Exit
İ
OK
ǵ