I
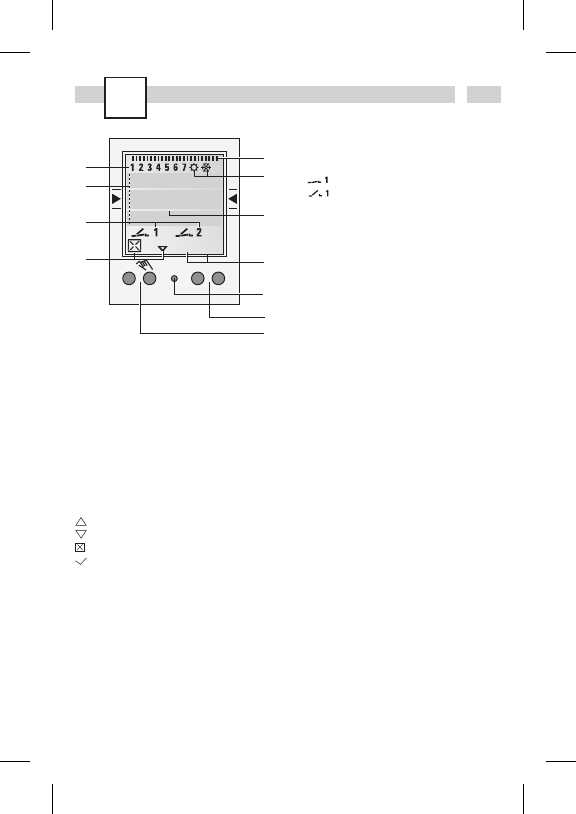
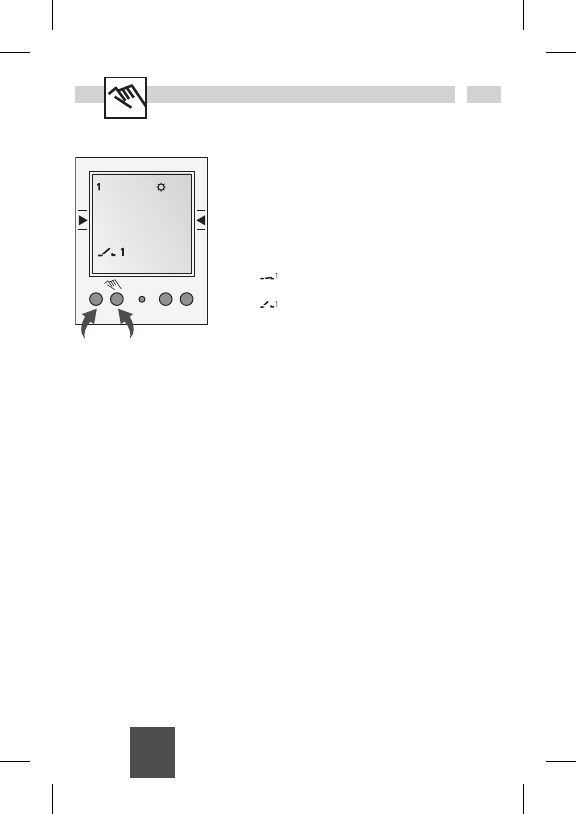
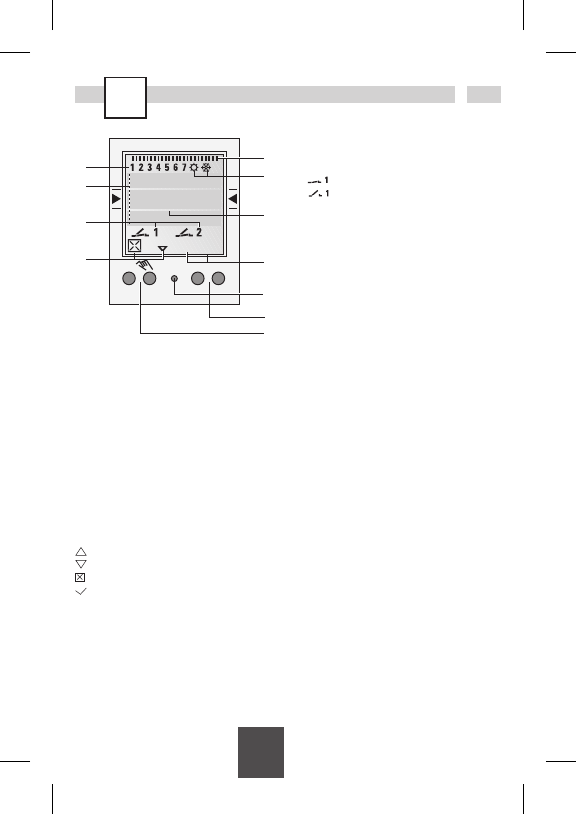
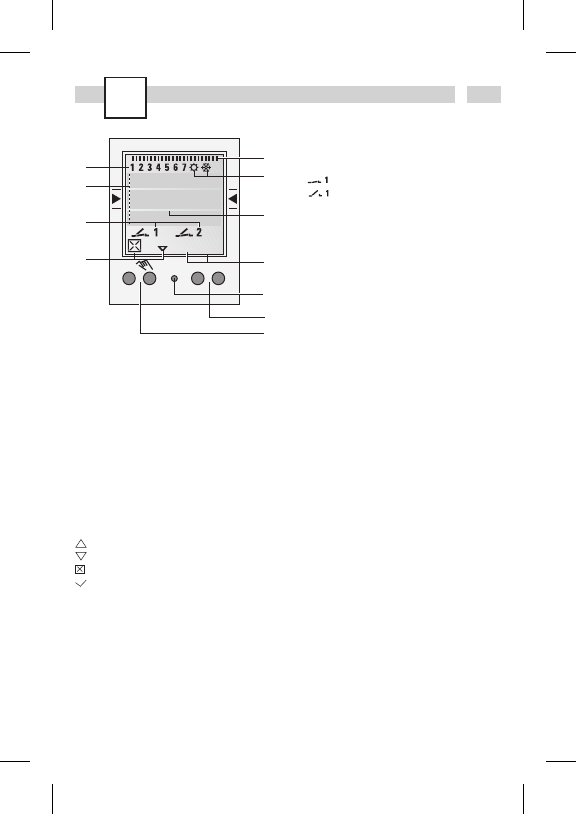
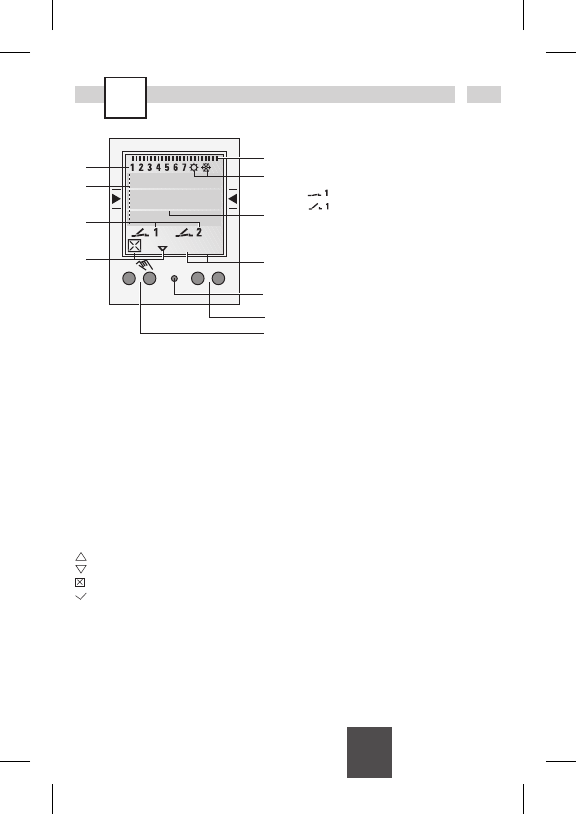
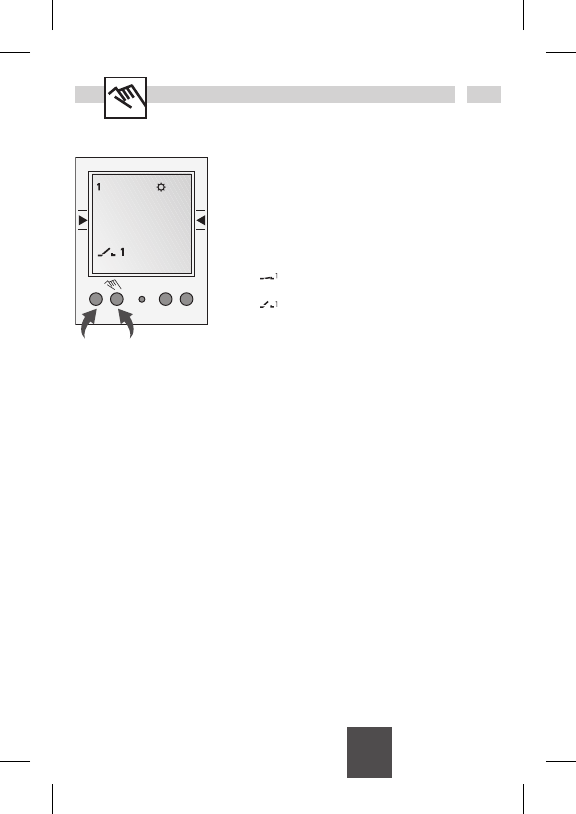
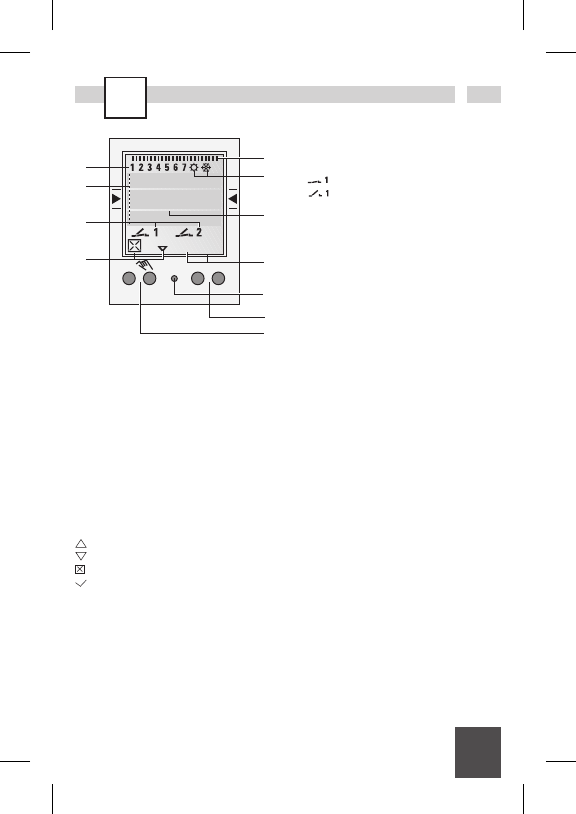
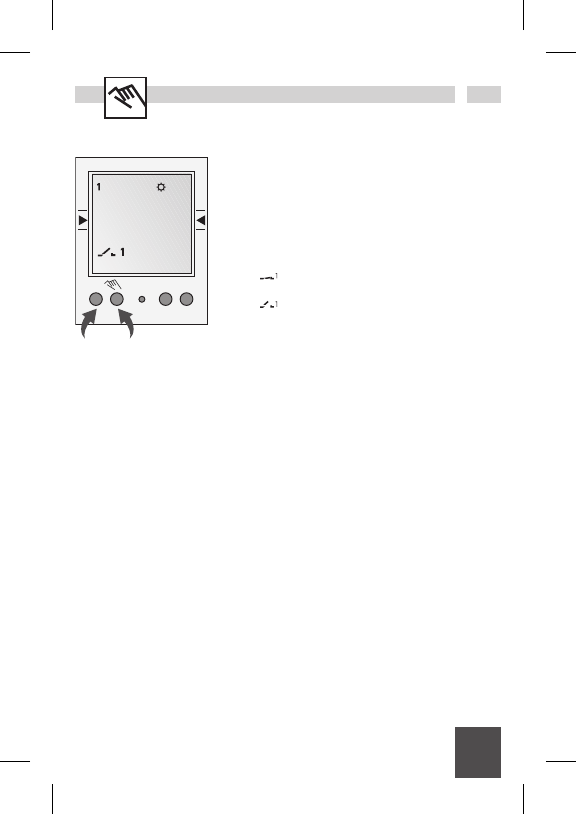
Display
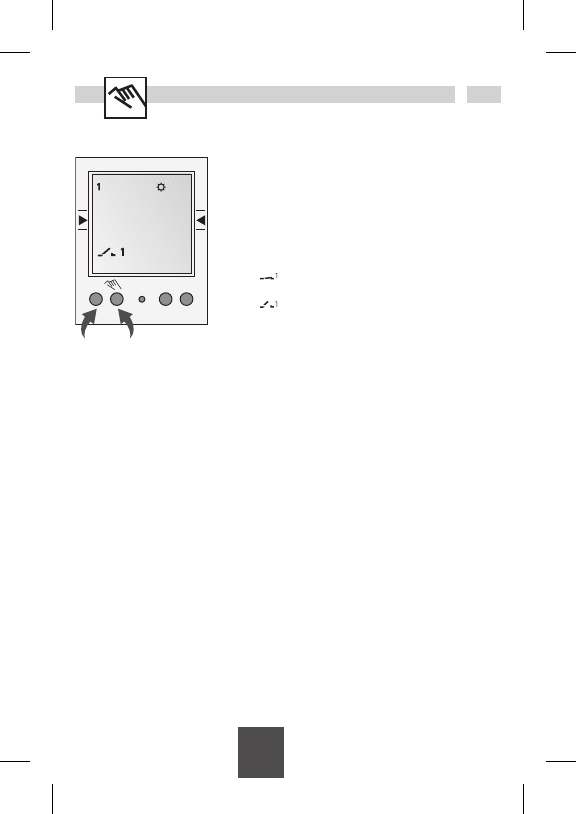
A Segnalazioni di entrambi i tasti sinistri
B Segnalazione dello stato del canale
= Canale 1 ON
= Canale 1 OFF
Canale 1 = C1, Canale 2 = C2
C 3 linee di comunicazione per l’indicazione
dell’ora, le opzioni di menu, le richieste di
input, ecc...
D Indicazione del giorno della settimana
E Visione del programma di commutazione
giornaliero
F Indicazione periodo estivo/invernale
G Tensione di funzionamento (punti permanenti)
Funzionamento di riserva (i punti lampeggiano)
H Segnalazioni di entrambi i tasti destri
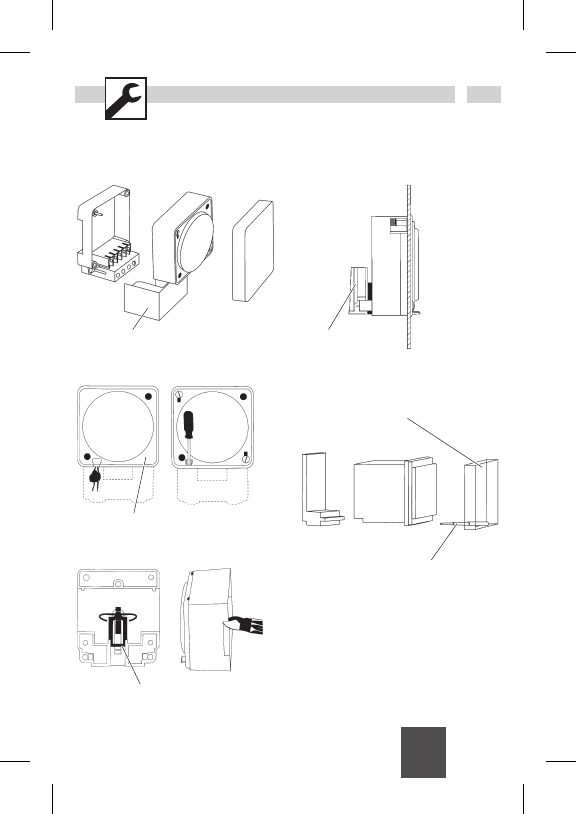
Tasti
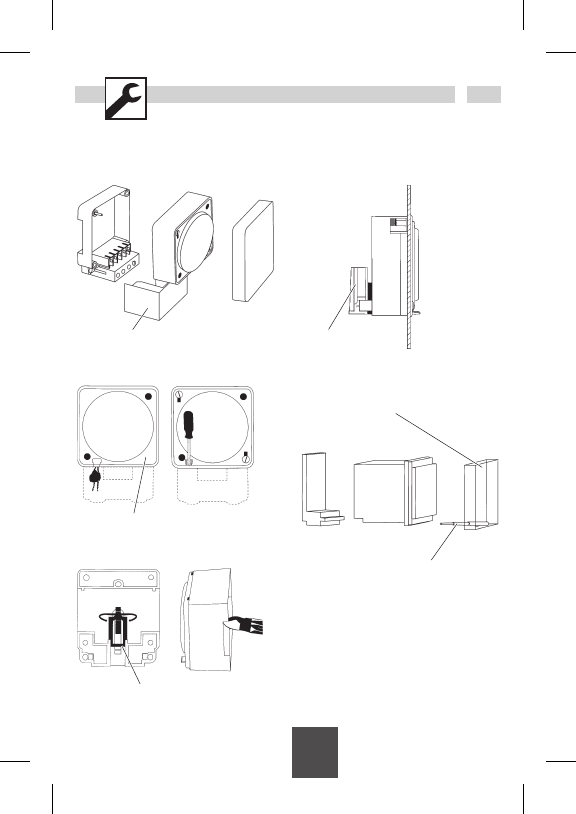
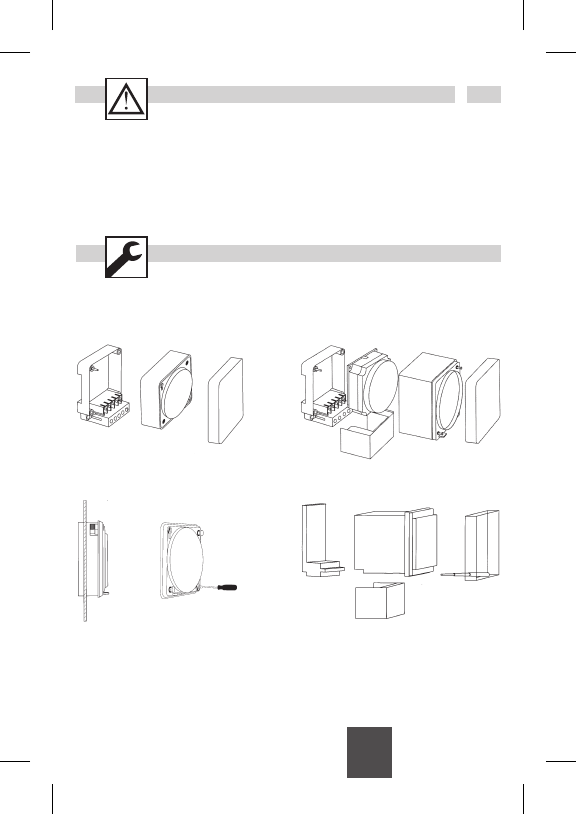
I Reset
In caso di reset i programmi vengono
memorizzati. Bisogna impostare di nuovo la
data e l’ora. Azionare il pulsante di reset con
un oggetto spuntato (penna a sfera).
J Tasti destri
K Tasti sinistri con funzione di interruttori
manuali durante il funzionamento automatico
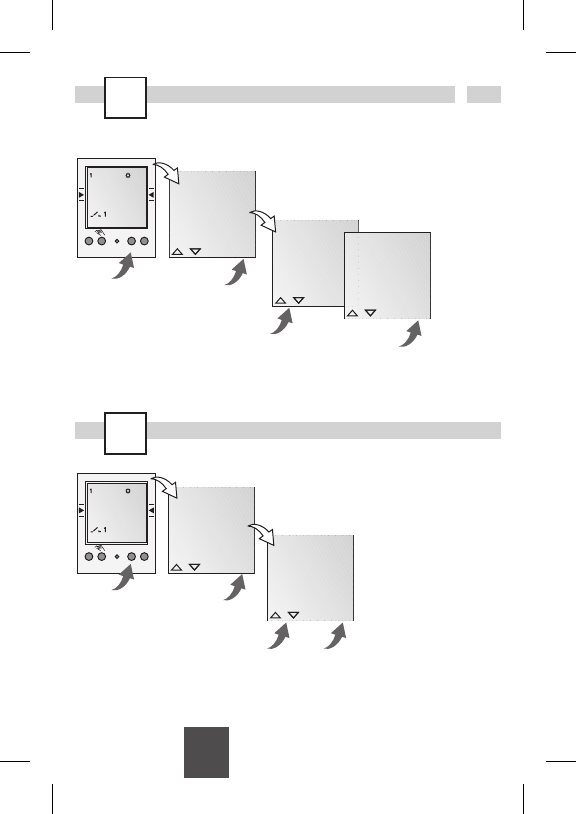
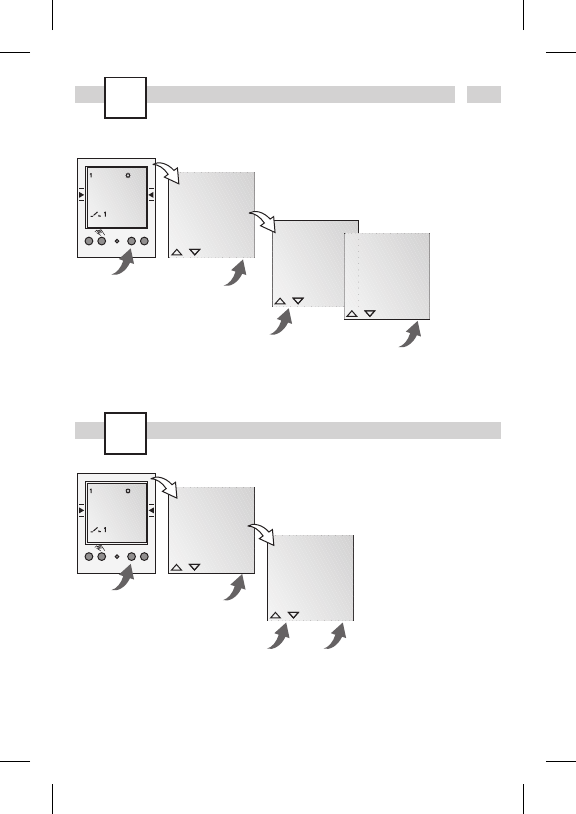
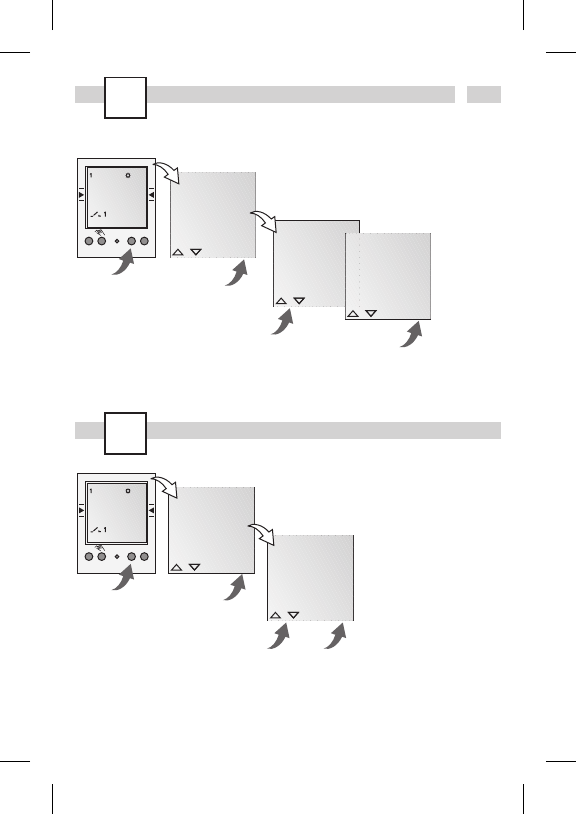
Generale
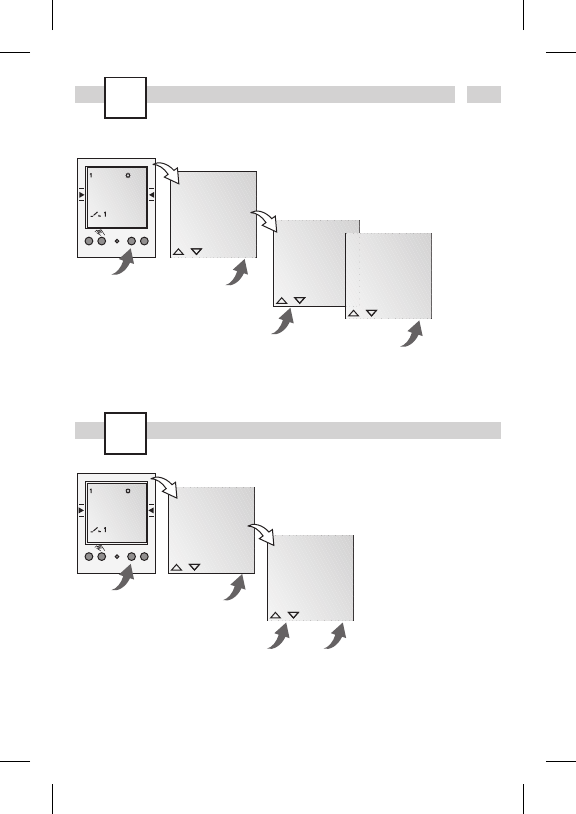
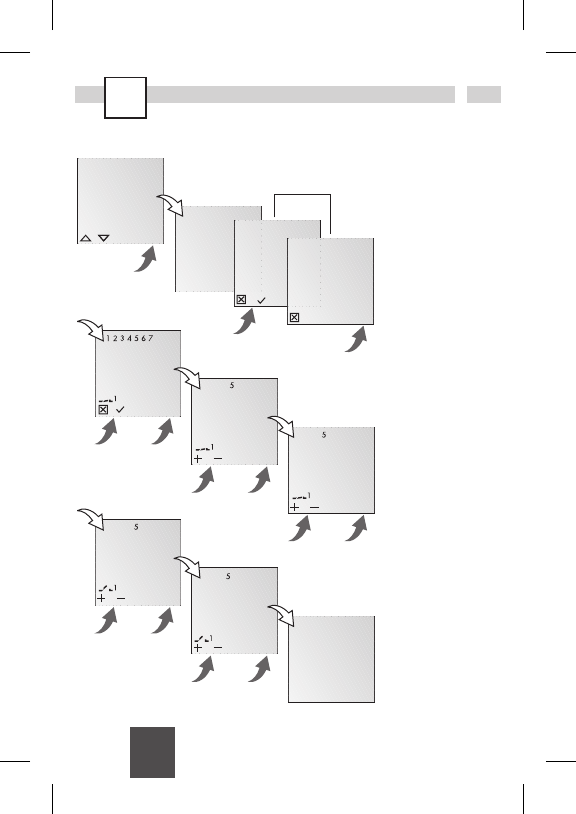
· La linea di comunicazione centrale indica
l’opzione di menu a disposizione. Questa viene
attivata in caso di conferma con
OK.
· I testi o i simboli lampeggianti richiedono un
input.
· Se entro 2 minuti non si verifica alcuna immis
-
sione di dati, l'orologio ritorna alla modalità
automatica.
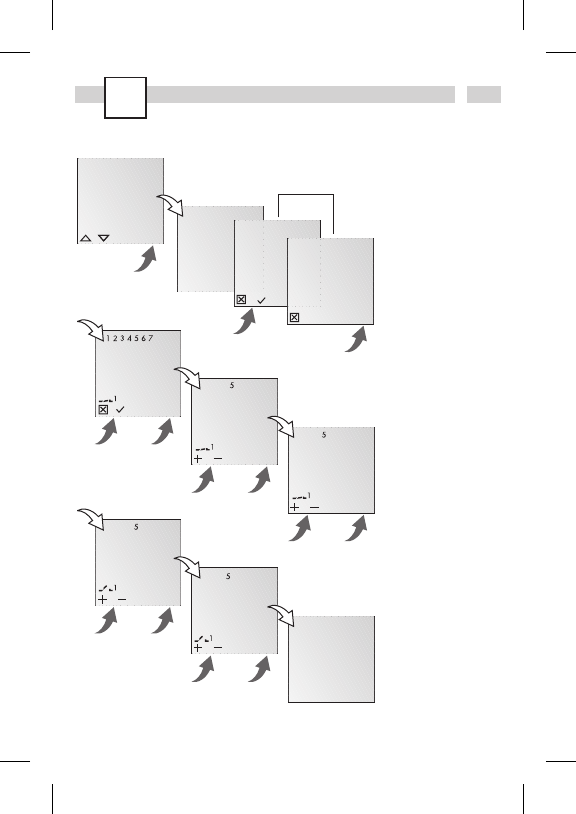
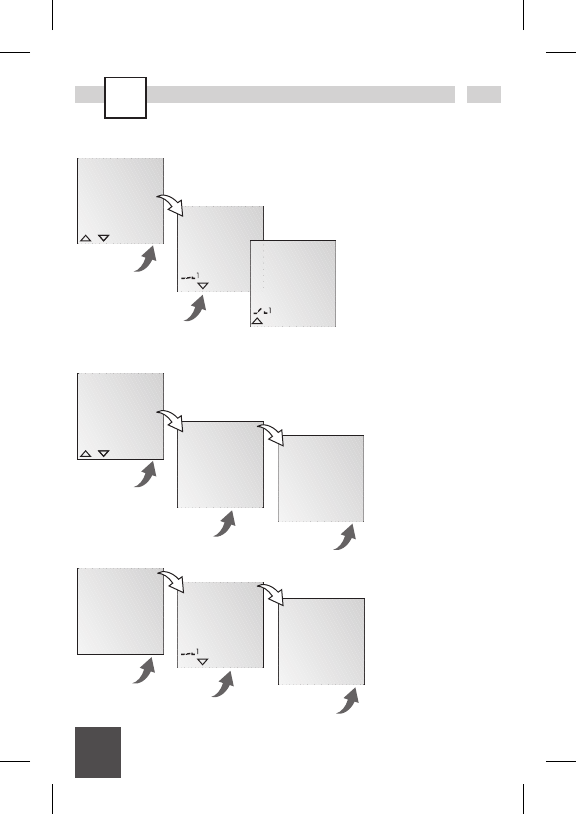
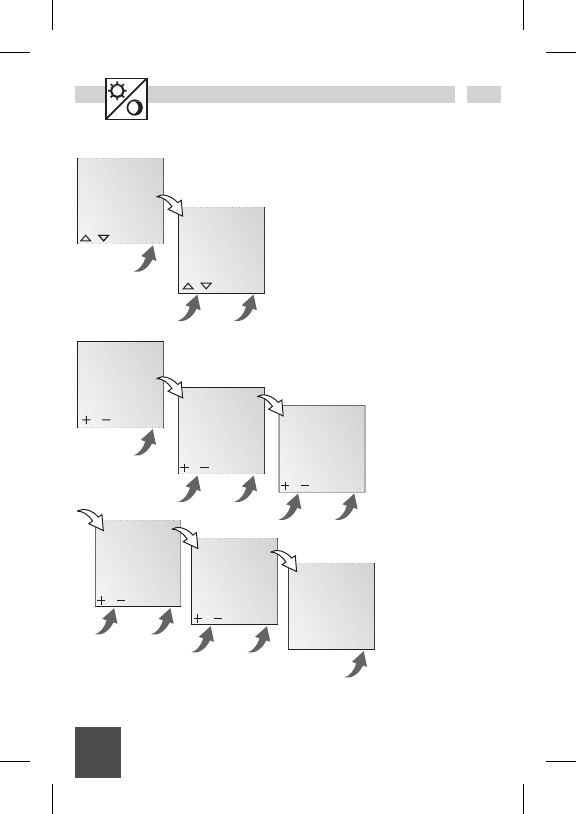
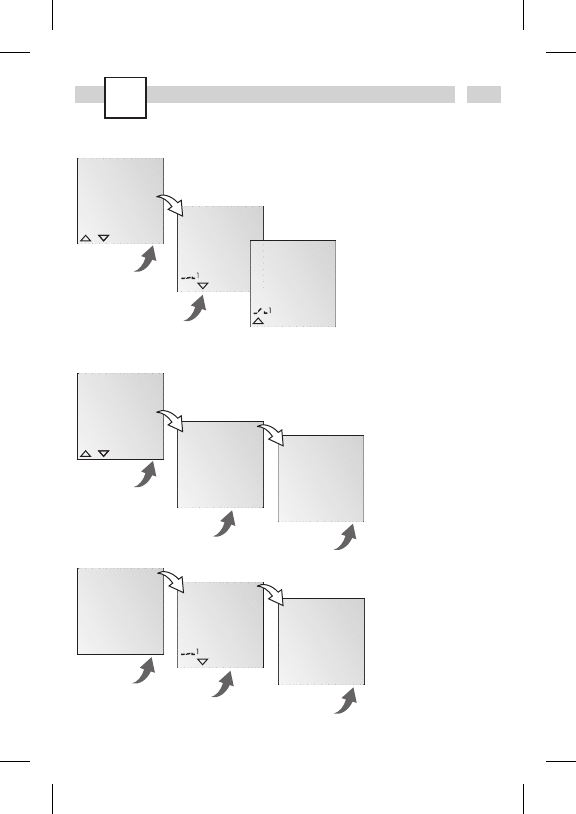
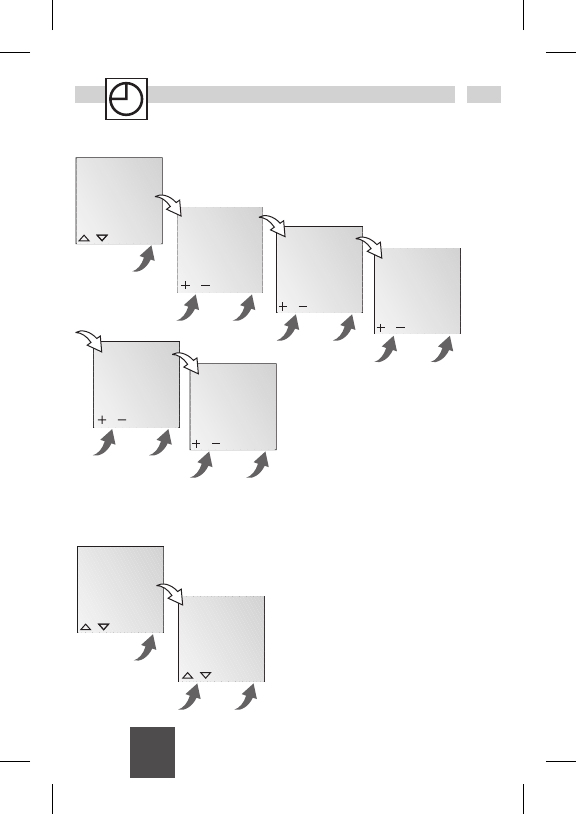
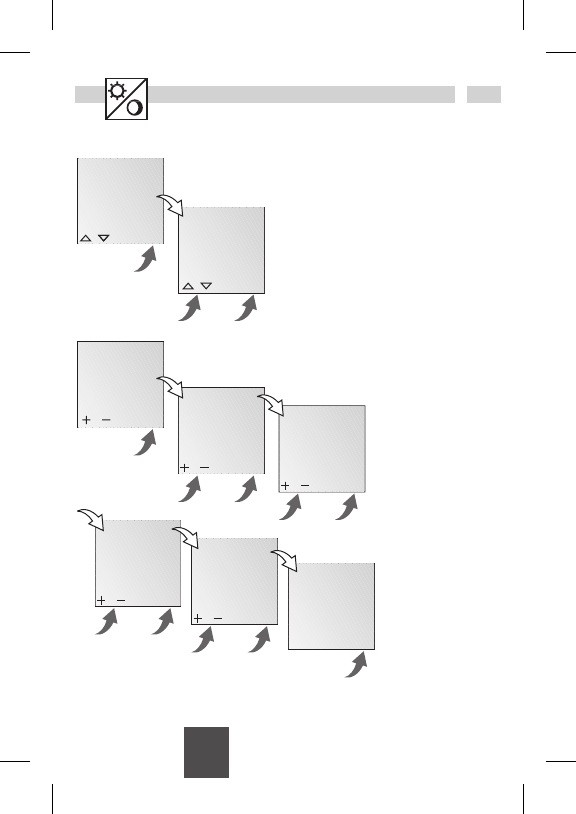
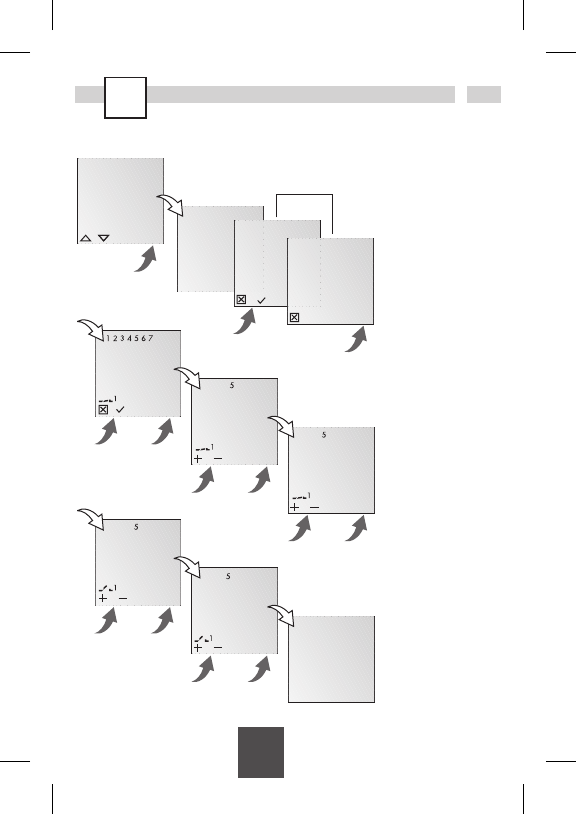
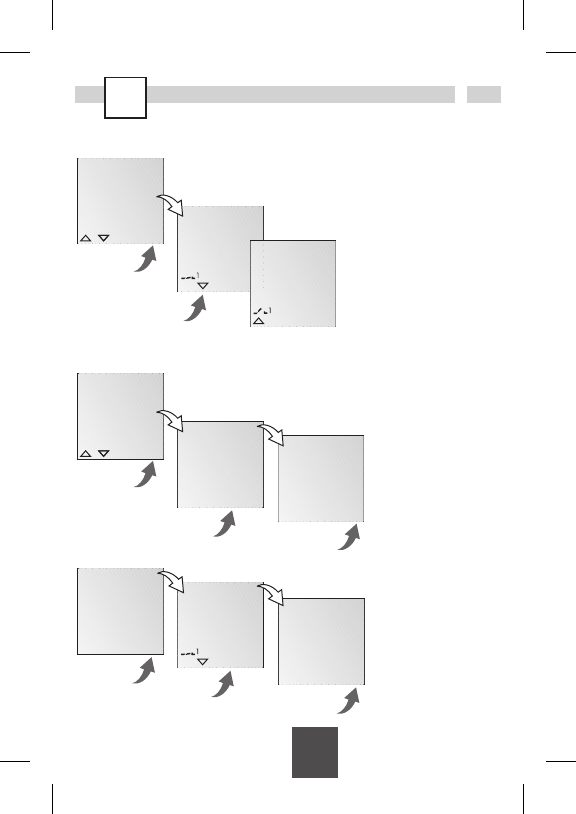
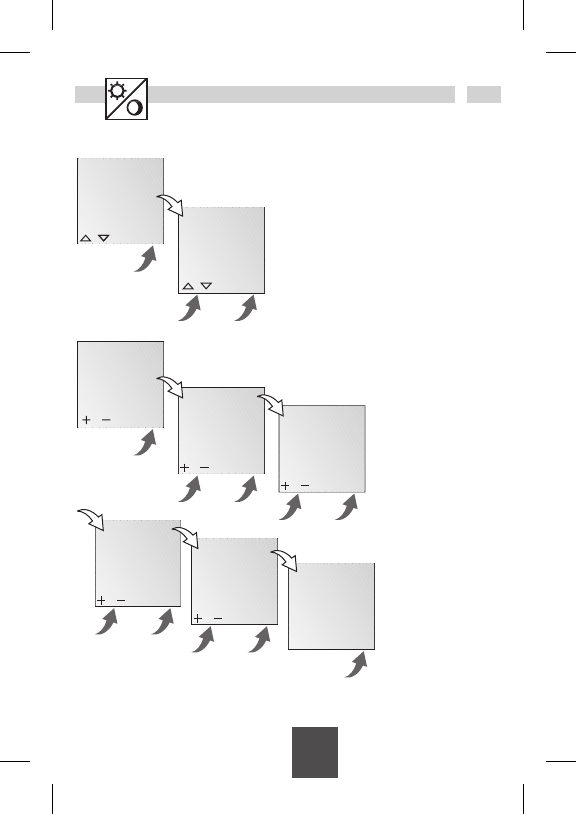
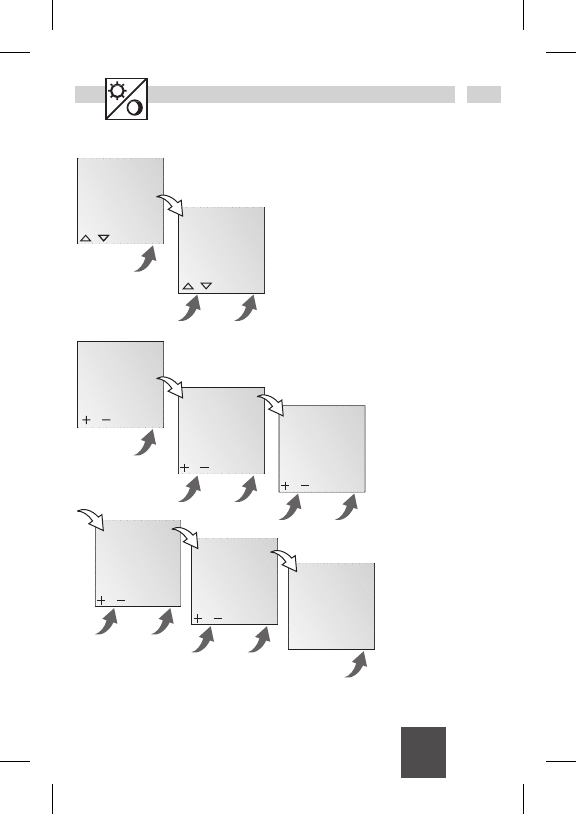
Segnalazioni di entrambi i tasti sinistri:
scorrere in alto nel menu
scorrere in basso nel menu
Rifiutare una scelta/proposta
Accettare una scelta/proposta
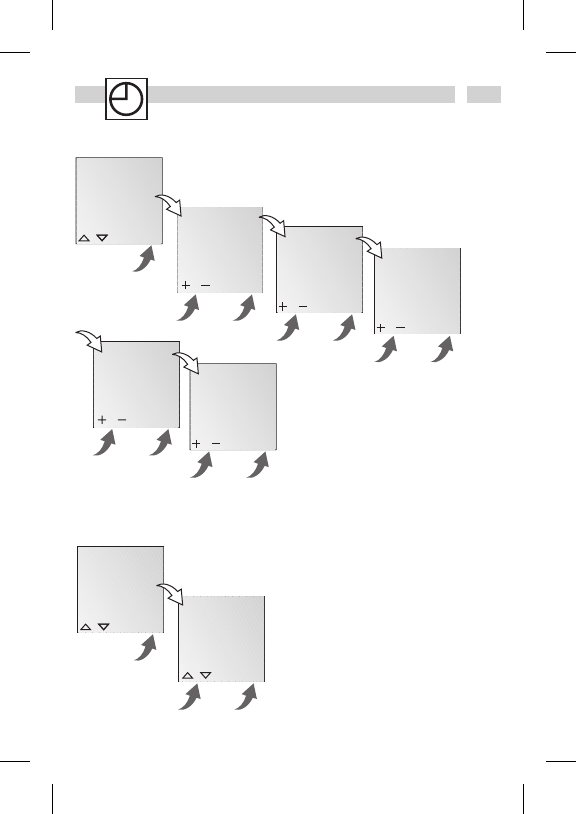
+ Premere per poco = +1
Premere a lungo (circa 2 sec) = +5
- Premere per poco = -1
Premere a lungo (circa 2 sec) = -5
Segnalazioni di entrambi i tasti destri:
MENU Abbandono del funzionamento auto-
matico e accesso alla modalità di
programmazione
ESC Premere per poco = indietro di un
livello
Premere a lungo (circa 2 sec) =
ritorno al funzionamento automatico
OK Selezionare una scelta ed eseguirla
EDT Apporto di modifiche nella modalità
di lettura
NO Non eseguire un comando
SI Eseguire un comando
DEL Elimina