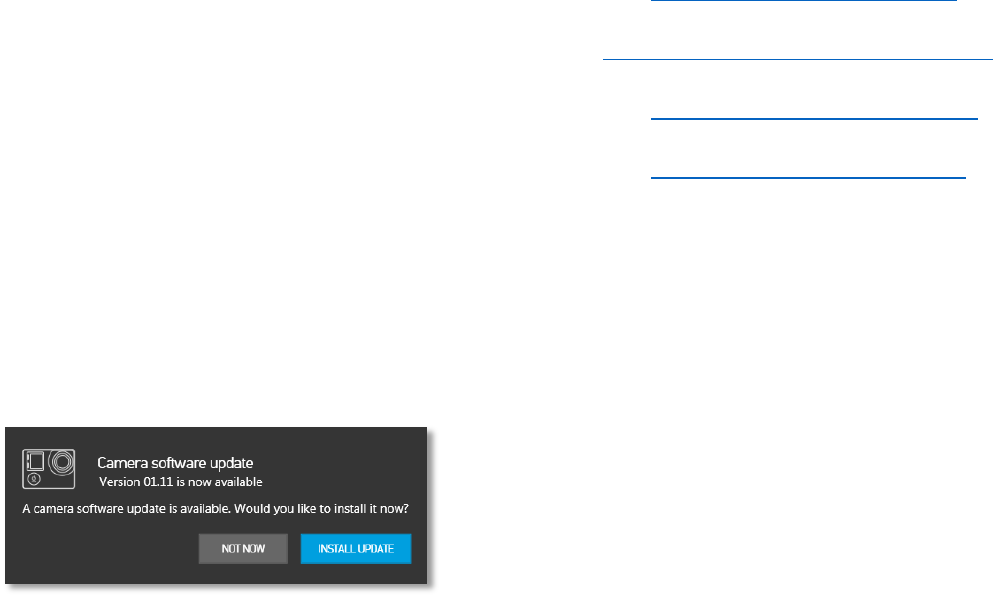
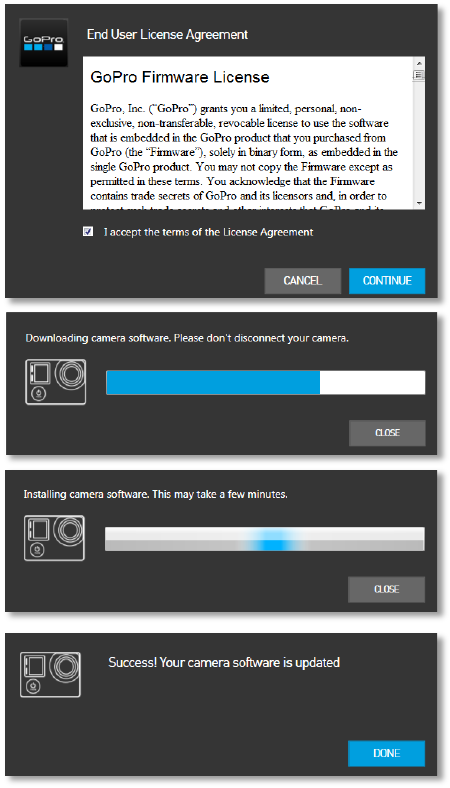
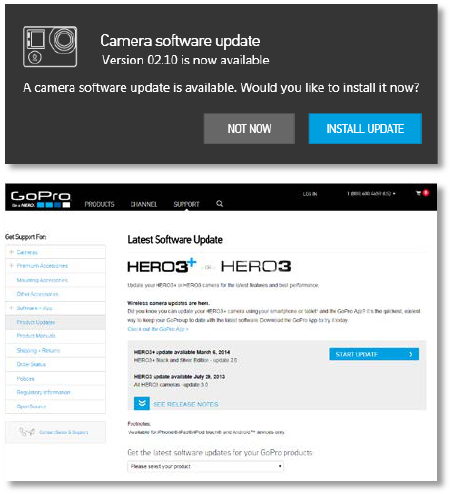
Updating HERO3+ Camera Software ...................................................................................................................................................................... 18
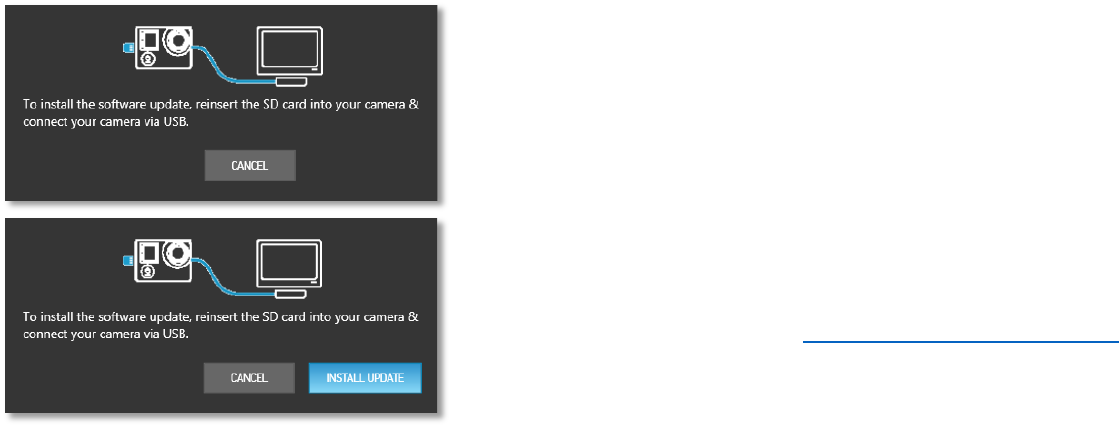
Updating HERO3+ and HERO4 Camera Software from a Memory Card Reader .................................................................................................. 19
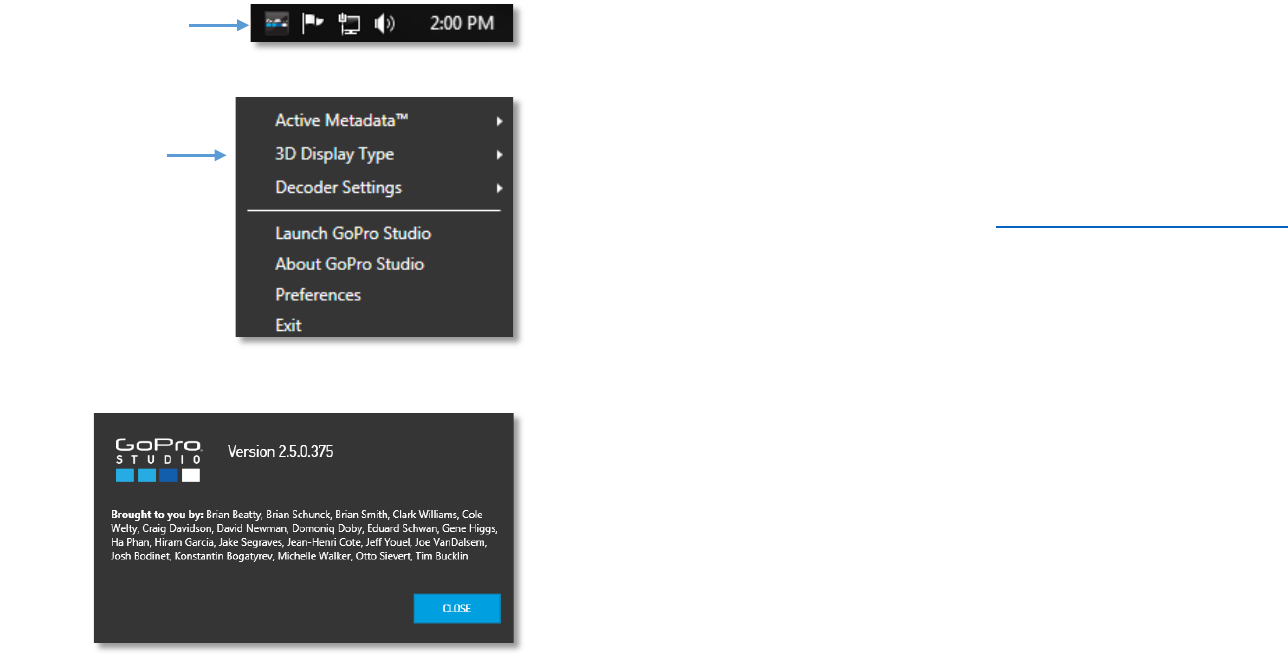
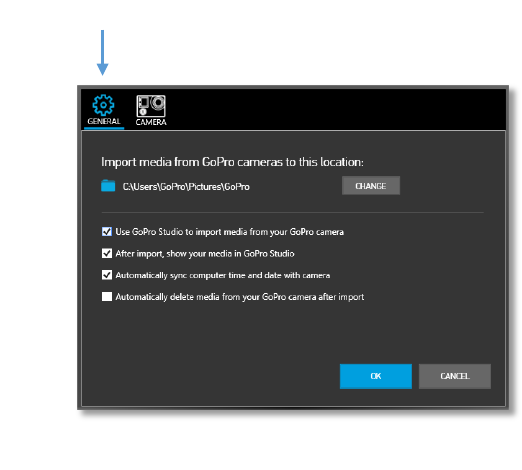
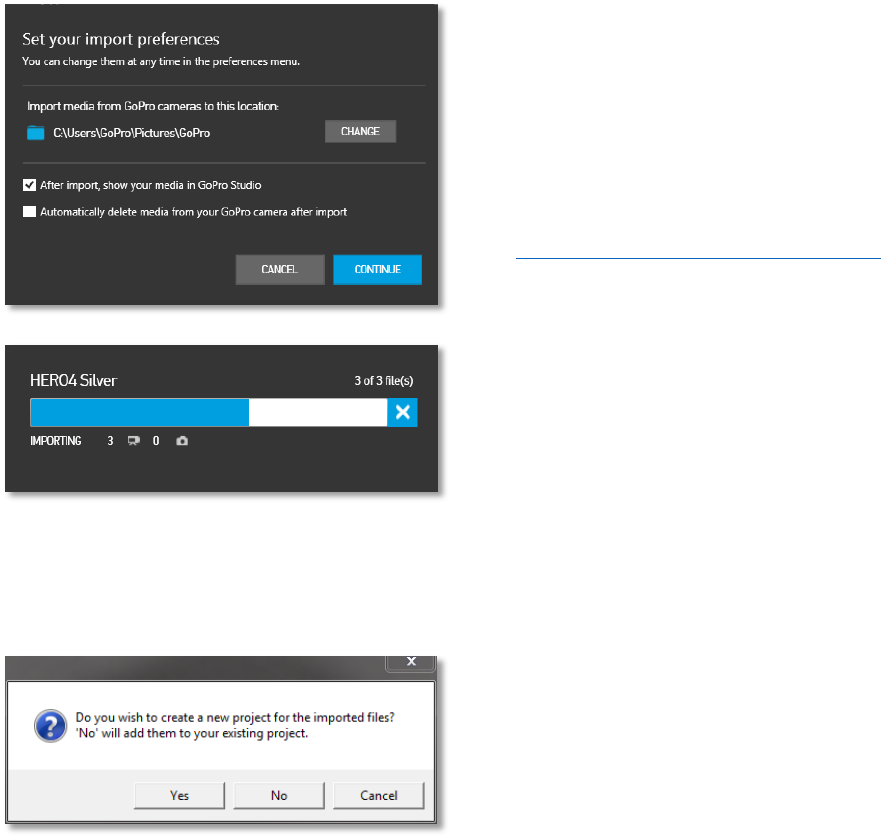
IMPORTING MEDIA FROM YOUR GOPRO CAMERA ......................................................................... 20
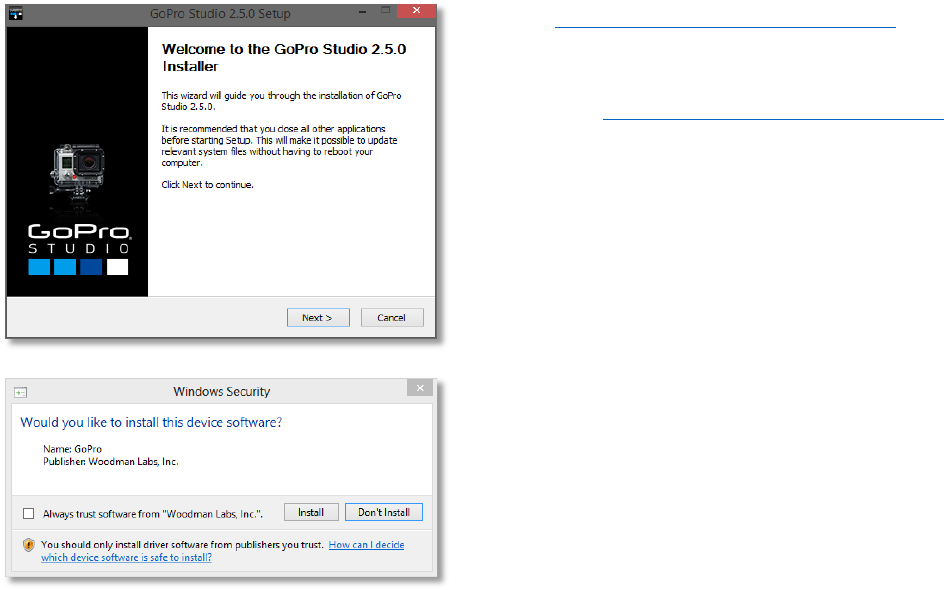
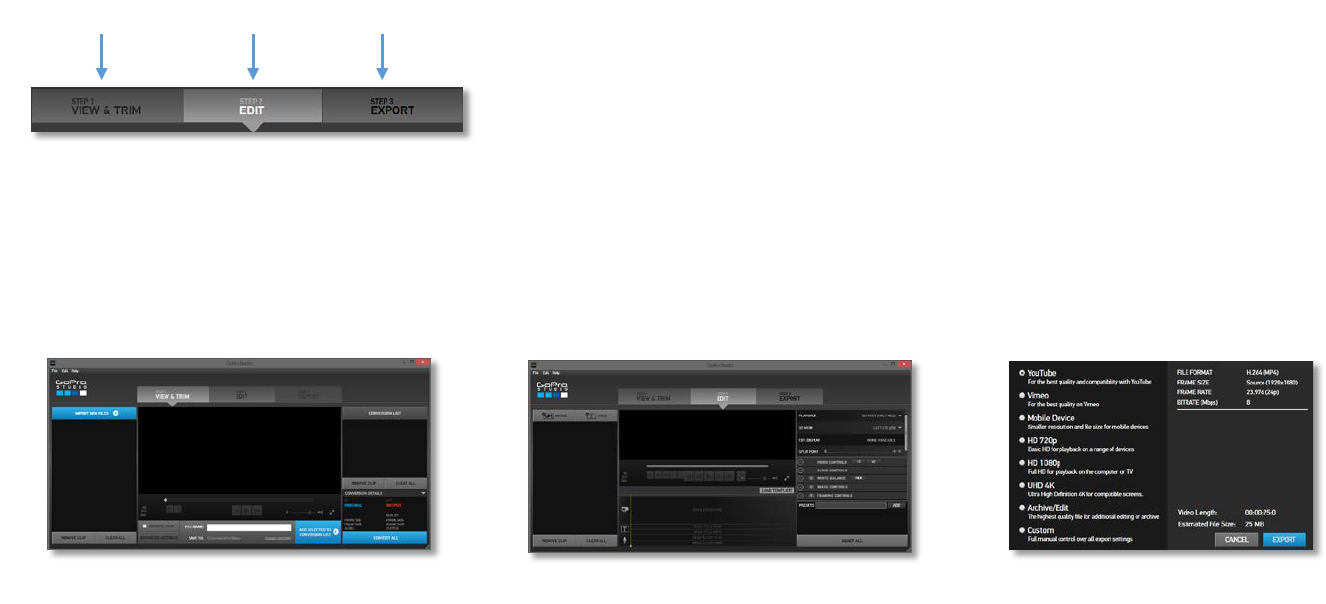
USING GOPRO STUDIO ....................................................................................................................... 22
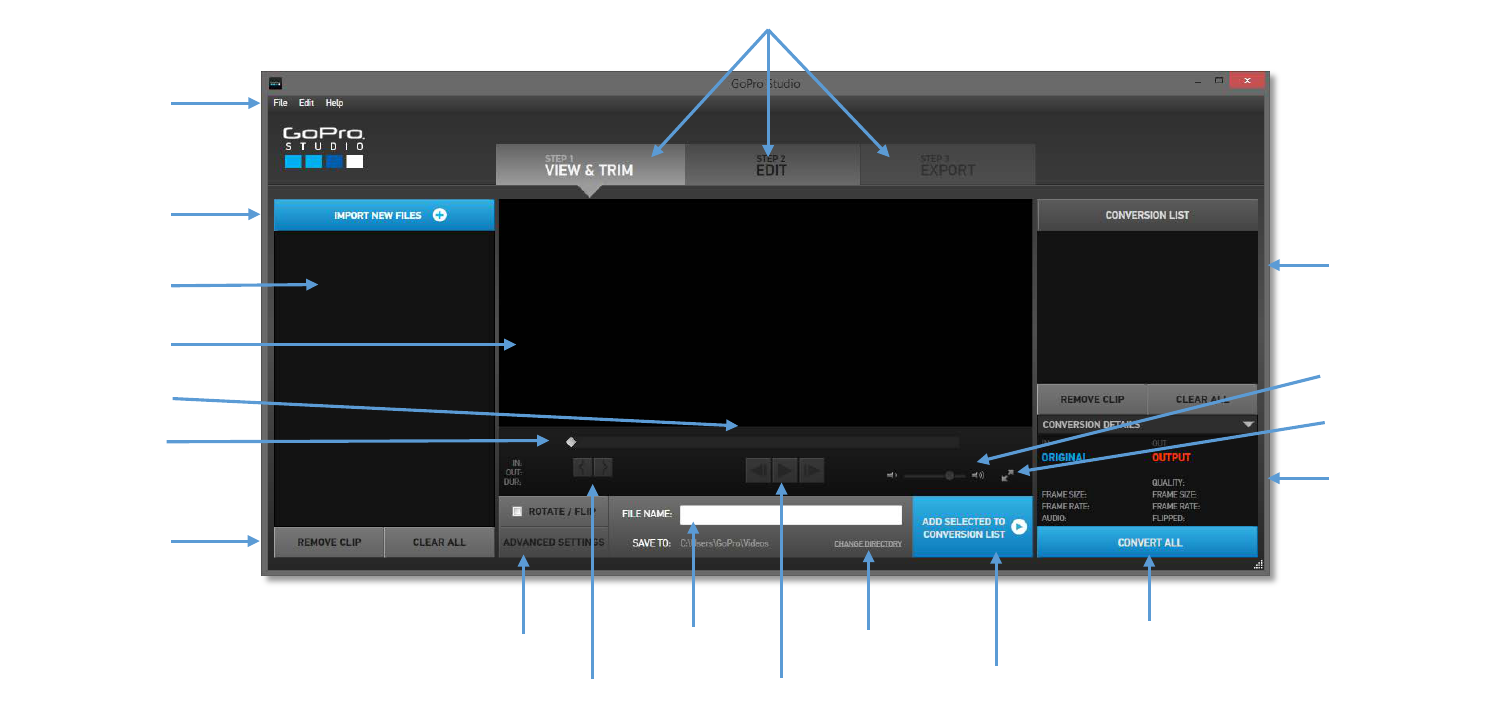
Step 1: VIEW & TRIM .............................................................................................................................................................................................. 22
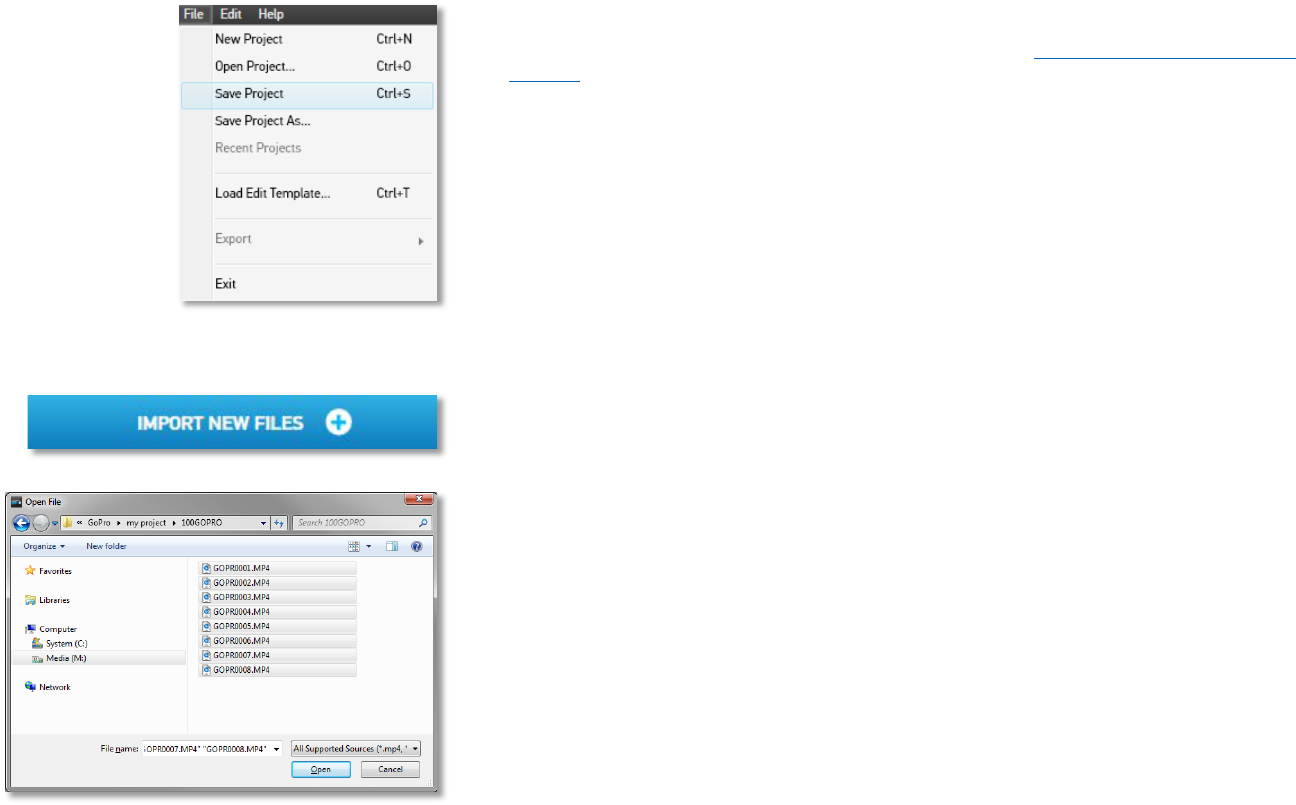
Creating a New Project ........................................................................................................................................................................................ 22
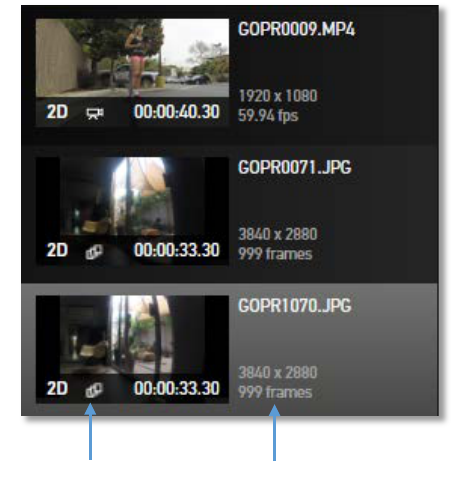
Importing Source Video Files ............................................................................................................................................................................... 22
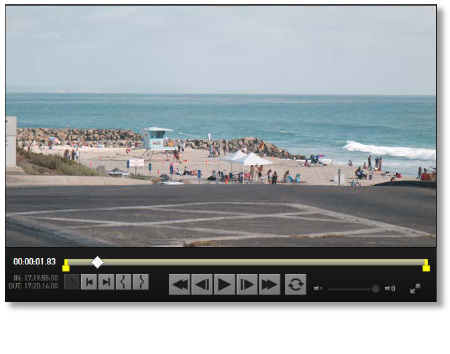
Previewing Files in the Player Window ................................................................................................................................................................ 23
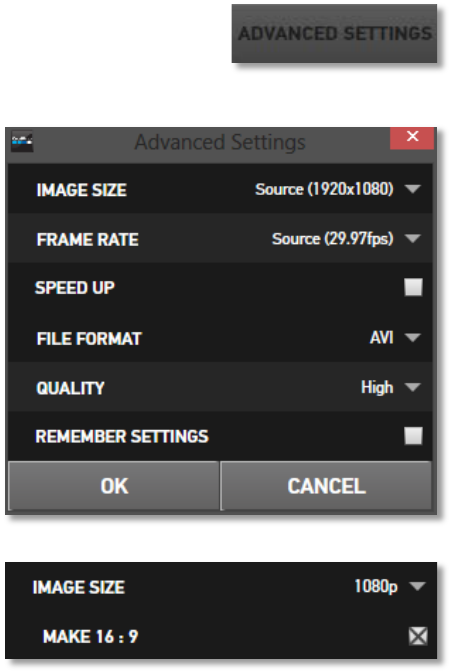
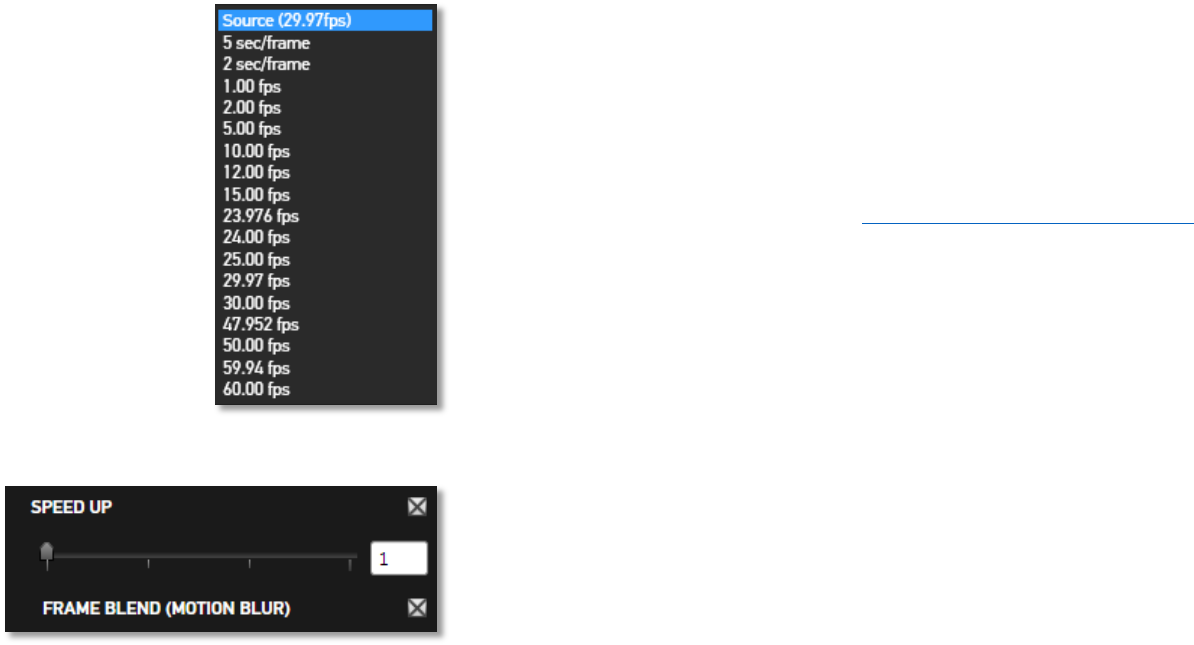
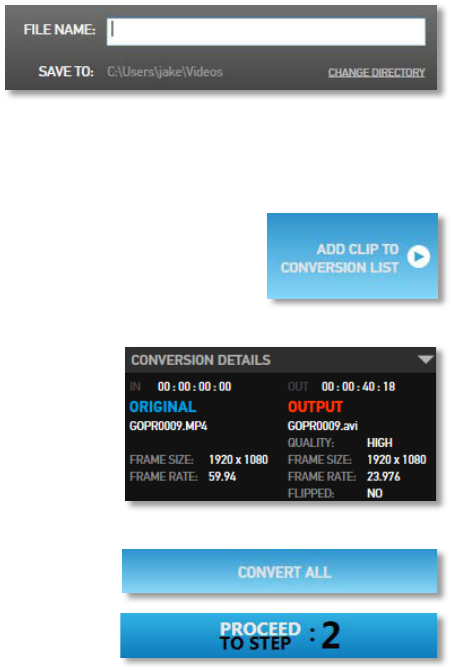
Converting Files ................................................................................................................................................................................................... 24
Working with Time-Lapse Sequences ................................................................................................................................................................. 30
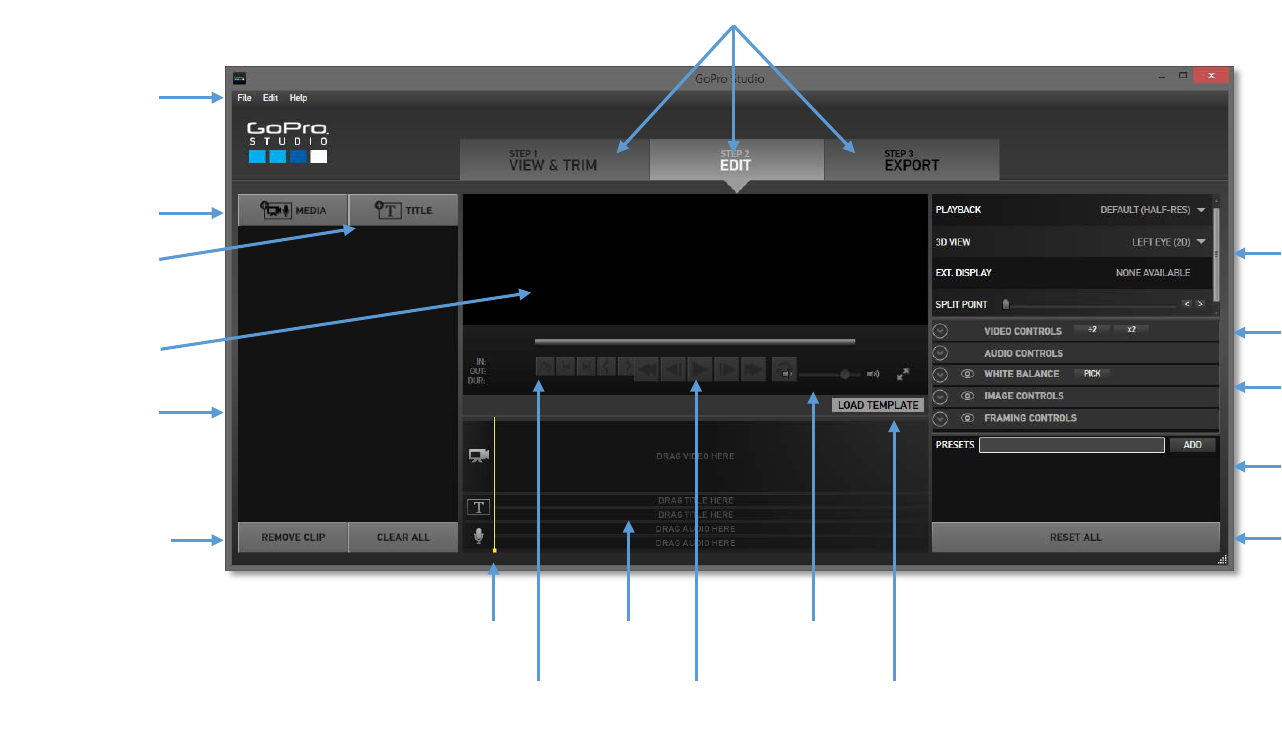
Step 2: EDIT ............................................................................................................................................................................................................. 33
Using GoPro Edit Templates ................................................................................................................................................................................ 34
Creating your Own Edit Using a Blank Template ................................................................................................................................................. 53
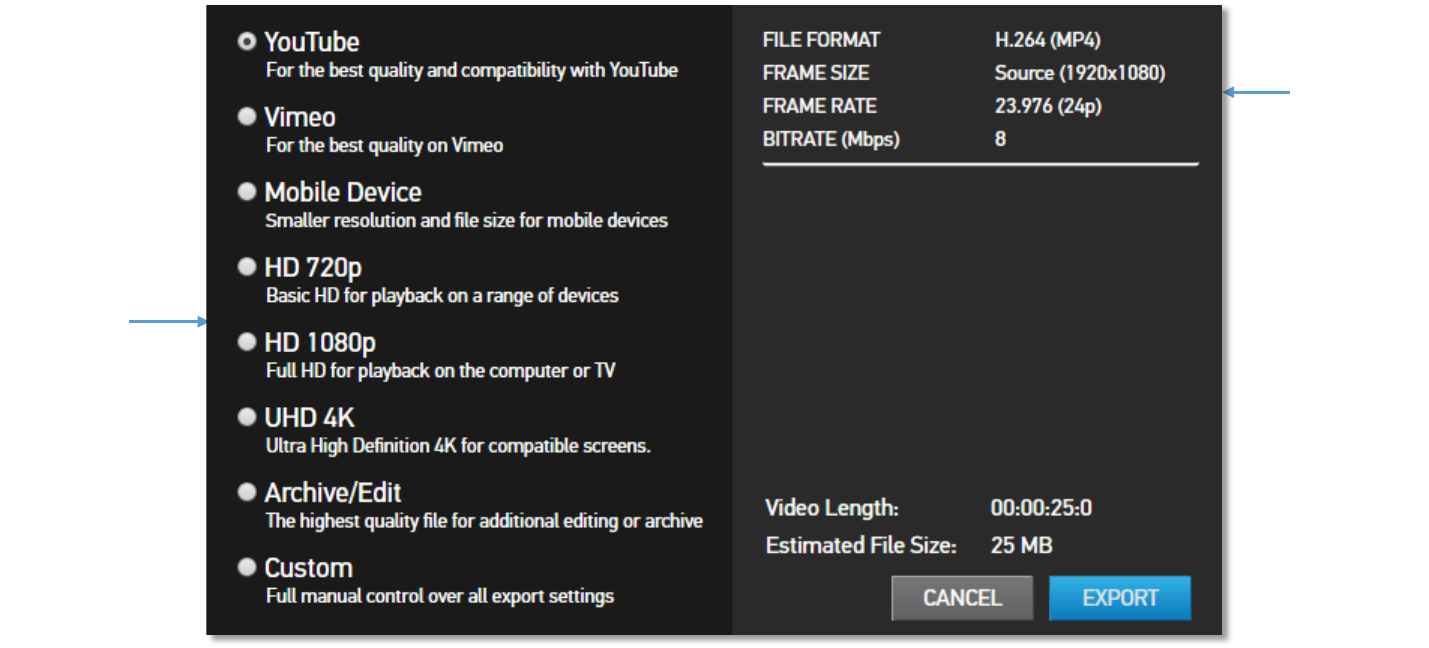
Step 3: EXPORT ...................................................................................................................................................................................................... 59
Exporting a Movie ................................................................................................................................................................................................ 59
Exporting Still Images .......................................................................................................................................................................................... 61
Updating HERO2 Camera Firmware ....................................................................................................................................................................... 62
Getting Started ..................................................................................................................................................................................................... 62
Updating your HD HERO2 ................................................................................................................................................................................... 62
Registering Your Wi-Fi BacPac™ ........................................................................................................................................................................ 63
Updating Your Wi-Fi BacPac ............................................................................................................................................................................... 63
Updating Your Wi-Fi Remote ............................................................................................................................................................................... 63
Configuring Your Wi-Fi BacPac™ (optional) ........................................................................................................................................................ 64
Troubleshooting Tips ............................................................................................................................................................................................ 64
Advanced Features .................................................................................................................................................................................................. 65
Working with 3D Video Files ................................................................................................................................................................................ 65
Working with Keyframes ...................................................................................................................................................................................... 69
Global Playback Settings in the EDIT Room ....................................................................................................................................................... 71