792364
18
Verklein
Vergroot
Pagina terug
1/60
Pagina verder
1
2
1) INTRODUCTION ............................................................... 4
2) SAFETY INSTRUCTION .................................................... 4
3) KEY’S DESCRIPTION ....................................................... 5
Delete key .................................................................................. ..6
4) PHONE’S INSTALLATION ................................................. 7
Unpacking the Telephone ............................................................ 7
Connecting telephone .................................................................. 7
5) PHONE’S SETTING ........................................................... 7
Moving in the menu ...................................................................... 7
Settings date & time ..................................................................... 8
Setting 5 digitslocal area code .................................................... 8
Settings PABX code ..................................................................... 9
Set automatic IP ........................................................................... 9
Setting alarm clock ....................................................................... 10
Setting Flash time......................................................................... 11
Setting ringer volume…………………………………………… …...11
LCD brightness adjustment ........................................................ ..11
6) CALL LOG INFORMATION ............................................... 11
Incoming call ................................................................................ 11
Reviewing past incoming calls and calling back ......................... 12
Reviewing past outgoing calls .................................................... 12
7) USING YOUR PHONE ..................................................... 13
Using Pre-Dial ............................................................................ 13
Incoming call (outgoing call) query .............................................. .13
3
Call timing .................................................................................. 13
Mute function and ringtone mute ................................................ 13
Boost function ............................................................................ 14
Setting VIP numbers .................................................................. 14
Smart backlight function ............................................................. 15
8) ONE TOUCH MEMORY BUTTON.................................... 15
Record a memory touch button .................................................. 15
Make a call using the memory buttons ....................................... 15
9) TROUBLESHOOTING ..................................................... 16
10) GUARANTEE ................................................................. 17
11) DECLARATIONS ............................................................ 17
12) RECYCLING DIRECTIVES ............................................ 17
4
1- INTRODUCTION
!!! Please refer to our website: www.geemarc.com for an up to date
user guide, as there may be important updates and changes you
need to be aware of !!!
Congratulations on purchasing your Geemarc Dallas20. This is an
amplified big button telephone The large button keypad is easy to see
and use, it helps to prevent any misdialing. There
are one touch
memory dial buttons, also designed to make dialing easier
because you will be able to identify these speed dial buttons with
pictures of your friends and family if you want. This telephone is
compatible with hearing aids.
It is important that you read the instructions below in order to use your
Geemarc telephone to its full potential. Keep this user guide in a safe
place for future reference.
2- SAFETY INSTRUCTIONS
When using your telephone equipment, the following basic safety
precautions should always be followed to reduce the risk of fire,
electric shock and injury to persons:
1. Read and understand all instructions
2. Follow all warnings and instructions.
3. Unplug the line cord of the product from the wall let before
cleaning. Do not use liquid cleaners or aerosol cleaners. Use
damp clothe for cleaning.
4. Never push objects of any kind into this product through cabinet
slots as they may touch dangerous voltage points or short out
parts that could result in a risk of fire or electric shock.
5. Never spill liquid of any kind on the product.
INTRODUCTION / SAFETY INSTRUCTION
5
6. Avoid using this unit during an electrical storm, move or
disconnect the unit, there may be a remote risk of electronic shock
from lightning and thunder.
7. Unprofessional person cannot open telephone even meets
troubles, please send to service center.
3- KEY’S DESCRIPTION
1. UP
6
2. DOWN
3. OUT
4. DEL/R
5. Ring/mute indicator
6. SET/STORE
7. M1 memory key
8. M2memory key
9. Brightness control/ FALSH
10. M3 memory key
11. VIP/ PAUSE
12. Hands-free
13. Hands-free indicator
14. Redial
15. MUTE
16. BOOST
17. Digital dialing key
18. Ring Tone level (Hi- Lo- Off)
DELETE KEY
Pressing the delete key allows you to erase the digit last entered
when you are setting your IP card number and password, or when you are
dialing a number you wish to call.
When you are in the setting menu, pressing the delete key allow
you to leave the menu or sub-menu you are in ( Except for brightness
adjustment);
When you are reviewing your last incoming or outgoing calls, pressing the
delete key erases number showing on the display or long press
the key for 3 seconds, delete all incoming calls or outgoing
numbers.
KEY’S DESCRIPTION
7
4- PHONE’S INSTALLATION
UNPACKING THE TELEPHONE
When unpacking the telephone, you should find the following in the
box:
1 Dallas 20 unit
1 Dallas 20 handset with curly cord
1 Telephone line cord
1 User Guide
CONNECTING TELEPHONE
1 - Connect the curly cord between the left side of the base and the
bottom of the handset.
2 - Connect the line cord to one of the two socket located at rear of
telephone then connect the PTT plug*.
On the second socket, you have the possibility to connect one other
phone or ringer amplifier for example.
5- PHONE’S SETTING
MOVING IN THE MENU
With the receiver on-hook”, press the key to enter the setting
menu, the display reads "SET 1 DATE". Pressing on the arrow keys
and allows you to navigate within the setting menu and
see the different sub-menus available. Once you have found the sub-
menu you were looking for, press the key to enter it. After having
made all the necessary changes, press the key to move to the
next sub-menu. Use the arrow keys and to navigate
PHONE’S INSTALLATION / PHONE’S SETTING
8
between the different items of the sub-menus. You can leave the
setting mode by pressing the delete key.
SETTING DATE AND TIME
When in the setting menu, go to the "SET 1 DATE" sub-menu and
press the key. The display shows the year and flashes. Use the
arrow keys and to set the correct year and press the
key to confirm. The display now shows the month and flashes.
Use the arrow keys and to set the correct month and
press the key to confirm. You are now asked to set the day and
time (the hour first and then the minutes). Follow the same method
as before and use the arrow keys and to go to the
desired values before pressing the key to confirm. Once that is
done, the display will show the information you have entered.
After the time and date are set, the LCD display will automatically
display the corresponding week and current month calendar. The CID
incoming call signal automatically refreshes the original system date
and time, and the DTMF incoming call signal has no effect on the
original system time and date settings.
SETTING 5-DIGIT LOCAL AREA CODE
When in the setting menu, go to the "SET 2 CODE" sub-menu and
press the key.
The display reads “CODE----and flashes. Use the arrow keys
and to individually of your select the digits local area code and
press the key to confirm each one.
PHONE’S SETTING
9
SETTING PABX CODE
When in the setting menu, go to the "SET 3 PCODE" sub-menu and
press the key.
The display reads “PCODE-and flashes. Use the arrow keys
and to select your PABX code from 0 to 9 and press the
key to confirm.
Note: If a PABX code has been set, it will automatically be added by
the telephone to the outgoing number, providing that this number has
a 6 digit or more, and that the first digit is different from the set PABX
code.
If an automatic IP number has also been set, the telephone will dial
the PABX code first, and then the automatic IP number. The
telephone will pause for 700ms after each PABX is dialed.
To remove the PABX automatic dialing function, set it to “-“through
the SET 3 PCODEsub-menu.
The phone does not lock the outgoing code, and only the numbers
after the outgoing code are considered to be locked.
SET AUTOMATIC IP
When in the setting menu, go to the "SET 4 AUTO IP" sub-menu and
press the key. The display reads “AUTO IP OFF and the word
“OFF flashes. Use the arrow keys and to turn the
automatic IP function On or Off. To activate it, select “AUTO IP ON
and press the key. The display now reads “INPUT CODE”. Using
the numbered keys, enter the special service number, card number,
and password provided to you by the IP service of your
PHONE’S SETTING
10
telecommunication service provider. If you happen to press the wrong
key while entering the aforementioned codes, you can press on the
delete key to erase an incorrect digit. Press the key to
confirm each code once they have been entered. Setting an
automatic IP number allows your telephone to automatically dial said
number for you, providing that the phone number you have dialed
starts with “0”.
After setting the automatic IP opening and the corresponding
automatic IP number in the menu, when picking up the phone for
manual dialing or pre-dial dialing, or for incoming and outgoing calls,
if the first number is "0", the phone will automatically add the
number before the number. Set the IP number.
SETTING ALARM CLOCK
When in the setting menu, go to the "SET 5 ALERT" sub-menu and
press the key.
The display reads “00-00 OFF”. Use the arrow keys and
to set the time for the alarm, selecting each digits for the hour and
minutes individually and pressing on the key to confirm each one.
To activate the alarm, use the arrow keys and to change
“OFFto “ONand press the key to confirm.
If the alarm function is set ON, it will sound for 1 minute on time.
Press any key including key, lift the hook switch to hang up for
one second and then go off-hook to stop the alarm and return to the
on-hook state.
If the phone is off-hook, ringing, or missed (within 6 seconds after
the ringing stops) when the scheduled alarm time is reached, the
PHONE’S SETTING
11
alarm will be cancelled automatically.
SETTING FLASH TIME
When in the setting menu, go to the "SET 6 FLASH" sub-menu and
press the key.
The display reads “FLASH 4 1000”. There are 4 flash time groups
that can be selected depending on the country you are located in.
Please select 110 for the UK, 300 for France, 600 for the US or 1000
when applicable. Use the arrow keys and to select the
appropriate group and press the key to confirm.
SETTING RINGER VOLUME
Using the switch button located on the back of the telephone, you can
set the volume of the ringer to either Hifor High, Lofor Low or “Off
to stop according to your preferences.
LCD BRIGHTNESS ADJUSTMENT
Press the key to increase or decrease the contrast on the
display. There are 5 levels of intensity to choose from. You go from
one level to the next by pressing once on the key. When on level
5, pressing once the key decreases the intensity back to the
level 4.
6- CALL LOG INFORMATION
INCOMING CALL
The telephone will ring each time there is an incoming call.
If you have subscribed to your provider’s Caller ID services, the
PHONE’S SETTING / CALL LOG INFORMATION
12
caller’s number will be shown on the lower line of the display.
If an incoming call is not answered, the caller’s number will be saved
and the word “NEWwill be visible on the left side of the display.
If the same number has called twice or more, the word “REPEATwill
be visible on the left side of the display. If there is an existing number,
a "duplicate" sign will appear. If the caller’s number is confidential, the
LCD will display "----P----". If the caller’s number is out of range, "----
O----" is displayed. If the caller’s number signal is incorrect, "----E----
" will be displayed.
After receiving a new call, the phone will keep displaying the new
caller's number and time until the call is answered or there is
pressing a button.
In case the telephone’s memory is full, the number of the last caller
will always replace the number of the oldest one, except if this number
is registered as a VIP number.
REVIEWING PAST INCOMING CALLS AND CALLING BACK
With the receiver on-hook”, press the down arrow key to review
the list of the last incoming calls (61 calls maximum). Use the arrow
leys or to see the numbers one by one. You can press the
key, the key or pick up the handset to dial out the number
showing on the display.
For international calls, if you press the key twice, the telephone
will automatically add "0" before the first digits of the number.
Note: If the caller’s number exceeds 16 digits, then only the last 16
digits will be shown on the display.
CALL LOG INFORMATION
13
REVIEWING PAST OUTGOING CALLS
With the receiver “on-hook”, press the “OUTkey to review the list of
the last 17 dialed numbers as well as the call duration for each. Press
the “OUTkey each time you wish to see the number dialed before
the one shown on the display. You can press the key, the key
or pick up the handset to dial out the number showing on the display.
7- USING YOUR PHONE
If you are wearing hearing aids, set your
hearing aid to the “Tsetting.
USING PRE-DIAL
With the receiver on-hook”, dial the number you wish to call and then
press the key, the key or pick up the handset to dial out. In
case you mistype when dialing the number, pressing the delete
key erases the digit last entered.
INCOMING CALL (OUTGOING CALL) QUERY
After off-hook, you can use the and keys to
check incoming calls, or use the key (one-way) to check
outgoing calls.
CALL TIMING
After off-hook dialing, the phone automatically enters the call timing,
and manual timing is not allowed.
CALL LOG INFORMATION/ USING YOUR PHONE
14
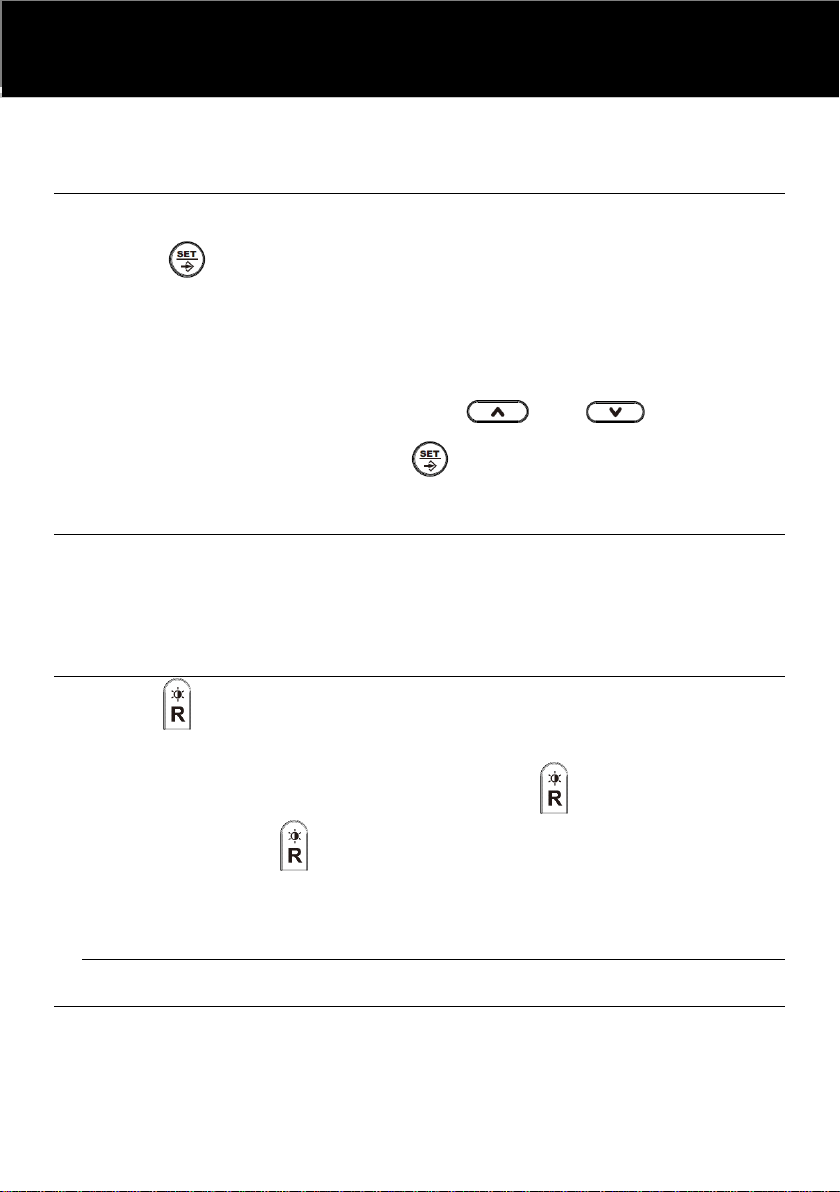
MUTE FUNCTION AND RINGTONE MUTE
A. In the process of talking with someone, you can press the
"MUTE" key to send to mute, accompanied by the indicator light,
press the "MUTE" key again, the indicator light is off, unmute and
continue the call (handle and free It can be used when the state is
muted).
B. When there is a ringtone, press the [MUTE] key, the ringtone will
be muted at this time, and the next call will still ring normally.
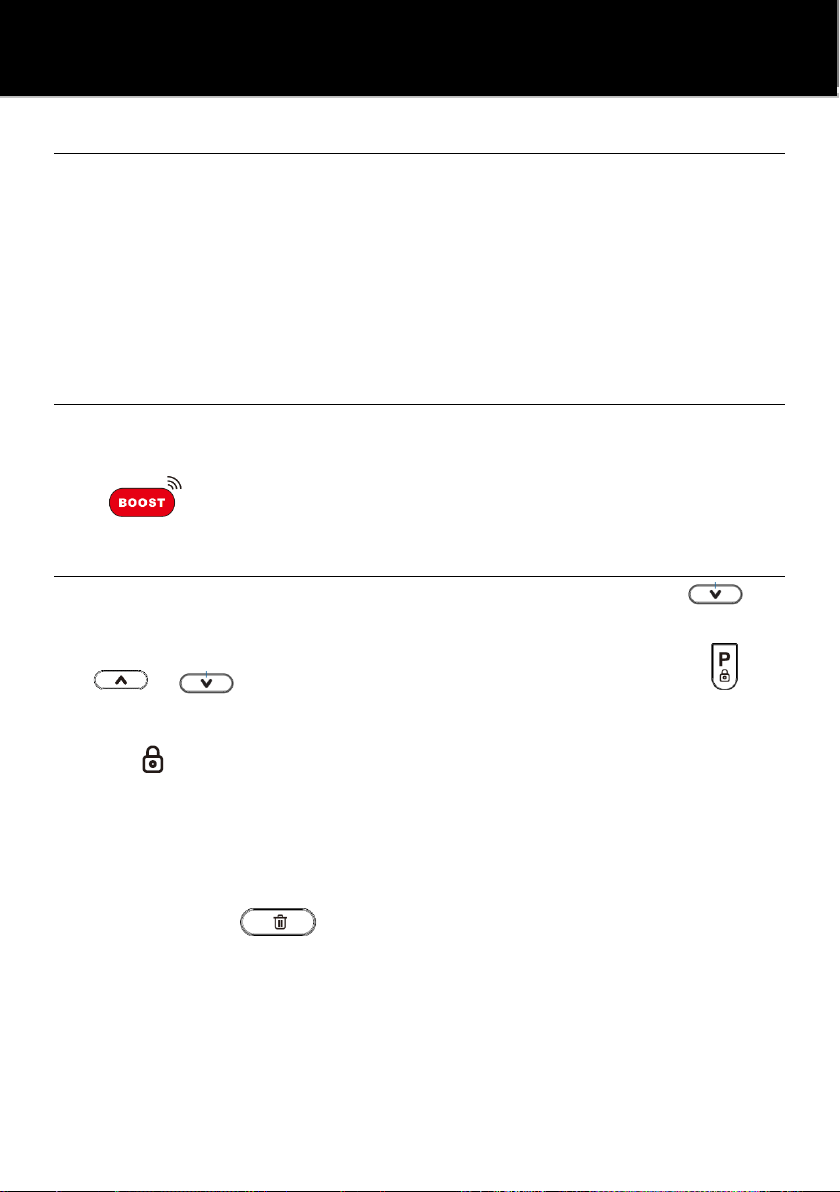
BOOST FUNCTION
When in a conversation, if the caller’s voice coming from the
handset isn’t loud enough for you to hear it clearly, you can press
the key to increase it by 10 decibels.
SETTINGS VIP NUMBERS
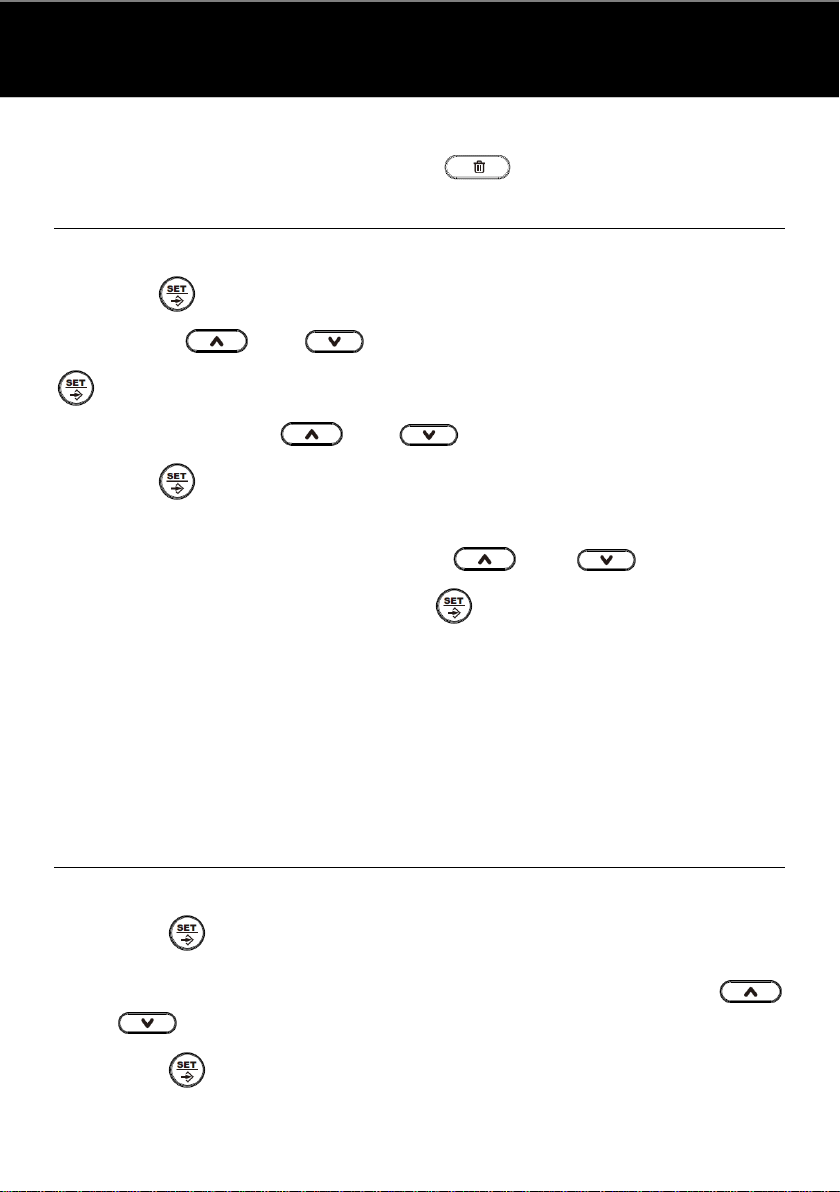
With the receiver on-hook”, press the down arrow key to
review the list of the last 61 incoming calls. Use the arrow leys
or to see the numbers one by one. Press the key
to register the number showing on the display as a VIP number.
The icon becomes visible next to the number.
Numbers registered as VIP numbers cannot be individually
deleted from the last 61 incoming calls list. The only way to delete
them is to delete all the numbers from the list at once, by pressing
on the delete key for three seconds.
If the list of the last incoming calls already counts 61 entries and
there is a new incoming call, the telephone will delete the oldest
non-VIP number from the list to make room for the new entry. In
case all of the 61 entries are VIP number, the oldest VIP number
USING YOUR PHONE
15
is deleted.
When there is an incoming call from a VIP number, the icon is
visible on the display next to the number of the person calling. The
telephone will also use a different ringtone for the calls from VIP
numbers.
SMART BACKLIGHT FUNCTION
When the phone is loaded with 3 AA batteries, the phone
automatically turns on the backlight when pressing one touch, off-
hook, incoming ring, incoming call, and any operation of the phone,
and automatically turns off after 6 seconds of use.
8- ONE TOUCH MEMORY BUTTON
RECORD A MEMORY BUTTON
To store a number in one of the memory buttons, with the receiver
on-hook”, dial the number you wish to store and press the key.
The display reads “Store in”. You then have 3 seconds to choose in
which of the three memory buttons you wish to store the number.
Press either M1, M2 or M3 to make your choice. If you don’t press
any button, the phone will go back to idle mode.
You can also select a number from the recent incoming and outgoing
calls lists. Press the key to store the number showing on the
display, then follow the above indications.
MAKE A CALL USING THE MEMORY BUTTONS
Pick up the receiver or press the key, then press the memory
button (M1-M2 or M3) in which the number you wish to call is stored.
16
The telephone will dial the number automatically.
You can also press the key to dial out the last dialed number.
9- TROUBLE SHOOTINGS
No voice
Check if the handset is properly connected at the base or line cord
is not broken.
Receive only
Check that the microphone hole is not blocked
Battery rust or leak
Remove the rust then wipe out the leaking liquid.
Noise
Move the electronic devices near the Dallas 20
Ring once then disconnect when receive a call.
Check if connector is in a moist environment.
Check if too many extensions are used together or the quality of
extension is not good enough (Change the bad extension)
Check with your network provider that your Voicemail is not set on
one ringer
LCD becomes dim
Adjust LCD contrast, if the LCD is still dim, replace the battery.
Most of the functions failed
Check if the batteries are in low-battery state. (Change the battery.)
Batteries are in normal state (Remove the batteries, Unplug the
lines and reinstall after 10 minutes)
TROUBLE SHOOTINGS
17
10-GUARANTEE
From the moment your Geemarc product (Dallas 20) is purchased,
Geemarc guarantee it for the period of two years. During this time,
all repairs or replacements (at our discretion) are free of charge.
Should you experience a problem then contact our help line or visit
our website at www.geemarc.com.
The guarantee does not cover accidents, negligence or breakages
to any parts. The product must not be tampered with or taken apart
by anyone who is not an authorized Geemarc representative.
The Geemarc guarantee in no way limits your legal rights.
IMPORTANT: YOUR RECEIPT IS PART OF YOUR GUARANTEE AND
MUST BE RETAINED AND PRODUCED IN THE EVENT OF A
WARRANTY CLAIM.
Please note: The guarantee applies to the United Kingdom only.
11-DECLARATIONS
UKCA & CE, Directives
Geemarc Telecom SA hereby declares that this product Dallas 20
is in compliance with the essential requirements and other relevant
provisions of the Radio Equipment Directive 2014/30/UE.
The UKCA declaration of conformity may be consulted at
www.geemarc.com
12-RECYCLING DIRECTIVES
The WEEE (Waste Electrical and Electronic Equipment) has been put in
place for the products at the end of their useful life are recycled in the best
way.
When this product is finished with, please do not put it in your domestic
GUARANTEE / DECLARATIONS / RECYCLING
DIRECTIVES
18
waste bin. Please use one of the following disposal options:
- Remove the batteries and deposit them in an appropriate WEEE
skip.
Deposit the product in an appropriate WEEE skip.
- Or, hand the old product to the retailer. If you purchase a new
one, they should accept it.
Thus if you respect these instructions you ensure human health and
environmental protection.
For product support and help visit our website at
www.geemarc.com
E-mail : help@geemarc.com telephone 01707 387602
lines are open 09h00 to 16h00 Mon to Fri
Geemarc Telecom SA, Parc de l’Etoile 2 Rue Galilée 59760 Grande-Synthe
This product is made in China To Geemarc Telecom
RECYCLING DIRECTIVES
18

Hulp nodig? Stel uw vraag in het forum

Spelregels

Misbruik melden

Gebruikershandleiding.com neemt misbruik van zijn services uitermate serieus. U kunt hieronder aangeven waarom deze vraag ongepast is. Wij controleren de vraag en zonodig wordt deze verwijderd.

Product:

Bijvoorbeeld antisemitische inhoud, racistische inhoud, of materiaal dat gewelddadige fysieke handelingen tot gevolg kan hebben.

Bijvoorbeeld een creditcardnummer, een persoonlijk identificatienummer, of een geheim adres. E-mailadressen en volledige namen worden niet als privégegevens beschouwd.

Spelregels forum

Om tot zinvolle vragen te komen hanteren wij de volgende spelregels:

Belangrijk! Als er een antwoord wordt gegeven op uw vraag, dan is het voor de gever van het antwoord nuttig om te weten als u er wel (of niet) mee geholpen bent! Wij vragen u dus ook te reageren op een antwoord.

Belangrijk! Antwoorden worden ook per e-mail naar abonnees gestuurd. Laat uw emailadres achter op deze site, zodat u op de hoogte blijft. U krijgt dan ook andere vragen en antwoorden te zien.

Abonneren

Abonneer u voor het ontvangen van emails voor uw Geemarc Dallas 20 bij:


U ontvangt een email met instructies om u voor één of beide opties in te schrijven.


Ontvang uw handleiding per email

Vul uw emailadres in en ontvang de handleiding van Geemarc Dallas 20 in de taal/talen: Duits, Engels, Frans als bijlage per email.

De handleiding is 2.07 mb groot.


U ontvangt de handleiding per email binnen enkele minuten. Als u geen email heeft ontvangen, dan heeft u waarschijnlijk een verkeerd emailadres ingevuld of is uw mailbox te vol. Daarnaast kan het zijn dat uw internetprovider een maximum heeft aan de grootte per email. Omdat hier een handleiding wordt meegestuurd, kan het voorkomen dat de email groter is dan toegestaan bij uw provider.

Stel vragen via chat aan uw handleiding

Stel uw vraag over deze PDF

Uw handleiding is per email verstuurd. Controleer uw email

Als u niet binnen een kwartier uw email met handleiding ontvangen heeft, kan het zijn dat u een verkeerd emailadres heeft ingevuld of dat uw emailprovider een maximum grootte per email heeft ingesteld die kleiner is dan de grootte van de handleiding.

Er is een email naar u verstuurd om uw inschrijving definitief te maken.

Controleer uw email en volg de aanwijzingen op om uw inschrijving definitief te maken

U heeft geen emailadres opgegeven

Als u de handleiding per email wilt ontvangen, vul dan een geldig emailadres in.

Uw vraag is op deze pagina toegevoegd

Wilt u een email ontvangen bij een antwoord en/of nieuwe vragen? Vul dan hier uw emailadres in.


Info